
In this blog post, you will learn:
- What the Pica MCP Server is and the tools it exposes.
- How it differs from other MCP servers available.
- How to use it to access Bright Data services as tools to an AI agent in Claude Desktop.
Let’s dive in!
What Is Pica MCP?
Pica recently announced the release of a dedicated MCP server. If you are not familiar with this solution, read our article on how to integrate Bright Data in a Pica AI agent to better understand what it is, what it offers, and how it works.
In detail, the Pica MCP Server opens the door to seamless interaction with a long list of third-party services through a standardized interface. It provides direct access to platform integrations, actions, execution capabilities, and robust code generation features.
As of this writing, the available tools exposed by the open-source Pica MCP server are:
list_pica_integrations: List all available platforms and your active connections.get_pica_platform_actions: Retrieve available actions for a specific platform.get_pica_action_knowledge: Provide detailed documentation for a specific action, including parameters and usage.execute_pica_action: Executes API actions with full parameter support.
Why the Pica MCP Is Special
Compared to other MCP servers, Pica MCP has an advantage due to the nature of the platform itself. Normally, if you want your AI agents to connect to tools from different providers via MCP, you would need to install and configure each MCP server locally or connect to them remotely. This process is tedious and time-consuming.
Instead, Pica MCP centralizes everything for you. Thanks to Pica’s integration capabilities, you can connect to 100+ platforms (including Bright Data) through your Pica account, and then expose those connections to your agents via the MCP server.
This means the single Pica MCP server can provide multiple third-party tool connections per agent. Plus, once you configure the MCP in an agent, you can simply use the Pica dashboard to manage your integrations and tools without touching the code. The integrations will be automatically made available to the underlying agent via Pica MCP.
Another advantage is that you only need to expose your Pica API key in your MCP configuration. All other secrets and credentials are stored and managed securely within the Pica platform.
Now, you can discover how to utilize Bright Data’s web search, scraping, and interaction capabilities in AI agents via Pica MCP.
How to Connect Bright Data to Claude Desktop via Pica MCP
Follow the steps below to integrate Bright Data into Pica. Next, set up the Pica MCP and expose the configured capabilities to an AI agent in Claude Desktop.
Note: This approach is demonstrated with Claude Desktop. Still, once the Pica MCP is set up, you can connect it to any other solution that supports MCP integration, such as OpenAI Codex CLI, Qwen-Agent, Google ADK, Crush CLI, Roo Code, LlamaIndex, Amazon Q Developer CLI, Gemini CLI, opencode, CrewAI, Pydantic AI, Claude Code, Cline, and others.
Prerequisites
Before going through this tutorial, make sure you have:
- A Bright Data account with a configured API key.
- A Pica account set up and ready to use.
- An Anthropic account for connection in Claude Desktop.
Get your Bright Data API key by following the official guide.
Step 1: Configure Bright Data in Pica
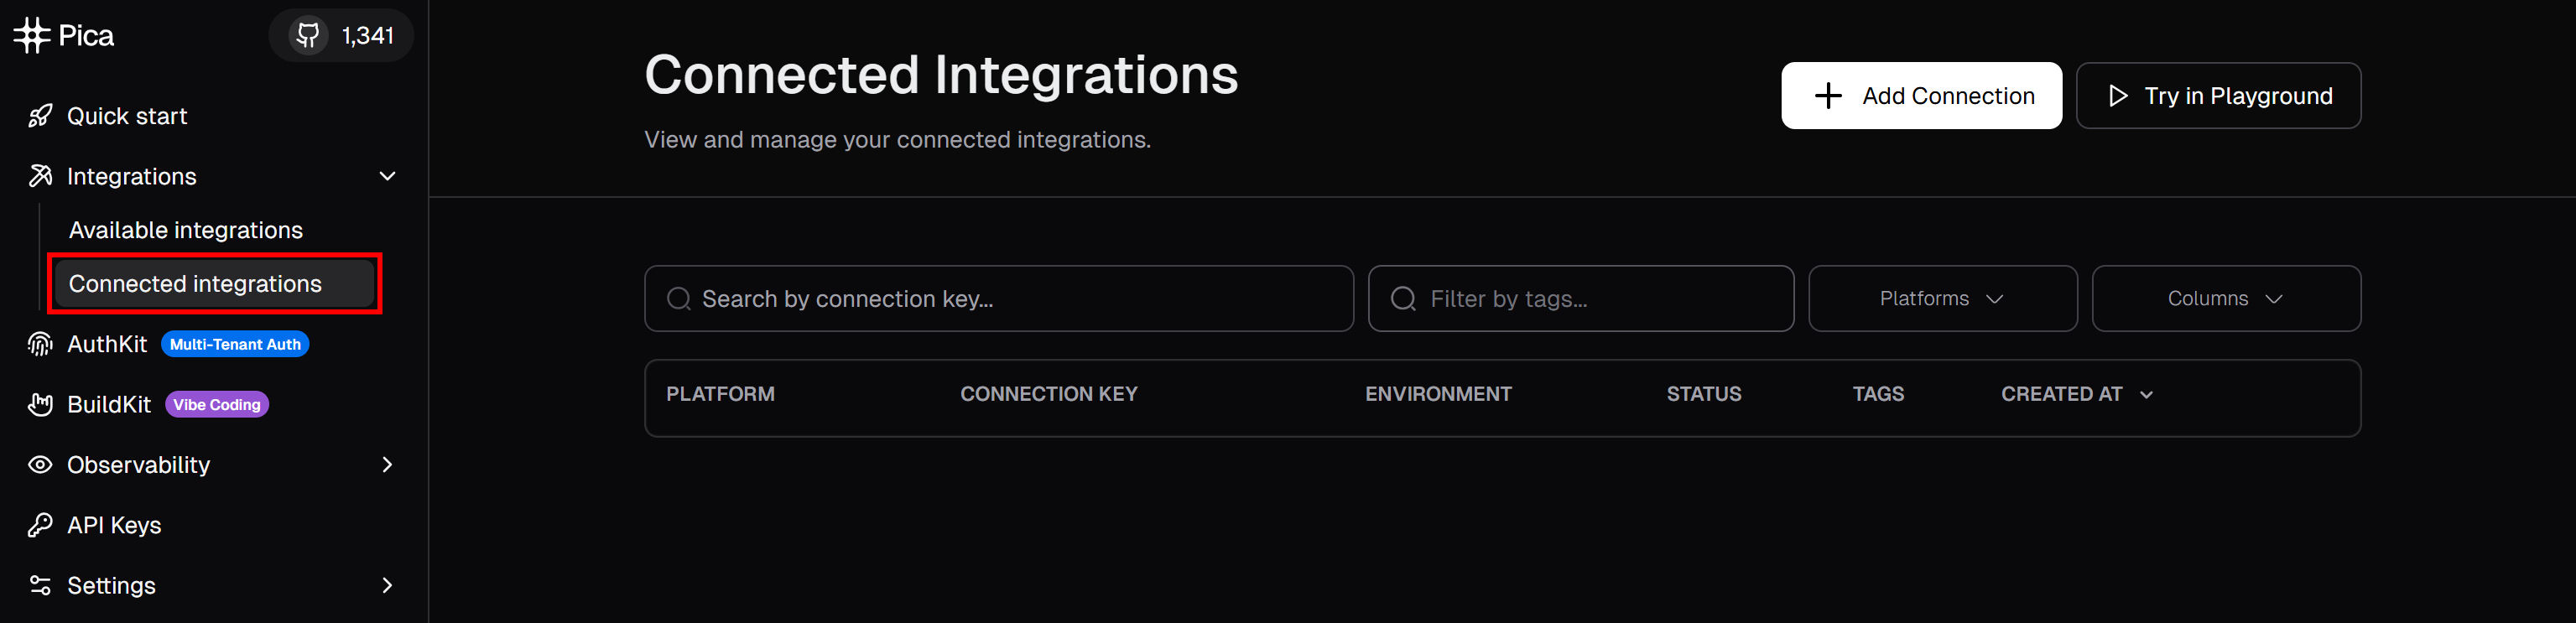
Log in to your Pica account and navigate to “Integrations > Connected Integrations”:
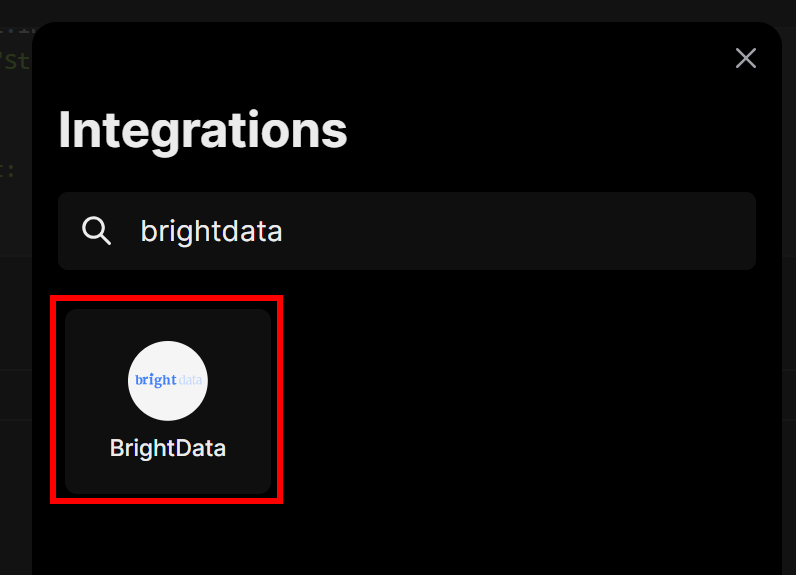
Click the “+ Add Connection” button in the top-right corner and search for “brightdata”:
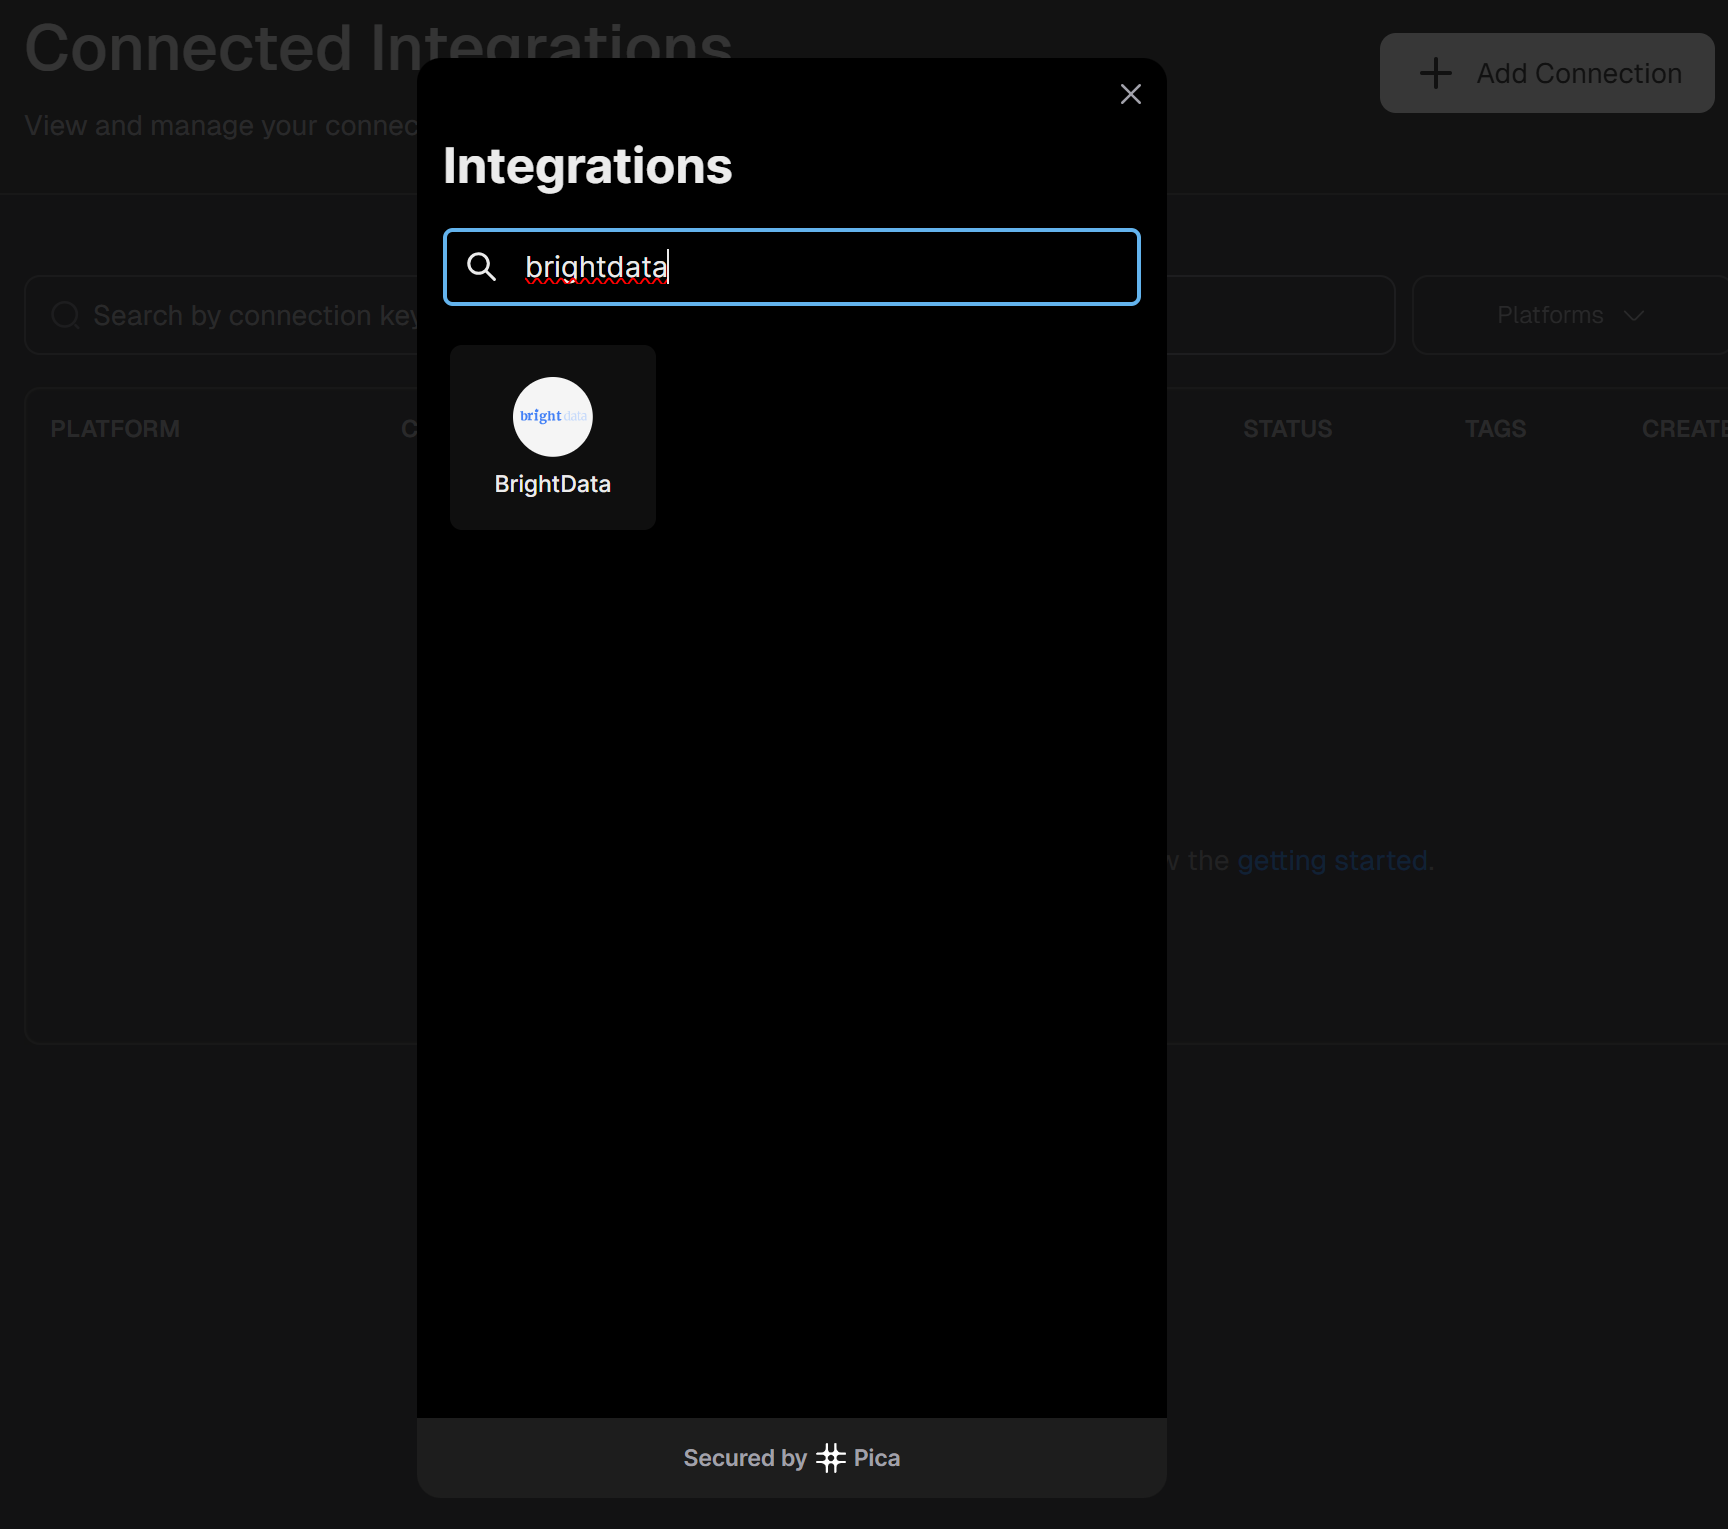
Select the “BrightData” integration option:
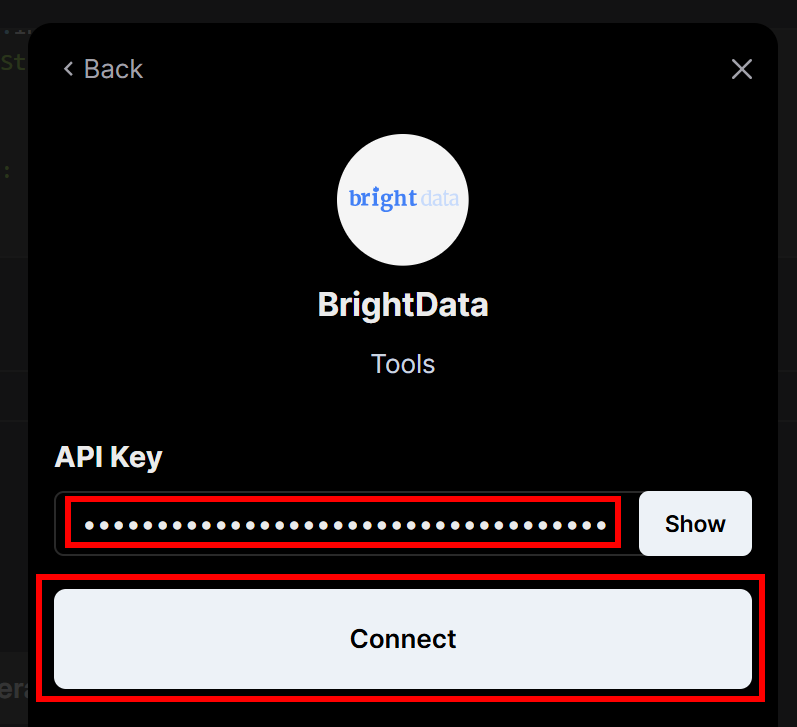
You will be prompted to enter your Bright Data API key. Paste it in and press “Connect”:
You should now see “BrightData” listed as an active connection:

Great! You successfully configured Bright Data integration in your Pica account.
Step #2: Install and Test the Pica MCP
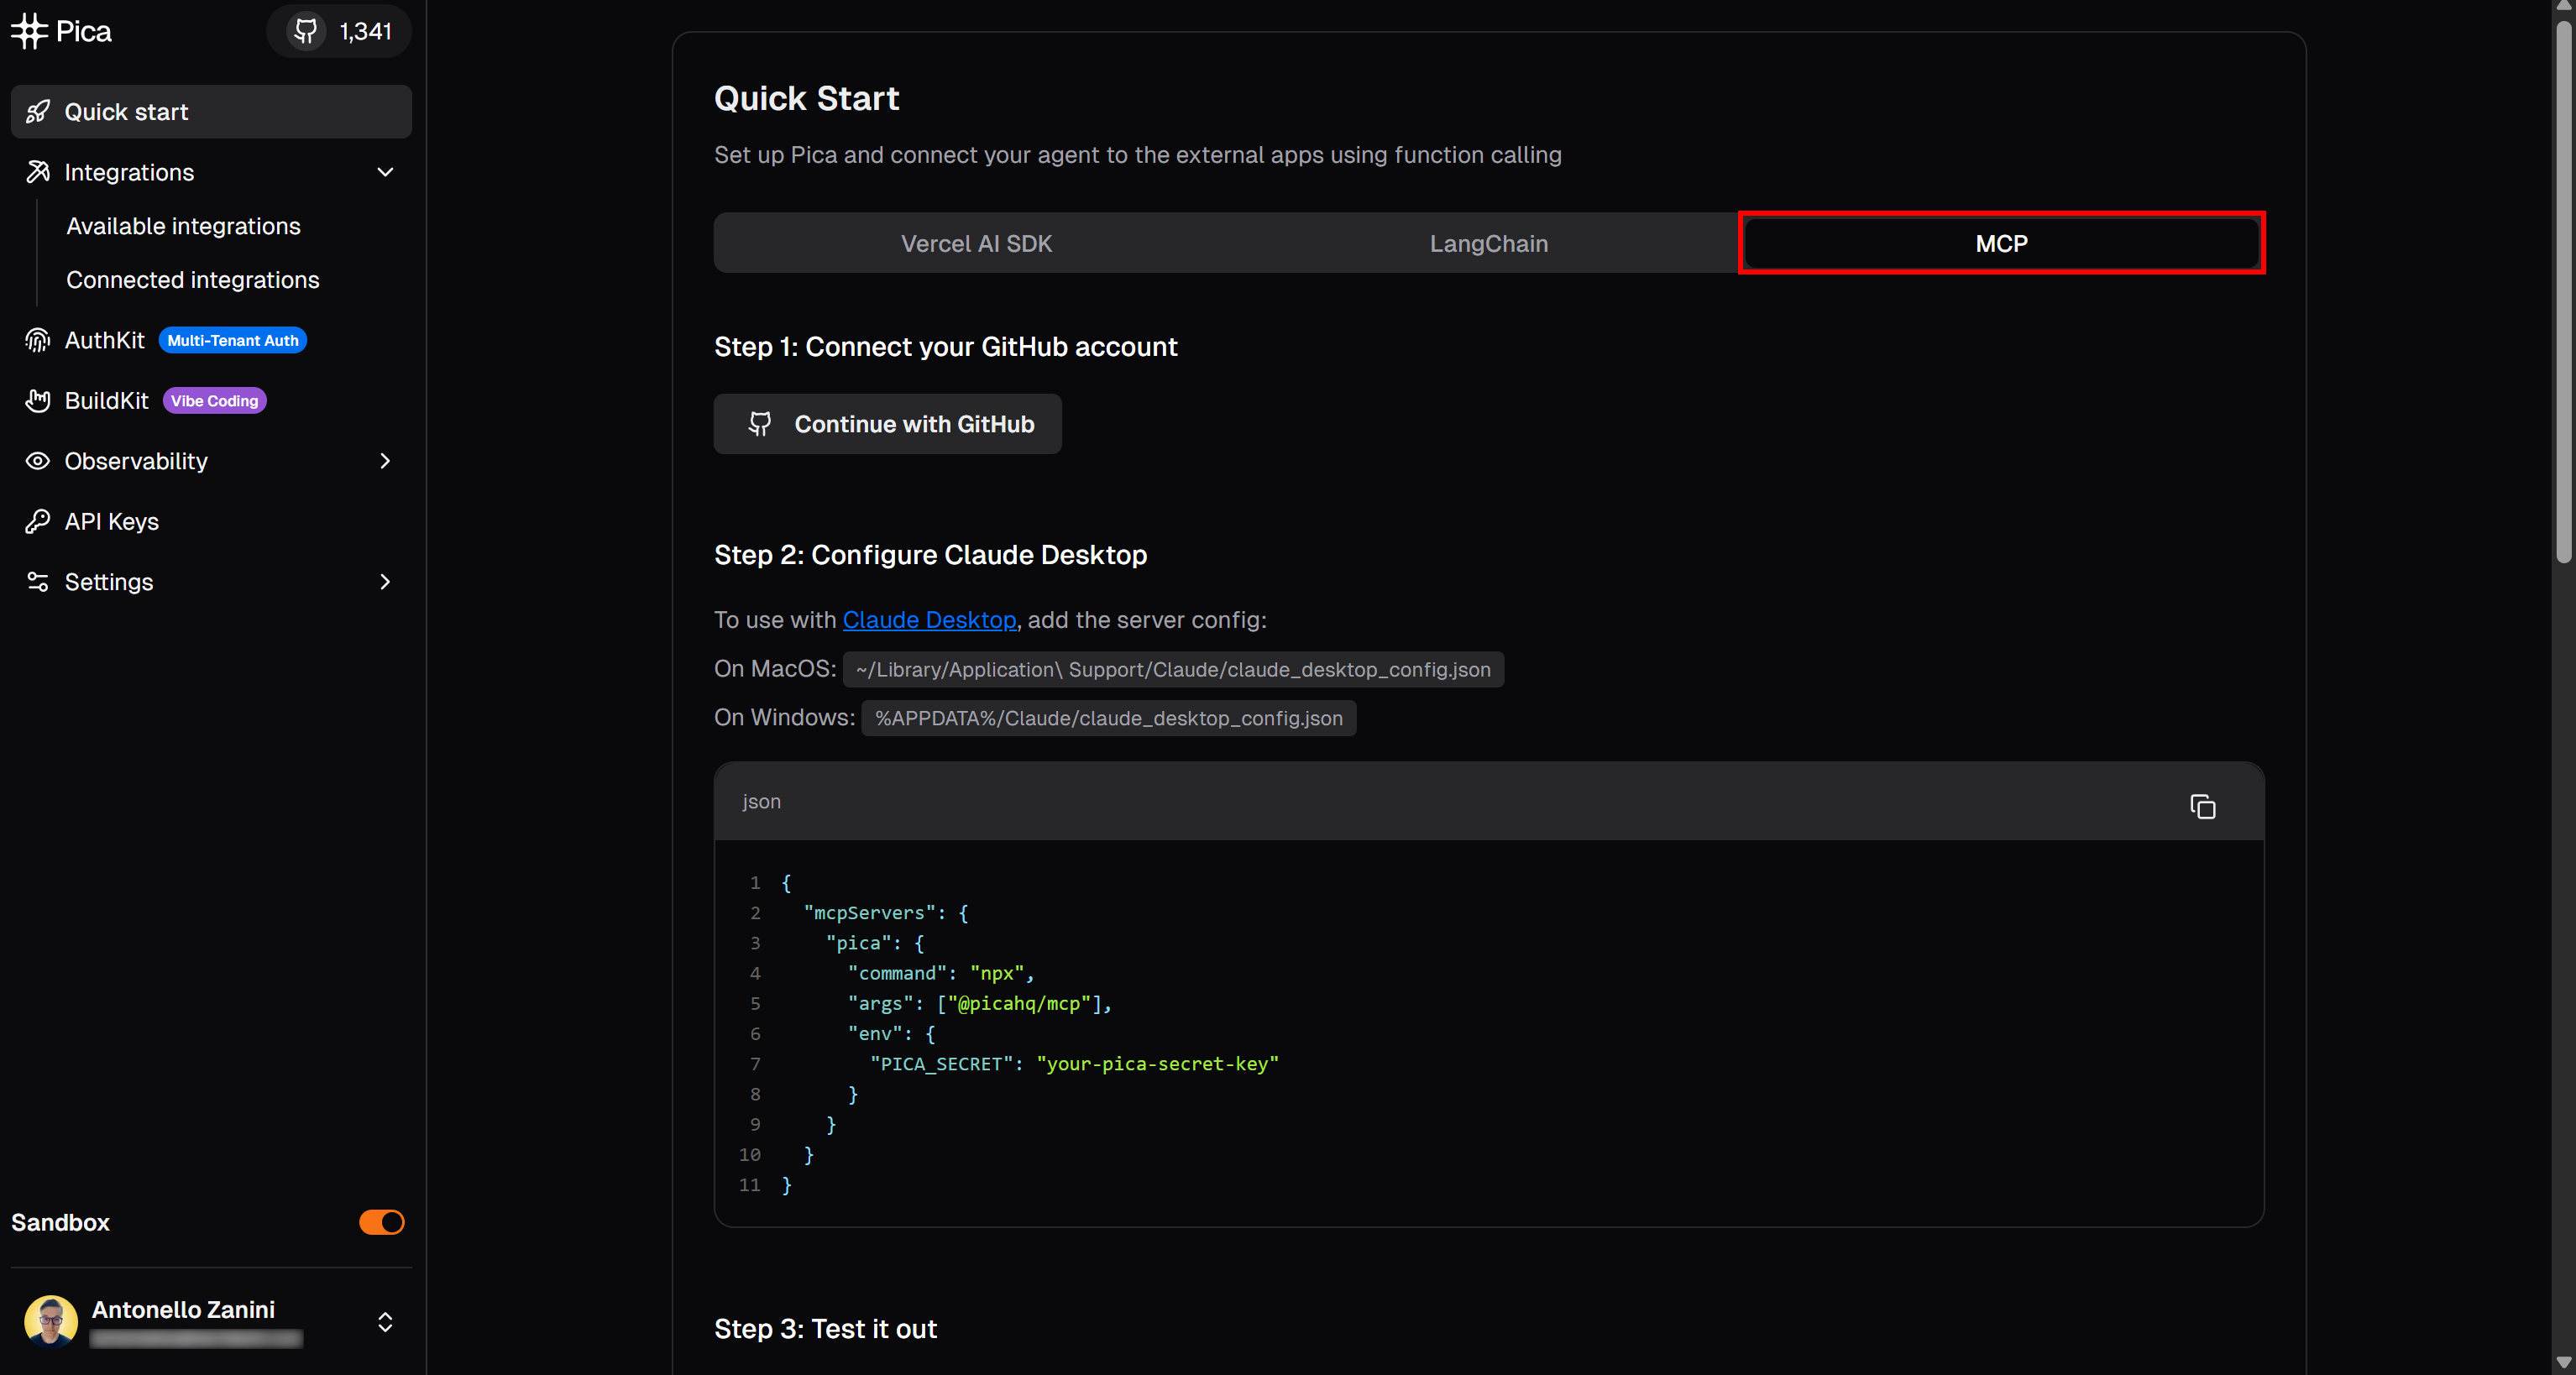
For a guided setup of the Pica MCP, visit the “Quick start” page and follow the instructions in the “MCP” tab:
Otherwise, follow the steps below. Open a terminal on your machine and install the Pica MCP globally via the @picahq/mcp package:
npm install -g @picahq/mcpThis may take a little while, so be patient.
Now, run the Pica MCP server by running it with your API key:
PICA_SECRET="<YOUR_PICA_API_KEY>" npx @picahq/mcpOr, equivalently, in PowerShell:
$Env:PICA_SECRET="<YOUR_PICA_API_KEY>"; npx @picahq/mcpBoth commands set the PICA_SECRET environment variable to your Pica API key (required for authentication) and then launch the Pica MCP server via the @picahq/mcp package.
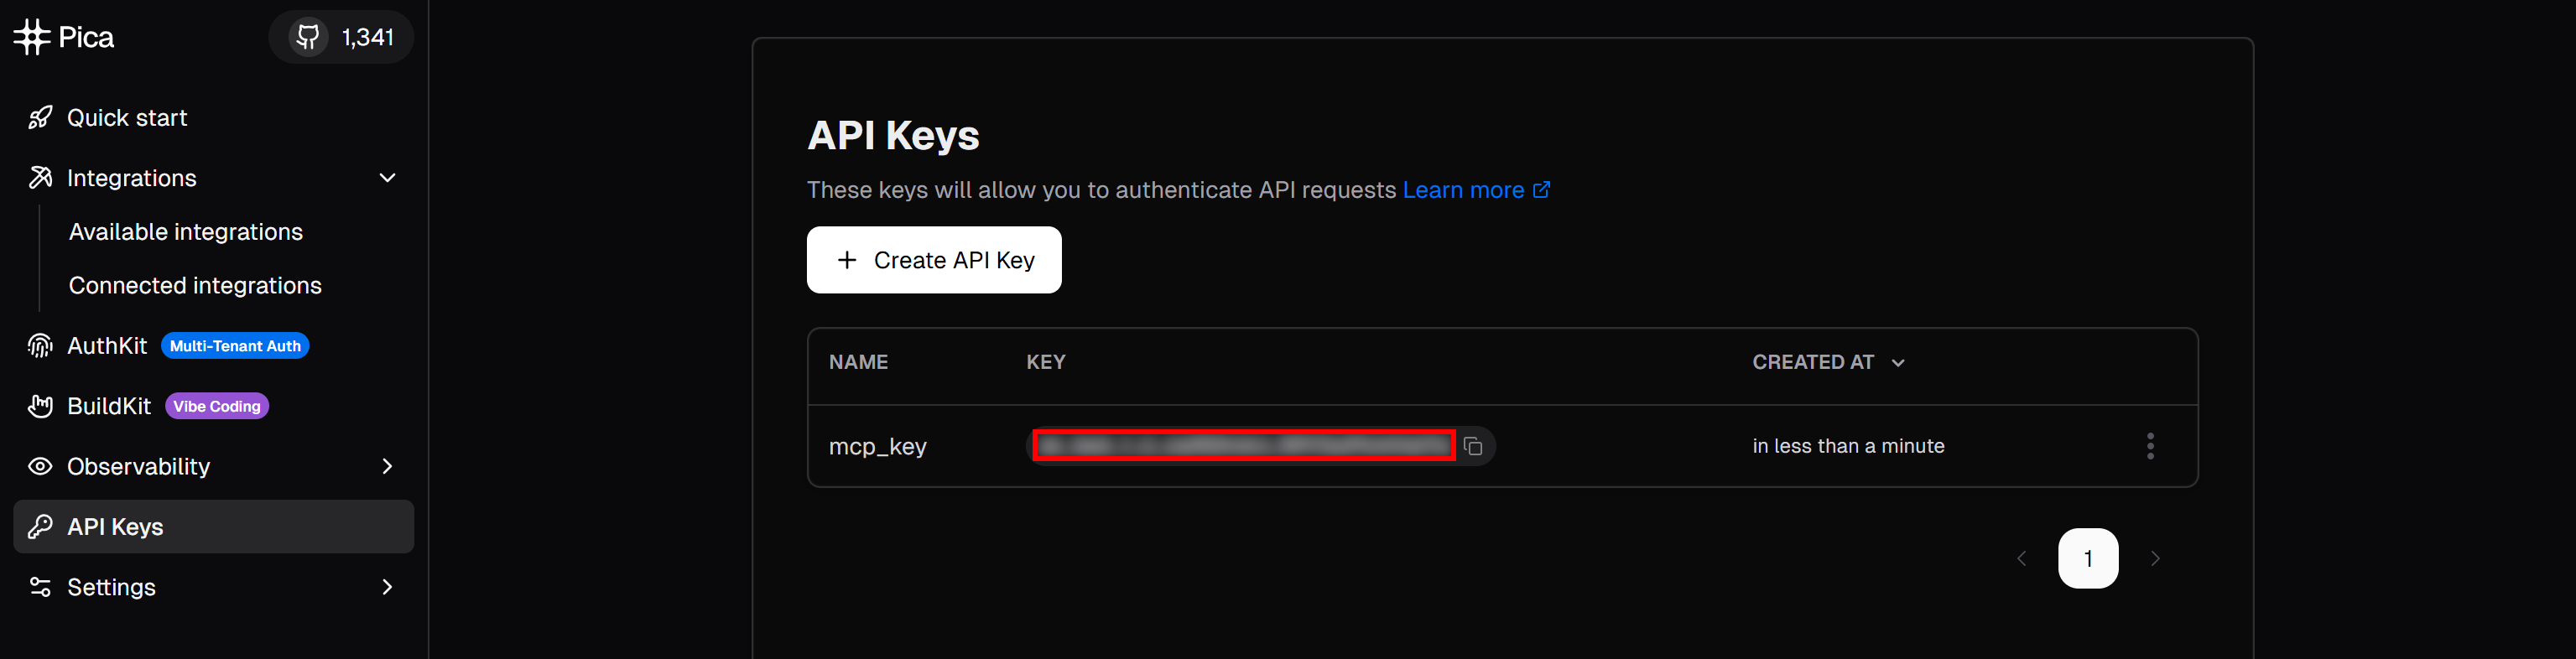
Retrieve your Pica API key in the “API Keys” section of your Pica account:
You should see no output when the server starts successfully. Check that you do not get this error:
PICA_SECRET environment variable is requiredAlso, when shutting down the server with Ctrl + c, you should see:
Shutting down server...Amazing! You just verified that the Pica MCP server works on your local machine.
Step #3: Connect Claude Desktop to the Pica MCP
Download and install Claude Desktop if you have not already. For more details, refer to the official Pica MCP Claude Desktop integration guide.
Next, configure the Pica MCP server in Claude Desktop by editing the claude_desktop_config.json file (macOS: ~/Library/Application Support/Claude/claude_desktop_config.json; Windows: %APPDATA%/Claude/claude_desktop_config.json)
Make sure the file contains this configuration:
{
  "mcpServers": {
    "pica": {
      "command": "npx",
      "args": ["-y", "@picahq/mcp"],
      "env": {
        "PICA_SECRET": "<YOUR_PICA_API_KEY>"
      }
    }
  }
}
In this config:
- The
mcpServersentry tells Claude Desktop which MCP servers to connect to. - The
picaentry defines the command (npx), arguments, and environment variables needed to run the Pica MCP. - The
PICA_SECRETenvironment variable provides your Pica API key.
When you restart Claude Desktop, it will use the above configuration to launch the Pica MCP as a subprocess and connect to it automatically.
Perfect! Claude Desktop is now configured to connect to your local Pica MCP server.
Step #4: Confirm Pica MCP Works in Claude Desktop
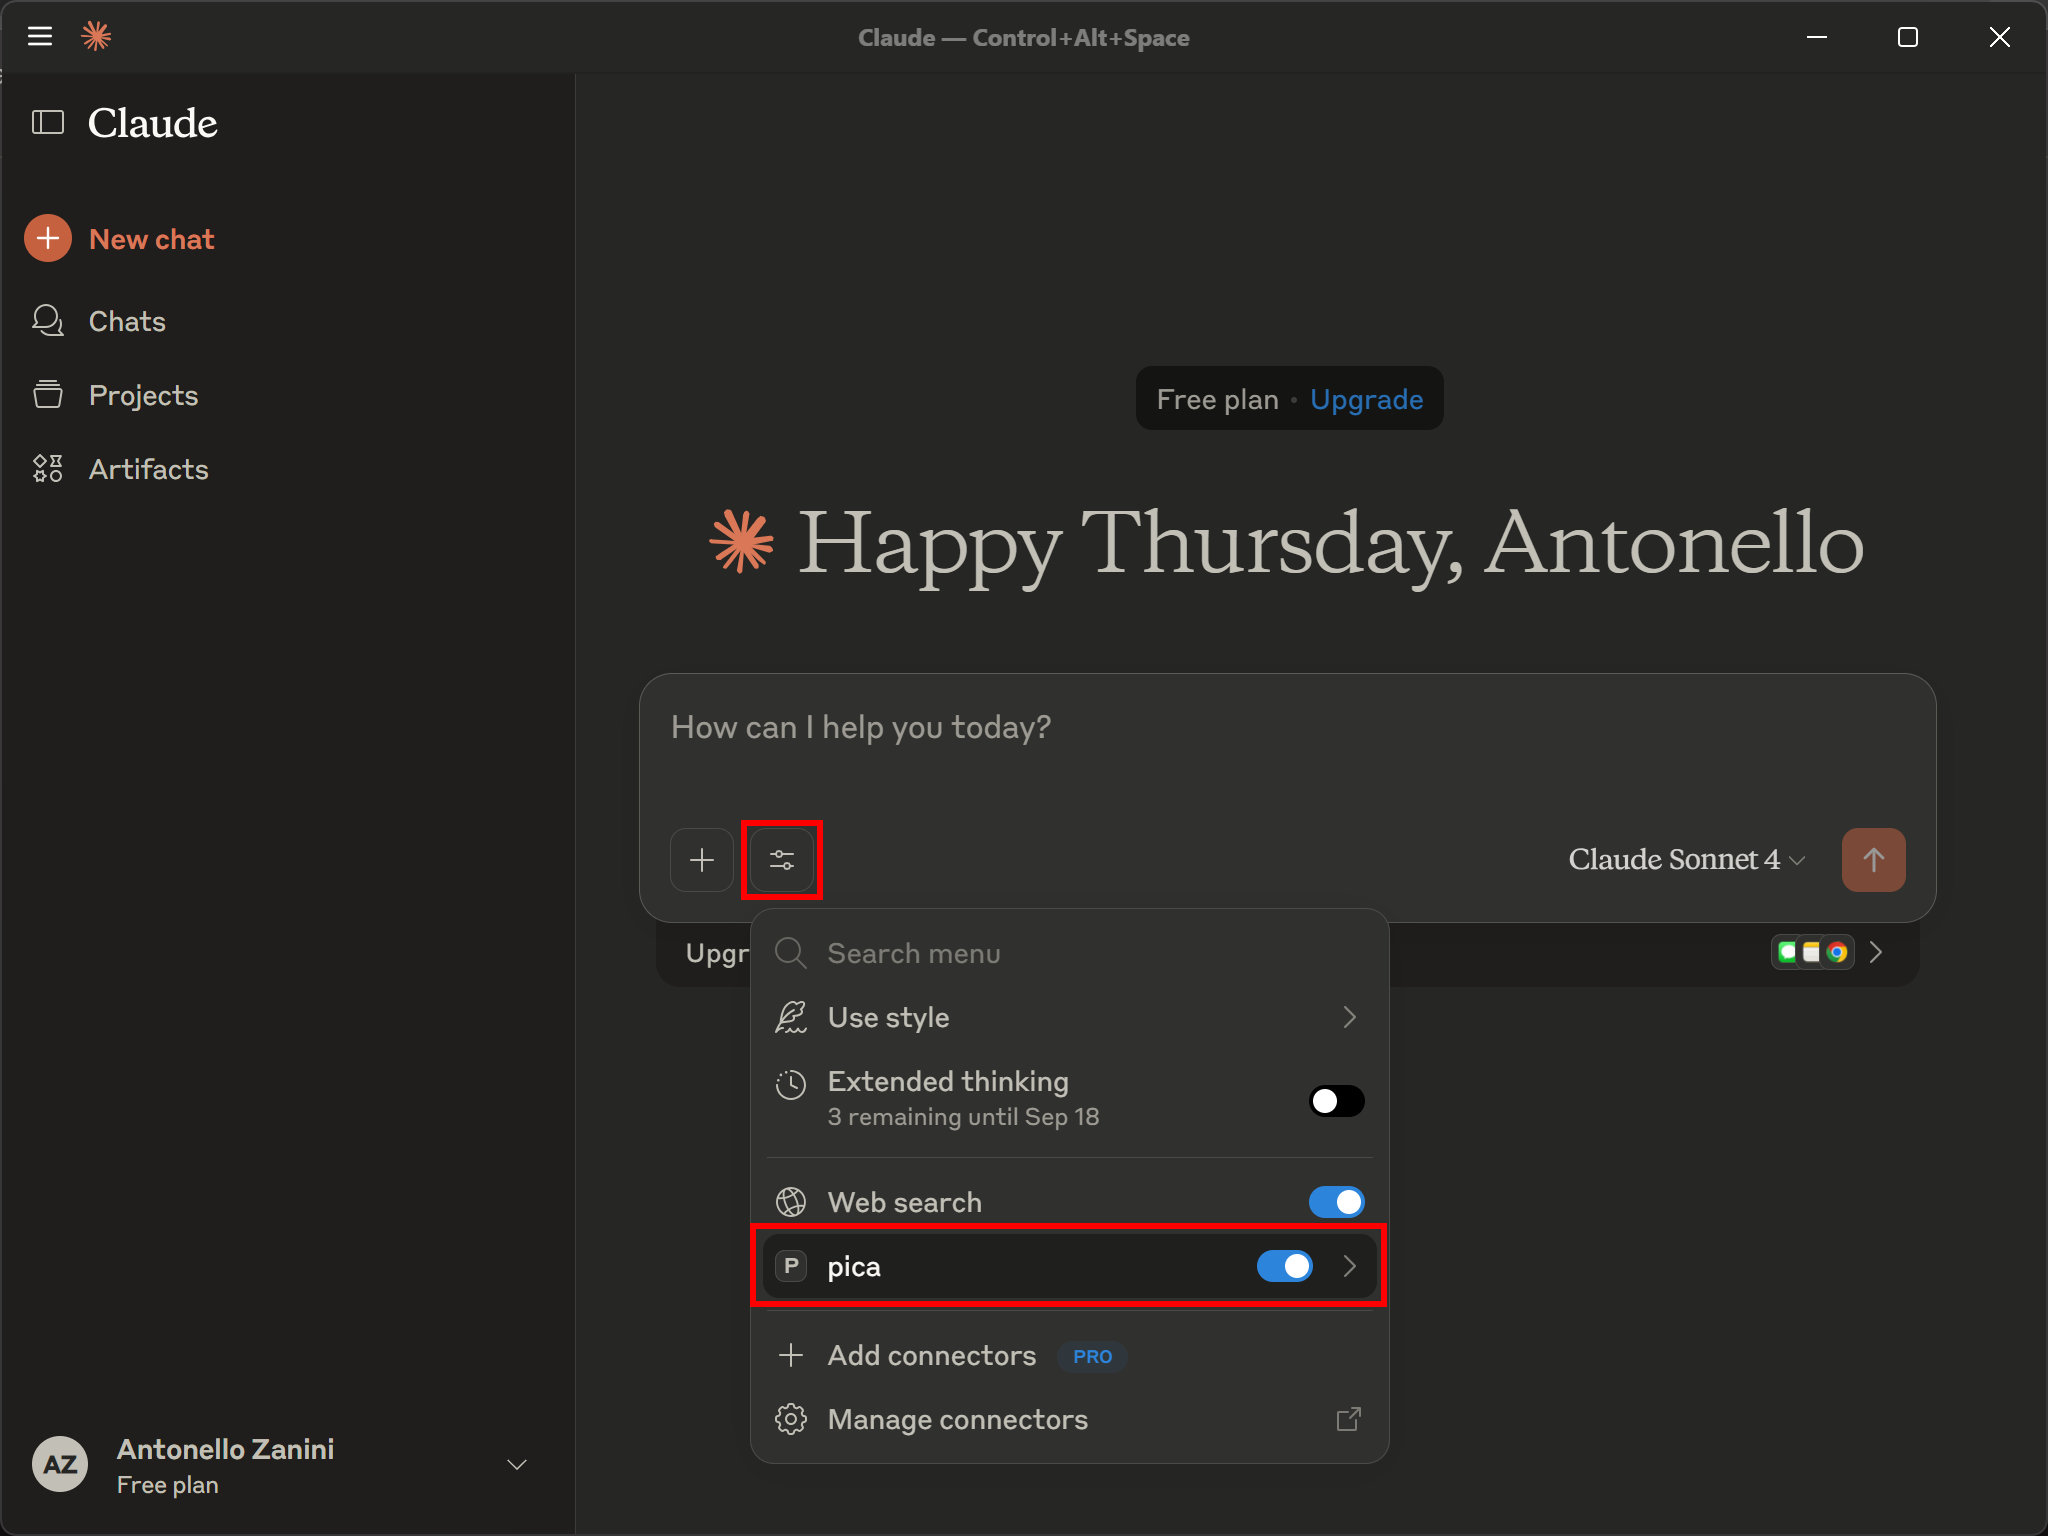
Open Claude Desktop and log in with your Anthropic account. Then, select the “Tools” option and verify that the “pica” MCP (configured earlier) is available and enabled:
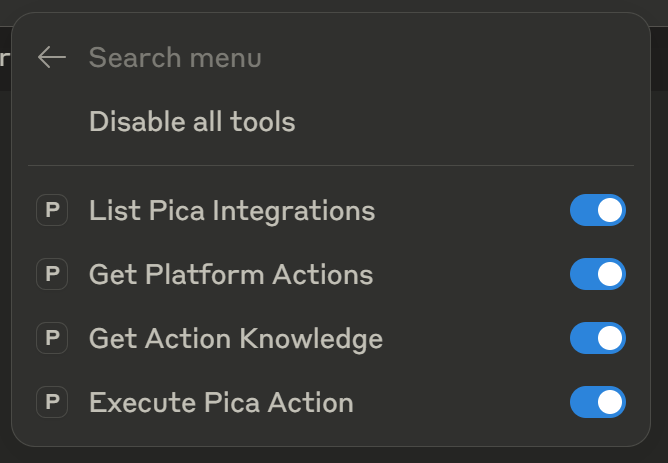
Clicking it should display the 4 tools mentioned at the beginning of this guide:
Next, verify that the Pica MCP server is connected to your account, where you configured the Bright Data connection. Test it by entering a prompt like:
"What connections do you have access to?"Accept the Pica tool execution:

As you can see, Claude selected the right “List Pica Integrations” tool. This returns a list of available integrations in your Pica account. In the output, you should see the Bright Data connection you configured earlier:

For more detail, continue with a prompt like:
Show which actions are available for the Bright Data connectionThis will execute the “Get Platform Actions” tool. Allow the tool execution, and the output should be:
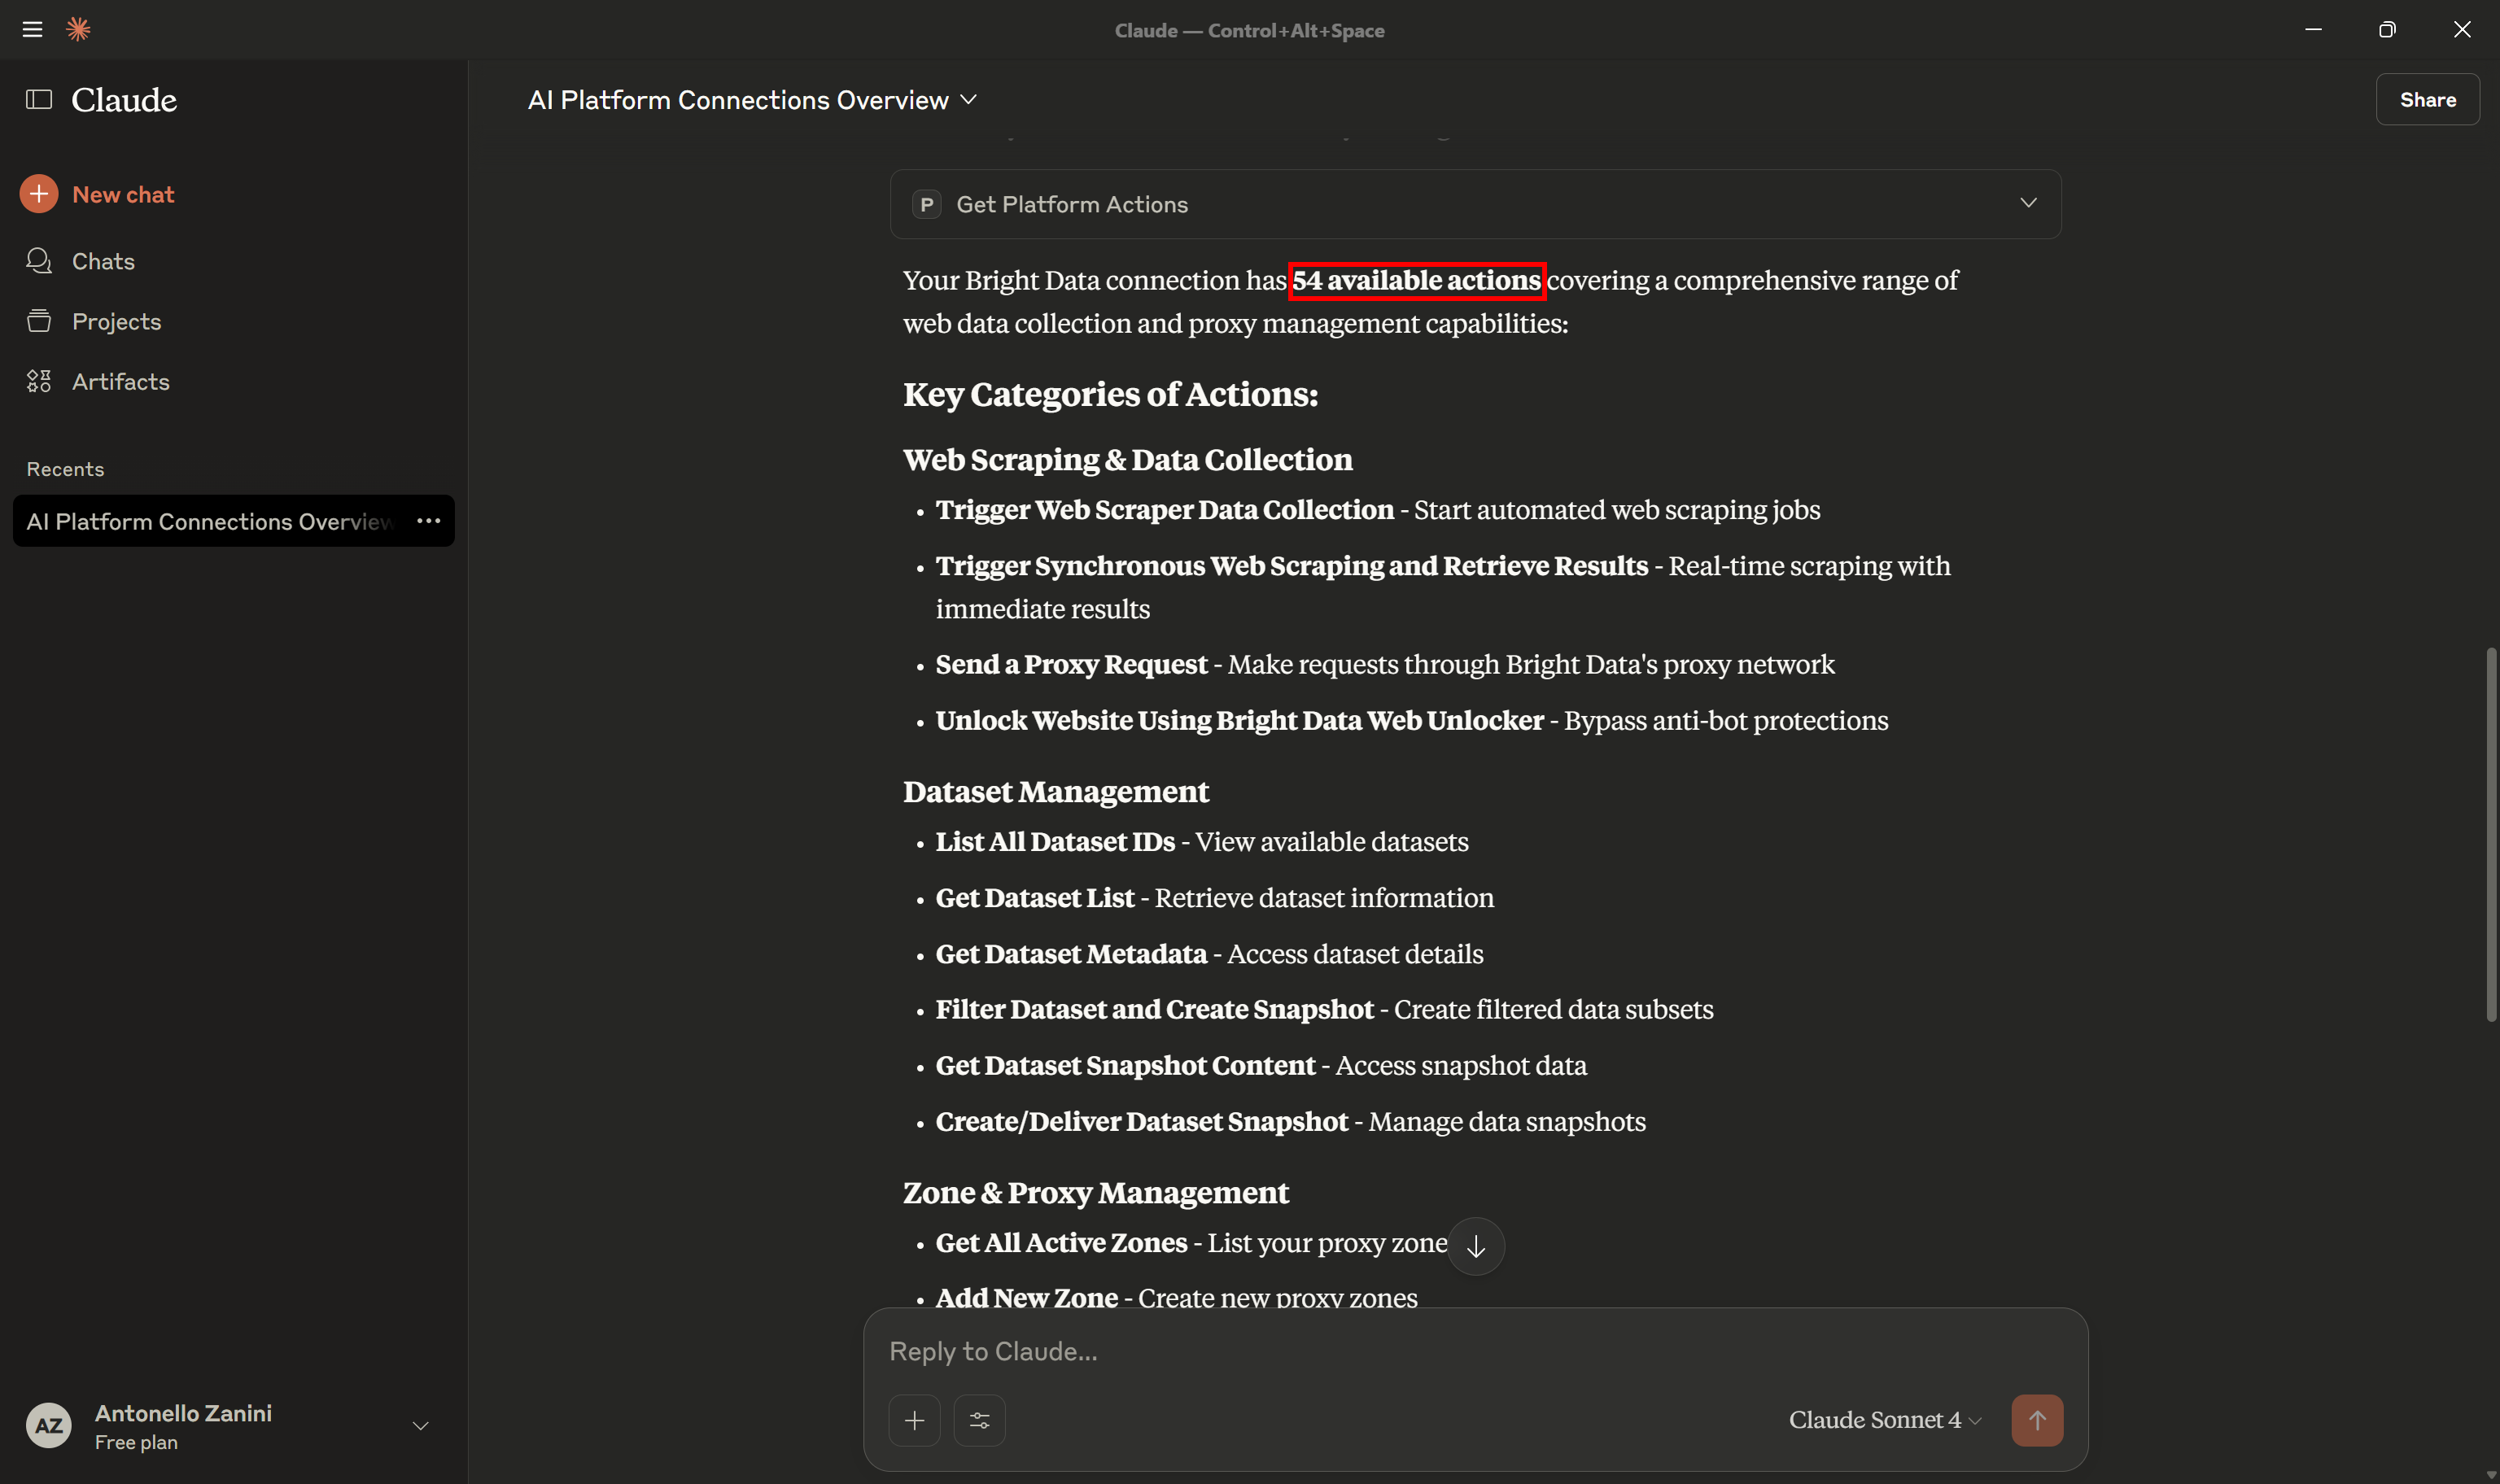
Scroll down, and you should see all 54 tools available via the Bright Data integration.
Well done! The Pica MCP is now working like a bridge, exposing Bright Data capabilities inside Claude Desktop.
Step #5: Test Bright Data’s Web Retrieval Capabilities in Claude Desktop
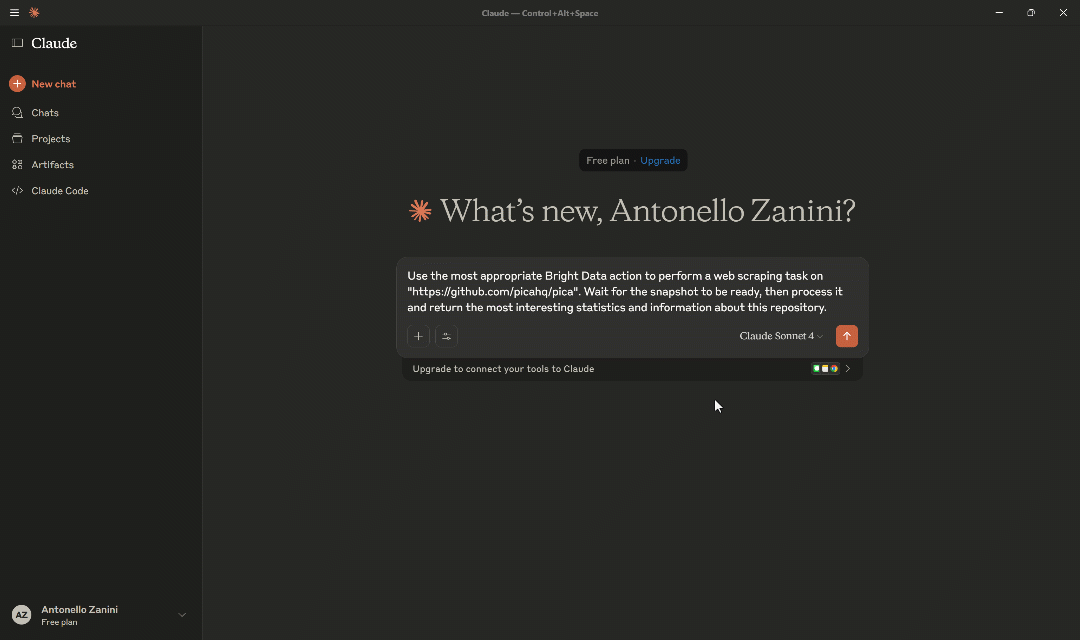
Check that Claude Desktop can now interact with Bright Data’s web search, data retrieval, and interaction functionality via Pica MCP. To test this, try a prompt like:
Use the most appropriate Bright Data action to perform a web scraping task on "https://github.com/picahq/pica". Wait for the snaphsot to be ready and process it to then return the most interesting stats and information about this repository.This is enough to verify that Claude Desktop can use the MCP integration to scrape information from the web, specifically from GitHub.
Execute the prompt:
Here are the highlights of what happens next:
- Claude Desktop calls the tool to get all Pica integrations.
- It identifies the required Bright Data integration and executes the tool to retrieve its available actions.
- It examines each action and identifies “Trigger Synchronous Web Scraping and Retrieve Results” as the correct one (this corresponds to calling the Bright Data Web Scraper API in sync mode).
- It calls other Bright Data actions to get the list of all scraper IDs (called “dataset list”).
- It identifies the correct dataset ID (
gd_lyrexgxc24b3d4imjt), which corresponds to the Bright Data GitHub Scraper. - It passes the ID to “Trigger Synchronous Web Scraping and Retrieve Results”, along with the GitHub URL, to retrieve the repository information.
- It processes the snapshot and presents a summary with the most relevant information about the repository.
The output contains an information-based report with the main details and statistics from the given repository.
This was just a simple example, but it clearly demonstrates the power of your Claude agent thanks to the Bright Data integration via the Pica MCP. With different prompts and connector integrations in Pica, you can extend this to cover many other agentic use cases.
Et voilà! Mission complete.
Conclusion
In this blog post, you saw how to install and configure the Pica MCP Server to extend your AI agent in Claude Code with web capabilities from Bright Data. Thanks to the Pica Bright Data connector, your AI agent can access 54 tools for web data retrieval, search, interaction, and more—simply via MCP.
If you want to build more advanced agents, you need robust solutions for fetching, validating, and transforming live web data. That is exactly what Bright Data’s AI infrastructure provides.
Consider also exploring all the other integrations supported by Bright Data.
Create a free Bright Data account and start exploring our AI-ready web tools today!

Technical Writer
Antonello Zanini is a technical writer, editor, and software engineer with 5M+ views. Expert in technical content strategy, web development, and project management.


