
In this blog post, you will see:
- What Ctush is and why it is such a beloved CLI application for AI coding assistance.
- How extending it with web interaction and data extraction makes it much more effective.
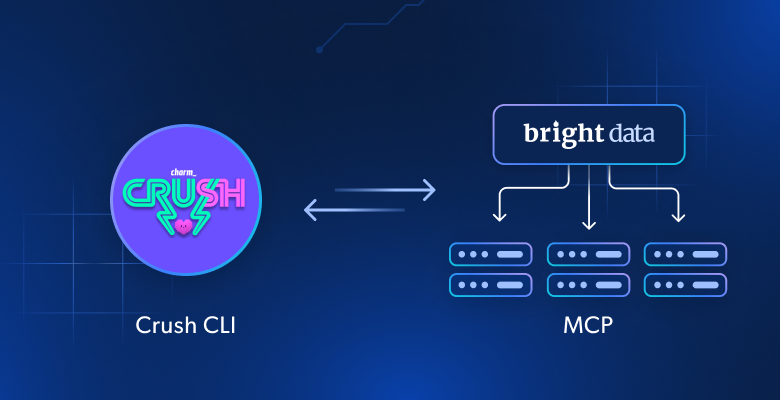
- How to connect the Crush CLI with the Bright Data Web MCP server to create an enhanced AI coding agent.
Let’s dive in!
What Is Crush?
Crush is an open-source AI coding agent for your terminal. In particular, the Crush CLI is a Go-based CLI application that brings AI assistance directly into your terminal environment. It offers a TUI (Terminal User Interface) for interacting with several LLMs to assist with coding, debugging, and other development tasks.
Specifically, this is what makes Crush special:
- Cross-platform: Works in all major terminals on macOS, Linux, Windows (PowerShell and WSL), FreeBSD, OpenBSD, and NetBSD.
- Multi-model support: Choose from a wide range of LLMs, integrate your own via OpenAI- or Anthropic-compatible APIs, or connect to local models.
- Session-based experience: Maintain multiple work sessions and contexts per project.
- Highly flexible: Possibility to switch between LLMs mid-session while preserving context.
- LSP-ready: Crush supports LSP (Language Server Protocols) for additional context and intelligence, just like a modern IDE.
- Extensible: Support the integration via third-party functionality via MCPs (HTTP, stdio, and SSE).
The project has already achieved over 10k stars on GitHub and is actively maintained by a vibrant developer community, with over 35 contributors.
Overcoming the LLM Knowledge Gap in Crush CLI with the Web MCP
A common challenge for all LLMs is to have a knowledge cutoff. The LLM you configure in Crush CLI is no different. Since these models are trained on a fixed dataset, their knowledge is a static snapshot of the past. That means they do not know recent events or developments.
This is an important drawback in the fast-paced world of technology. Without an updated knowledge base, an LLM might suggest deprecated libraries, outdated programming practices, or simply be unaware of new features and tools.
Now, what if your Crush AI coding assistant could do more than just recall old information? Imagine it being able to search the web for the latest documentation, articles, and guides, and then use that real-time data to provide better, more accurate assistance.
You can achieve that by connecting Crush to a solution that gives LLMs the power of web access and data retrieval. That is precisely what you get with Bright Data’s Web MCP server. This open-source server (now with a free tier!) equips you with 60+ AI-ready tools for web interaction and data collection.
Bright Data Web MCP Integration
Below are two of the main tools you can find on that MCP server:
search_engine: Connects to SERP API to perform searches on Google, Bing, or Yandex and return the search engine results page data in either HTML or Markdown format.scrape_as_markdown: Utilizes Web Unlocker to scrape the content of a single web page. It supports advanced extraction options, bypassing bot detection systems and solving CAPTCHAs for you.
Beyond these, there are 55+ specialized tools for interacting with web pages (like scraping_browser_click) and collecting structured data feeds from a variety of domains, including Amazon, LinkedIn, and TikTok. For instance, the web_data_amazon_product tool can pull detailed, structured product information directly from Amazon using a product URL.
Given these tools, here are some ways you can leverage Bright Data Web MCP with Crush:
- Retrieve up-to-the-minute information for your projects, such as stock prices from Yahoo Finance or product details from e-commerce sites. Store that data in local files for analysis, testing, mocking, and more.
- Let the AI fetch the latest documentation for a library or framework you are using, making sure that the code it suggests is up-to-date and not deprecated.
- Collect context-aware links and integrate those resources into Markdown files, documentation, or other outputs—all without leaving your code editor.
Get ready to see how the Web MCP can enhance your Crush CLI agent!
How to Connect Crush to Bright Data’s Web MCP
In this guided tutorial, you will learn how to install and configure Crush locally and integrate it with Bright Data’s Web MCP. The result will be an enhanced AI coding agent capable of:
- Scraping an Amazon product page on the fly.
- Storing the data in a local JSON file.
- Creating a Node.js script to load and process that data.
Follow the instructions below!
Prerequisites
Before getting started, make sure you have the following:
- Node.js installed locally (the latest LTS version is recommended).
- An API key from one of the supported LLM providers (in this guide, we will use Google Gemini).
- A Bright Data account with an API key ready (do not worry, you will be guided through creating one if you do not have it yet).
Also, optional but helpful background knowledge is:
- A general understanding of how MCP works.
- Some familiarity with the Bright Data Web MCP server and its tools.
- Knowledge of CLI coding agents work and how they can interact with your file system.
Step #1: Install and Configure Crush
Install the Crush CLI globally on your system via the @charmland/crush npm package:
npm install -g @charmland/crushIf you do not want to install the CLI via npm, discover the other installation options.
You can now launch Crush with:
crushWhat you should see is the LLM selection screen below:
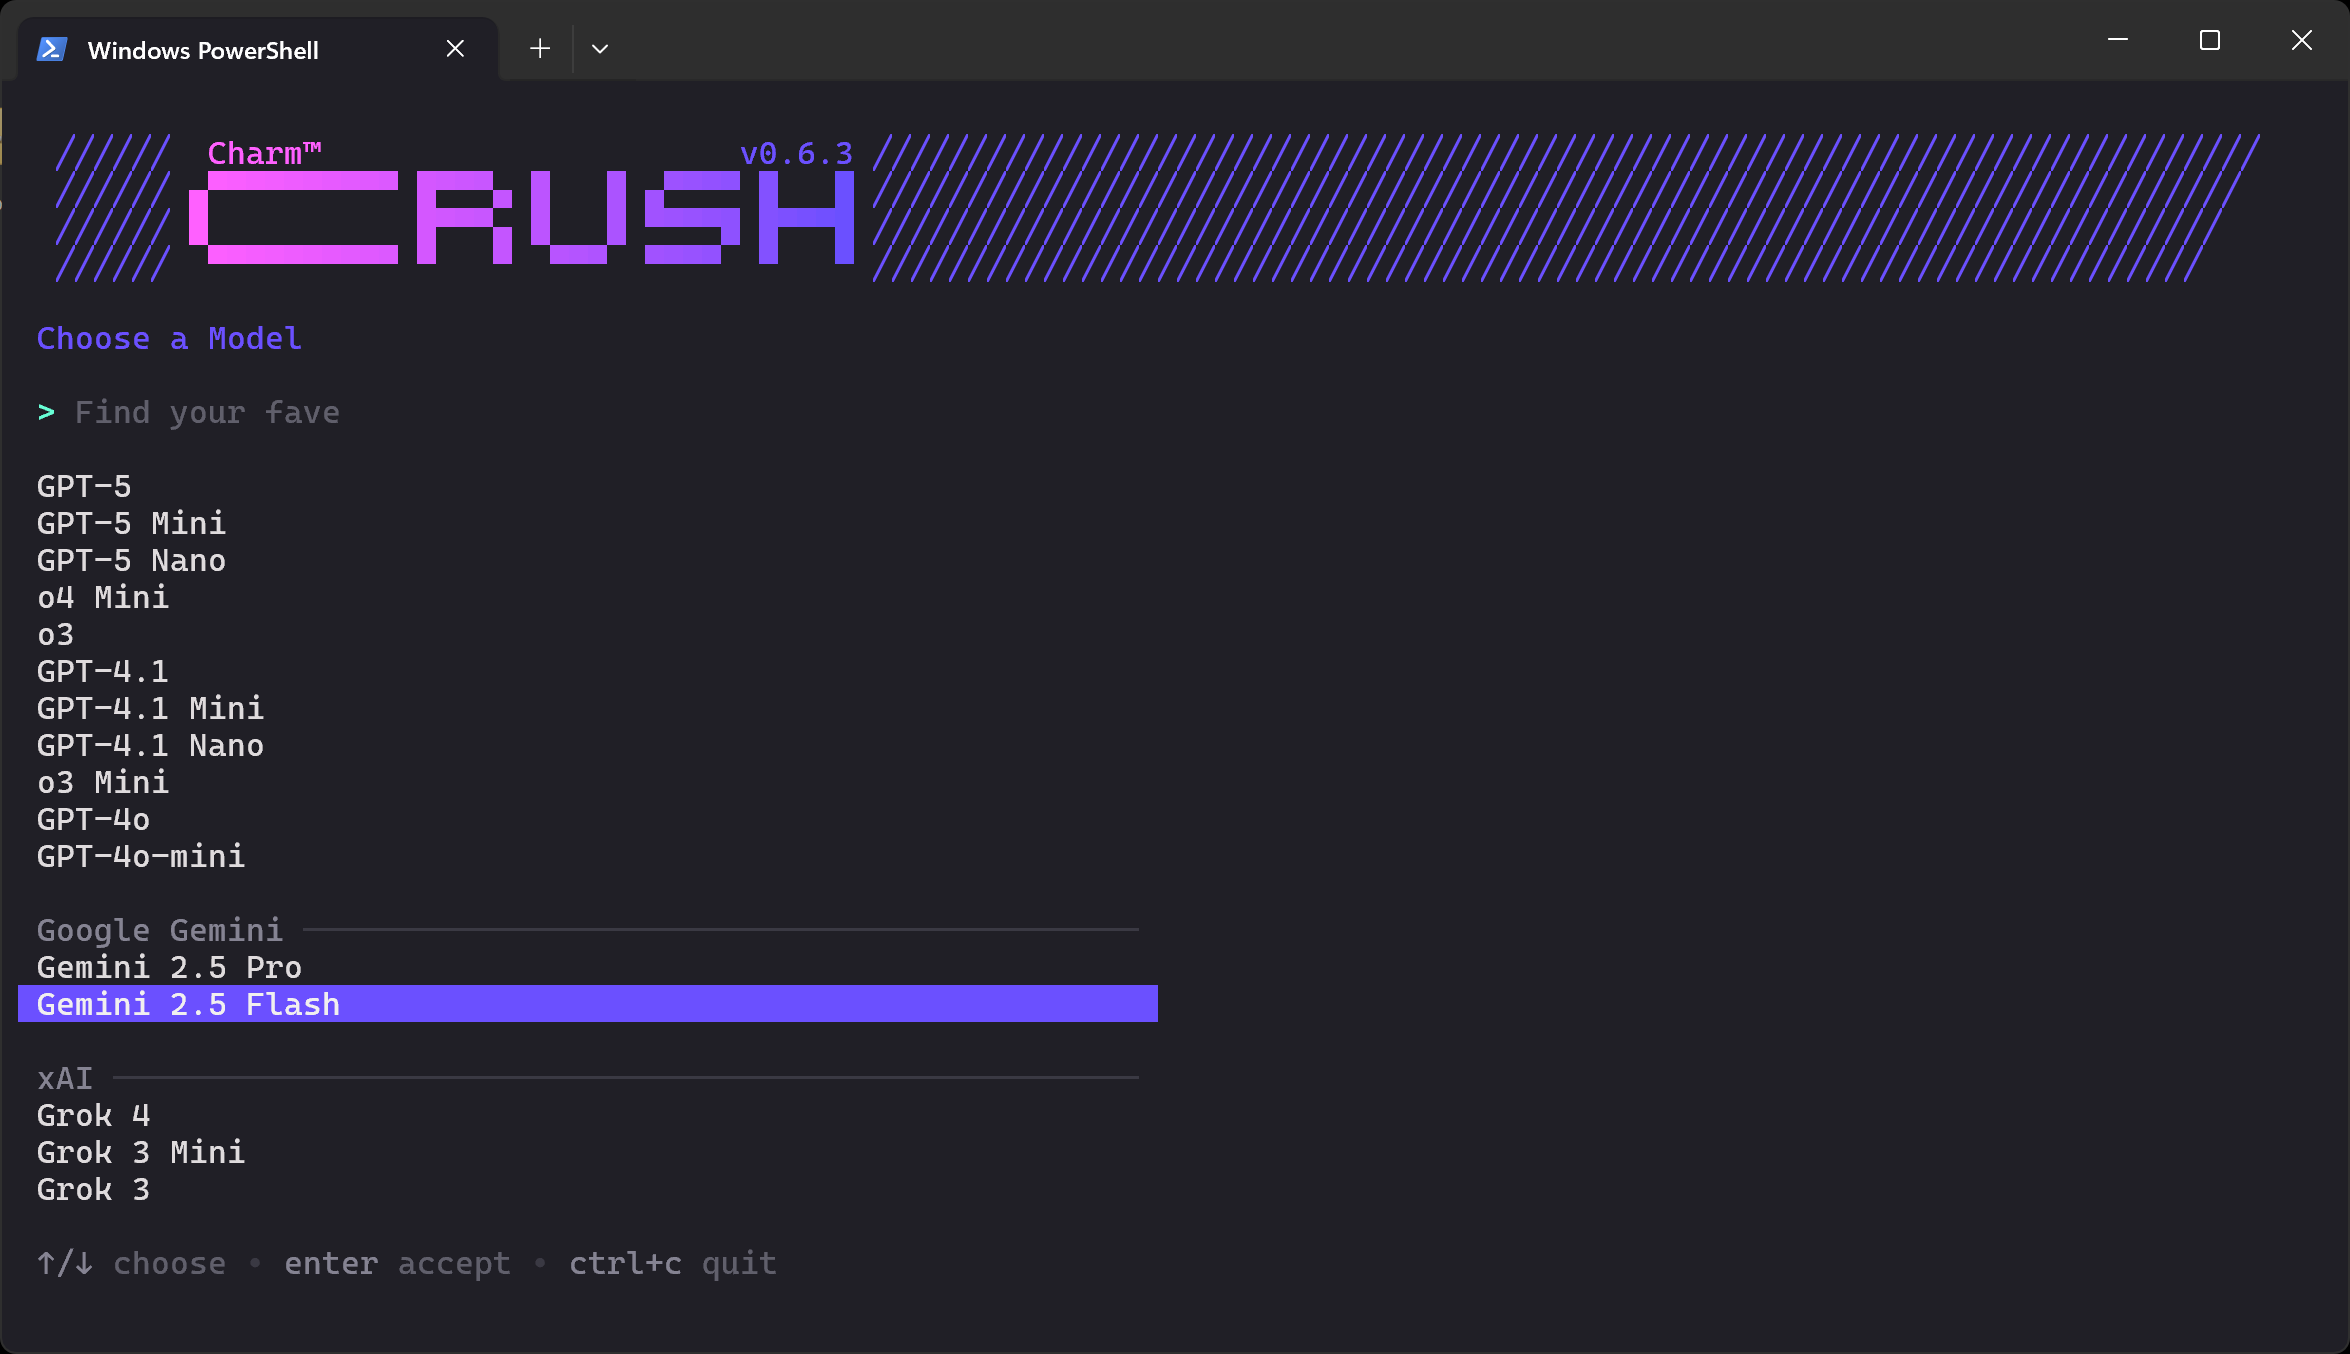
There are dozens of providers and hundreds of models to choose from. Use the arrow keys to navigate until you find the model you want from the provider where you have an API key. In this example, we will select “Gemini 2.5 Flash” (which is essentially free to use via API).
Next, you will be asked to enter your API key. Paste it in and press Enter:
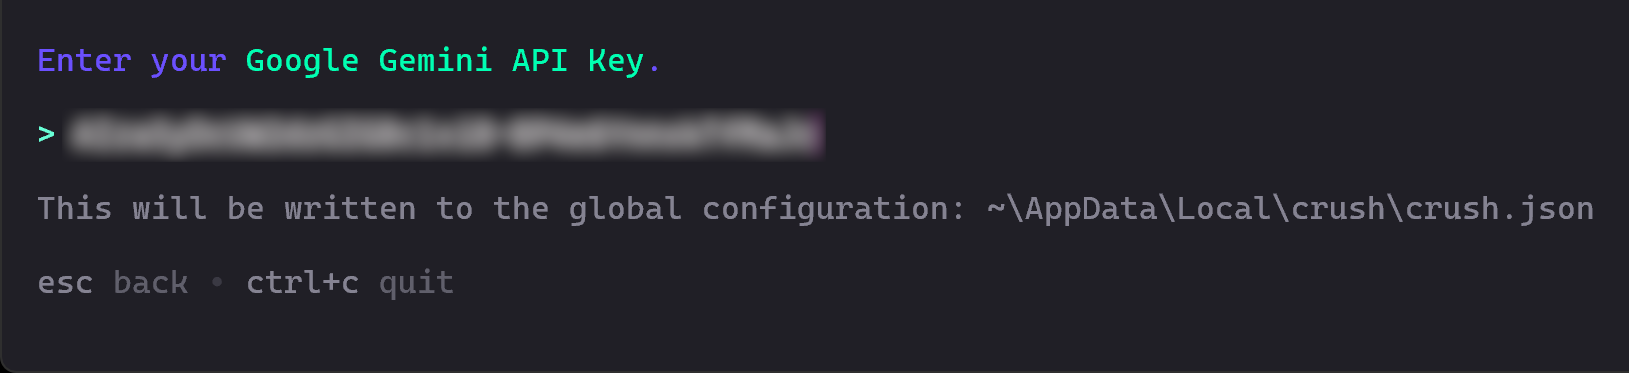
In this case, paste your Google Gemini API key, which you can retrieve for free from Google Studio AI.
Crush will then validate your API key to confirm it works.
Once validation completes, you should see something like this:
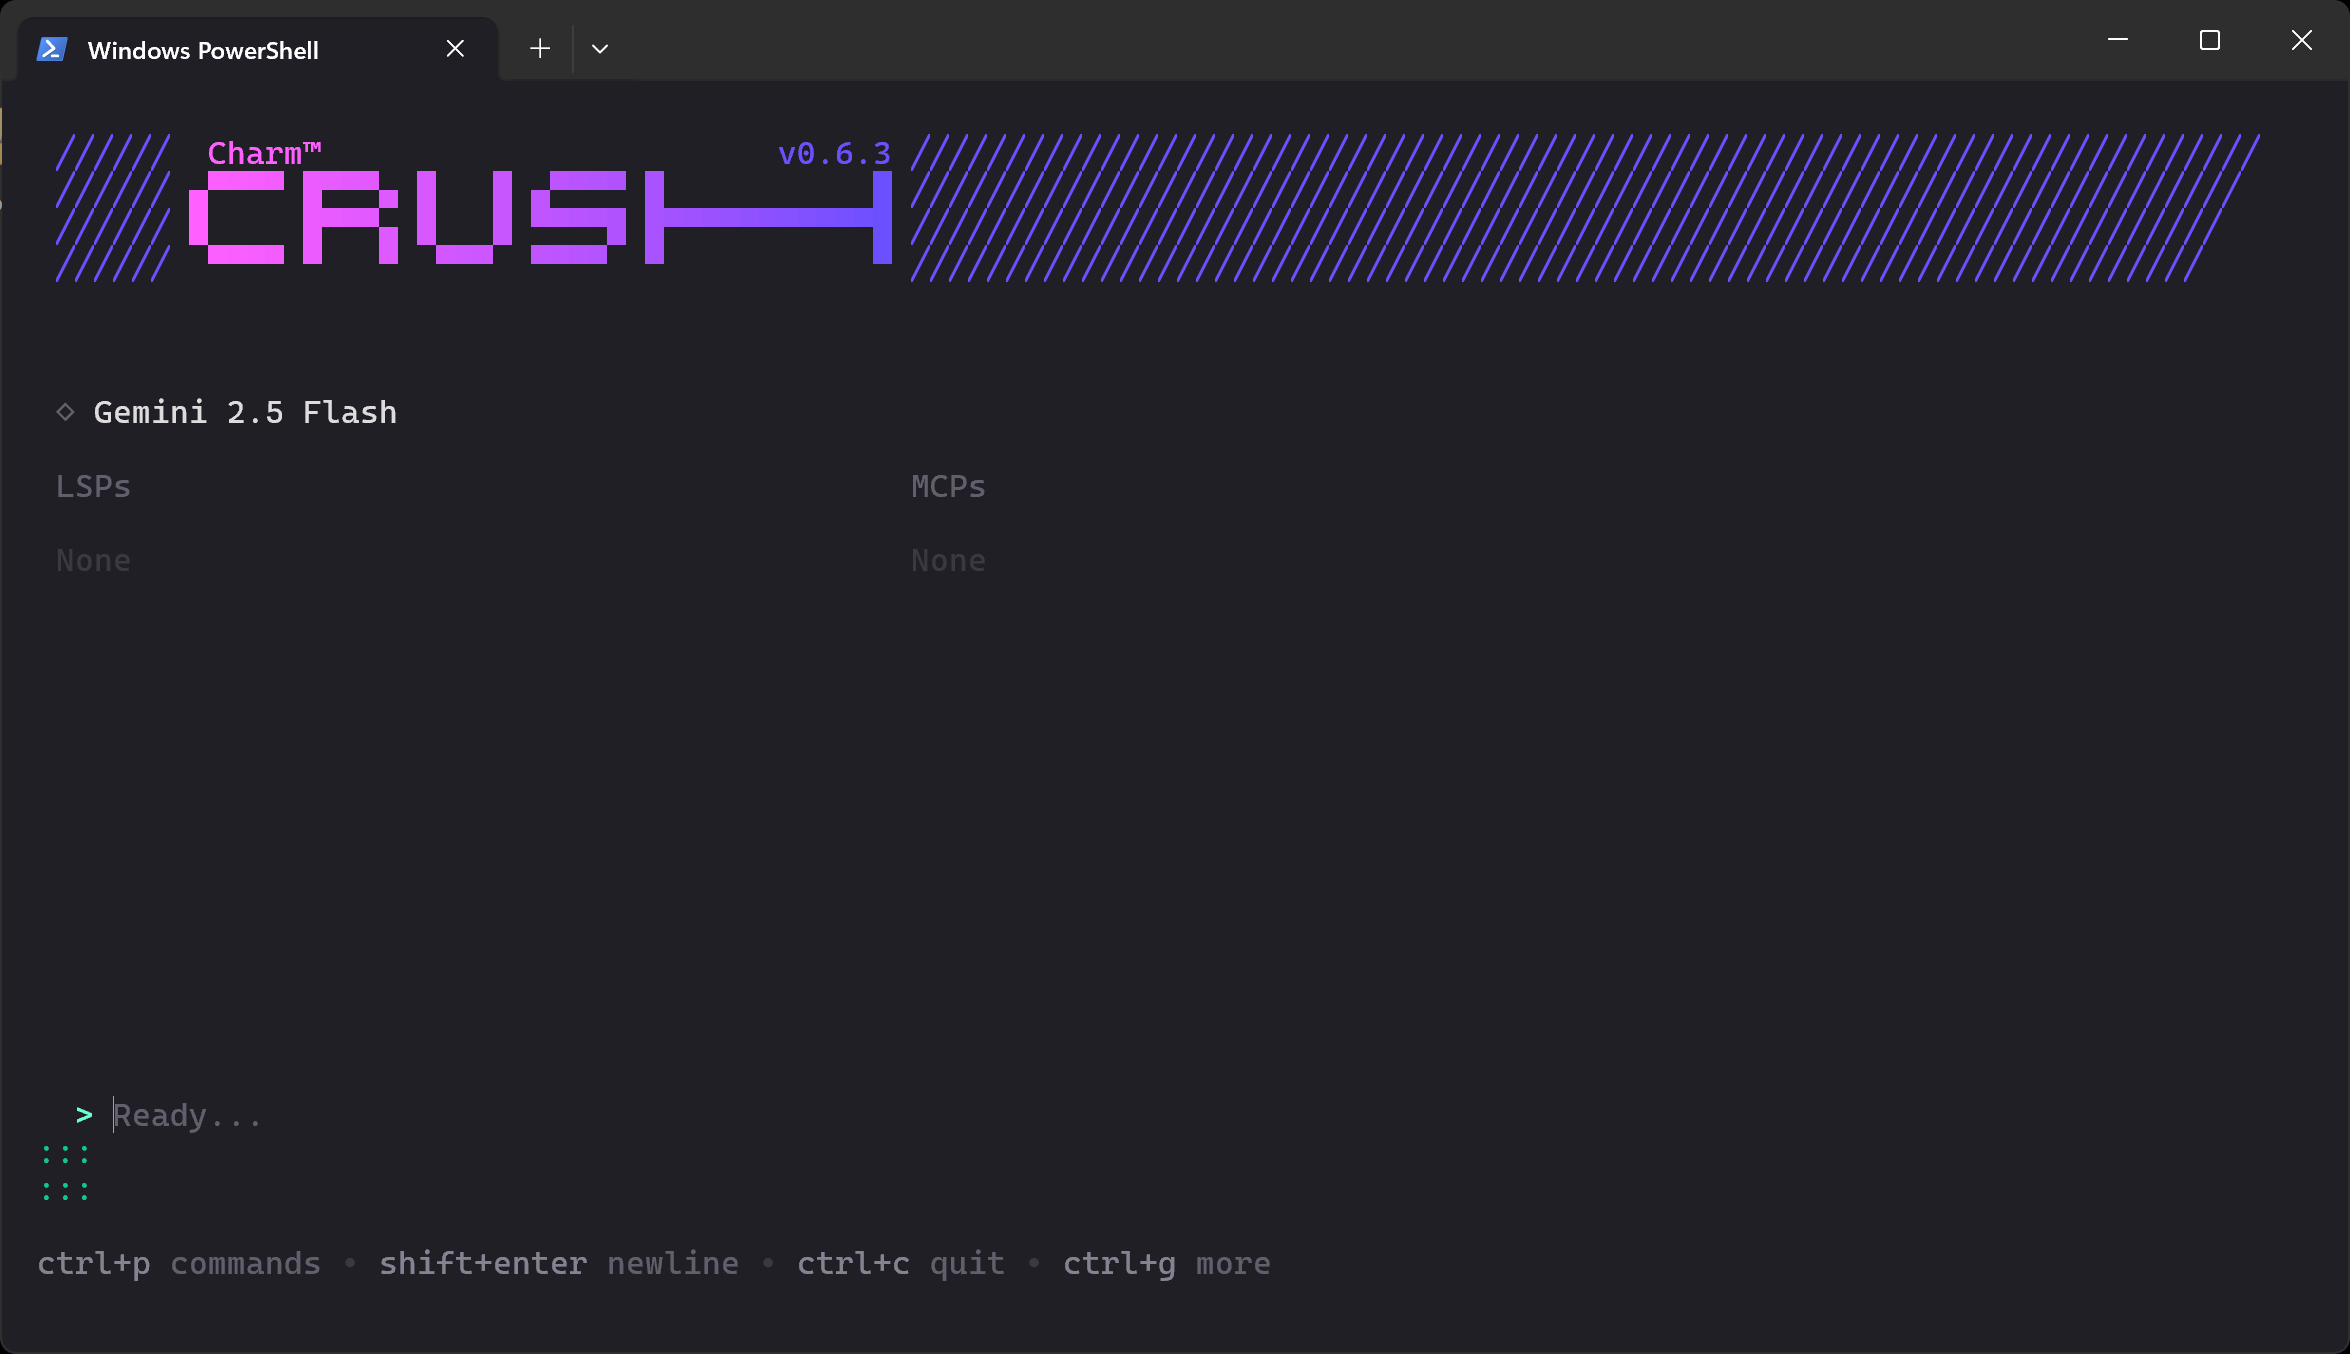
In the “Ready…” section, you can now type your prompt.
Note: If you launch the Crush CLI again, you will not be asked to set up an LLM connection a second time. That is because your configured LLM key is automatically saved in the global config $HOME/.config/crush/crush.json (or on Windows, %USERPROFILE%\AppData\Local\crush\crush.json)
Open the global crush.json configuration file in Visual Studio Code (or your favorite IDE) to inspect it:
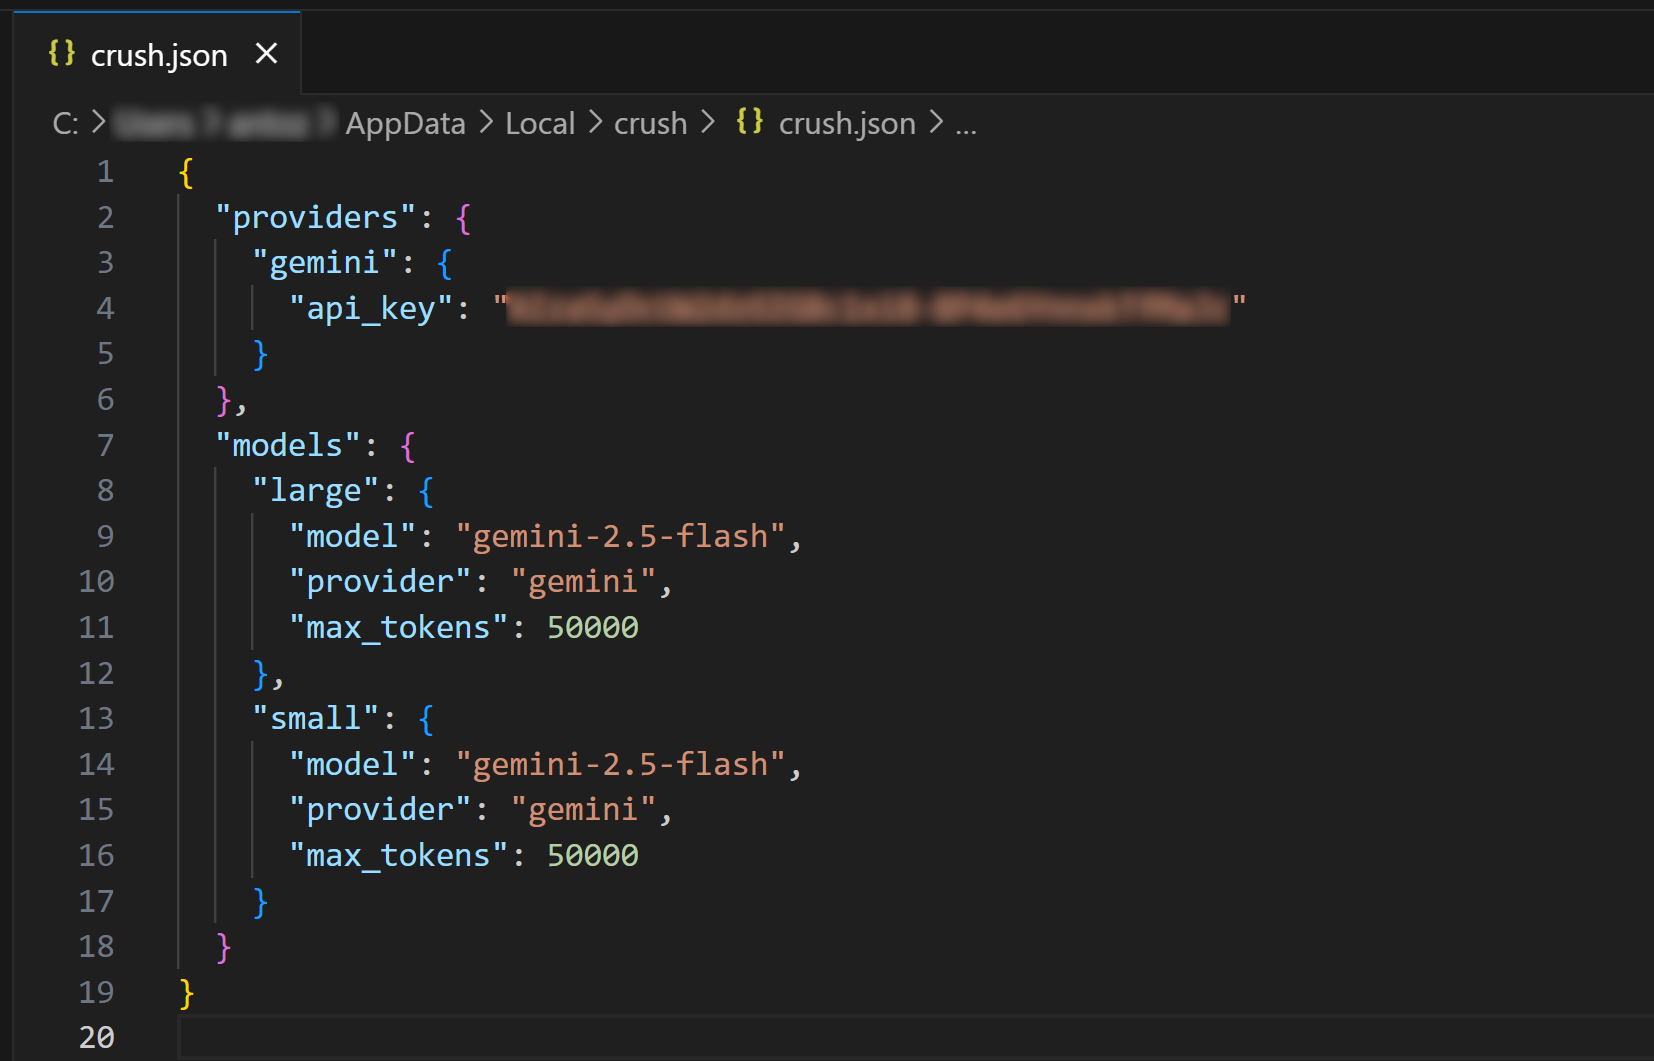
As you can see, the crush.json file contains your API key along with the configuration for the chosen model. This was populated by the Crush CLI when you selected an LLM. You can also edit this file to configure other AI models (even local models).
Similarly, you can create local crush.json or .crush.json files inside your project directory to override the global configuration. For more details, see the official documentation.
Amazing! The Crush CLI is now installed and working on your system.
Step #2: Test Bright Data’s Web MCP
If you do not already have one, create a Bright Data account. Otherwise, just log in to your existing account.
Next, follow the official instructions to generate your Bright Data API key. Store it in a safe place, as you will need it soon. For simplicity, we will assume you are using an API key with Admin permissions.
Install the Web MCP globally using the @brightdata/mcp package with:
npm install -g @brightdata/mcpThen, verify that the server works with this Bash command:
API_TOKEN="<YOUR_BRIGHT_DATA_API>" npx -y @brightdata/mcpOr, equivalently, on Windows PowerShell:
$Env:API_TOKEN="<YOUR_BRIGHT_DATA_API>"; npx -y @brightdata/mcpReplace the <YOUR_BRIGHT_DATA_API> placeholder with the actual Bright Data API token you generated earlier. The above commands set the required API_TOKEN environment variable and fire the MCP server through the @brightdata/mcp npm package.
If everything works correctly, you should see logs like this:

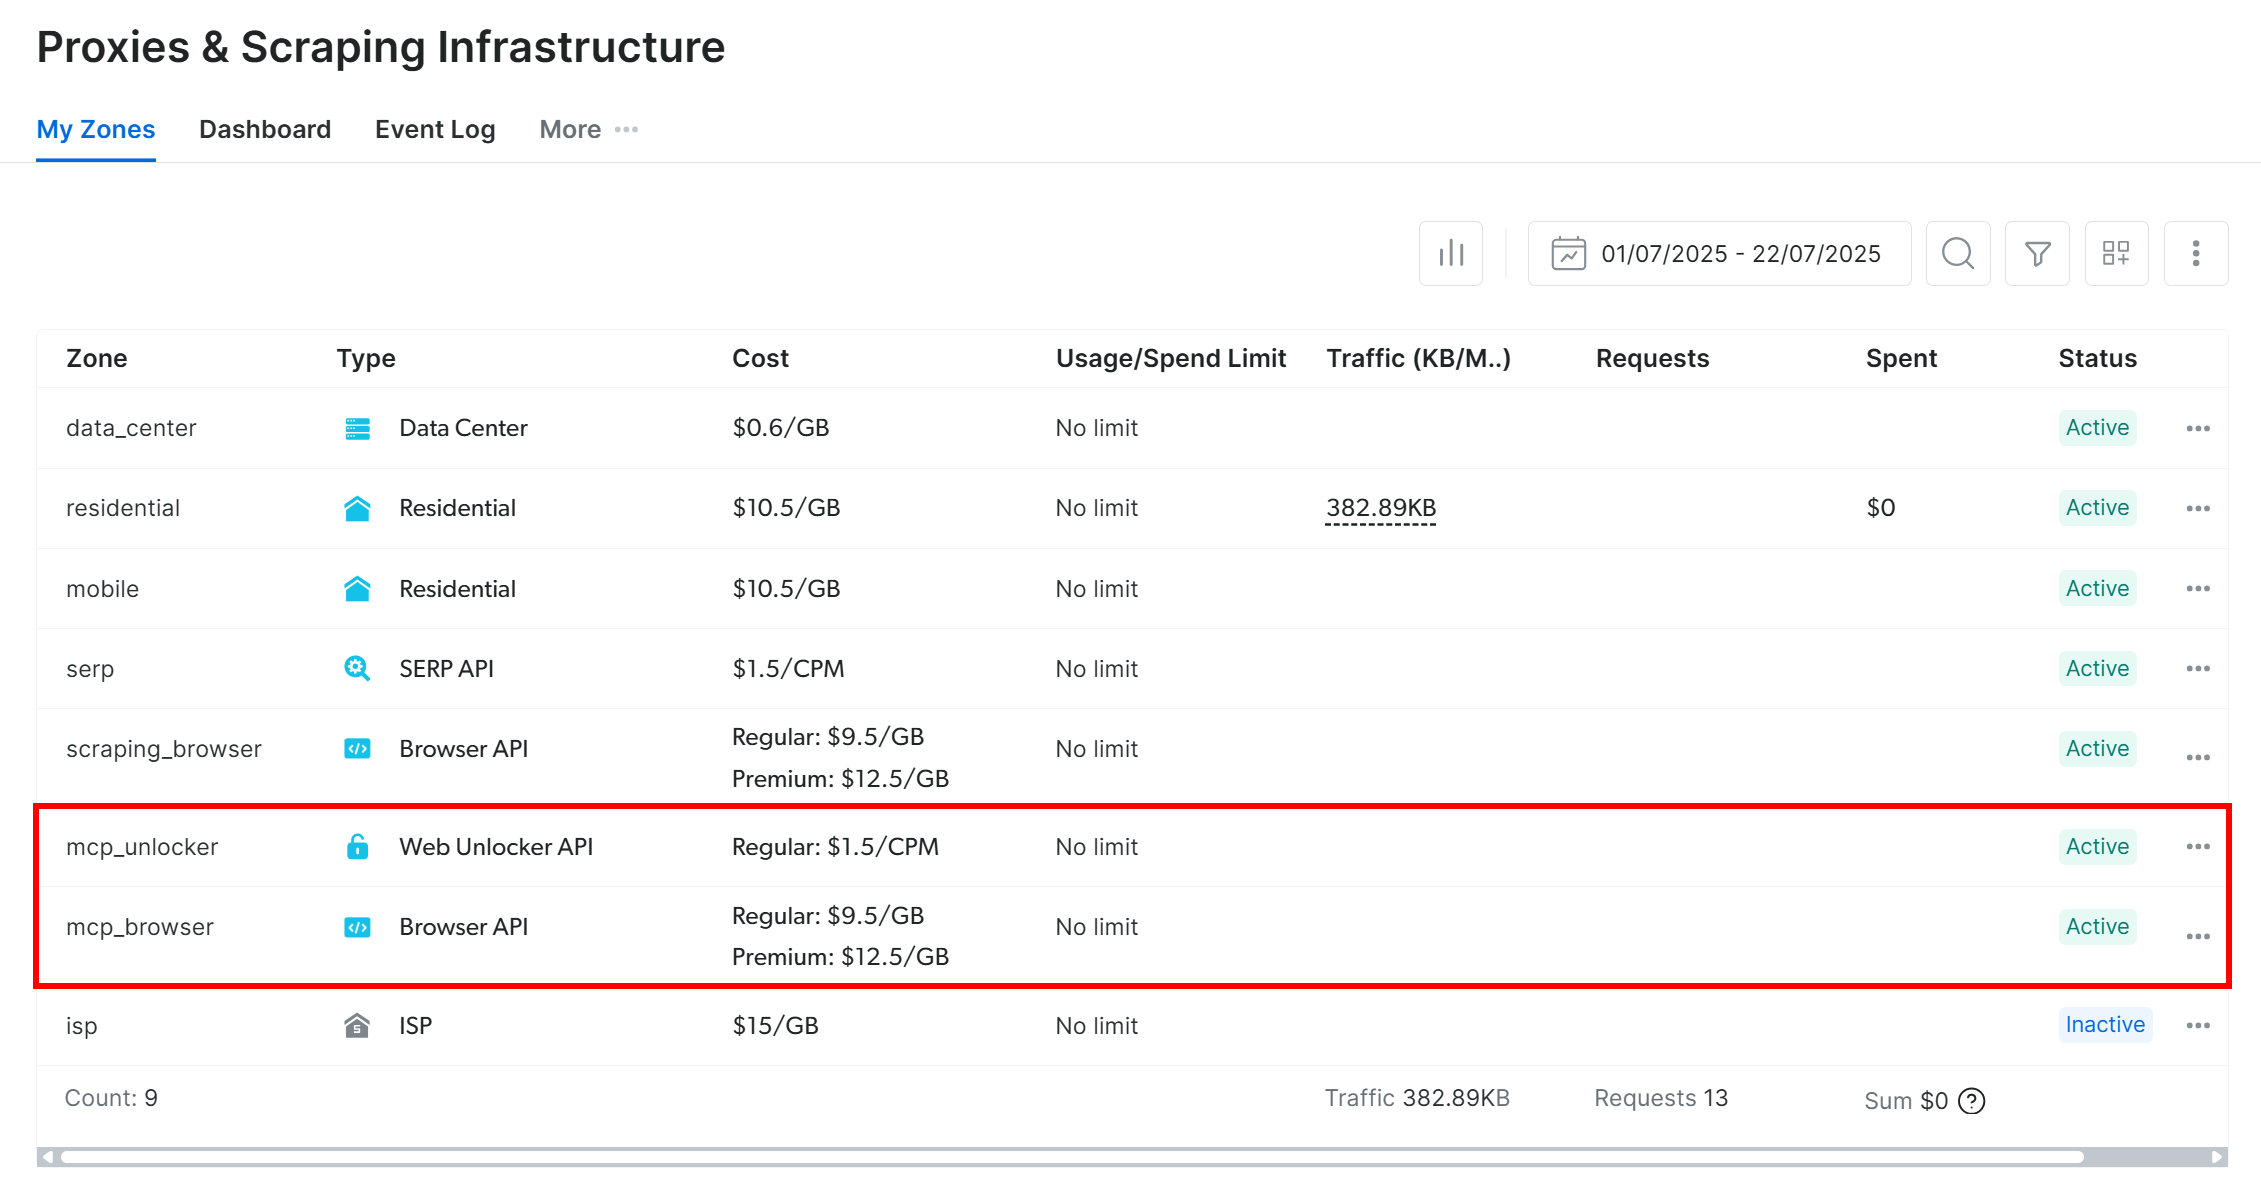
On the first launch, the MCP server automatically creates two zones in your Bright Data account:
mcp_unlocker: A zone for Web Unlocker.mcp_browser: A zone for Browser API.
These zones are required to use the full range of MCP server tools.
To confirm they were created, log in to your Bright Data dashboard and go to the “Proxies & Scraping Infrastructure” page. You should see the two zones listed:
Note: If your API token does not have Admin permissions, these zones might not be created for you. In that case, you can set them up manually and specify their names using environment variables, as illustrated in the official docs.
Remember: By default, the MCP server exposes only the search_engine and scrape_as_markdown tools.
To unlock advanced tools for browser automation and structured data feeds, you need to enable Pro mode. To do so, set the PRO_MODE=true environment variable before launching the MCP server:
API_TOKEN="<YOUR_BRIGHT_DATA_API>" PRO_MODE="true" npx -y @brightdata/mcpOr, on Windows:
$Env:API_TOKEN="<YOUR_BRIGHT_DATA_API>"; $Env:PRO_MODE="true"; npx -y @brightdata/mcpImportant: With Pro mode, you will gain access to all 60+ tools. However, the extra tools in Pro mode are not included in the free tier, and you will incur charges.
Discover more about Bright Data’s Web MCP server on the official docs.
Perfect! You verified that the Web MCP server is running correctly on your machine. Stop the server, as the next step will be configuring Crush to launch it and connect to it on startup.
Step #3: Configure the Web MCP in Crush
Crush supports MCP integration through the mcp entry in either the local or global crush.json configuration file.
In this example, let’s assume you want to configure Bright Data’s Web MCP globally in your Crush CLI environment. So, open the global config file:
- On Linux/macOS:
$HOME/.config/crush/crush.json. - On Windows:
%USERPROFILE%\AppData\Local\crush\crush.json.
Make sure it contains the following:
"mcp": {
   "brightData": {
     "type": "stdio",
     "command": "npx",
     "args": [
       "-y",
       "@brightdata/mcp"
     ],
     "env": {
       "API_TOKEN": "<YOUR_BRIGHT_DATA_API_KEY>",
       "PRO_MODE": "true"
     }
   }
 }
In this config:
- The
mcpentry tells Crush how to launch external MCP servers. - The
brightDataentry defines the command and environment variables required to run the Web MCP. (Remember: SettingPRO_MODEis optional but recommended. Also, replace<YOUR_BRIGHT_DATA_API_KEY>with your Bright Data API key.)
In other words, this configuration adds a custom MCP server called brightData. Crush uses the environment variables you set in the file and starts the server via the specified npx command (which corresponds to the command shown in the previous step). In simpler terms, Crush can now start a local Web MCP process and connect to it at startup.
Terrific! Time to test MCP integration within the Crush CLI.
Step #4: Verify MCP Connection
Close all running Crush instances and launch it again:
crush If the MCP connection works as expected, you should see the brightData entry listed in the “MCPs” section:
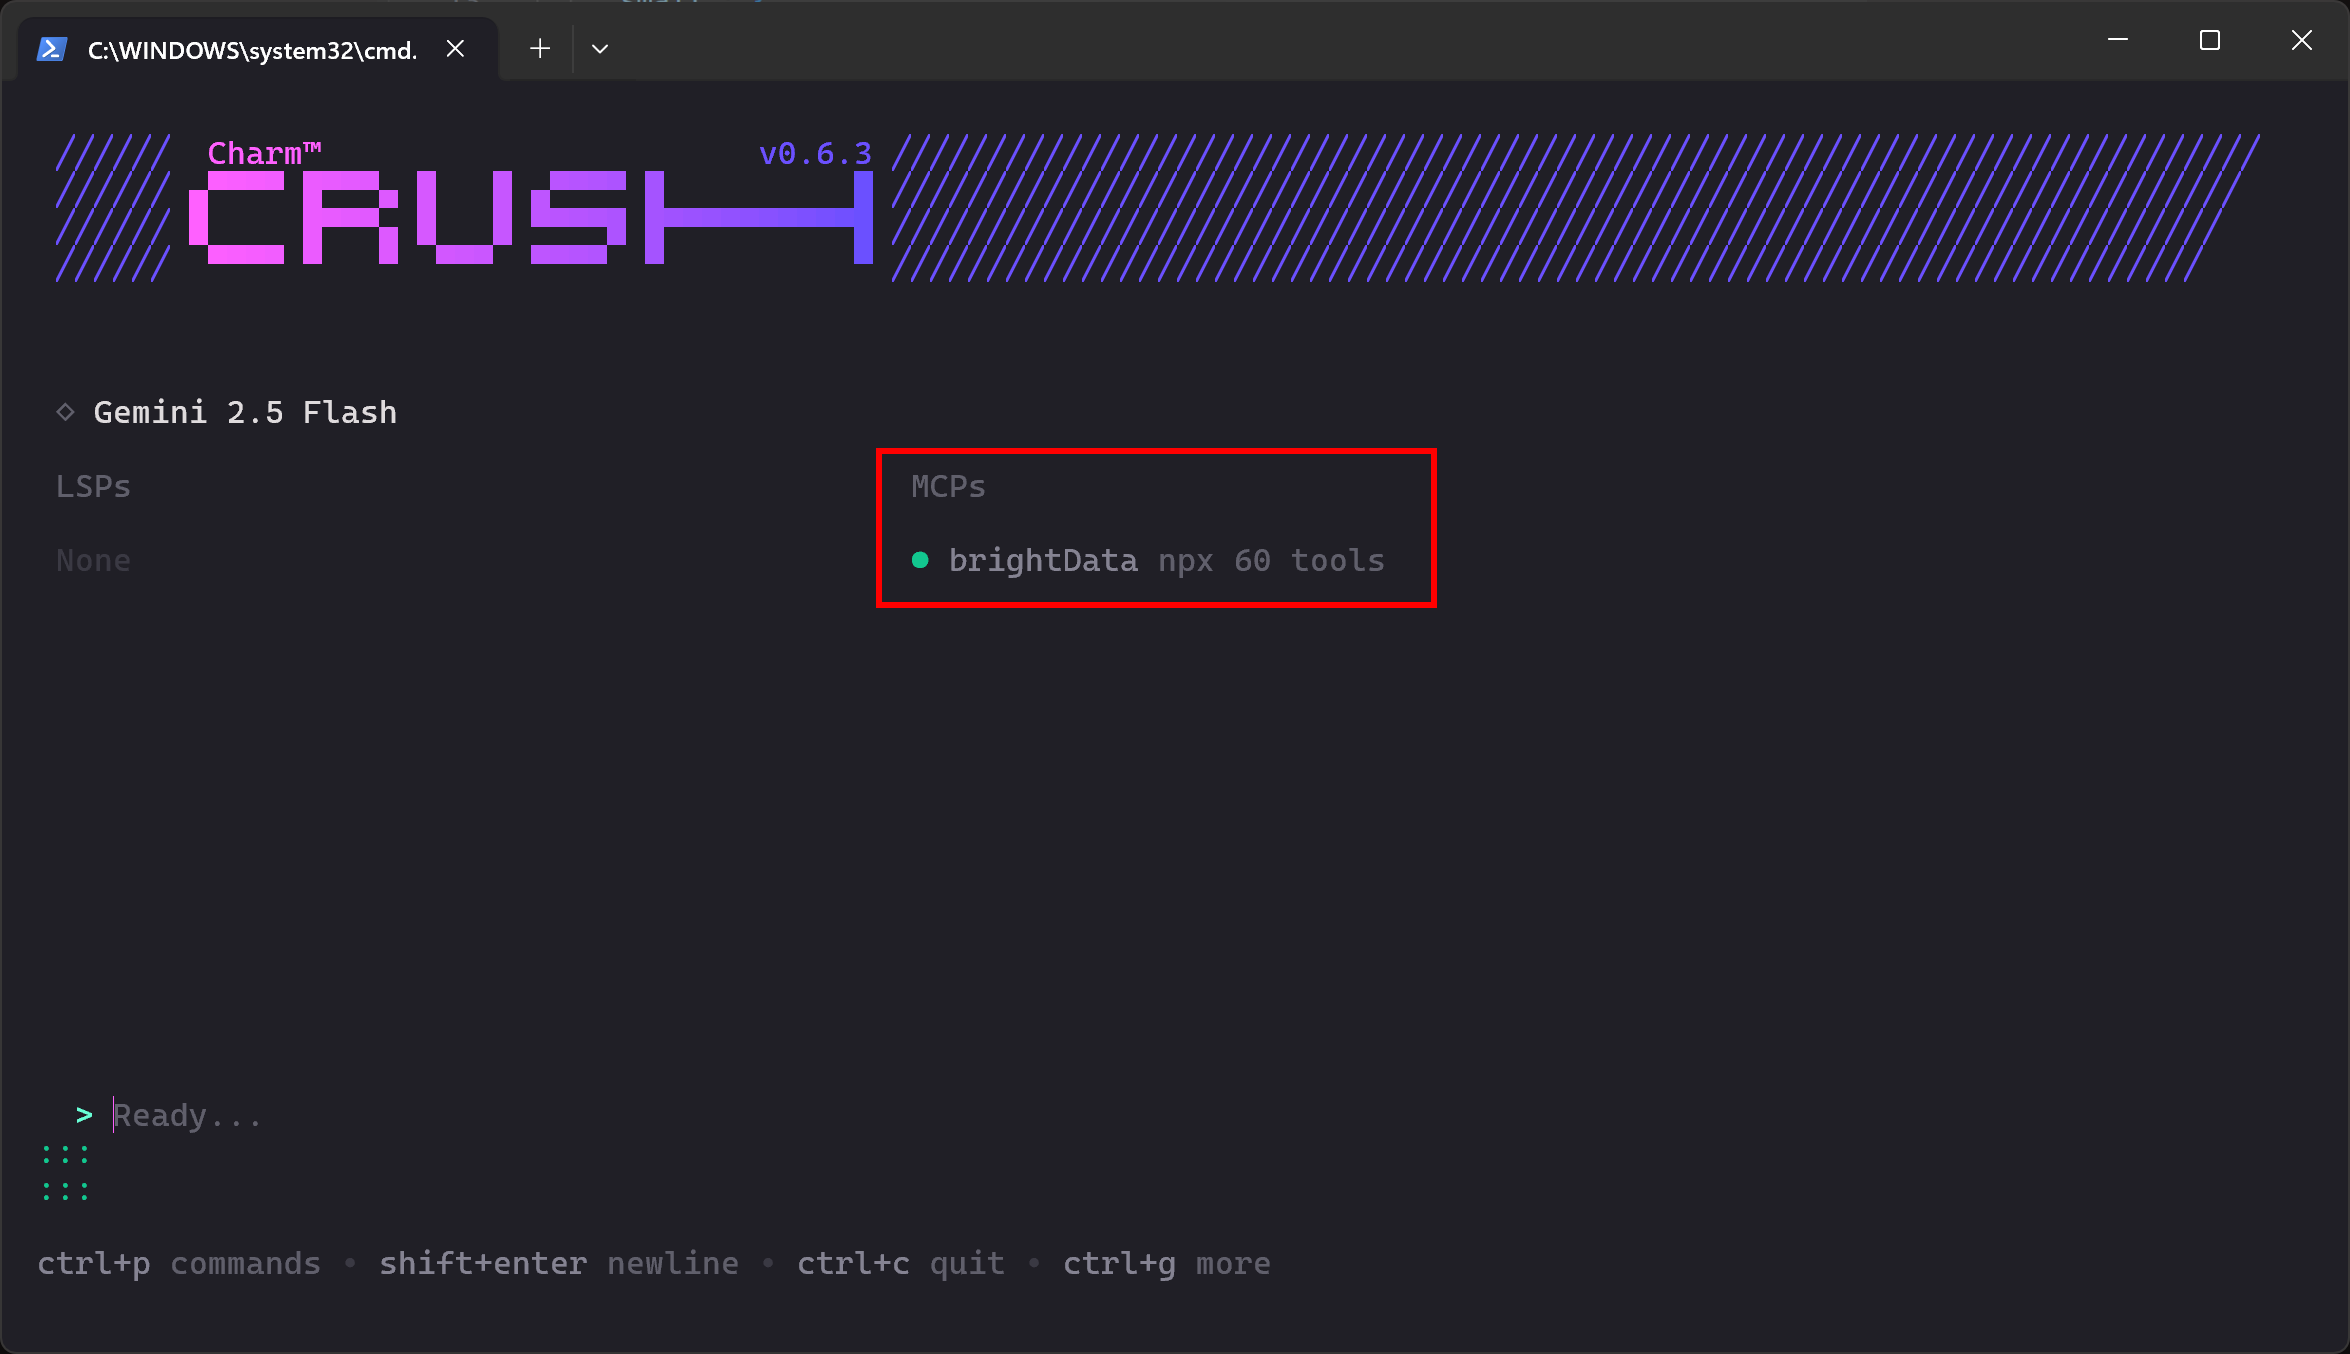
The CLI indicates that 60 tools are available. This is because we configured it to run in Pro Mode. Otherwise, you would only have access to 2 tools (scrape_as_markdown and search_engine). Well done!
Step #5: Run a Task in Crush
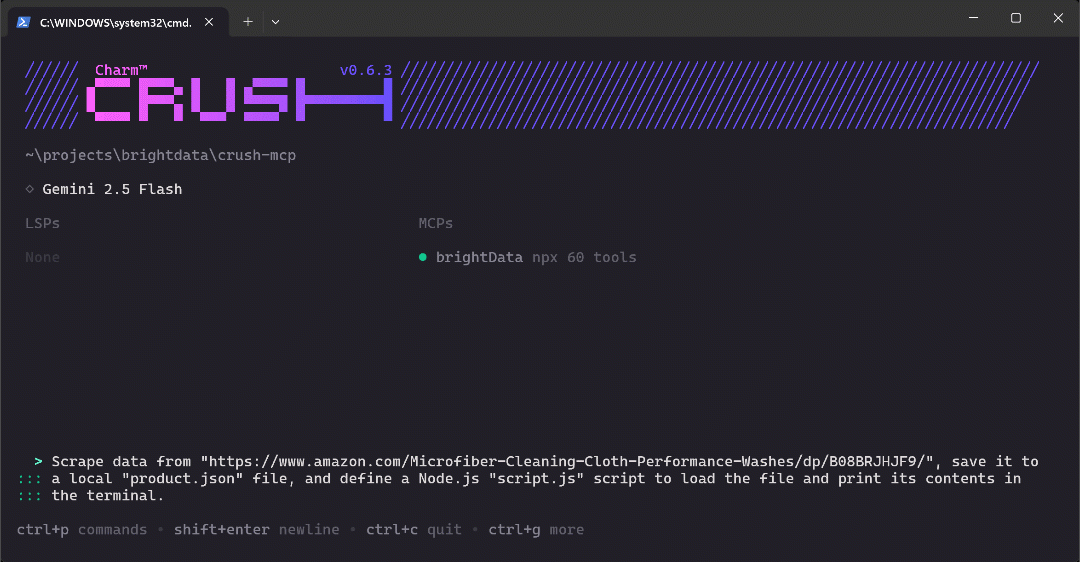
To verify the new capabilities in your Crush CLI setup, try running a prompt like this:
Scrape data from "https://www.amazon.com/Microfiber-Cleaning-Cloth-Performance-Washes/dp/B08BRJHJF9/", save it to a local "product.json" file, and define a Node.js "script.js" script to load the file and print its contents in the terminal.That is a great test case because it asks for the retrieval of fresh product data, which should be achieved using the tools exposed by Bright Data’s Web MCP. Plus, it demonstrates a realistic workflow you might use when mocking or setting up a data analysis project.
Paste the prompt into Crush and press Enter to execute it. You should see something like this:
The above GIF has been sped up, but this is what happens step by step:
- Crush identifies the
web_data_amazon_producttool (referenced asmcp_brightData_web_data_amazon_productby the CLI) as the correct one for the task and asks for your permission to run it. - Once approved, the scraping task runs via MCP integration.
- The resulting JSON product data is displayed in the terminal.
- Crush asks if it can save this data to a local file named
product.json. - After approval, the file is created and filled with the scraped data.
- Crush CLI then generates the JavaScript logic for
script.js, which loads and prints the JSON contents. - Once you approve, the
script.jsfile is created. - You are prompted for permission to execute the Node.js script.
- After granting permission,
script.jsis executed, and the product data is printed in the terminal.
Notice that the CLI asked to run the produced Node.js script, even though you did not explicitly request it. This behavior was intentional, as it makes testing (and therefore fixing in case of errors) easier and adds value to the workflow.
At the end, your working directory should contain these two files:
├── prodcut.json
└── script.js
Open product.json in VS Code, and you should see:

This file contains real product data scraped from Amazon via Bright Data’s Web MCP.
Now, open script.js:
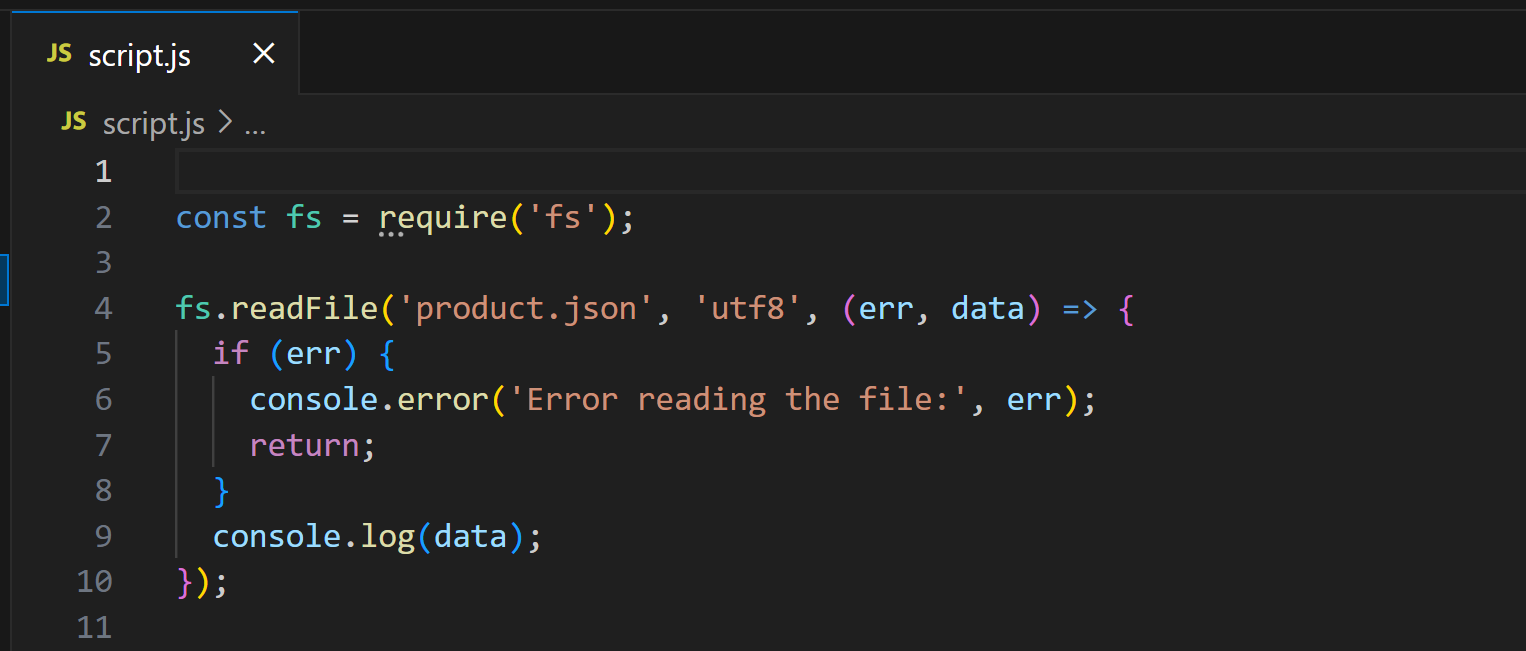
This script uses Node.js to load and display the contents of product.json. Run it with:
node script.jsThe output should be:
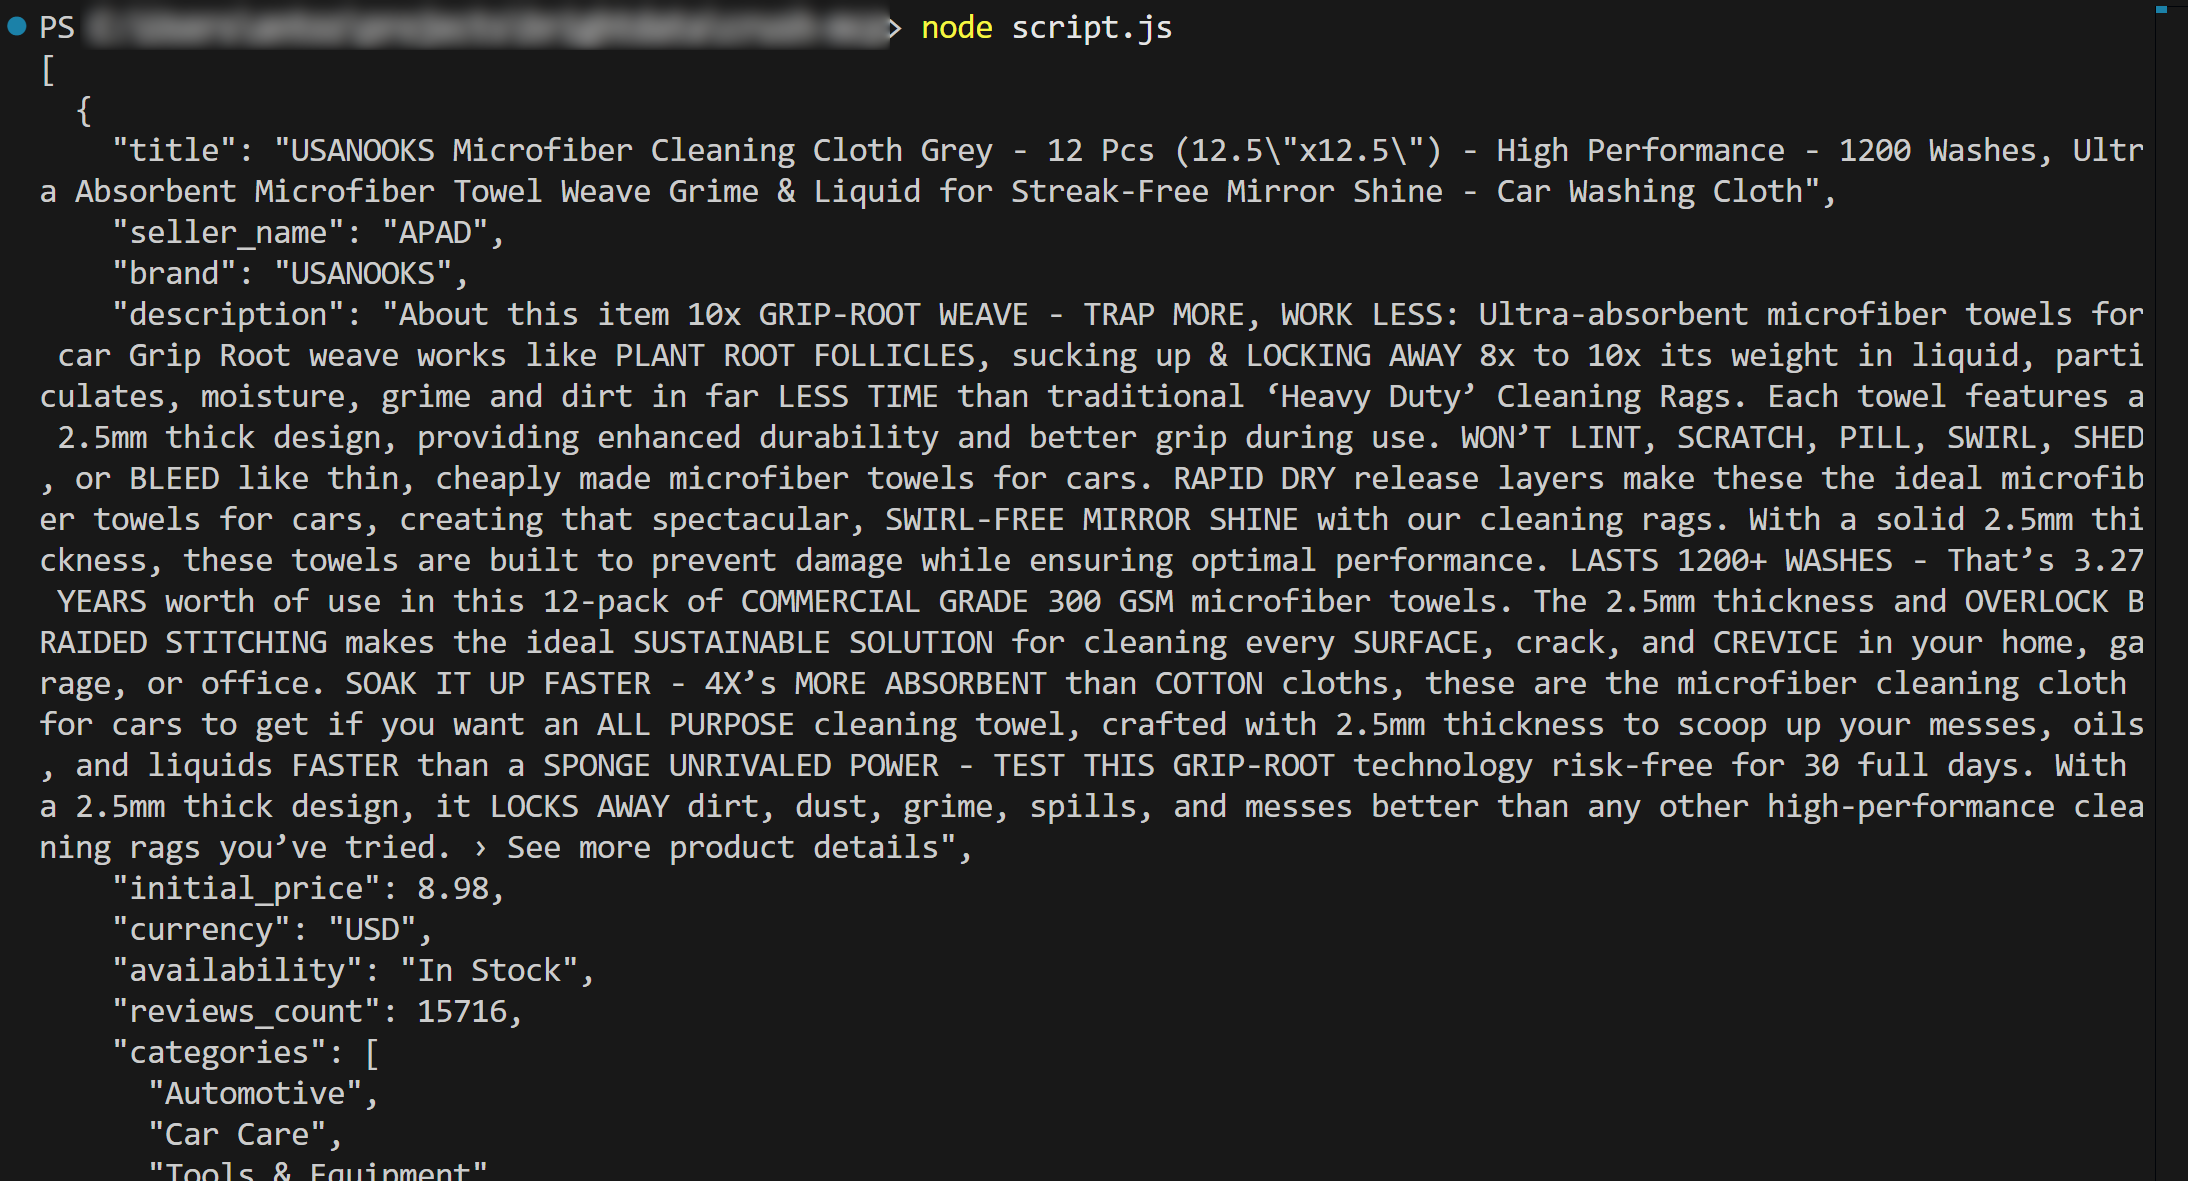
Et voilà! The workflow succeeded.
In detail, the content loaded from product.json and printed in the terminal matches the actual data you can find on the original Amazon product page.
Important: product.json contains genuine scraped data—not hallucinated or made-up content produced by the AI. This is fundamental to point out because scraping Amazon is notoriously hard due to its advanced anti-bot protections (e.g., because of the Amazon CAPTCHA). Thus, a regular LLM alone could not achieve this goal!
This example shows the true power of combining Crush with Bright Data’s MCP server. Now try experimenting with new prompts and explore more advanced, LLM-driven data workflows directly in the CLI!
Conclusion
In this tutorial, you saw how to connect Crush with Bright Data’s Web MCP (which now offers a free tier!). The result is a powerful CLI coding agent capable of accessing and interacting with the web. This integration is made possible thanks to Crush CLI’s built-in support for MCP servers.
The example task in this guide was intentionally simple. Yet, do not forget that with this integration, you can tackle much more complex use cases. After all, Bright Data Web MCP tools support a wide variety of agentic scenarios.
To create more advanced agents, explore the full range of services available in the Bright Data AI infrastructure.
Sign up for a free Bright Data account and start experimenting with AI-ready web tools today!

Technical Writer
Antonello Zanini is a technical writer, editor, and software engineer with 5M+ views. Expert in technical content strategy, web development, and project management.


