In this tutorial, you will learn:
- What Claude Code is and why it is considered one of the most popular and powerful CLI coding agents.
- How adding web interaction and data extraction capabilities can make it even more effective.
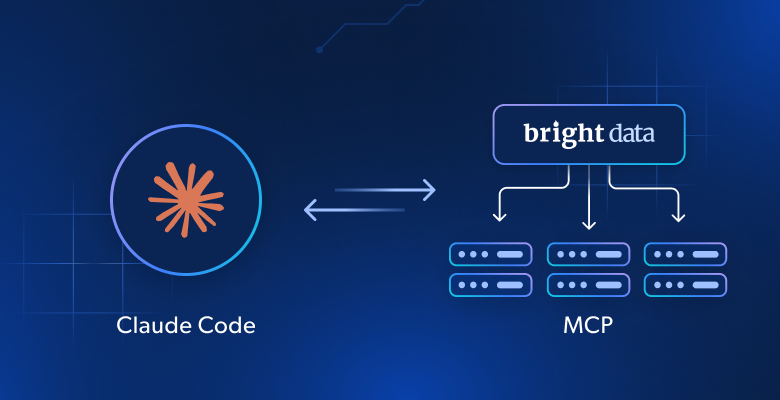
- How to connect Claude Code with the Bright Data Web MCP server to create an enhanced AI coding agent.
Let’s dive in!
What Is Claude Code?
Claude Code is a command-line interface tool developed by Anthropic that gives you direct access to Claude models within your terminal. It enables you to delegate complex coding tasks, automate workflows, and integrate with other tools.
In other words, it acts as an AI pair programmer and coding agent. Claude Code stands out for its ability to understand project context, generate code, test, debug, and even perform Git operations. Its main core features include:
- Agentic coding: Understands complex coding tasks, brainstorms solutions, and executes them directly within your workflow.
- Workflow integration: Integrates with various tools and APIs through MCP.
- Codebase understanding: Analyzes and understands the structure and logic of your codebase for more context-aware code generation.
- Code generation and editing: Generates new code, refactors existing code, and fixes bugs based on your instructions.
- Testing and linting: Runs tests and linting commands to identify and resolve issues in your code.
- Git integration: Simplifies Git operations such as committing, pushing, and creating pull requests.
With over 30k stars on GitHub and more than 5 million weekly downloads, Claude Code is one of the most popular—if not the most popular—AI pair programming solutions. This is not surprising, given that Claude models are currently considered among the best LLMs available for coding.
Why Expand Claude Code with Web Access and Fresh Data?
Even though Claude Code is powered by advanced Claude models, it still faces the same limitation as any LLM: its knowledge is static. The training data represents a snapshot in time, which quickly becomes outdated. That is especially true in fast-moving fields like software development!
Now, imagine giving your Claude Code CLI assistant the ability to:
- pull in fresh tutorials and documentation,
- consult live guides as it writes code, and
- browse dynamic websites as easily as it can navigate your local files.
That is exactly what you unlock by connecting it to Bright Data’s Web MCP.
The Web MCP from Bright Data provides access to 60+ AI-ready tools built for real-time web interaction and data collection. These are all powered by the rich Bright Data AI infrastructure.
Here are just a few possibilities when extending Claude Code with Bright Data’s Web MCP:
- Fetch up-to-date search engine results and embed them directly into your notes or docs.
- Ingest the latest tutorials or API docs, then generate working code or even scaffold projects from them.
- Collect live website data for testing, mocking, or deeper analysis.
For the full catalog of tools, explore the Bright Data MCP documentation.
If you would like to see this integration in action, check out how Web MCP works inside Claude Code.
How to Connect Claude Code to Bright Data’s Web MCP
Learn how to install and configure Claude Code locally and integrate it with Web MCP from Bright Data. The resulting extended coding agent will be used to:
- Scrape a LinkedIn profile page in real time.
- Store the data locally in a JSON file.
- Create an Express application with an endpoint that returns mocked data read from the JSON file.
Follow the steps below!
Prerequisites
Before you begin, make sure you have the following:
- Node.js 18+ installed locally (we recommend the latest LTS version).
- A Claude subscription or an Anthropic account with credits (in this tutorial, we will use an Anthropic account).
- A Bright Data account with an API key ready.
Note that you do not need to create these accounts right now. The steps below will guide you through the setup when needed.
Next, optional but helpful background knowledge is:
- A general understanding of how MCP works.
- Some familiarity with the Bright Data Web MCP server and its tools.
Step #1: Install and Configure Claude Code
To start using Claude Code, you first need a Claude subscription or an Anthropic account with some funds.
Once your Claude/Anthropic Console account is ready, install Claude Code globally via the official @anthropic-ai/claude-code npm package:
npm install -g @anthropic-ai/claude-codeNext, navigate to the project folder where you want Claude Code to operate and start it with:
claudeTo configure the underlying Claude model or other configs, refer to the official docs.
If this is the first time you run the CLI agent, you should see the initial setup screen:

Select a theme and press Enter to move to the authorization view:

Choose the type of authentication you want to use (“Claude account with subscription” or “Anthropic Console account”). In this example, we will assume you selected option 2, though the procedure is similar for both.
The following page will prompt you to connect Claude Code to your Anthropic Console account:

Press the “Authorize” button and return to your terminal. In your Anthropic Console account, this will create a new API key:

Then, Claude Code will automatically store that API key in its configuration files, so you will remain logged in from now on.
You should now see a prompt asking whether you trust the execution of Claude Code in the current directory:

Select the positive option, and you will now have full access to the Claude Code CLI:

In the Try "refactor <filepath>" rectangle, you can now write the prompts to pass to the code agent.
Great! Claude Code is now set up and ready to use.
Step #2: Get Started with Bright Data’s Web MCP
If you have not already, create a Bright Data account. Otherwise, if you already have one, simply log in.
Next, follow the official instructions to generate your Bright Data API key. For the sake of simplicity, in this tutorial, we assume you are using an API key with Admin permissions.
Install the Web MCP globally via the @brightdata/mcp package using the following command:
npm install -g @brightdata/mcpThen, test that the server works with this Bash command:
API_TOKEN="<YOUR_BRIGHT_DATA_API>" npx -y @brightdata/mcpOr, on Windows PowerShell, the equivalent command is:
$Env:API_TOKEN="<YOUR_BRIGHT_DATA_API>"; npx -y @brightdata/mcpMake sure to replace <YOUR_BRIGHT_DATA_API> with the actual API token you generated earlier. Both commands set the required API_TOKEN environment variable and launch the MCP server via the @brightdata/mcp npm package.
If everything is working correctly, you should see logs similar to the following:

On first launch, the MCP server automatically creates two default zones in your Bright Data account:
mcp_unlocker: A zone for Web Unlocker.mcp_browser: A zone for Browser API.
These zones are required to access the full range of MCP server tools.
To confirm that the zones were created, log in to your Bright Data dashboard and navigate to “Proxies & Scraping Infrastructure” page. You should see both zones listed:

Note: If your API token does not have Admin permissions, these zones may not be created automatically. In that case, you can create them manually and specify their names using environment variables, as explained in the official documentation.
By default, the MCP server exposes only the search_engine and scrape_as_markdown tools, which can even be used for free.
To unlock advanced features like browser automation and structured data extraction, you have to enable Pro mode. To do so, set the PRO_MODE=true environment variable before launching the MCP server:
API_TOKEN="<YOUR_BRIGHT_DATA_API>" PRO_MODE="true" npx -y @brightdata/mcpOr, on Windows:
$Env:API_TOKEN="<YOUR_BRIGHT_DATA_API>"; $Env:PRO_MODE="true"; npx -y @brightdata/mcpImportant: If you choose to use Pro mode, you will gain access to all 60+ tools. At the same time, Pro mode is not included in the free tier and will incur additional charges.
Awesome! You verified that the Web MCP server is running correctly on your machine. You can now stop the server, as the next step will be configuring Claude Code to launch it automatically for you.
Step #3: Configure the Web MCP in Claude Code
Claude Code supports several ways to connect to an MCP server. In this tutorial, we will cover two methods:
- Using the
mcp addcommand. - Using an MCP
.jsonconfiguration file.
To configure the Web MCP server globally in your Claude Code installation, run:
claude mcp add brightData \
  --env API_TOKEN=<YOUR_BRIGHT_DATA_API_KEY> \
  --env PRO_MODE=true \
  -- npx -y @brightdata/mcp
Or, equivalently, on Windows PowerShell:
claude mcp add brightData --env API_TOKEN=<YOUR_BRIGHT_DATA_API_KEY> --env PRO_MODE=true -- -- npx -y @brightdata/mcpBoth commands instruct Claude Code to add a custom MCP server called brightData. This will be launched via the specified npx command with the environment variables. In other words, Claude Code can now connect to the Bright Data Web MCP server automatically. (Remember that enabling PRO_MODE env is not required.)
After running the command, you should see output similar to this:

This confirms that the MCP server was added to the global Claude Code configuration file.
If you instead prefer to keep MCP configuration local to a project, create a file named mcp_servers.json with the content below:
{
  "mcpServers": {
    "brightData": {
      "command": "npx",
      "args": [
        "-y",
        "@brightdata/mcp"
      ],
      "env": {
        "API_TOKEN": "<YOUR_BRIGHT_DATA_API_KEY>",
        "PRO_MODE": "true"
      }
    }
  }
}
In this configuration:
- The
mcpServersobject tells Claude Code how to start external MCP servers. - The
brightDataentry defines the command and environment variables needed to run the Web MCP. SettingPRO_MODEis optional but recommended.
Then, instruct Claude Code to load the above config file via the --``mcp-config flag:
claude --mcp-config mcp_servers.jsonImportant: Replace <YOUR_BRIGHT_DATA_API_KEY> with your actual Bright Data API token to enable authentication.
Perfect! You are now ready to test MCP integration within Claude Code.
Step #4: Verify the MCP Connection
Whether you configured MCP integration using mcp add or --mcp-config, you should verify that Claude Code can actually connect to the Bright Data Web MCP server.
To check the connection, start the Claude Code CLI and type the /mcp command. If everything is working correctly, you should see output like this:

As you can tell, the local CLI instance successfully connected to the configured brightData MCP server. Well done!
Step #5: Run a Task in Claude Code
To test the capabilities of your Claude Code coding agent, launch a prompt like the following:
Scrape the data from "https://it.linkedin.com/in/antonello-zanini" and save the output as JSON in a local file named "profile.json". Then, create a simple Express.js project with an endpoint that takes a slug representing the LinkedIn profile and returns the contents of "profile.json".This represents a real-world use case, as it collects real-world data to mock an Express API.
Paste the prompt into Claude Code and press Enter to execute it. You should see behavior similar to this:

The GIF has been sped up, but this is what happens step by step:
- Claude Code breaks down the prompt into a four-step task.
- The LLM selects the appropriate MCP tool (
web_data_linkedin_person_profile) with the correct arguments extracted from the prompt (url: "https://it.linkedin.com/in/antonello-zanini"). - You are prompted to accept the tool execution.
- Once approved, the scraping task is launched via MCP integration.
- The resulting data is displayed in raw format (i.e., JSON).
- Claude Code asks for permission to save the data to a local file named
profile.json. - After approval, the file is created and populated.
- You are prompted to create the
package.jsonfile for the Node.js Express project. - After approval, the
package.jsonfile is added to the current directory. - You are shown the code for
server.js, defining the Express server with the required API endpoint, and asked for permission to create it. - Upon approval, the
server.jsfile is created. - You are shown the commands to install the project’s dependencies and start the Express server.
In this example, the final output produced by the task looks like this:

At the end of the interaction, your working directory should contain these three files:
├── package.json
├── profile.json
└── server.js
Wonderful! Let’s now check if the generated files work as expected.
Step #6: Explore the Output
Open the project directory in Visual Studio Code and start by inspecting the profile.json file:

This file contains real LinkedIn data, not hallucinated or made-up content generated by the Claude LLM. Specifically, the data was captured by Bright Data using the web_data_linkedin_person_profile tool (which internally calls the LinkedIn Scraper) from the following public LinkedIn profile page:
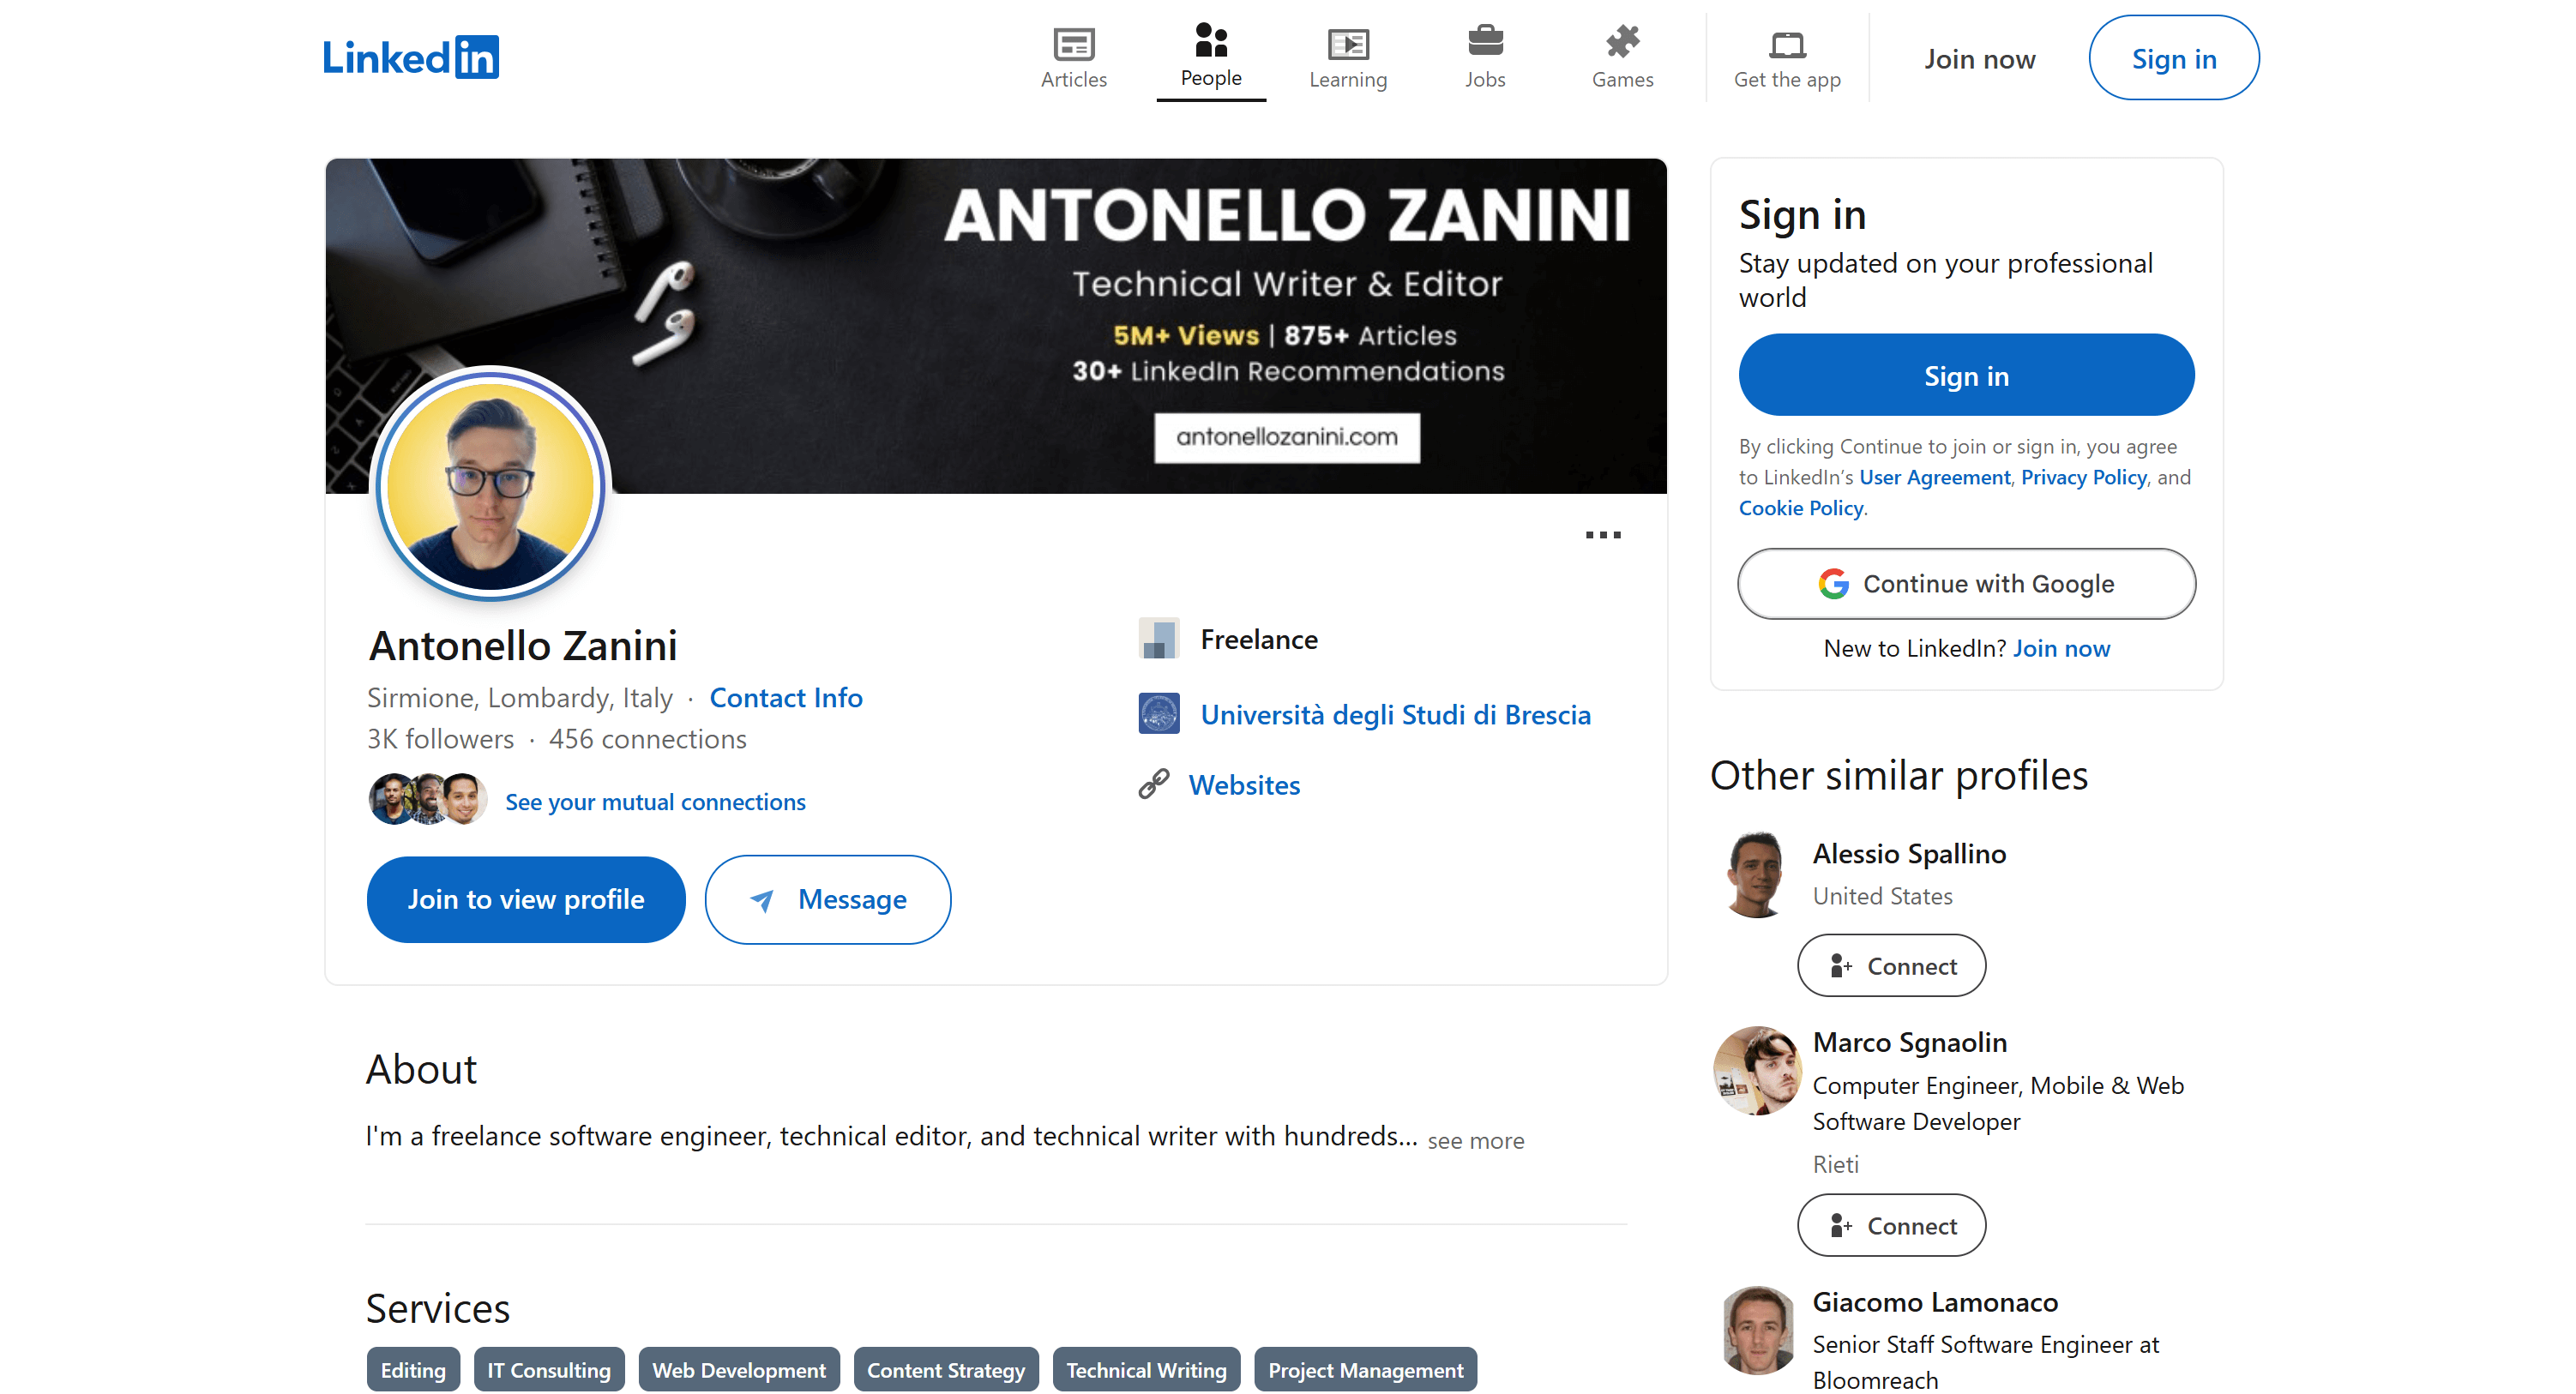
Note: Scraping LinkedIn is notoriously difficult due to its robust anti-bot protections. A regular LLM cannot perform this task reliably, which proves how powerful your codign agent has become thanks to the Bright Data Web MCP integration.
Next, inspect the package.json file:

This file lists the required dependencies (e.g., express) to define your Node.js project.
Finally, review the server.js file:

Notice that the code defines the required API endpoint as specified in the prompt. In detail, the /profile/:slug endpoint loads LinkedIn profile data from profile.json and returns the correct profile based on the LinkedIn ID (used as a slug here).
Incredible! The generated files look solid. The final step is to test the Express application to ensure it behaves as you want.
Step #7: Test the Generated Project
Follow the instructions provided by Claude Code in the output. Start by installing the project dependencies:
npm installThen, start the Express server with:
npm startYour server should now be listening on localhost. Test the /profile/:slug API endpoint using curl:
curl http://localhost/profile/antonello-zaniniOr, in a visual HTTP client like Postman:

Note: The result should include the correct LinkedIn data read from profile.json.
Et voilà! The API has been successfully mocked, thanks to the Claude Code + Bright Data Web MCP integration.
This example demonstrates the power of combining Claude Code with the Web MCP. Now, try experimenting with different prompts and explore advanced LLM-driven data workflows directly in the CLI!
Conclusion
In this article, you learned how to connect Claude Code with the Bright Data Web MCP server (which now offers a free tier!). The result is a powerful AI coding agent capable of accessing and interacting with the web.
This integration was possible thanks to Claude Code’s built-in support for MCP. To build more advanced coding agents, explore the full range of services available in the Bright Data AI infrastructure. These tools can support a wide variety of agentic scenarios.
Create a Bright Data account for free and start experimenting with AI-ready web tools today!

