
In this article, you will see:
- What Google Antigravity is and what it brings to the table as an AI-powered coding platform.
- Its main limitations and how to overcome them through Bright Data’s web scraping, search, discovery, and browser interaction tools.
- A step-by-step guide on how to configure the Bright Data Web MCP in Antigravity.
Let’s dive in!
What Is Google Antigravity?
Google Antigravity is a next-generation agentic development platform. It goes beyond the traditional software development experience provided by conventional IDEs, focusing instead on an “agent-first” workflow.
Basically, Antigravity introduces autonomous AI agents that can plan, code, test, and verify complex software tasks. It supports both synchronous development and asynchronous multi-agent workflows, allowing you to delegate entire development goals while still maintaining visibility and control over execution.
The main features offered by Google Antigravity are:
- Agent-first architecture: Built around autonomous agents that execute full development tasks rather than isolated prompts.
- Dual interface model: Combines an AI-powered IDE with a mission-control-style Agent Manager for running multiple agents in parallel.
- Cross-surface automation: Agents can operate across code editors, terminals, and browsers.
- Browser control capabilities: Built-in agents can interact with web pages for testing, scraping, and validation tasks.
- Artifact-based transparency: Produces structured outputs (plans, diffs, screenshots, walkthroughs) that help users understand and verify agent actions.
- Asynchronous multi-agent execution: Supports running multiple agents simultaneously across different workspaces.
- User feedback integration: Allows inline feedback (e.g., comments on artifacts or screenshots) that agents incorporate into execution.
- Self-improving system: Agents learn from previous tasks and store reusable knowledge such as code patterns and workflows.
- Model flexibility: Supports multiple frontier models (e.g., Gemini, Claude, GPT variants) for different agent behaviors.
Why Extend Google Antigravity Agent With Web Scraping, Search, Discovery, and Interaction
Antigravity is undeniably a powerful solution, but its AI assistant shares a core limitation of all LLMs: static knowledge. After all, AI models can only generate answers based on the data they were trained on.
The issue is that LLM training data represents a snapshot of the past. In a fast-moving field like IT, even the most advanced models can apply outdated practices or suggest obsolete API.
The solution is to equip the Antigravity agent with reliable access to web data tools for search, scraping, discovery, and automated browser interaction. That is exactly what Bright Data’s Web MCP provides!
Bright Data’s Web MCP as the Solution
Web MCP exposes 70+ AI-ready tools. Even in the free tier (5k free requests a month), it includes core tools (with batch versions for parallel execution):
| Tool | Description |
|---|---|
search_engine + search_engine_batch |
Retrieve results from Google, Bing, or Yandex in JSON or Markdown format |
scrape_as_markdown + scrape_batch |
Extract clean webpage content in Markdown while bypassing anti-bot protections |
discover |
AI-driven search that ranks results based on user intent |
Pro mode is where Web MCP truly makes a difference. It unlocks all 70+ tools, including those for structured data extraction from platforms like NPM, GitHub, PyPI, LinkedIn, Yahoo Finance, YouTube, Google Maps, and 40+ others. It also enables automated web interaction.
What sets Bright Data apart is its large-scale infrastructure, with over 400 million residential IPs across 195 countries. This enables high scalability and unlimited concurrency while achieving 99.99% uptime and a 99.95% success rate.
Thanks to Bright Data Web MCP, you can overcome the knowledge limitations of LLMs. In practice, the Antigravity + Web MCP setup allows the AI coding agent to:
- Search the web for accurate, real-time information.
- Fetch and learn from up-to-date tutorials and documentation.
- Scrape live websites for analysis, processing, or realistic mock data.
- Interact with web pages and automate workflows.
- Handle many other advanced tasks…
How to Connect Google Antigravity to the Bright Data Web MCP
In this guided section, you will see how to configure Bright Data MCP in Antigravity. Its coding agent will gain the ability to search the web, discover new sources, scrape web pages, and interact with them.
Follow the instructions below!
Prerequisites
To go through this section, make sure you have:
- A Google account.
- A Bright Data account with an API key set up (follow the official guide to obtain your Bright Data API key)
- Familiarity with how MCP works.
- Knowledge of the tools exposed by the Bright Data Web MCP.
Step #1: Get Started with Google Antigravity
Download Google Antigravity, run the installer, and wait for the installation to complete (it may take a while, so be patient). Next, launch the application.
If this is your first time opening Google Antigravity, you will see the following screen: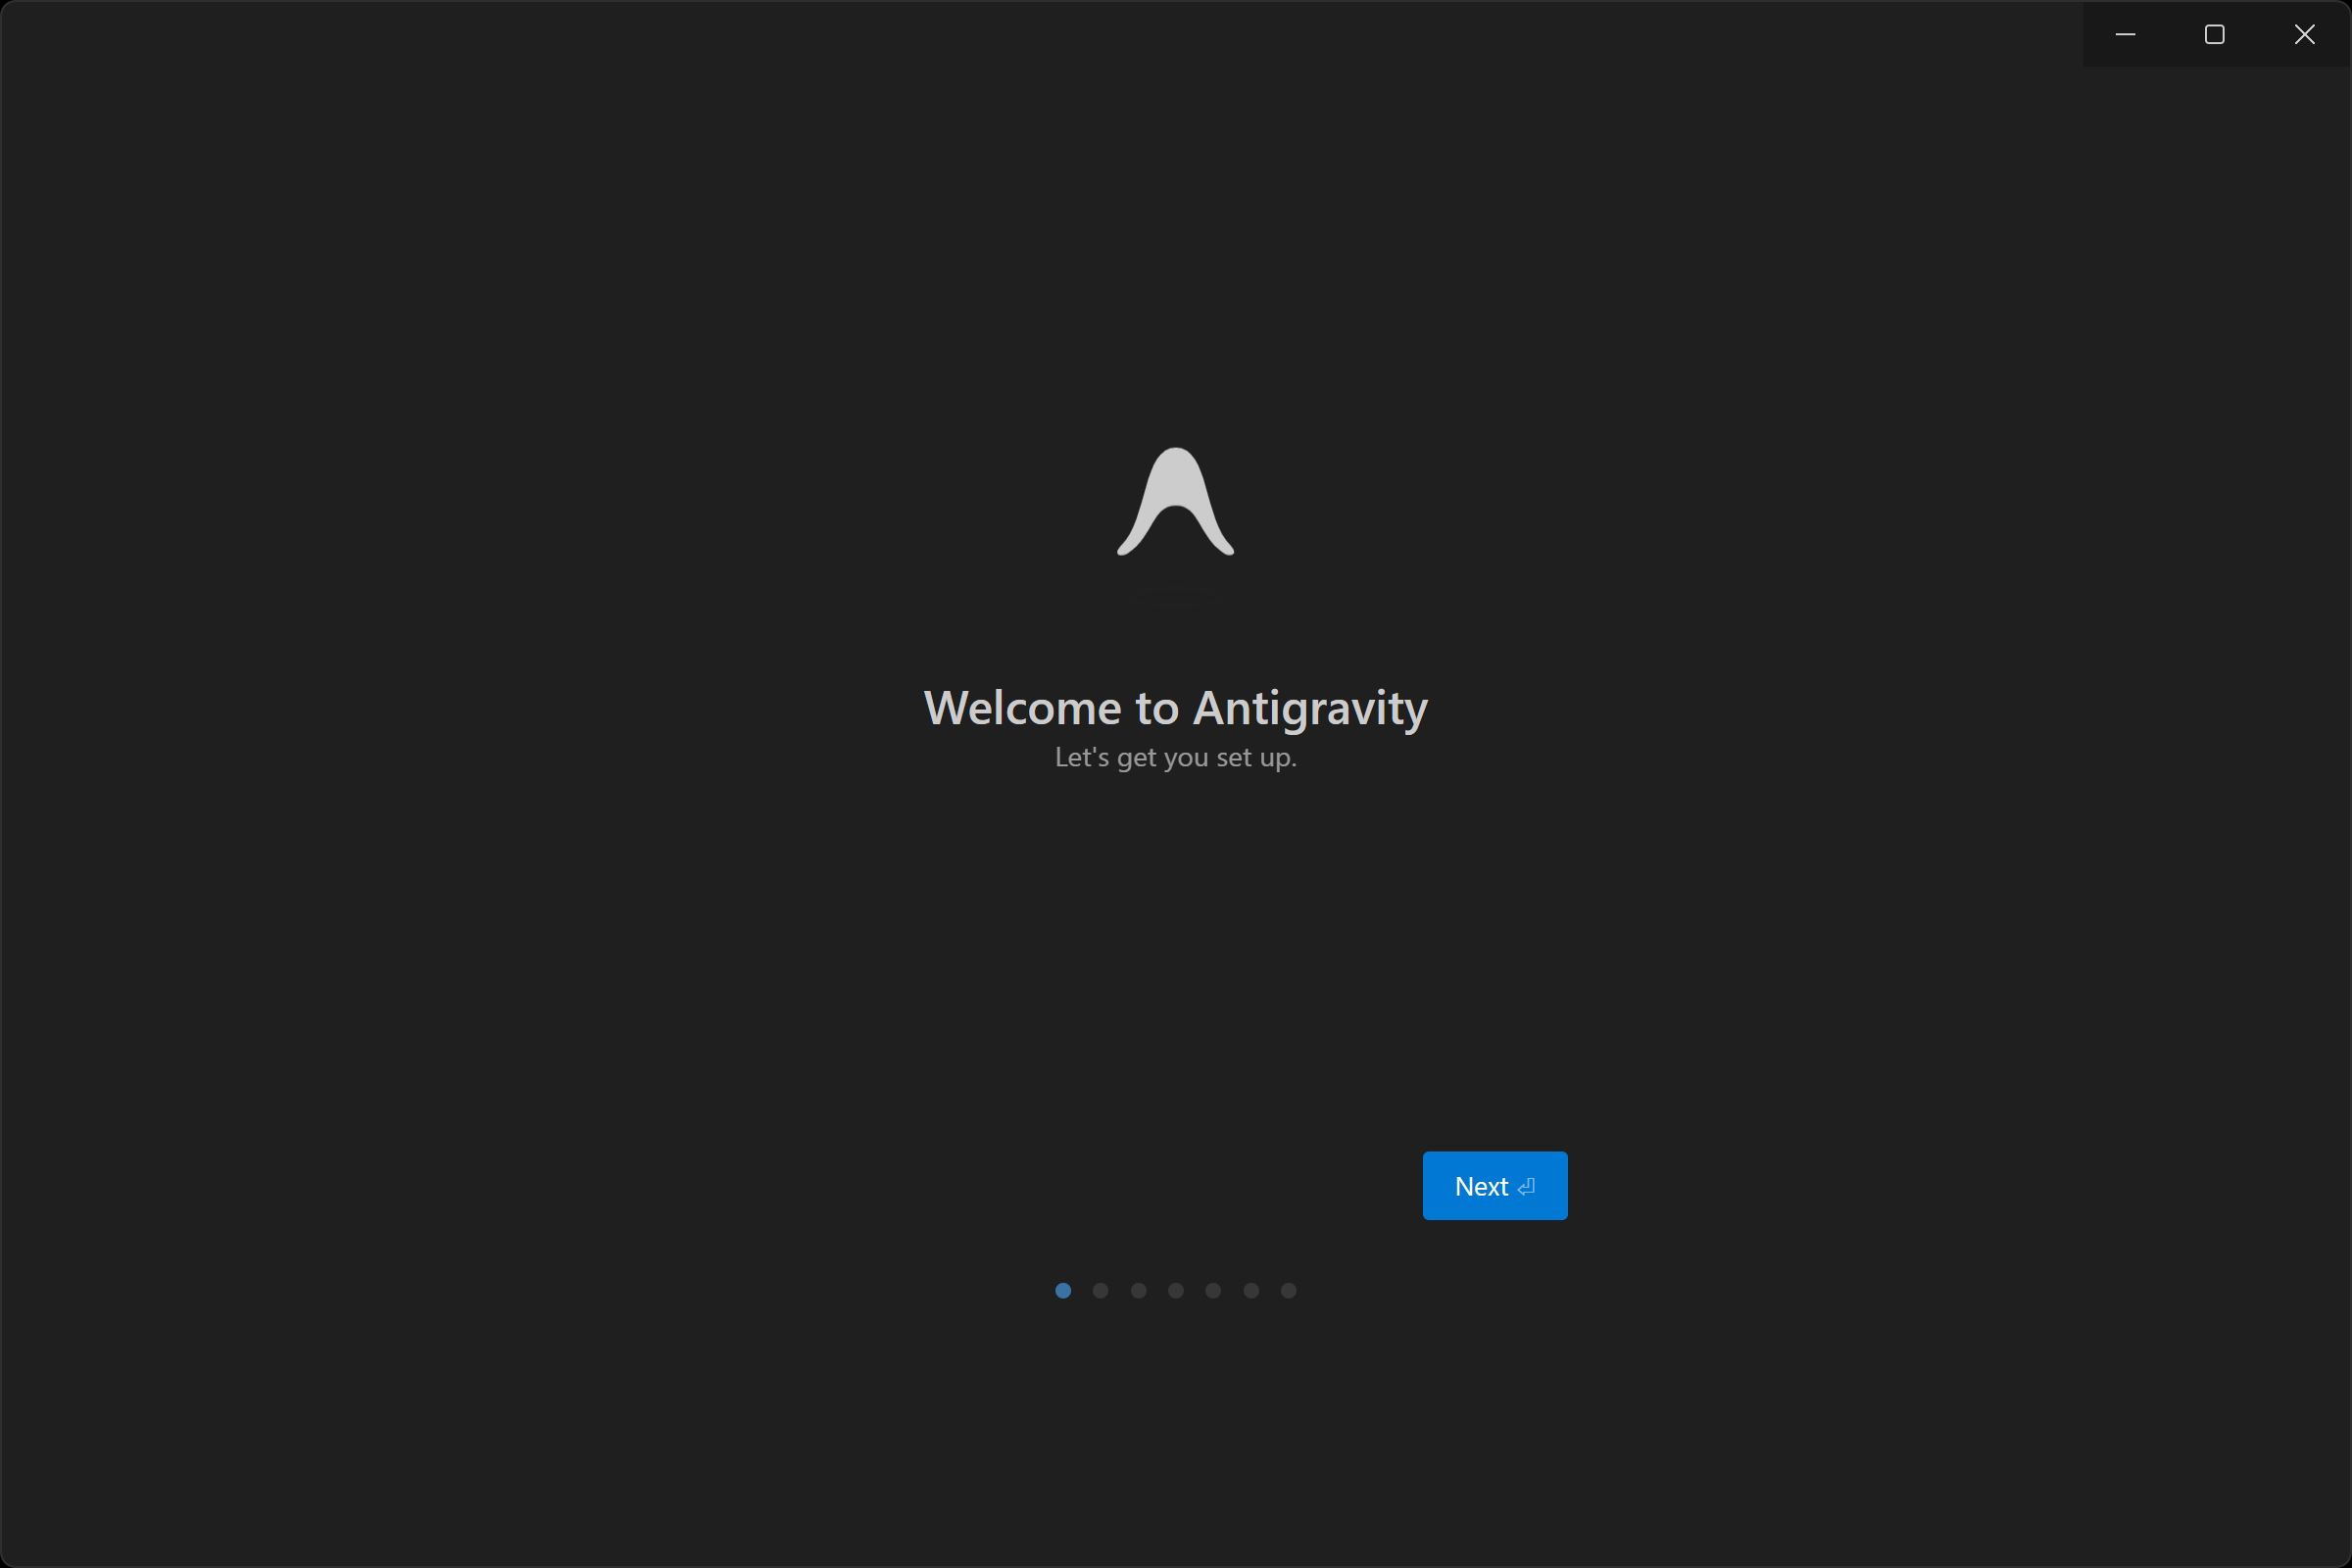
Follow the setup wizard.
You can either start fresh or import settings from VS Code/Cursor. Then, choose your editor theme, select how you want to use the Antigravity Agent (review-driven development is the recommended option), configure your editor settings, and sign in with your Google account: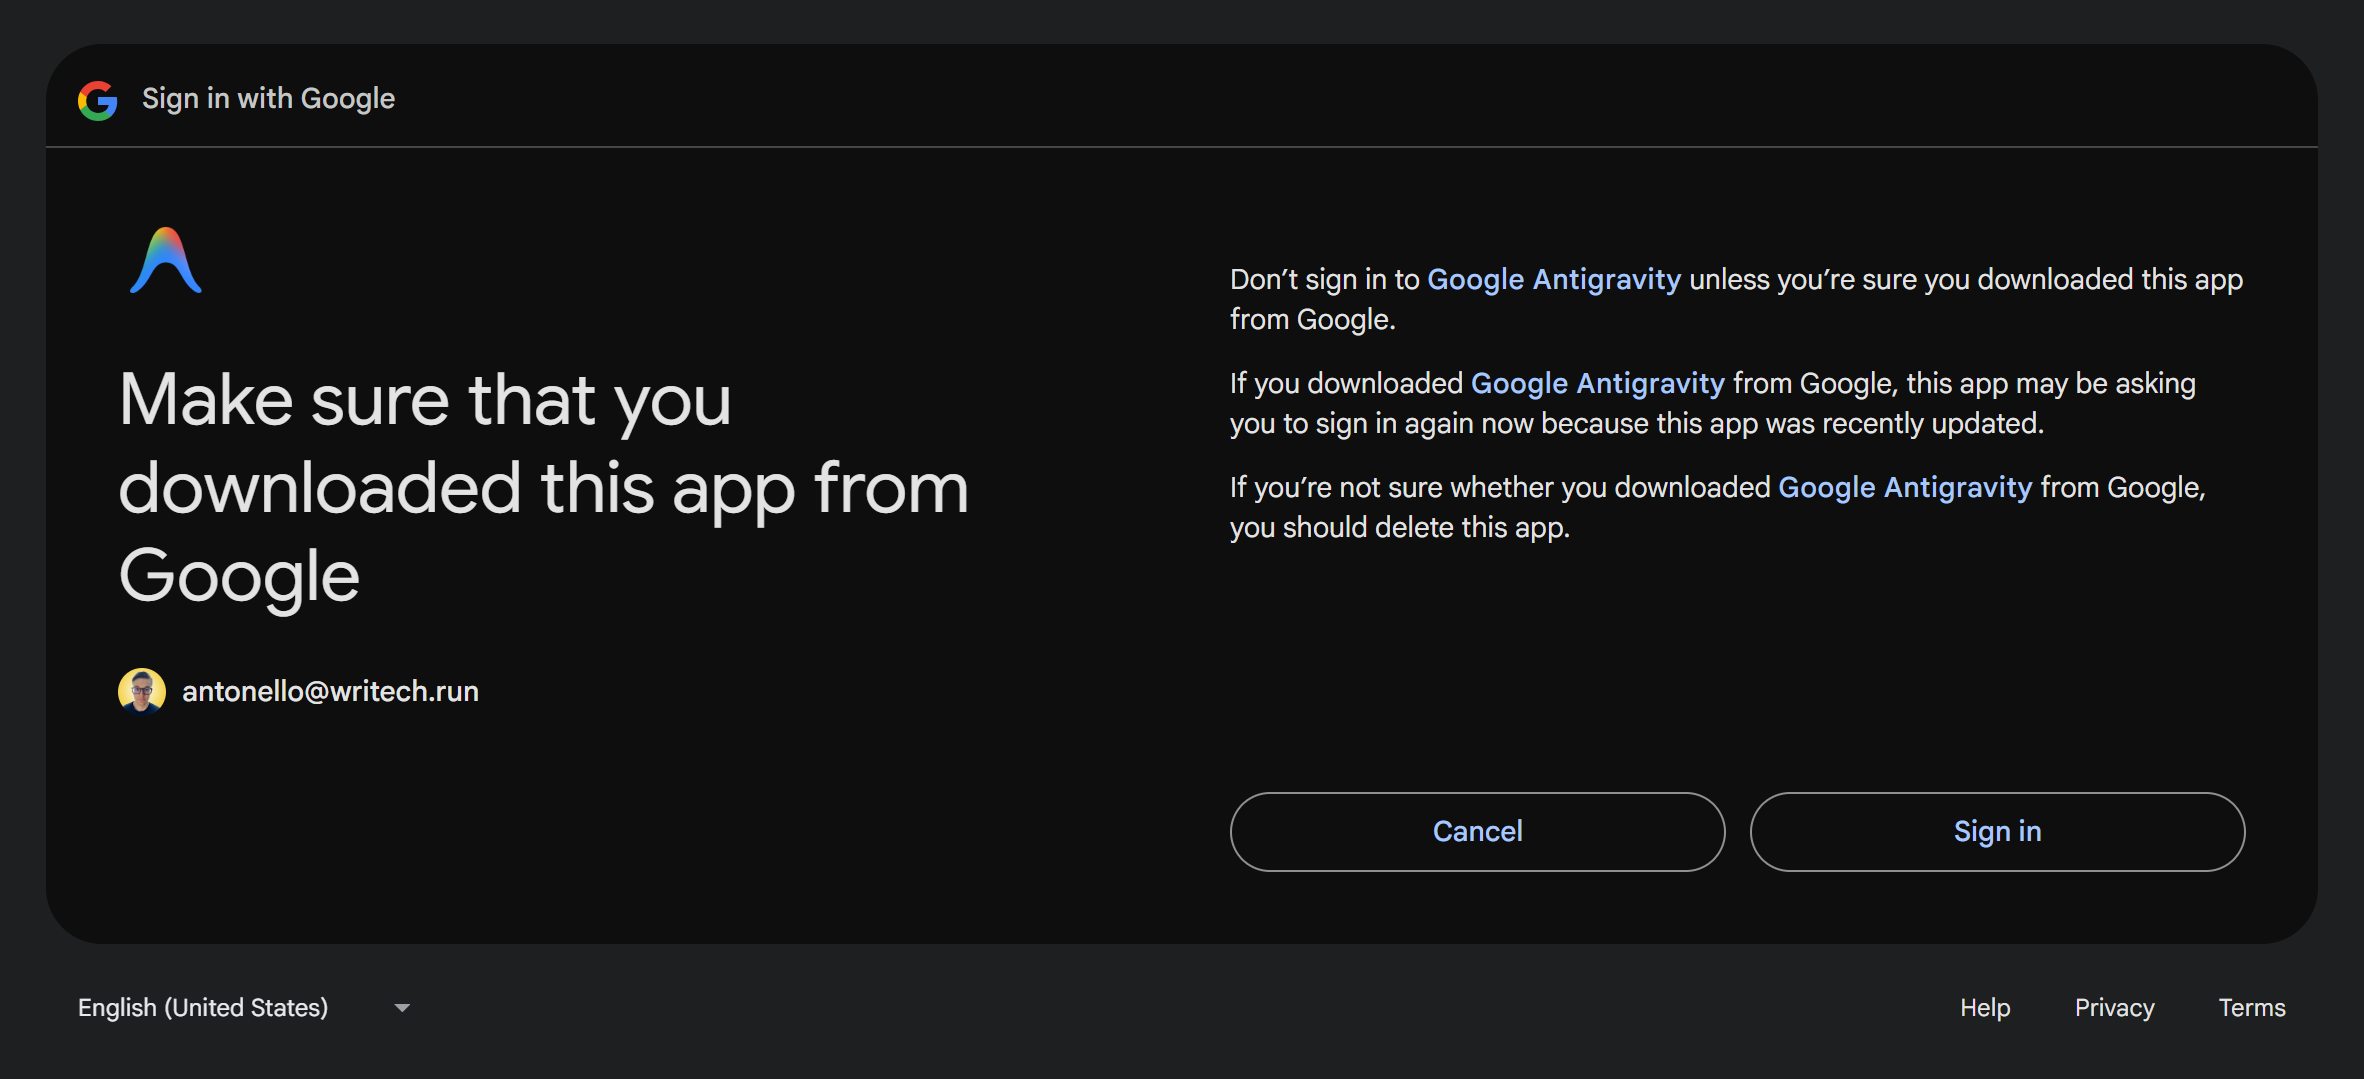
Accept the terms of use, and you will gain access to the Antigravity IDE experience: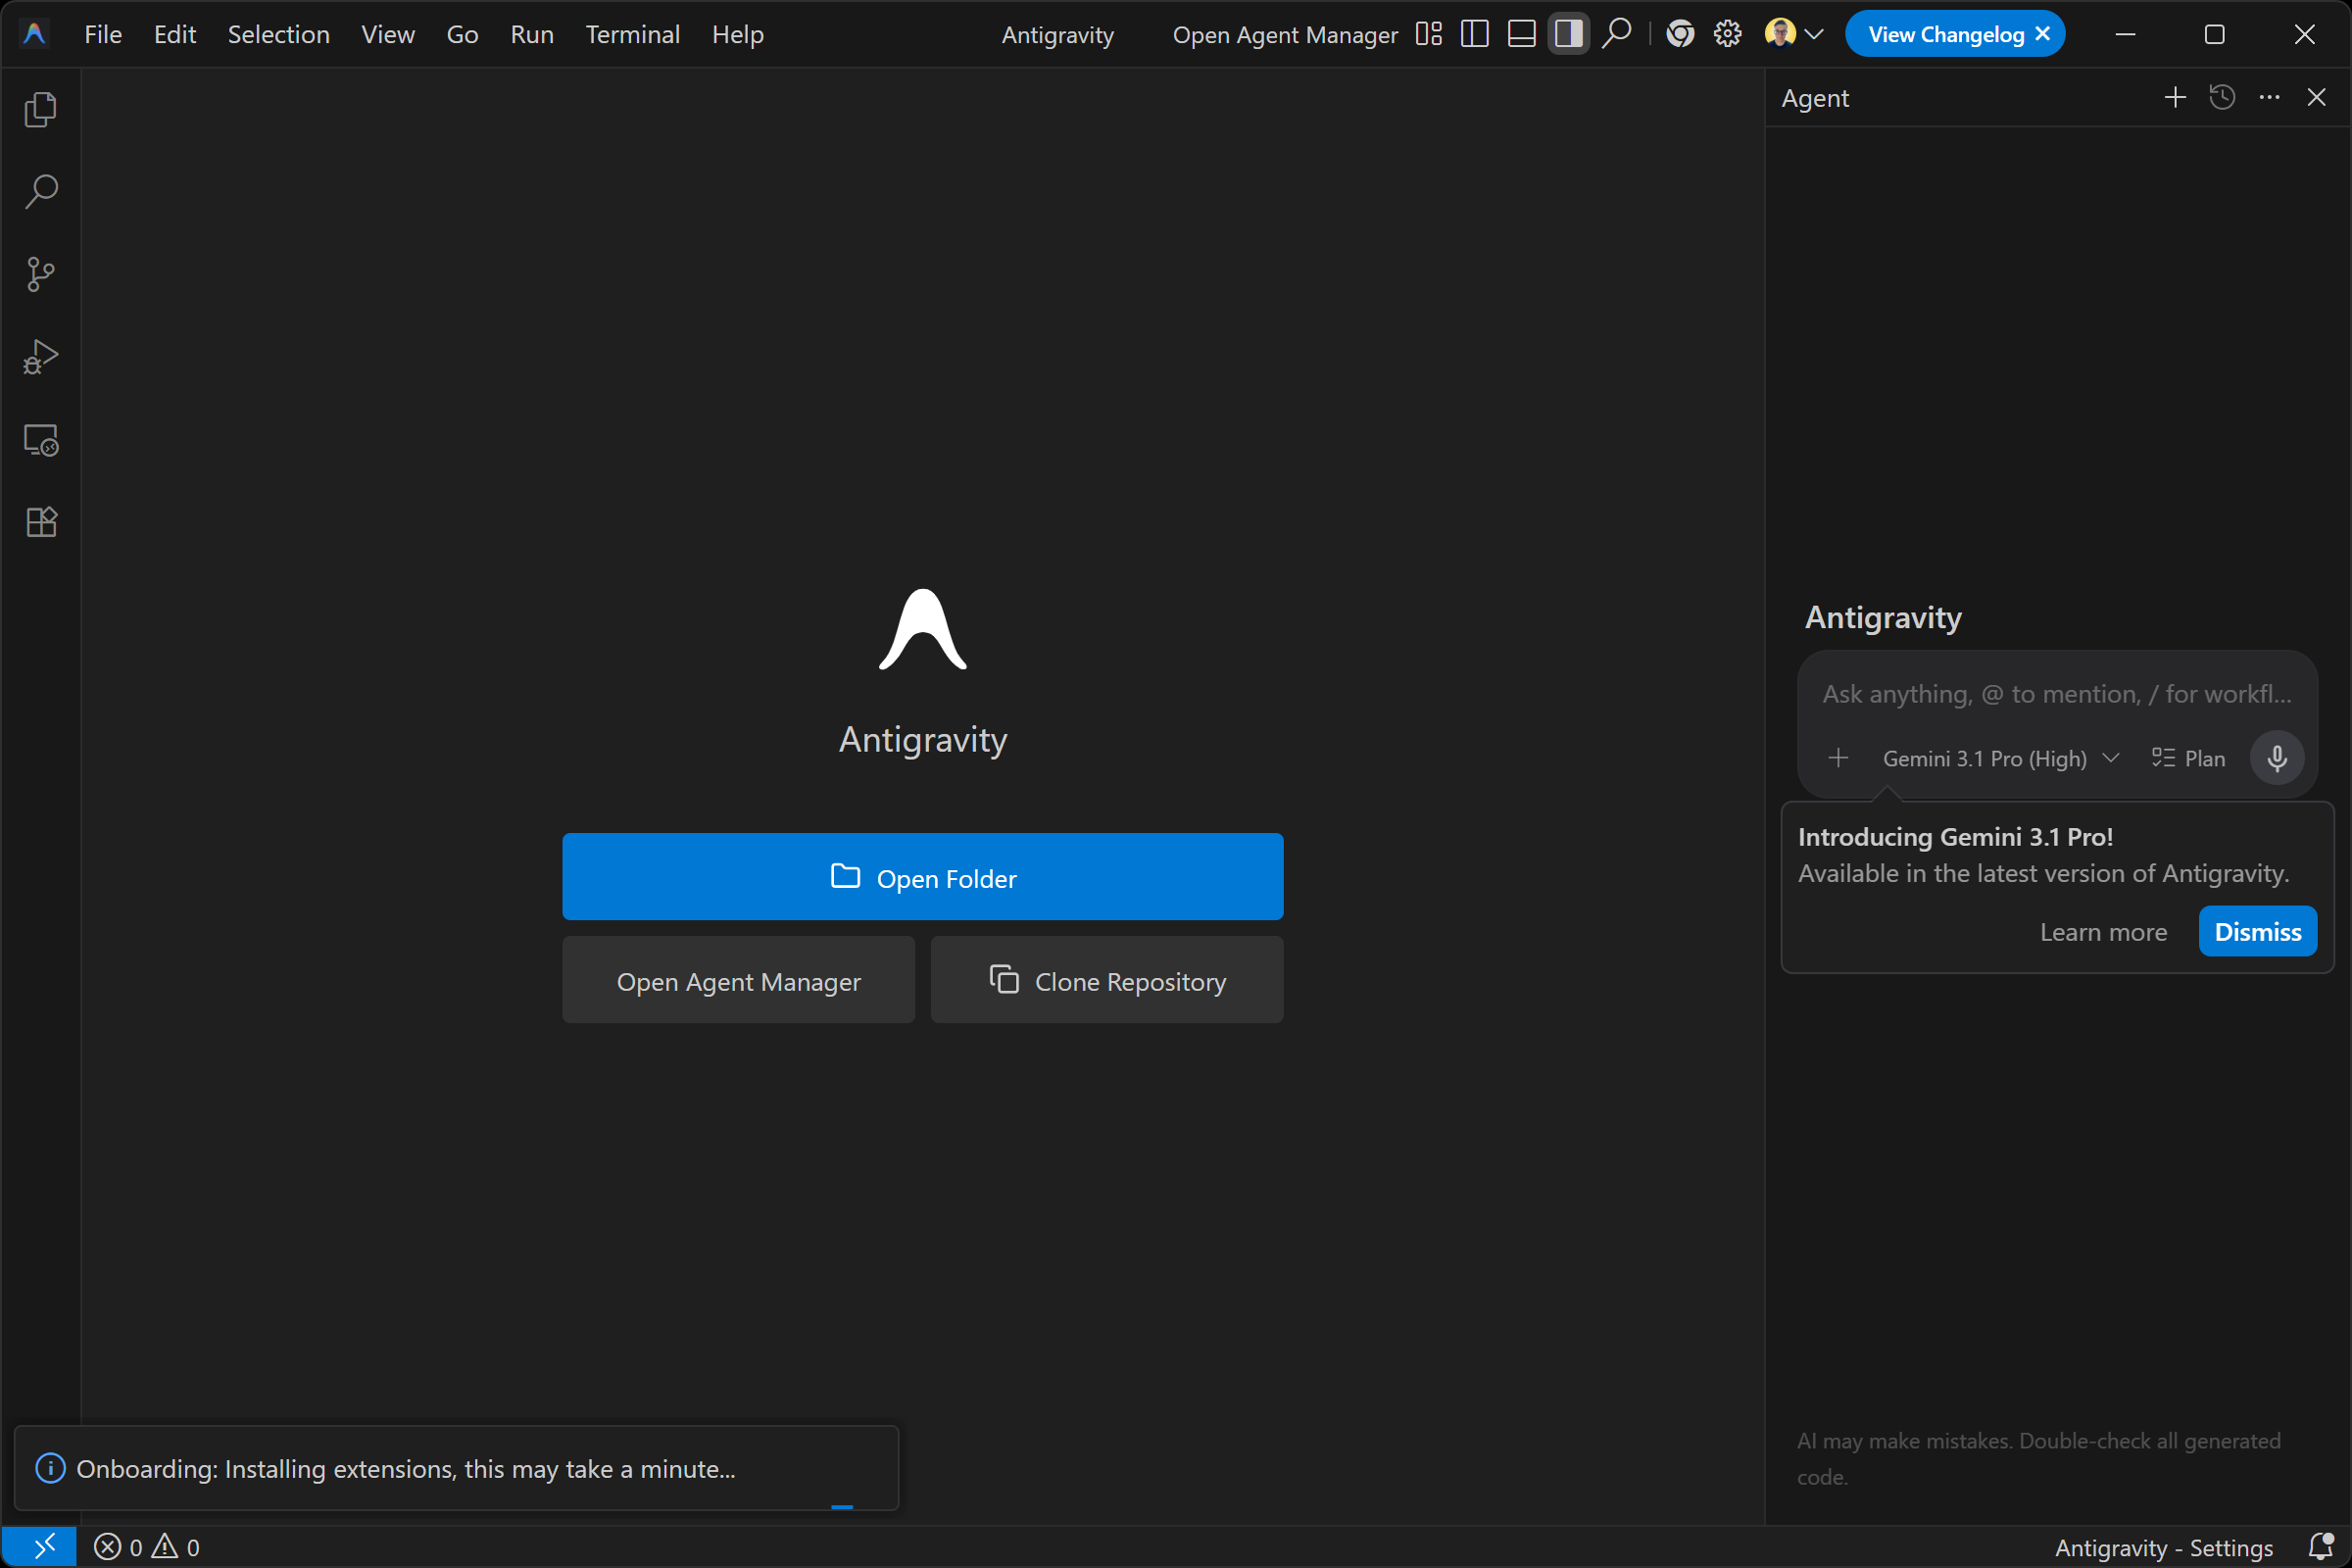
Well done! Google Antigravity is now up and running, ready to be used for AI-assisted coding.
Step #2: Configure Antigravity
Start by opening a project directory. In this case, we will assume you are working with a blank antigravity-bright-data-project-sample/ folder. You can also open an existing project, as you would normally do: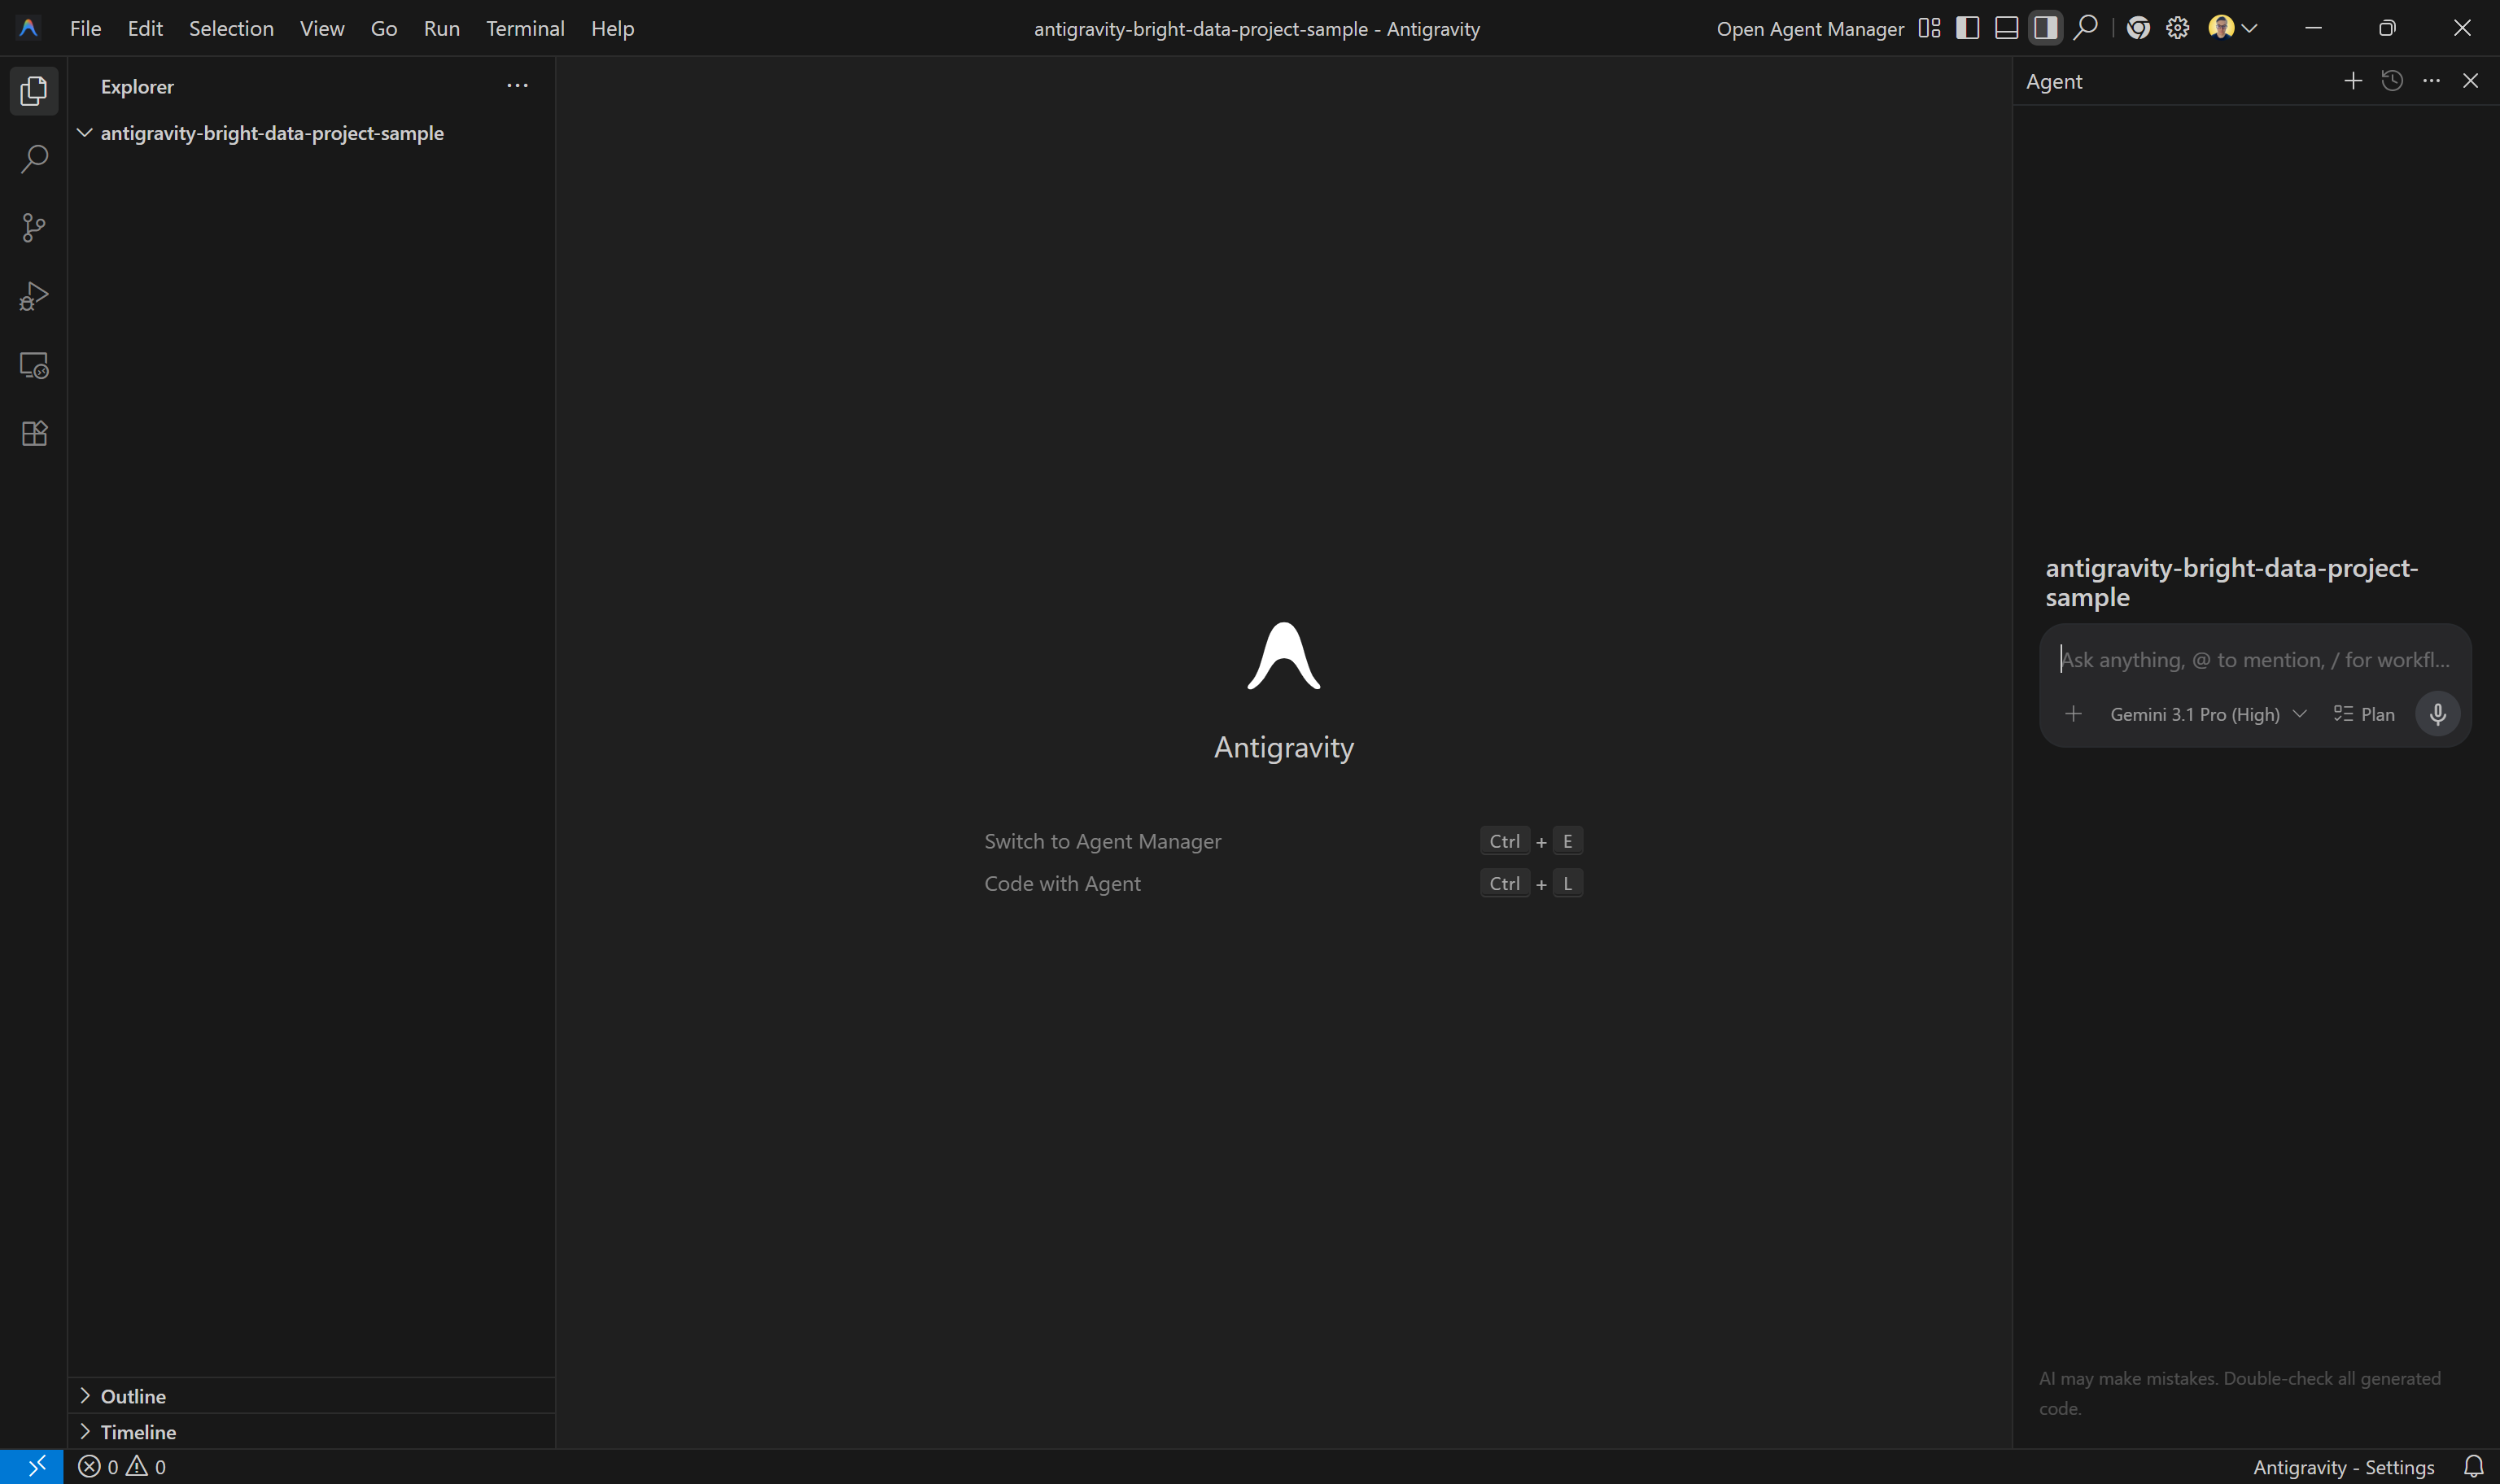
In the right column, you have access to the Antigravity coding agent assistant. You can configure the model by clicking on the model dropdown and selecting a different one:
In this case, we are going to use Gemini 3 Flash, but any other available model will work. Great!
Step #3: Test Bright Data’s Web MCP
Before connecting Google Antigravity to the Web MCP, check that the MCP server runs on your machine.
Start by creating a Bright Data account. Otherwise, if you already have one, just log in. For a quick setup, follow the wizard in the “MCP” section of the Bright Data control panel: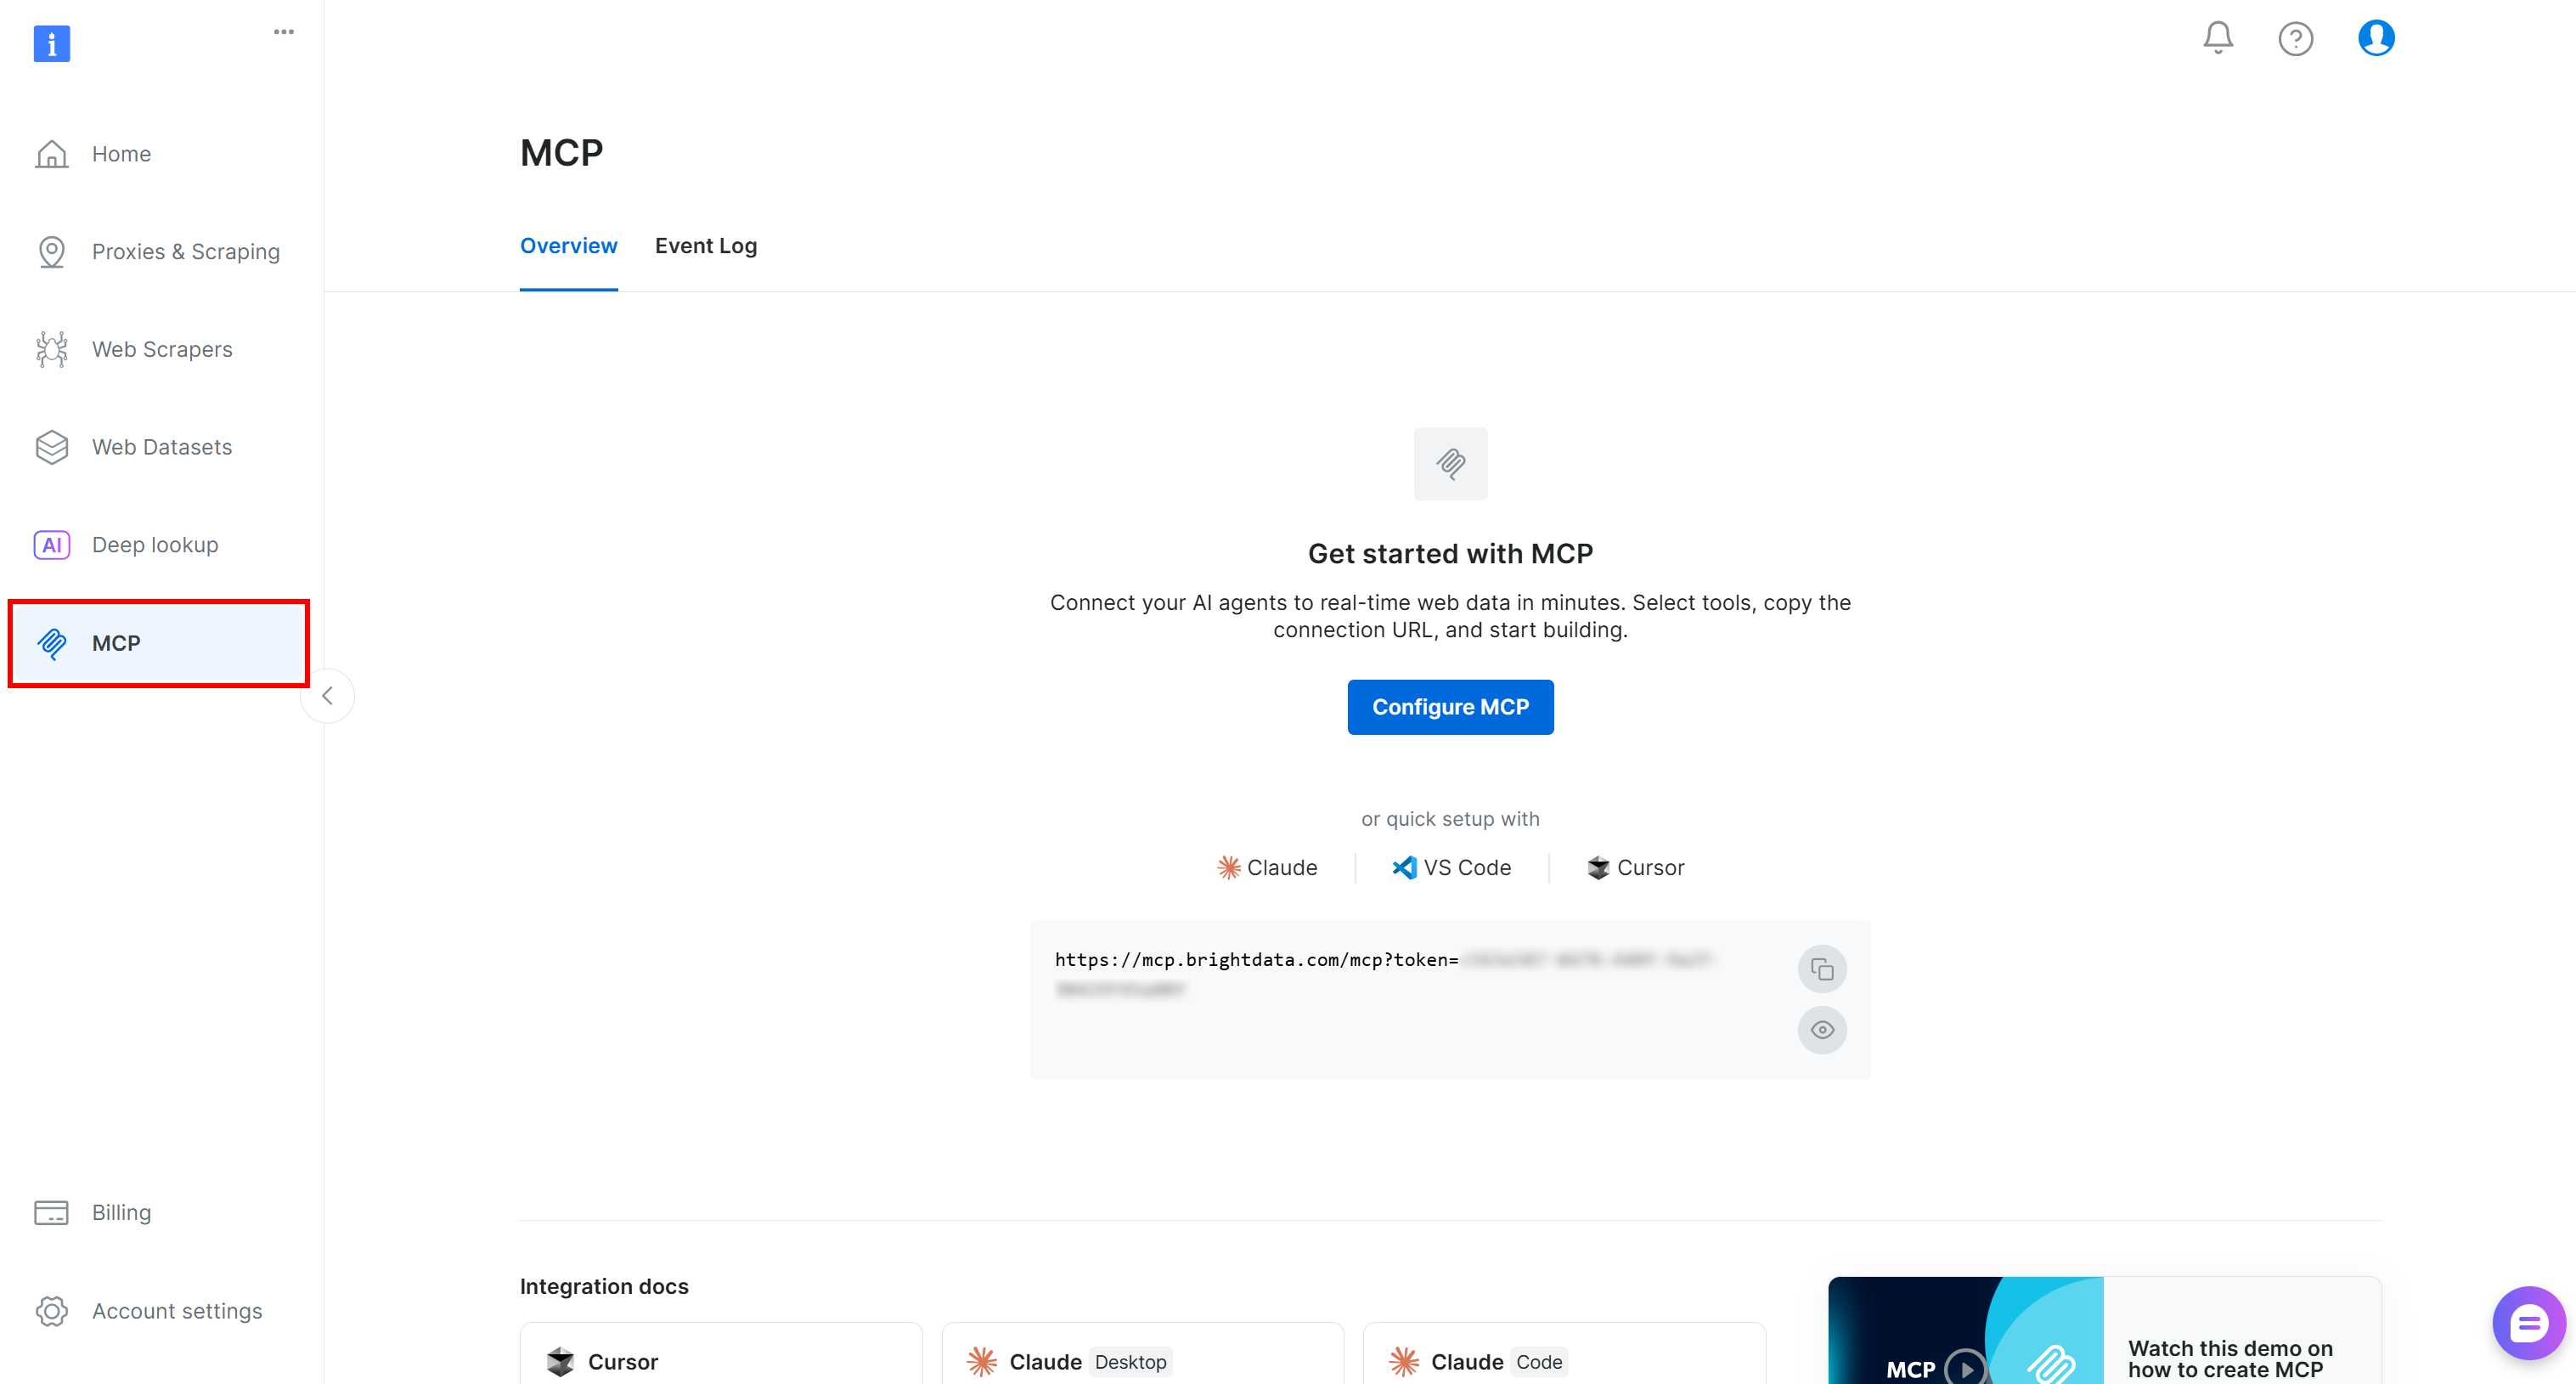
For more detailed guidance, refer to the instructions below.
First, if you have not done so yet, generate your Bright Data API key and store it in a safe place. You will need it shortly to authenticate your local Web MCP instance to your Bright Data account.
Next, install the Web MCP globally in your system:
npm install -g @brightdata/mcpVerify that the local Web MCP server starts with:
API_TOKEN="<YOUR_BRIGHT_DATA_API>" npx -y @brightdata/mcpOr, equivalently, in PowerShell:
$Env:API_TOKEN="<YOUR_BRIGHT_DATA_API>"; npx -y @brightdata/mcpReplace <YOUR_BRIGHT_DATA_API> with your actual Bright Data API key. The above command sets the required API_TOKEN environment variable and launches the Web MCP server locally via the @brightdata/mcp package.
If successful, you should see:
On the first launch, @brightdata/mcp creates two zones in your Bright Data account:
mcp_unlocker: A zone for Web Unlocker.mcp_browser: A zone for Browser API.
These two zones power the 70+ tools available in Web MCP. You can also configure custom zone names, as explained in the official repo.
To confirm that the two default zones were created, navigate to “Proxies & Scraping Infrastructure” in your Bright Data dashboard. You should notice both zones listed in the “My Zones” table: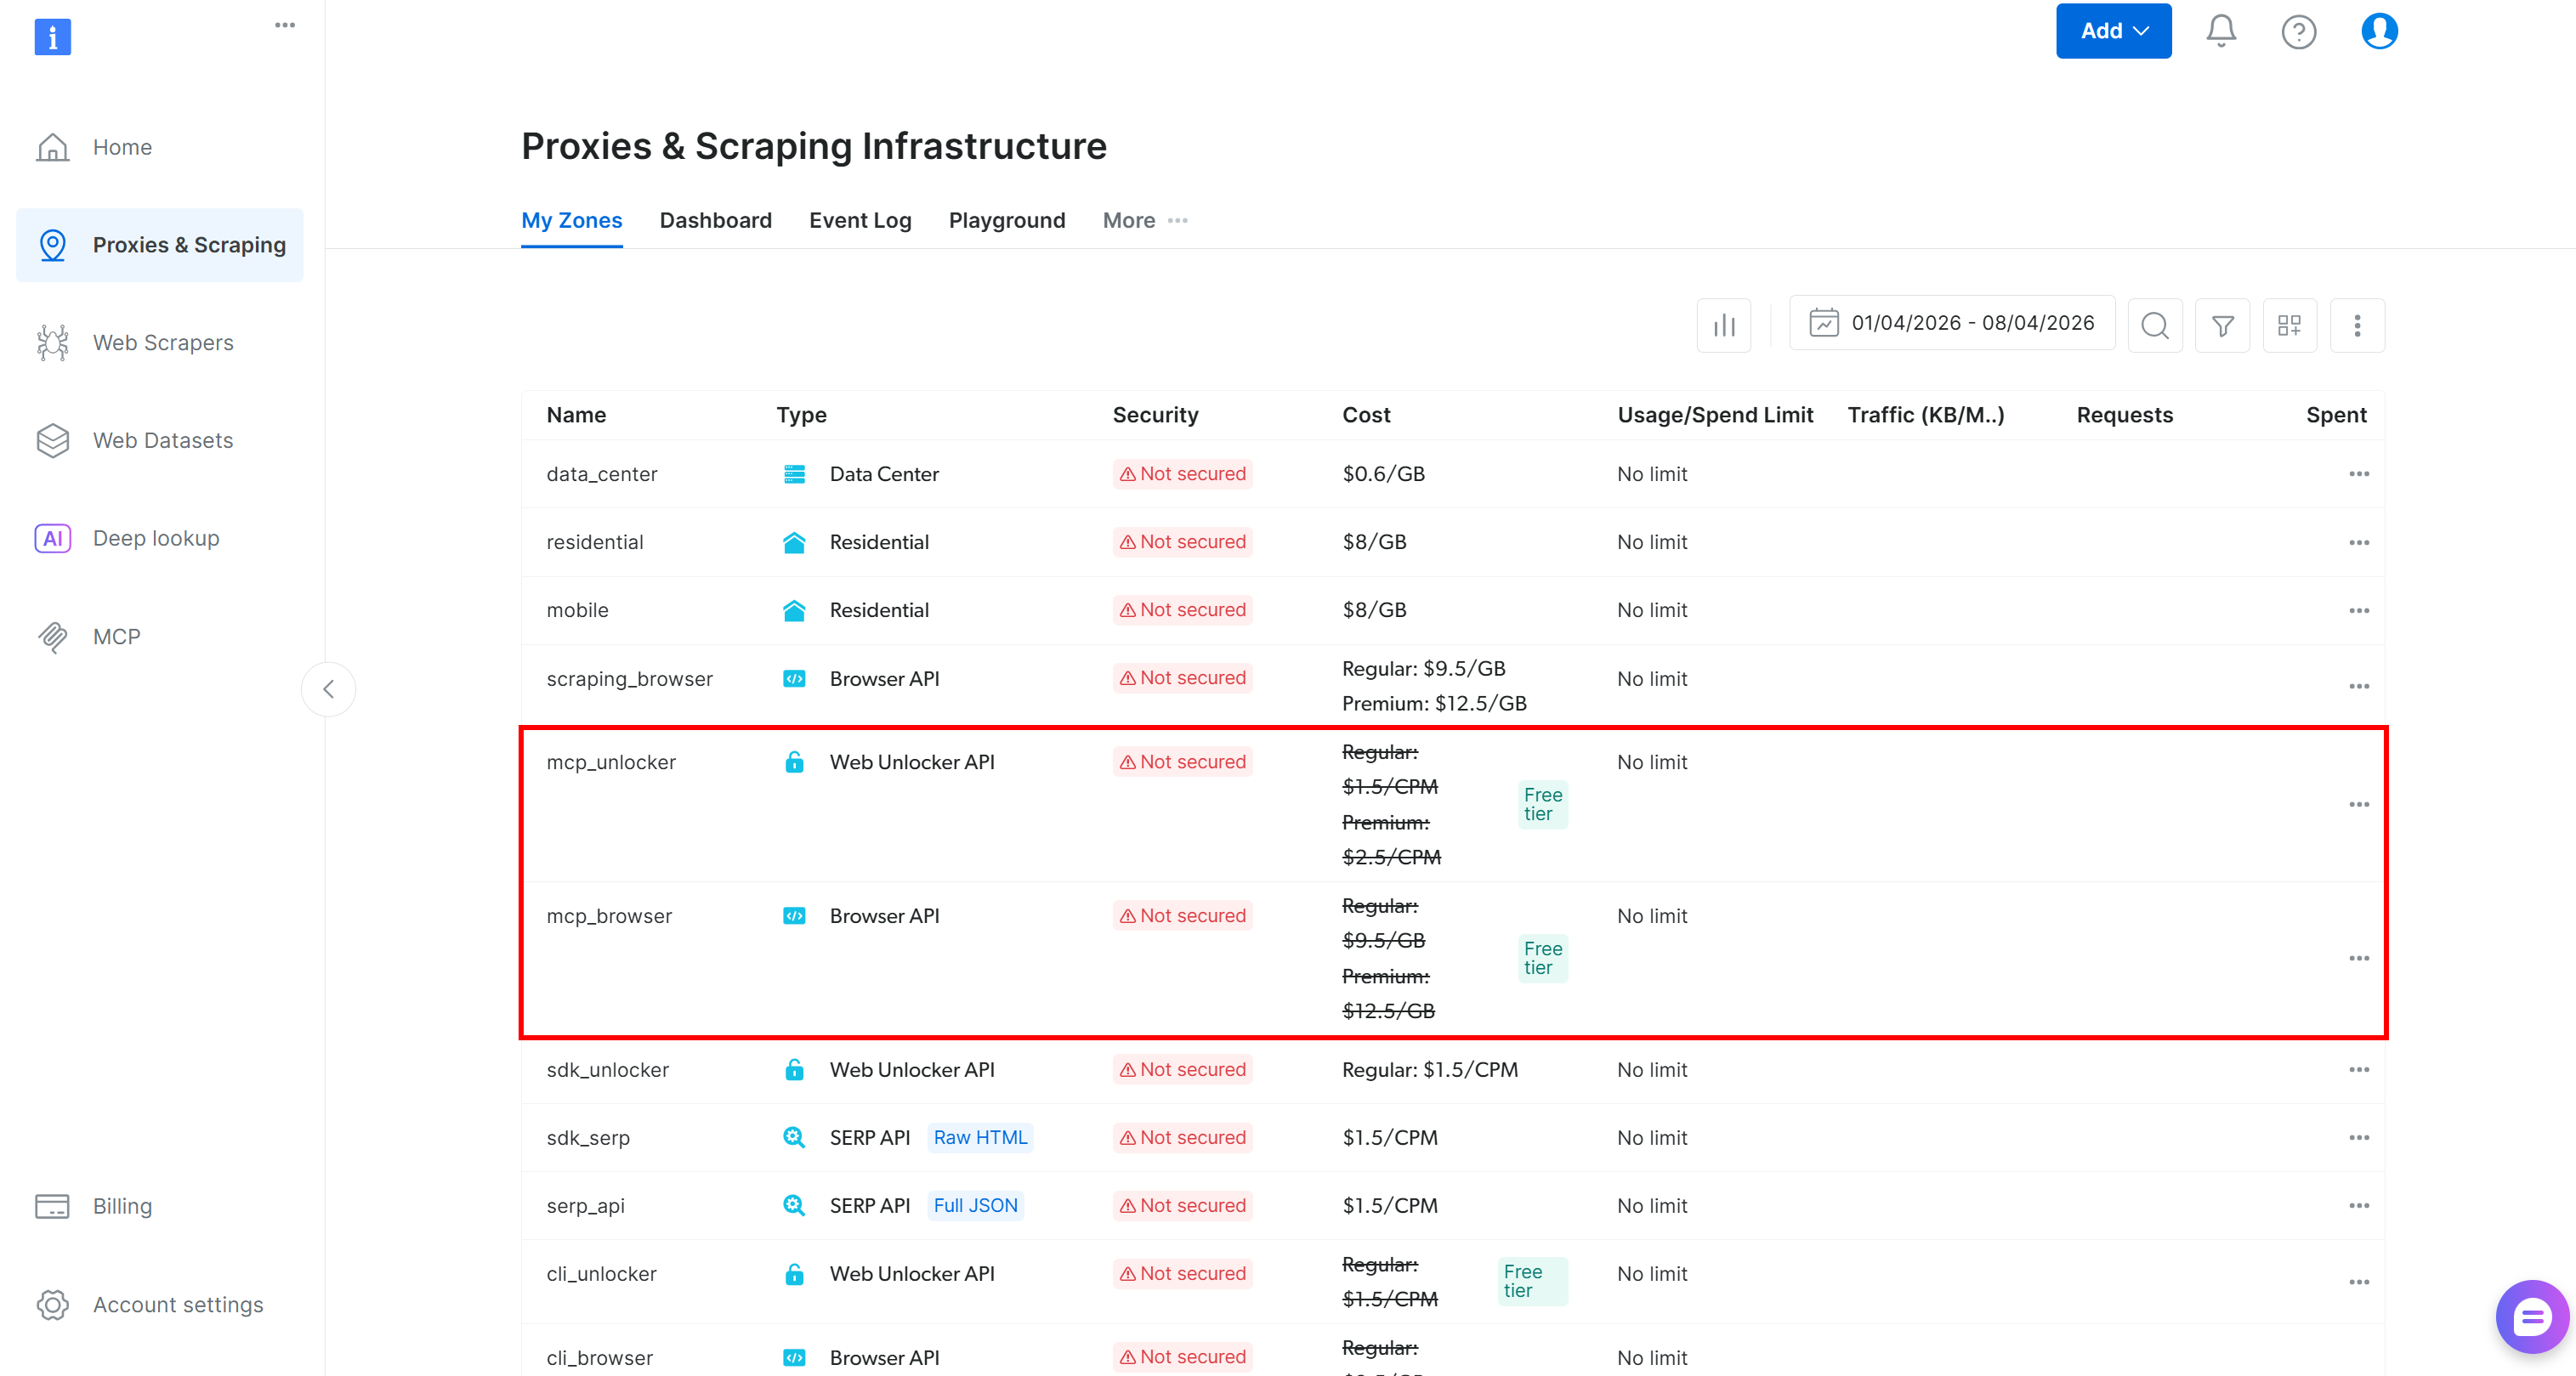
Now, remember that on the Web MCP free tier, your AI agents gain access to only a few tools.
To unlock all 70+ tools, enable Pro mode by setting the PRO_MODE="true" environment variable:
API_TOKEN="<YOUR_BRIGHT_DATA_API>" PRO_MODE="true" npx -y @brightdata/mcpOr, on Windows:
$Env:API_TOKEN="<YOUR_BRIGHT_DATA_API>"; $Env:PRO_MODE="true"; npx -y @brightdata/mcpNote: Pro mode is not included in the free tier and incurs additional charges.
Cool! You have now verified that the Web MCP server works on your machine. Next, you will configure Antigravity to connect to it.
Step #4: Configure the Web MCP in Antigravity
To access the Antigravity Agent MCP configuration page, start by clicking the “…” button in the top-right corner of the “Agent” panel. Then select “MCP Servers”:
This will open the MCP Store, where you can add servers from the official marketplace. Since you want to configure a custom connection, click “Manage MCP Servers”: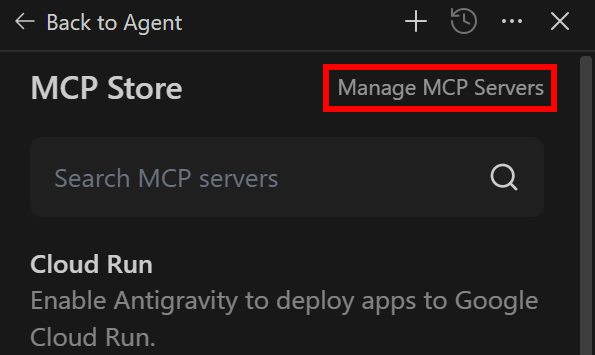
That will reveal the “Manage MCPs” panel. Here, click “View raw config”: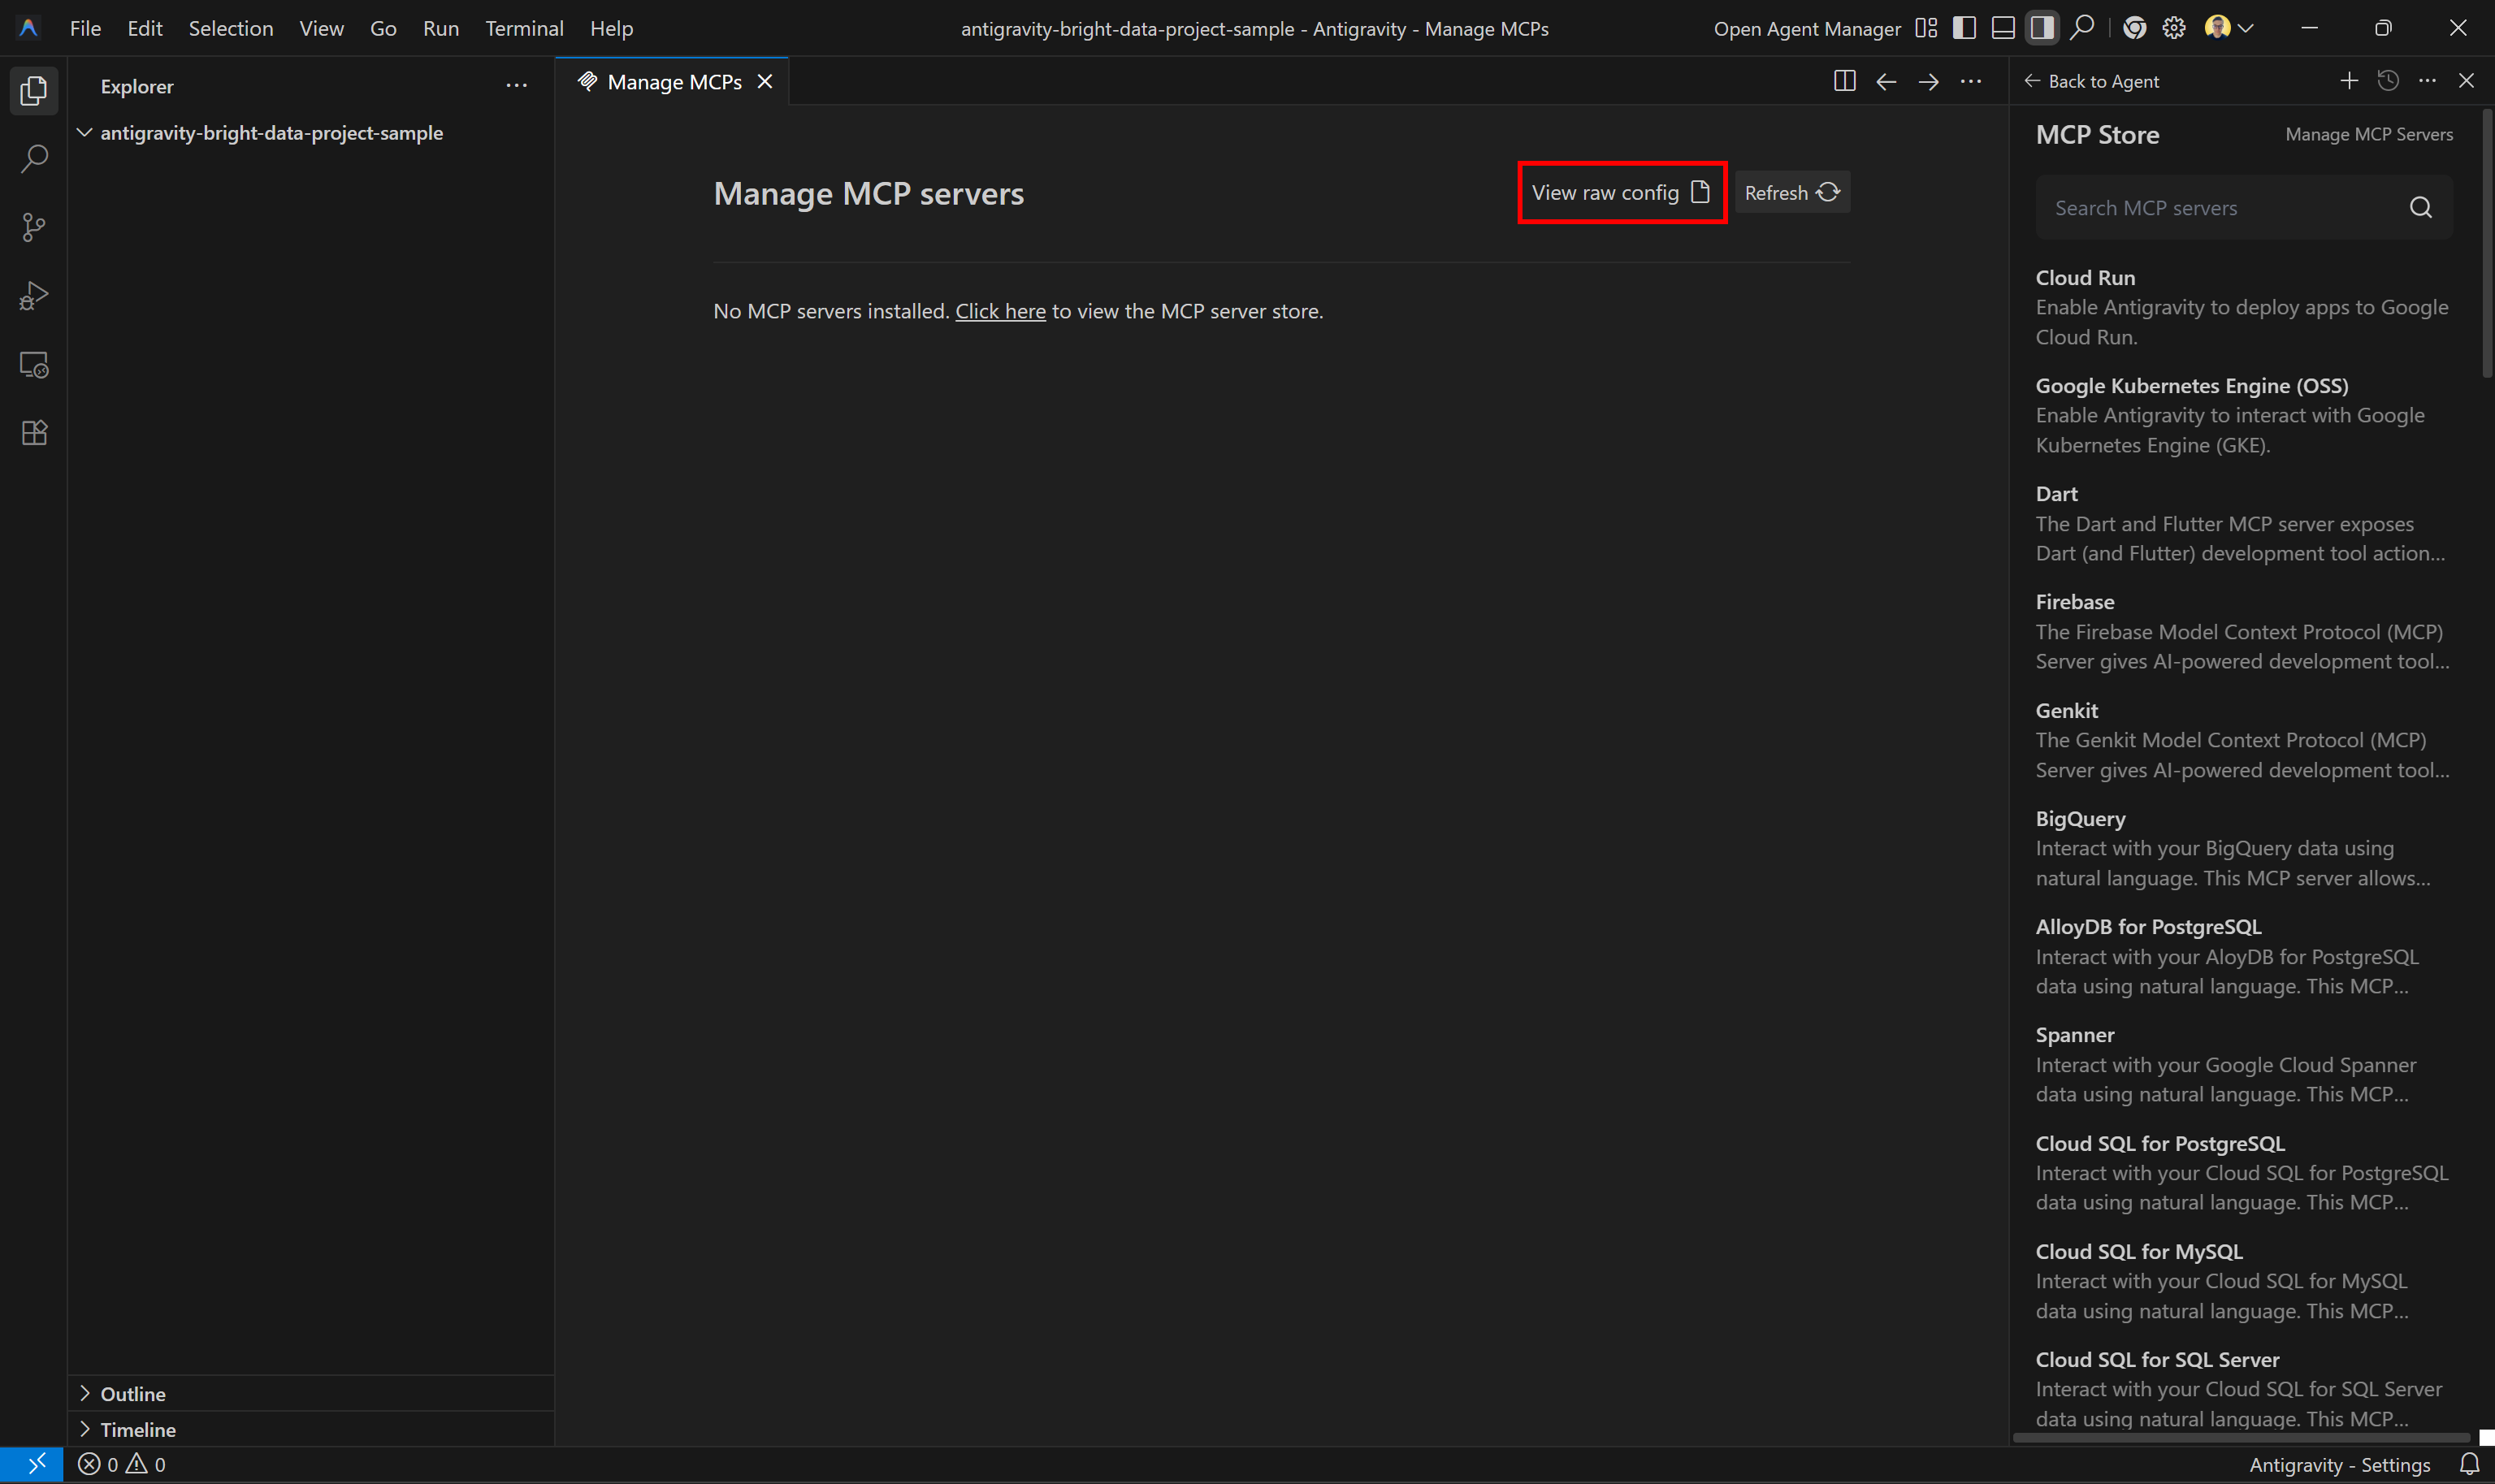
This will open the system-level MCP configuration file located at ~/.gemini/antigravity/mcp_config.json:
Notice that Antigravity already suggests how to define custom MCP connections.
To configure the Bright Data Web MCP, make sure your mcp_config.json includes:
{
    "mcpServers": {
        "bright-data-web-mcp": {
            "command": "npx",
            "args": [
                "@brightdata/mcp"
            ],
            "env": {
                "API_TOKEN": "<YOUR_BRIGHT_DATA_API_TOKEN>",
                "PRO_MODE": "true"
            }
        }
    }
}
The above config mirrors the npx command used earlier and requires the following environment variables:
API_TOKEN(required): Your Bright Data API keyPRO_MODE(optional): Set to"true"to enable Pro mode, or remove/set to"false"to disable it
Save the file, then go back to the “Manage MCPs” tab and hit the “Refresh” button: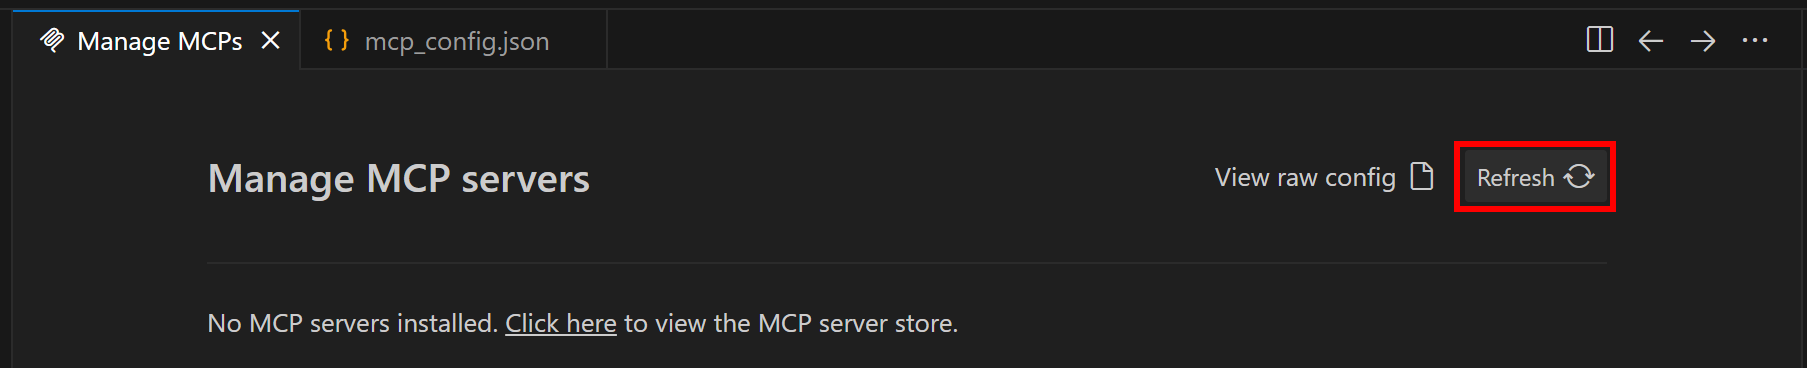
Antigravity will start the Web MCP server using the specified npx command and connect to it. The same process will run automatically on startup.
Nice! The tools exposed by the Bright Data Web MCP should now be available to your coding agent.
Step #5: Check the Web MCP Connection
Now, in the “Manage MCP servers” section of the “Manage MCPs” tab, you should see all the Web MCP tools: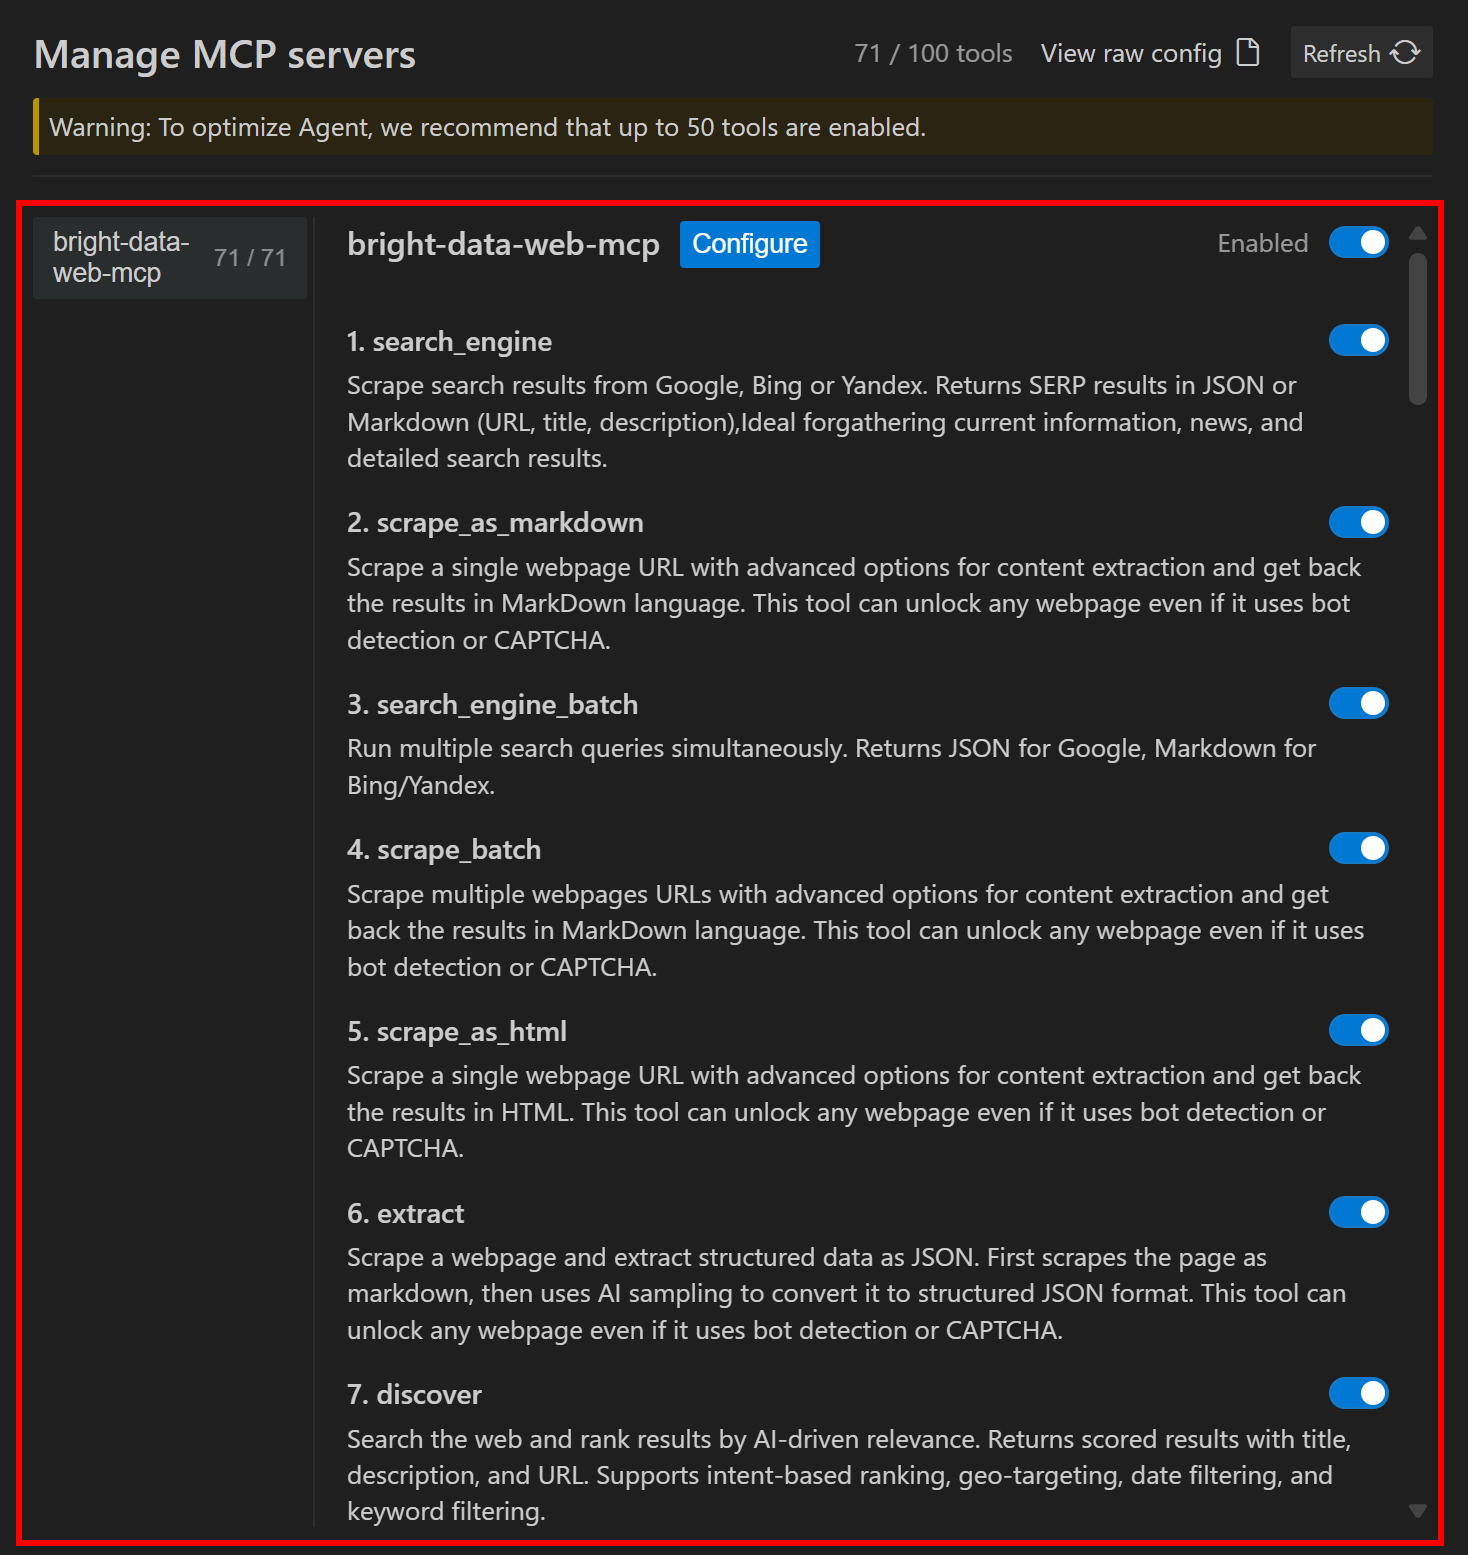
By default, the Web MCP server is enabled, and all its tools are active. In this case, the server was configured in Pro mode, so we got access to all 70+ tools. If you configure it in Rapid mode (PRO_MODE=false), you will only see the free tools.
Excellent! The Google Antigravity agent now has access to the Bright Data Web MCP tools for scraping, searching, web discovery, automated interaction, structured data feed retrieval, and more. All that is left is to put the setup to the test.
Step #6: Try the Bright Data + Antigravity Coding Setup
The Bright Data Web MCP supports a wide range of use cases and greatly extends the capabilities of the built-in Antigravity agent. In this example, we will use it to build a simple Flask backend powered by real-world data.
Specifically, the goal is to create API endpoints that return product data. Instead of using fake data, the agent will retrieve realistic data by scraping it from Walmart (or another e-commerce platform) and then build an application around it.
To achieve that, write a prompt like this:
Search for the Walmart best sellers page and scrape it in Markdown. From the results, select the first 5 products. For each product, scrape its information in a structured format.

Store the scraped data in a local products.json file.

Then, build a simple Flask backend that uses the JSON file as a mocked local database and exposes:
- a GET /products endpoint to return all products
- a GET /products/<id> endpoint to return a single productNote: This is not something a vanilla LLM (e.g., Gemini, Claude) can reliably accomplish on its own. Tasks like searching, scraping, and extracting structured data require dedicated tools, such as those provided by the Bright Data Web MCP.
Make sure you have Python installed locally. Then, execute the prompt in Antigravity. You should see something like this:
Notice how the Antigravity agent:
- Uses the
search_enginetool to find the Walmart best sellers page (via Bright Data SERP API). - Scrapes the page content as Markdown using the
scrape_as_markdownWeb MCP tool (backed by the Bright Data Web Unlocker API). - Processes the Markdown to extract the first 5 product URLs.
- Scrapes each product page using the
web_data_walmart_productPro mode tool (one call per product). - Generates a
products.jsonfile with structured, relevant data. - Asks for permission to install Flask (if needed).
- Creates a Flask backend (
app.py) exposing the required endpoints.
This is exactly the expected behavior. At this point, your project folder should contain:
- A
products.jsonfile with the scraped Walmart product data. - An
app.pyFlask backend using that data as a read-only database.
Wonderful! Now you can run and test the generated application.
Step #7: Test the Final Result
Start the Flask server by running:
python app.pyThe local server should now be running at http://127.0.0.1:5000.
Test the GET /products endpoint with:
curl http://127.0.0.1:5000/products Note: On Windows, use curl.exe instead of curl.
You should receive a response similar to this: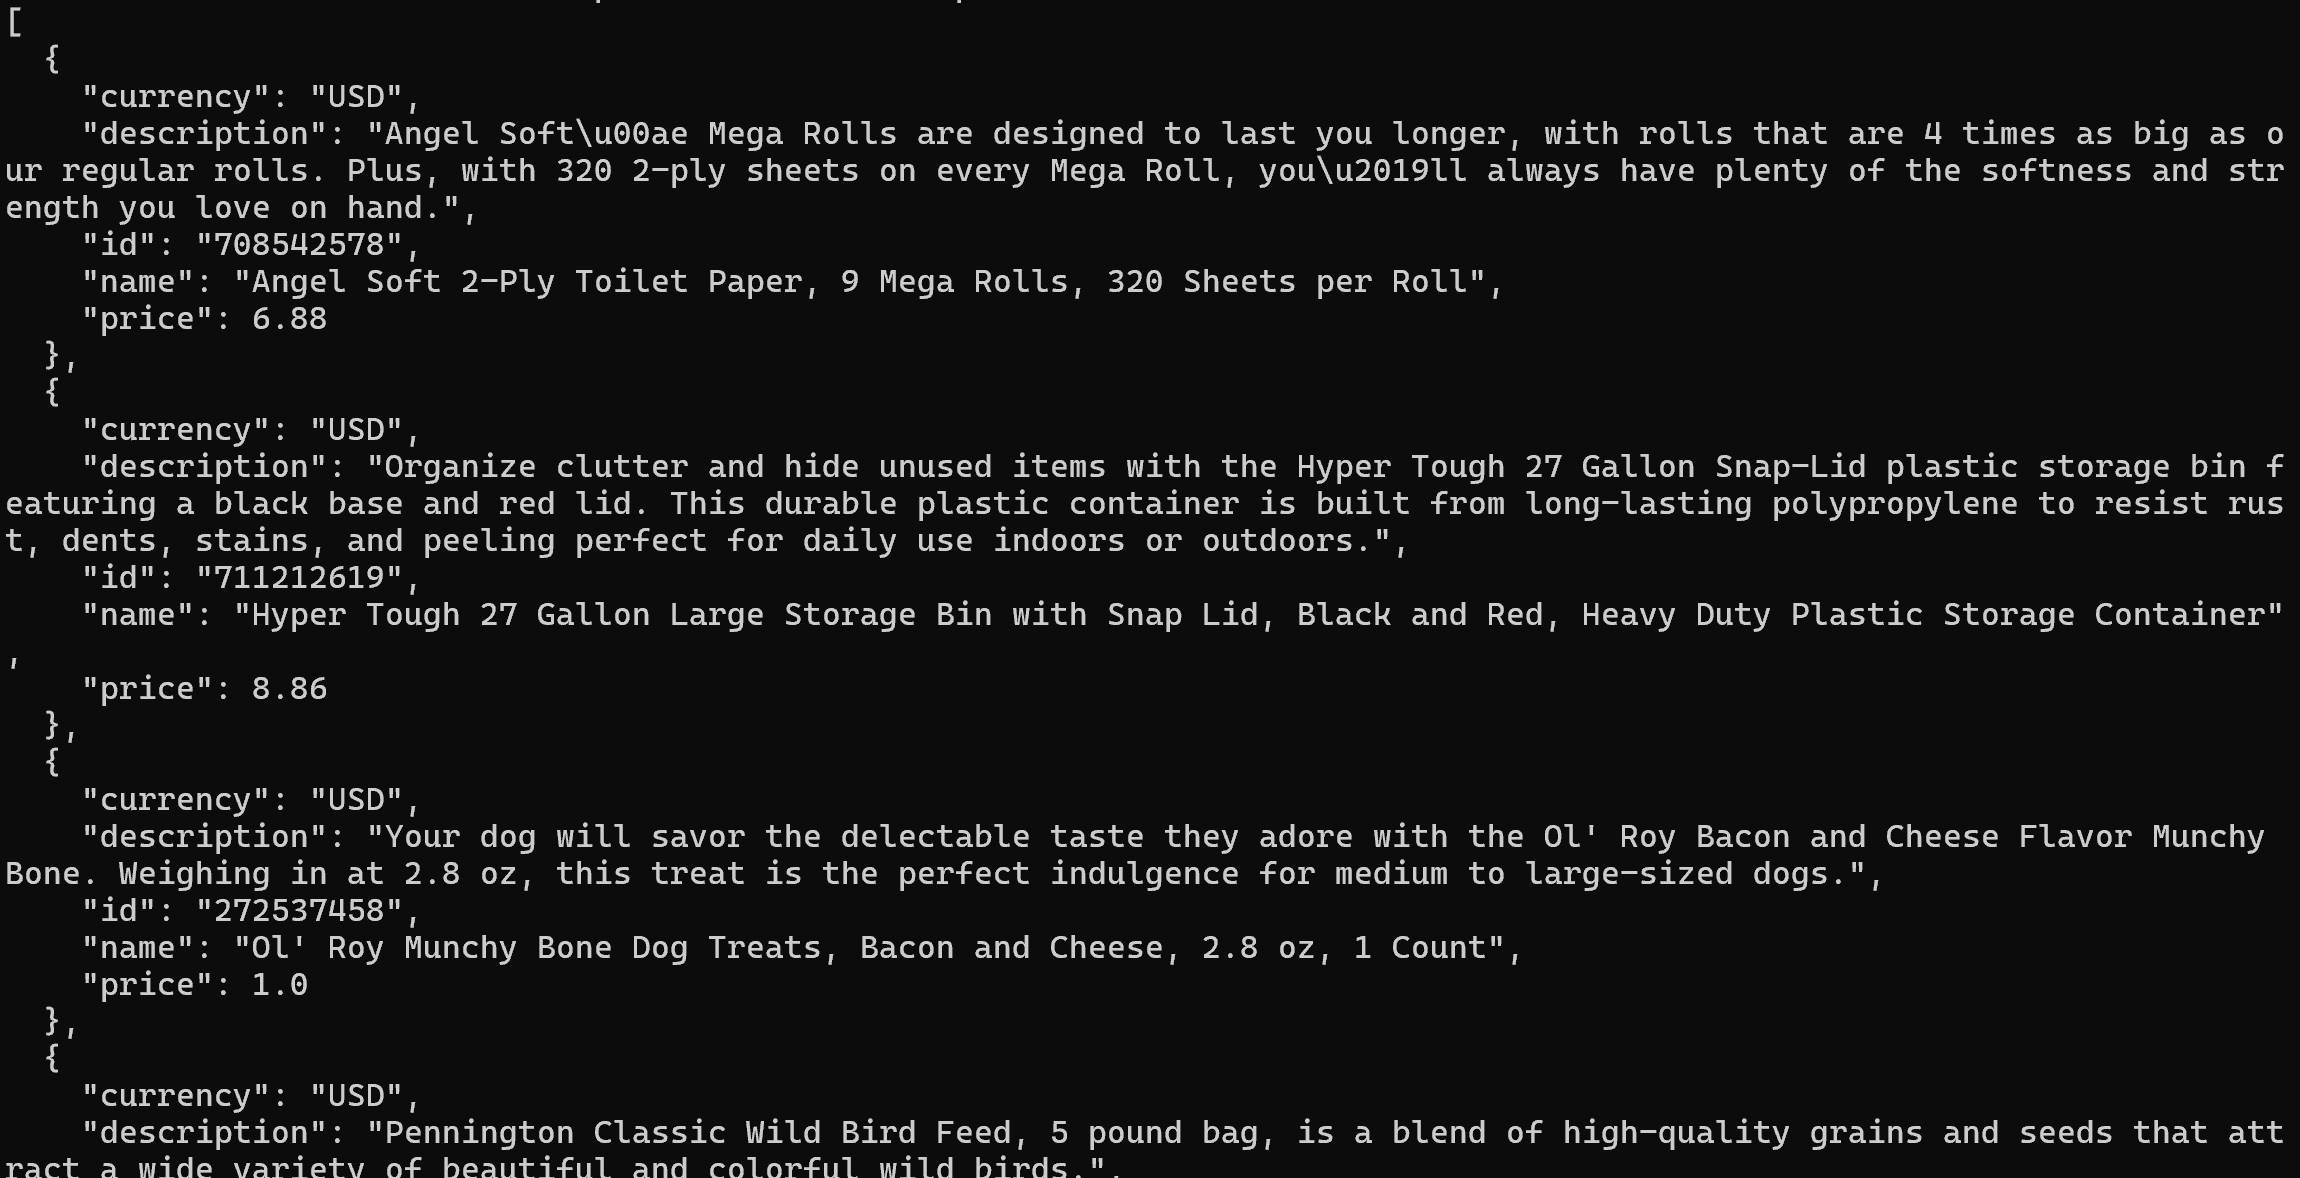
This corresponds to the first 5 products from the Walmart best sellers page: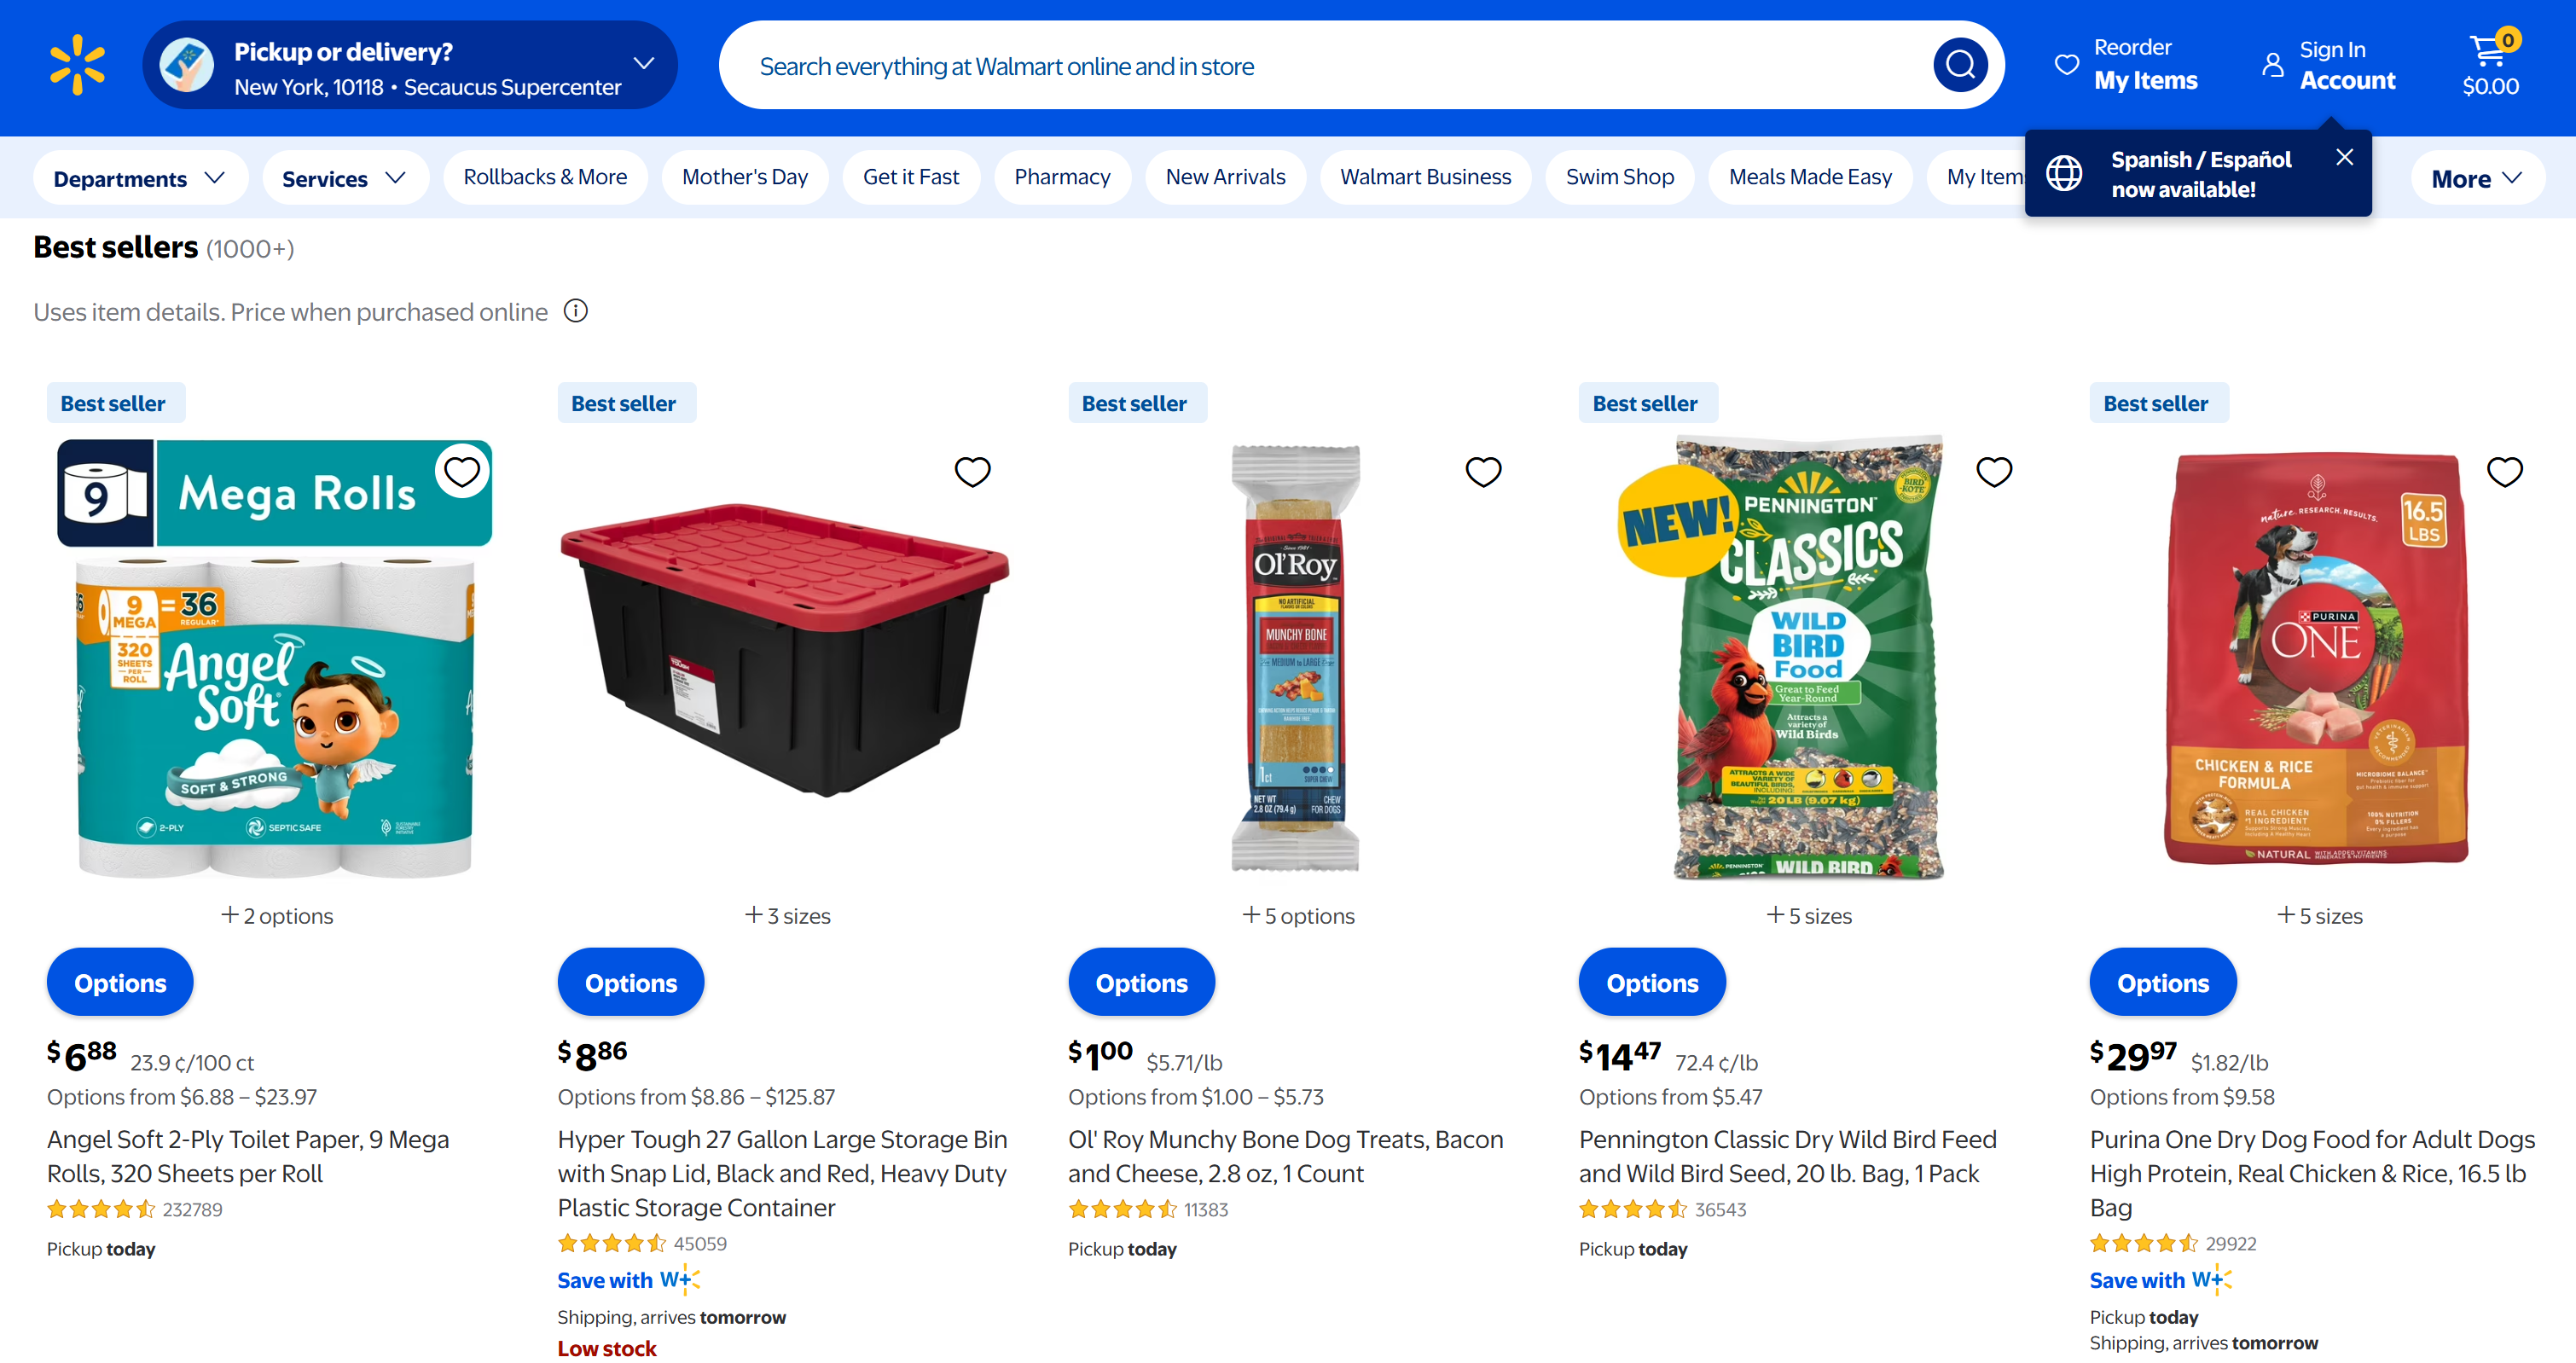
Next, test the GET /products/<id> endpoint:
curl http://127.0.0.1:5000/products/272537458 This will return the data for the specific product with ID 272537458: Et voilà! You have just seen the power of an Antigravity agent enhanced with Bright Data Web MCP.
This was a simple example, but it highlights the potential of this setup. With Bright Data Web MCP, your Antigravity agents can become significantly more capable and autonomous.
Conclusion
In this blog post, you learned what Google Antigravity is and the key features it offers for AI-assisted coding. More importantly, you understood how and why to extend it by integrating Bright Data via Web MCP.
That integration notably improves the capabilities of the Antigravity agent. It can now perform web search, extract structured data, and interact with real-world websites—unlocking use cases such as grounding, web discovery, and many others.
To go further, explore the full range of AI-ready services available in the Bright Data ecosystem.
Sign up for Bright Data for free and start building with our web data tools!

Technical Writer
Antonello Zanini is a technical writer, editor, and software engineer with 5M+ views. Expert in technical content strategy, web development, and project management.


