
In this blog post, you will see:
- What the Claude Agent SDK is and what makes it unique.
- Why extending it via Bright Data’s Web MCP is the ideal approach for more powerful AI agents.
- How to connect an AI agent built with Claude Agent SDK to Bright Data web tools via Web MCP.
Let’s dive in!
What Is Claude Agent SDK?
The Claude Agent SDK is an open-source framework from Anthropic that enables you to build autonomous AI agents powered by Claude Code. In particular, it allows agents to read files, run commands, search the web, edit code, and interact with tools without requiring custom orchestration logic.
The SDK provides a robust agent loop that can gather context, take action, and verify results. That way, it enables your agents to perform complex workflows reliably. The SDK is available in:
- Python, with a library that has over 4.5k GitHub stars.
- TypeScript, with a library boasting 720+ GitHub stars.
Claude Agent SDK supports built-in tools, subagents, and native integration with MCP (Model Context Protocol) for external services. Its end goal is to make AI agent development straightforward, equipping you with a simple API to build specialized assistants, research agents, and automation bots that leverage Claude’s reasoning and tool execution capabilities.
Why Extend the Claude Agent SDK with Bright Data’s Web Data Capabilities
Dig into Claude agent limitations and how to address them!
A Bit of Context About the Claude Agent SDK Tools
Even the most capable Claude AI models have limitations that are inherent to all LLMs. These limitations stem from the fact that AI models are trained on data that represents a snapshot of the past.
As a result, LLMs can only generate answers based on what they were trained on. When asked about things they do not know (or about very recent events), they can fail outright or, worse, produce hallucinations. Also, they cannot interact with the outside world by themselves.
Since AI agents are powered by LLMs, they inherit all of these limitations. At the same time, agents have a key advantage: they can use tools! Tools allow agents to call external services and systems, extending their otherwise limited, LLM-only capabilities.
The Claude Agent SDK provides agents with a default set of built-in tools for working with files, running commands, searching the web, editing code, and more.
It also introduces a distinctive approach to custom tool definition. In the Claude Agent SDK, custom tools are implemented as in-process MCP servers. That should come as no surprise, given that MCP is defined by Anthropic, the company behind Claude.
While the default Claude Agent SDK tools are useful, they are not always sufficient for production-grade use cases. In practice, it is better to integrate specialized third-party providers that are designed to address common LLM limitations, such as outdated knowledge and limited interaction with the live web.
This is where the Bright Data Web MCP comes in!
Presenting the Bright Data Web MCP
Custom tools in the Claude Agent SDK run on top of MCP behind the scenes. Thus, it makes sense to extend agent builds with an MCP that already provides a rich set of production-ready tools.
Bright Data’s Web MCP provides 60+ AI-ready tools for automated web data collection, structured data extraction, and browser-level interactions. It is available both as a remote service and as a local server, backed by a public repository with over 2k GitHub stars.
Even on the free tier, the MCP server exposes two particularly useful tools (along with their batch variants):
| Tool | Description |
|---|---|
search_engine |
Retrieve Google, Bing, or Yandex results in JSON or Markdown format. |
scrape_as_markdown |
Scrape any webpage into clean Markdown, bypassing anti-bot measures. |
Where Web MCP truly shines is Pro mode, which unlocks premium tools for structured data extraction from platforms such as Amazon, LinkedIn, Yahoo Finance, YouTube, TikTok, Zillow, Google Maps, and many more. On top of that, it equips any AI agent with the ability to navigate the web and interact with web pages like a human user.
Now, let’s see how to integrate Bright Data Web MCP into the Claude Agent SDK!
How to Connect the Claude Agent SDK to Bright Data’s Tools via Web MCP
In this step-by-step guide, you will learn how to integrate Bright Data services into an AI agent built with the Claude Agent SDK via MCP. In detail, you will connect Bright Data’s Web MCP to a Claude Agent SDK AI agent, giving it access to the full range of available web data tools.
Note: The Claude Agent SDK is also available in TypeScript. The following section can be easily converted from Python to JavaScript or TypeScript by referring to the official documentation.
Follow the instructions below!
Prerequisites
To follow this tutorial, make sure you meet the following requirements:
- Python 3.10 or later installed locally.
- Claude Code installed on your machine.
- A Claude API key with available credits.
- A Bright Data account with an API key.
Note: You will be guided through the process of setting up your Bright Data account just yet for Web MCP usage in a dedicated section later in the tutorial.
Keep in mind that the Claude Agent SDK uses Claude Code as its runtime, which is why Claude Code must be installed locally. For step-by-step instructions, refer to our guide on Claude Code + Bright Data Web MCP integration.
Finally, some basic familiarity with the MCP protocol and the tools provided by the Web MCP will be helpful.
Step #1: Set up a Claude Agent SDK project in Python
First, verify that Claude Code is installed on your machine. Run the following command:
claude --versionYou should see output similar to:
2.1.29 (Claude Code)If you do, great! This confirms that the main prerequisite for using the Claude Agent SDK is in place.
Next, proceed by creating a project directory. Then, navigate into it from your terminal:
mkdir claude-agent-sdk-bright-data-ai-agent
cd claude-agent-sdk-bright-data-ai-agent
Now, initialize a virtual environment inside the project:
python -m venv .venvCreate a new file called agent.py in the project root, which should now look like this:
claude-agent-sdk-bright-data-ai-agent/
├── .venv/
└── agent.py
The agent.py file will contain the logic for your AI agent, built with the Claude Agent SDK and interacting with the Bright Data Web MCP.
Open the project folder in your preferred Python IDE. For example, load it in PyCharm Community Edition or Visual Studio Code with the Python extension.
Now, activate the virtual environment you created before. On Linux or macOS, run:
source .venv/bin/activateEquivalently, on Windows, fire:
.venv/Scripts/activateWith the virtual environment activated, install the required dependencies:
pip install claude-agent-sdk python-dotenvThe dependencies for this application are:
claude-agent-sdk: To build AI agents in Python via the Claude Agent SDK.python-dotenv: To load secrets (such as your Claude API key and Bright Data API key) from a local .env file.
All set! Your Python environment is now ready for building AI agents with the Claude Agent SDK.
Step #2: Prepare for Environment Variable Loading
Your AI agent will connect to third-party services, such as Bright Data and (obviously) Claude. To do so, you need to use the API keys associated with your accounts on those services. As a best practice, you should never hard-code credentials directly in your source code.
Instead, you should load the required API keys from a .env file. This is exactly why you installed python-dotenv in the previous step. Begin by importing the library in your agent.py file:
from dotenv import load_dotenvThen, create a .env file in the project root:
claude-agent-sdk-bright-data-ai-agent/
├─── .venv/
├─── agent.py
└─── .env # <-----
The .env file will store your Claude API key and Bright Data API key, which are the two required secrets for this project.
Now, load the environment variables from the .env file by calling the following function in agent.py:
load_dotenv()Nice! Your script can securely read sensitive credentials from environment variables, keeping them out of your codebase.
Step #3: Get Started With Claude Agent SDK
In agent.py, add the following code to build a simple AI agent using the Claude Agent SDK:
import asyncio
from claude_agent_sdk import query, ClaudeAgentOptions
from claude_agent_sdk.types import StreamEvent

async def main():
    # Configure the Claude agent
    options = ClaudeAgentOptions(
        model="claude-haiku-4-5",     # Replace with your preferred Claude model
        include_partial_messages=True # Enable streaming responses
    )

    # The prompt sent to the agent
    prompt = "Hey! How is it going?"

    # Agentic loop: Streams events returned by the Claude Agent SDK
    async for message in query(prompt=prompt, options=options):
        # Intercept only streaming events
        if isinstance(message, StreamEvent):
            event = message.event
            event_type = event.get("type")

            # Handle incremental text output
            if event_type == "content_block_delta":
                delta = event.get("delta", {})

                if delta.get("type") == "text_delta":
                    # Print streamed text as it arrives
                    print(delta.get("text", ""), end="", flush=True)

asyncio.run(main())
This script has three main components:
options: Configures the agent. In this example, the agent uses the Claude Haiku 4.5 model and enables streaming responses, allowing output to be printed incrementally.prompt: Defines what you want the Claude AI agent to do. Claude automatically decides how to handle the task based on this input.query: The main entry point that starts the agentic loop. It returns an async iterator, which is why you useasync forto stream messages as Claude reasons, calls tools, observes results, and produces output.
The async for loop keeps running while Claude is “thinking.” Each iteration can yield different message types, such as reasoning steps, tool calls, tool results, or the final answer. In this example, you are only streaming the final text output to the terminal.
To run successfully, the Claude Agent SDK requires access to the Claude API. By default, it reads the API key from the ANTHROPIC_API_KEY environment variable. Thus, add it to your .env file like this:
ANTHROPIC_API_KEY="<YOUR_ANTHROPIC_API_KEY>" Replace <YOUR_ANTHROPIC_API_KEY> with your actual Anthropic Claude API key.
Note: If your Claude Agent SDK agent cannot access the API key, it will fail with the following error:
Your organization does not have access to Claude. Please login again or contact your administrator.With everything considering the code from the previous step, start the agent by running:
python agent.pyIn your terminal, you should see a streaming response similar to the following:
Wonderful! The response matches the input prompt, which means the Claude Agent SDK–powered AI agent is working perfectly.
Step #4: Kick Off with Bright Data’s Web MCP
Remember that custom tools in the Claude Agent SDK are implemented via in-process MCP servers. For this reason, it makes sense to connect your AI agent directly to a Bright Data Web MCP server instance.
After all, defining custom tools by integrating directly with Bright Data services and then exposing them via MCP would not make much sense. That is because there is already an official (and widely used!) MCP server.
In this section, we will show a connection to a local instance. At the same time, you can also connect to remote Web MCP servers for more scalable, enterprise-ready setups.
Before connecting the Claude Agent SDK to Bright Data’s Web MCP, verify that the MCP server can run on your machine!
First, create a Bright Data account. Or, if you already have one, just log in. For a quick setup, follow the wizard in the “MCP” section of your dashboard: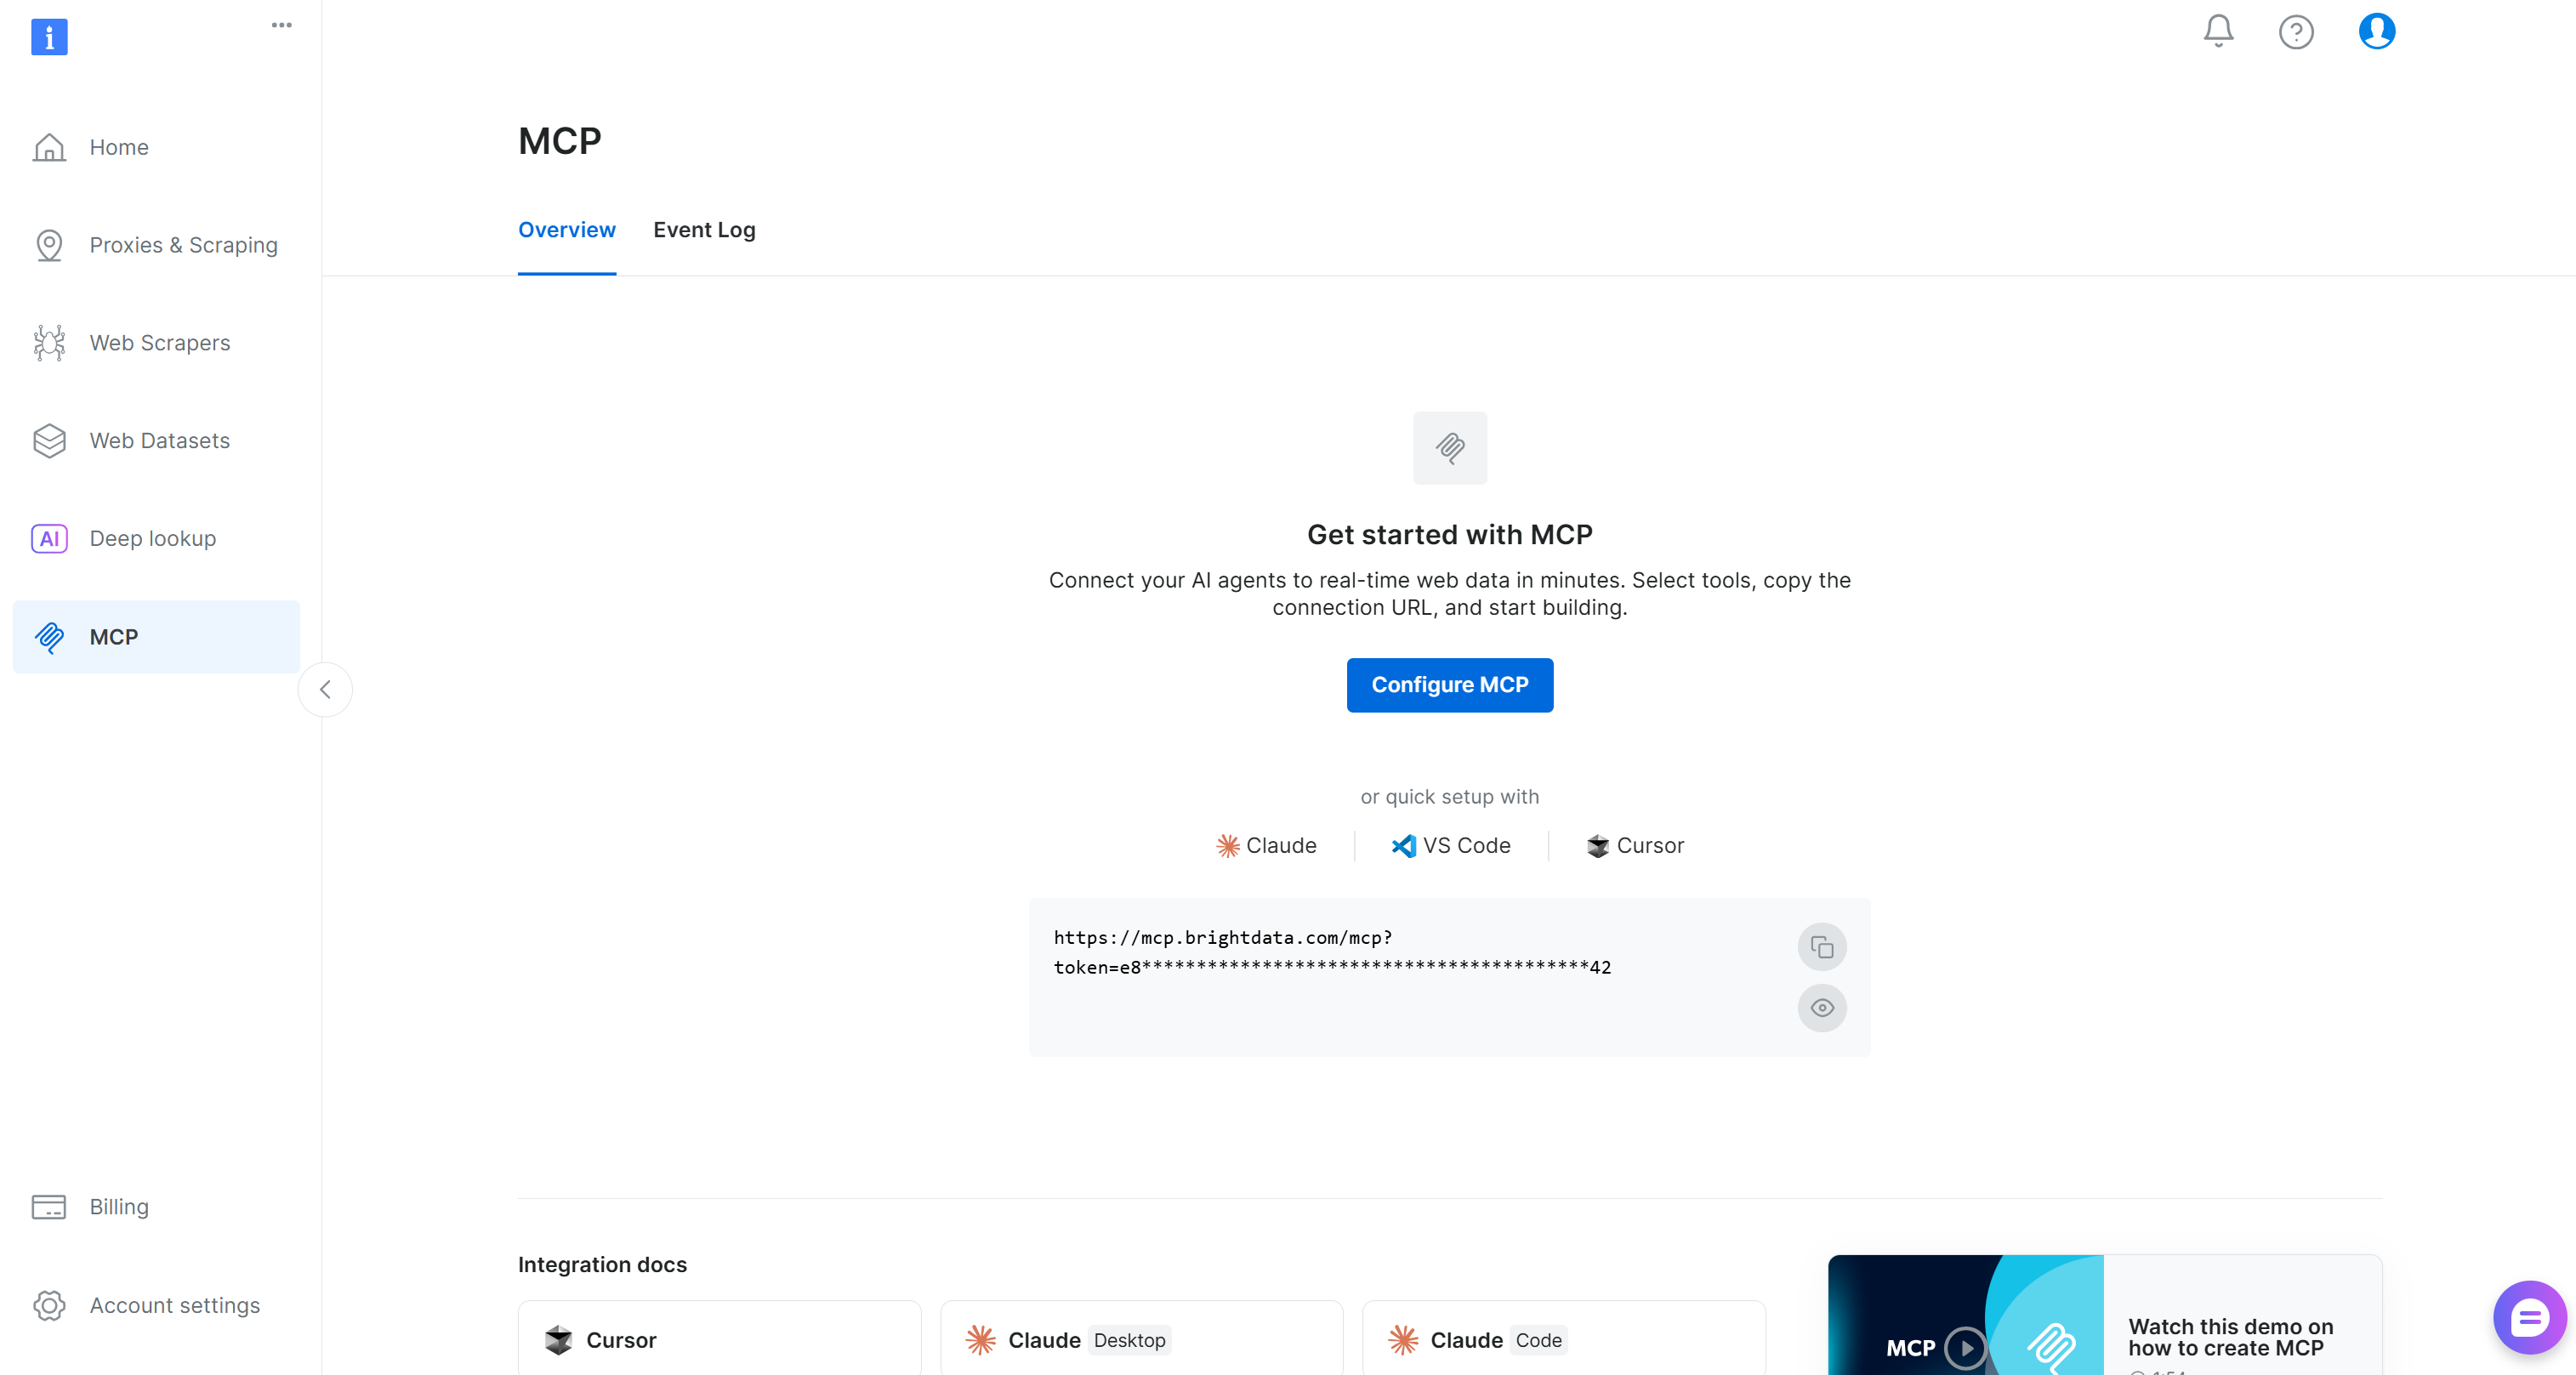
Otherwise, for additional guidance, refer to the instructions below.
Begin by generating your Bright Data API key. You will utilize the API key shortly to authenticate your local Web MCP instance with your Bright Data account. Since you will need to access it in your code, add it to your .env file with:
BRIGHT_DATA_API_KEY="<YOUR_BRIGHT_DATA_API_KEY>"Then, load it in your agent.py file:
import os

BRIGHT_DATA_API_KEY = os.getenv("BRIGHT_DATA_API_KEY")
Proceed by installing the Web MCP globally via the @brightdata/mcp package:
npm install -g @brightdata/mcpOn Linux/macOS, check that the MCP server runs locally with:
API_TOKEN="<YOUR_BRIGHT_DATA_API>" npx -y @brightdata/mcpOr, equivalently, in PowerShell:
$Env:API_TOKEN="<YOUR_BRIGHT_DATA_API>"; npx -y @brightdata/mcpReplace the <YOUR_BRIGHT_DATA_API> placeholder with your actual Bright Data API token. These (equivalent) commands set the required API_TOKEN environment variable and start the Web MCP server locally.
If successful, you should receive logs similar to the ones below:
On the first launch, the Web MCP package automatically sets up two zones in your Bright Data account:
mcp_unlocker: A zone for Web Unlocker.mcp_browser: A zone for Browser API.
These two zones power the 60+ tools available in Web MCP. Note that you can also override the default names of the two zones, as explained in the docs.
If you want to confirm that they were created, go to the “Proxies & Scraping Infrastructure” page in your Bright Data dashboard. You should notice both zones listed in the “My Zones” table: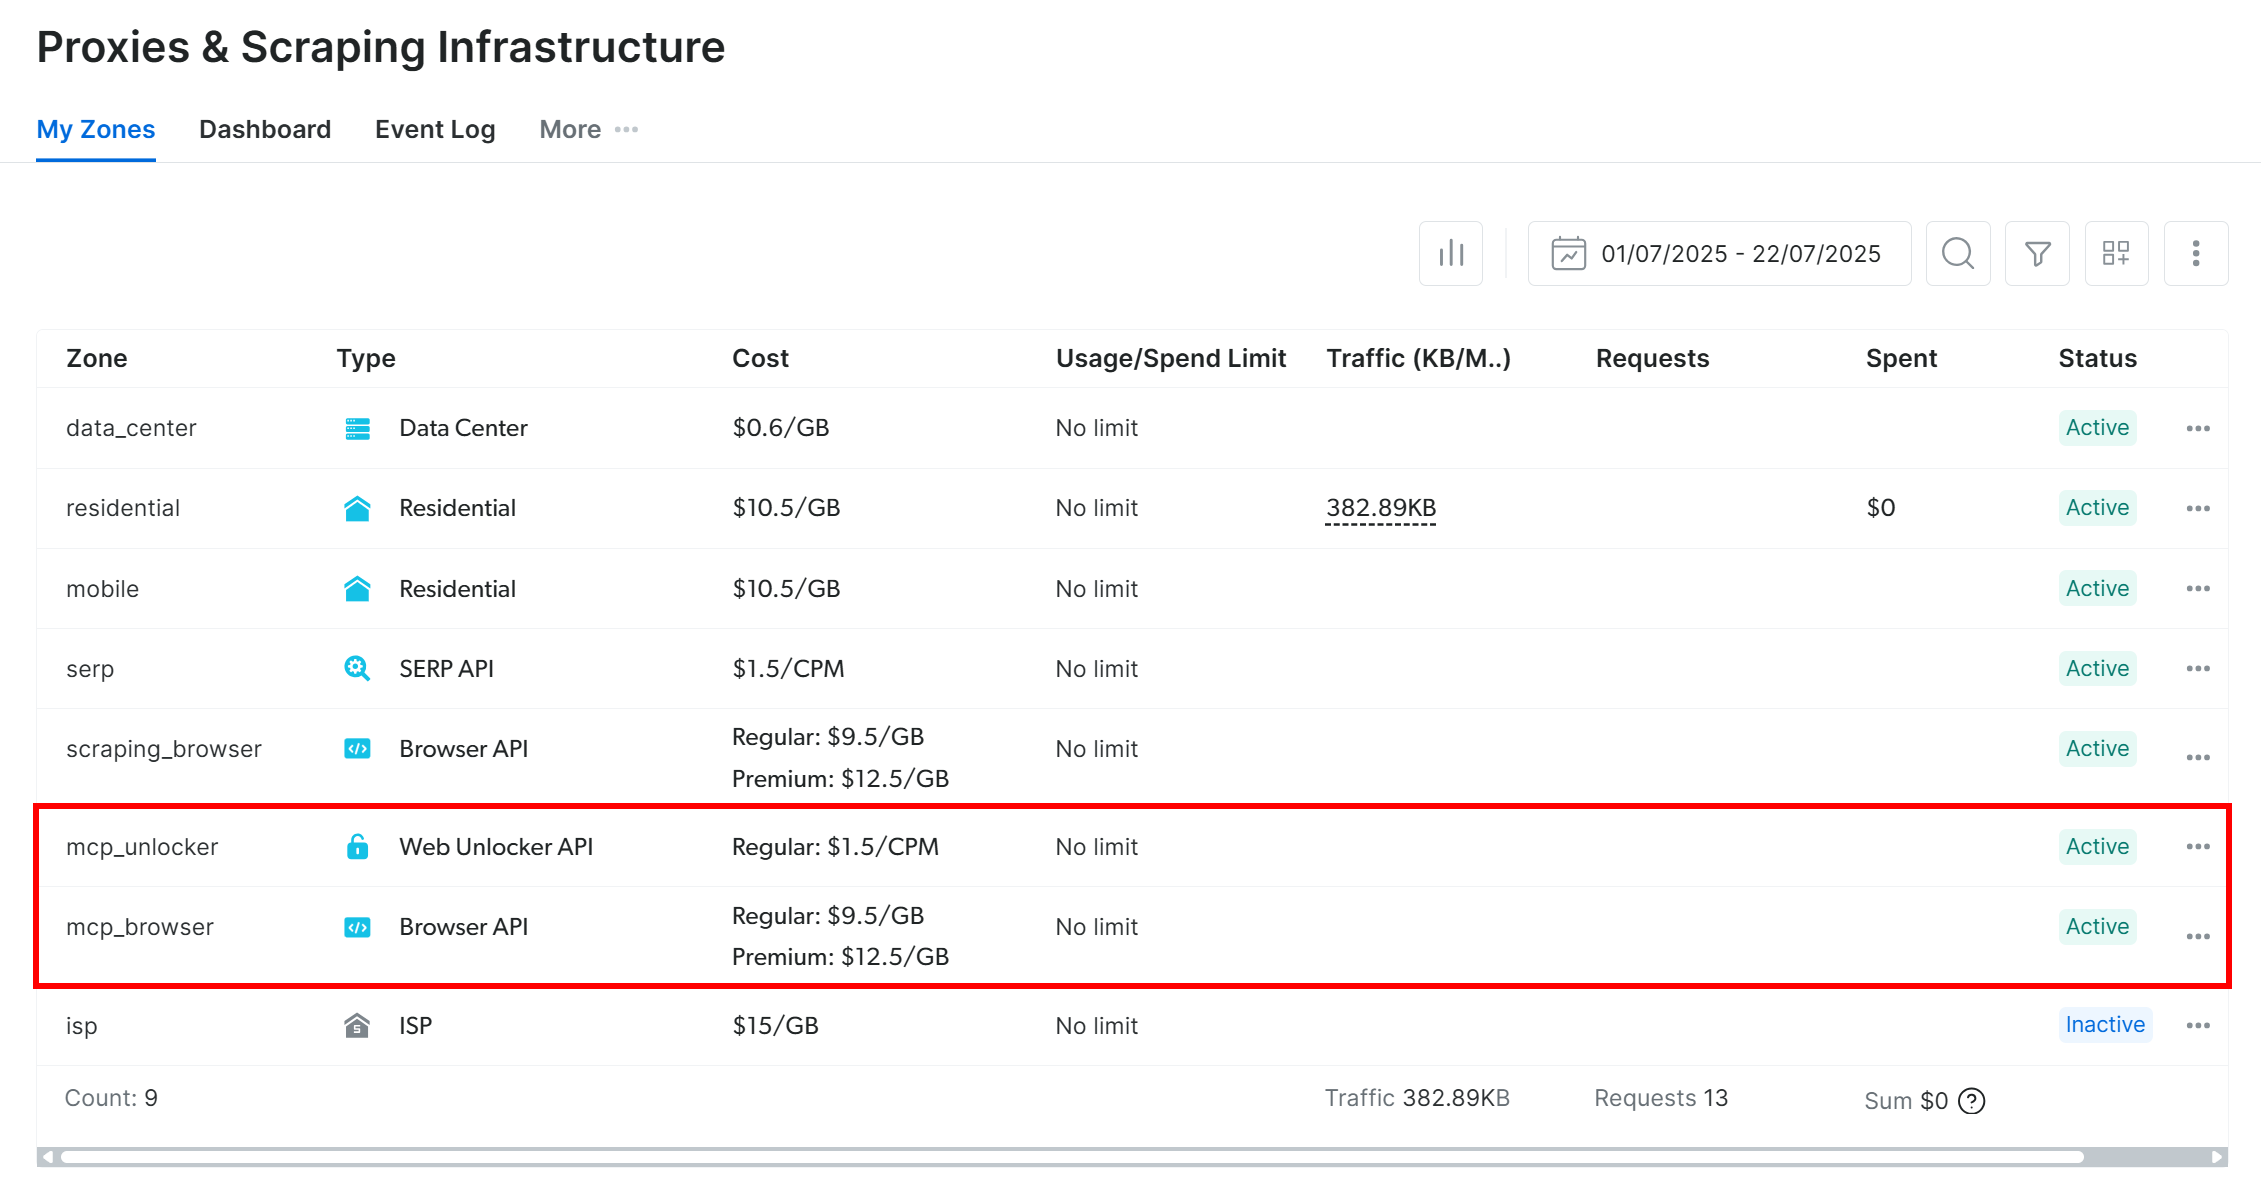
Now, remember that the Web MCP free tier only gives you access to the search_engine and scrape_as_markdown tools (and their batch versions).
To unlock all 60+ tools, you must enable Pro mode by setting the PRO_MODE="true" environment variable:
API_TOKEN="<YOUR_BRIGHT_DATA_API>" PRO_MODE="true" npx -y @brightdata/mcpOr, on Windows:
$Env:API_TOKEN="<YOUR_BRIGHT_DATA_API>"; $Env:PRO_MODE="true"; npx -y @brightdata/mcpImportant: Pro mode is not included in the free tier and incurs additional charges.
Terrific! You are now sure that the Web MCP server is running on your machine. Next, you will configure the Claude Agent SDK to start the server automatically and connect to it.
Step #5: Connect Claude Agent SDK to Web MCP
The Claude Agent SDK supports MCP connections via the mcp_servers option in the ClaudeAgentOptions class. This allows your agent to communicate directly with Bright Data’s Web MCP.
To connect to Web MCP, update your options variable like this:
options = ClaudeAgentOptions(
    # Connect to Bright Data's Web MCP
    mcp_servers={
        "bright_data": {
            "command": "npx",
            "args": ["-y", "@brightdata/mcp"],
            "env": {
                "API_TOKEN": BRIGHT_DATA_API_KEY,
                "PRO_MODE": "true" # To enable Pro mode
            }
        }
    },
    allowed_tools=["mcp__bright_data__*"], # Enable all Bright Data Web MCP tools
    model="claude-haiku-4-5", # Replace with your preferred Claude model
    include_partial_messages=True, # Enable streaming responses
)
This setup mirrors the npx command you tested earlier, passing credentials and configuration via environment variables:
API_TOKEN: Required for authentication. Set this to your Bright Data API key.PRO_MODE: Required to enable Pro mode.
Important: The allowed_tools field uses a wildcard to allow all tools from the configured bright_data server. Without this, the Claude-powered agent can see the tools but will not be able to use them.
If you prefer not to specify the mcp_servers option in code, you can alternatively create a .mcp.json file in your project root with the following structure:
{
  "mcpServers": {
    "bright_data": {
        "command": "npx",
        "args": ["-y", "@brightdata/mcp"],
        "env": {
            "API_TOKEN": "<YOUR_BRIGHT_DATA_API_KEY>",
            "PRO_MODE": "true"
        }
    }
  }
}
To verify the Web MCP connection, test the agent with a simple prompt:
prompt = "Which Bright Data MCP tool do you have access to?"In Pro mode (PRO_MODE="true"), the response should list all available 60+ tools, similar to this: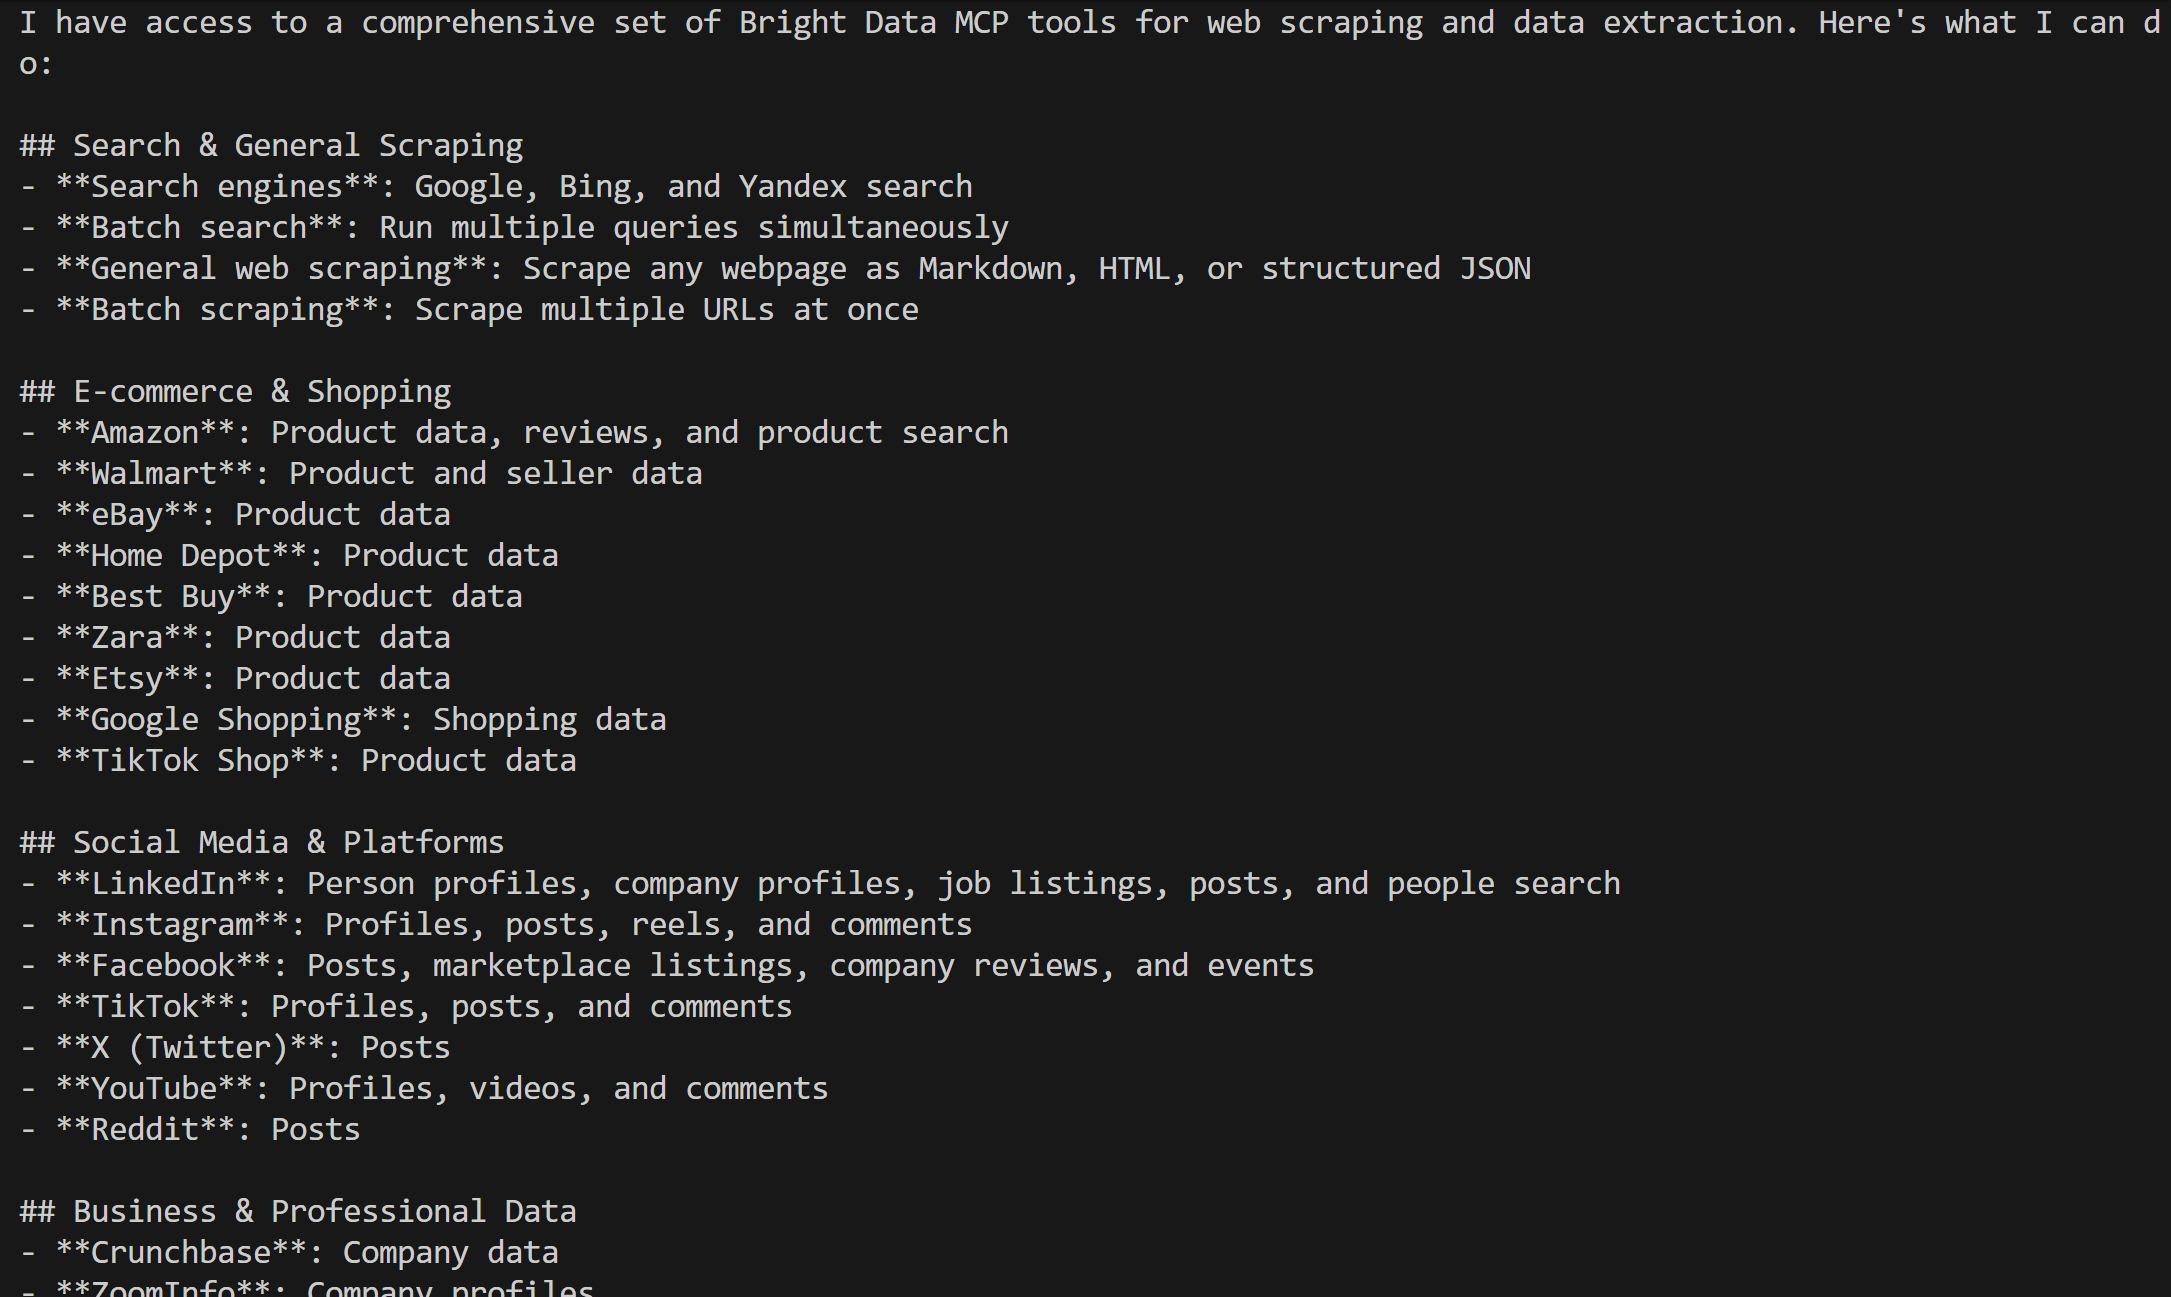
Now your agent can see and use all high-level tools available in the Web MCP server. Mission complete! Your AI agent, built with the Claude Agent SDK, is now extended with Bright Data’s web data capabilities via Web MCP tools.
Step #6: Run the Agent
To demonstrate how effective an AI agent can become when integrated with the Bright Data Web MCP, you need the right prompt. In particular, the prompt should involve web data retrieval and/or web interaction.
For example, imagine you want to build an AI agent that monitors competitor websites by automatically taking screenshots and extracting page text. This is a task that a standard AI agent cannot perform on its own without the right tools.
Assume Nike is your competitor. You could write a prompt like:
prompt = """
Open a scraping-browser session and navigate to the following web page:
"https://www.nike.com/"
Wait for the page to fully load, then capture a full-page screenshot. Also, extract the entire page text. Save the screenshot to a local `screenshot.png` file and the page text to a local `text.txt` file.
"""
Thanks to the browsing capabilities available in the premium Bright Data Web MCP tools, the AI agent can now:
- Open a remote browser session in the cloud via the Browser API, bypassing common anti-bot protections and accessing virtually any web page.
- Wait for the page to fully load.
- Capture a full-page screenshot and extract all visible text.
Finally, the agent uses the built-in tools provided by the Claude Agent SDK to save the generated output to disk as requested.
Note that to enable image handling and writing to disk, you will also need the following two extra options:
options = ClaudeAgentOptions(
    # ...
    permission_mode="acceptEdits", # To enable the agent to write files to disk
    max_buffer_size=10 * 1024 * 1024, # Increase to 10MB for image handling
)
Since the agent’s run will involve tool usage, it makes sense to update the streaming logic to also intercept events related to tool calls. Update your async for loop like this:
# Track the current tool and accumulate its input JSON
current_tool = None
tool_input = ""

# Agentic loop: Streams events returned by the Claude Agent SDK
async for message in query(prompt=prompt, options=options):
     # Intercept only streaming events
    if isinstance(message, StreamEvent):
        event = message.event
        event_type = event.get("type")

        if event_type == "content_block_start":
            # New tool call is starting
            content_block = event.get("content_block", {})
            if content_block.get("type") == "tool_use":
                current_tool = content_block.get("name")
                tool_input = ""
                print(f"\nStarting tool: {current_tool}")

        # Handle incremental text output
        elif event_type == "content_block_delta":
            delta = event.get("delta", {})
            if delta.get("type") == "text_delta":
                 # Print streamed text as it arrives
                print(delta.get("text", ""), end="", flush=True)
            elif delta.get("type") == "input_json_delta":
                # Accumulate JSON input as it streams in
                chunk = delta.get("partial_json", "")
                tool_input += chunk

        elif event_type == "content_block_stop":
            # Tool call complete (show final input)
            if current_tool:
                print(f"Tool {current_tool} called with: {tool_input}")
                current_tool = None
This logic will help you better understand the tools called by the agent and their respective inputs. Amazing! All that remains is to put the agent to the test.
Step #7: Test the AI Agent
Your final agent.py file will contain:
from dotenv import load_dotenv
import os
import asyncio
from claude_agent_sdk import query, ClaudeAgentOptions
from claude_agent_sdk.types import StreamEvent

# Load environment variables from the .env file
load_dotenv()

# Access the Bright Data API key environemnt variable
BRIGHT_DATA_API_KEY = os.getenv("BRIGHT_DATA_API_KEY")

async def main():
    options = ClaudeAgentOptions(
        # Connect to Bright Data's Web MCP
        mcp_servers={
            "bright_data": {
                "command": "npx",
                "args": ["-y", "@brightdata/mcp"],
                "env": {
                    "API_TOKEN": BRIGHT_DATA_API_KEY,
                    "PRO_MODE": "true"  # To enable Pro mode
                }
            }
        },
        allowed_tools=["mcp__bright_data__*"],  # Enable all Bright Data Web MCP tools
        model="claude-haiku-4-5",     # Replace with your preferred Claude model
        include_partial_messages=True, # Enable streaming responses
        permission_mode="acceptEdits", # To enable the agent to write files to disk
        max_buffer_size=10 * 1024 * 1024, # Increase to 10MB for image handling
    )

     # The prompt sent to the agent
    prompt = """
    Open a scraping-browser session and navigate to the following web page:
    "https://www.nike.com/"
    Wait for the page to fully load, then capture a full-page screenshot. Also extract the entire page text. Save the screenshot to a local `screenshot.png` file and the page text to a local `text.txt` file.
    """

    # Track the current tool and accumulate its input JSON
    current_tool = None
    tool_input = ""

    # Agentic loop: Streams events returned by the Claude Agent SDK
    async for message in query(prompt=prompt, options=options):
         # Intercept only streaming events
        if isinstance(message, StreamEvent):
            event = message.event
            event_type = event.get("type")

            if event_type == "content_block_start":
                # New tool call is starting
                content_block = event.get("content_block", {})
                if content_block.get("type") == "tool_use":
                    current_tool = content_block.get("name")
                    tool_input = ""
                    print(f"\nStarting tool: {current_tool}")

            # Handle incremental text output
            elif event_type == "content_block_delta":
                delta = event.get("delta", {})
                if delta.get("type") == "text_delta":
                     # Print streamed text as it arrives
                    print(delta.get("text", ""), end="", flush=True)
                elif delta.get("type") == "input_json_delta":
                    # Accumulate JSON input as it streams in
                    chunk = delta.get("partial_json", "")
                    tool_input += chunk

            elif event_type == "content_block_stop":
                # Tool call complete (show final input)
                if current_tool:
                    print(f"Tool {current_tool} called with: {tool_input}")
                    current_tool = None

asyncio.run(main())
Launch it with:
python agent.pyIf you run the agent, you should see an output like this:
As you can see, the agent connects to the Web MCP and uses the following tools:
mcp__bright_data__scraping_browser_screenshotto capture a full-page screenshotmcp__bright_data__scraping_browser_get_textto extract all the text from the web page
It then uses the “Write” tool to save the output to the requested files. After running, your project’s root folder should now include screenshot.png and text.txt:
Open screenshot.png to see the full-page screenshot of the target Nike home page: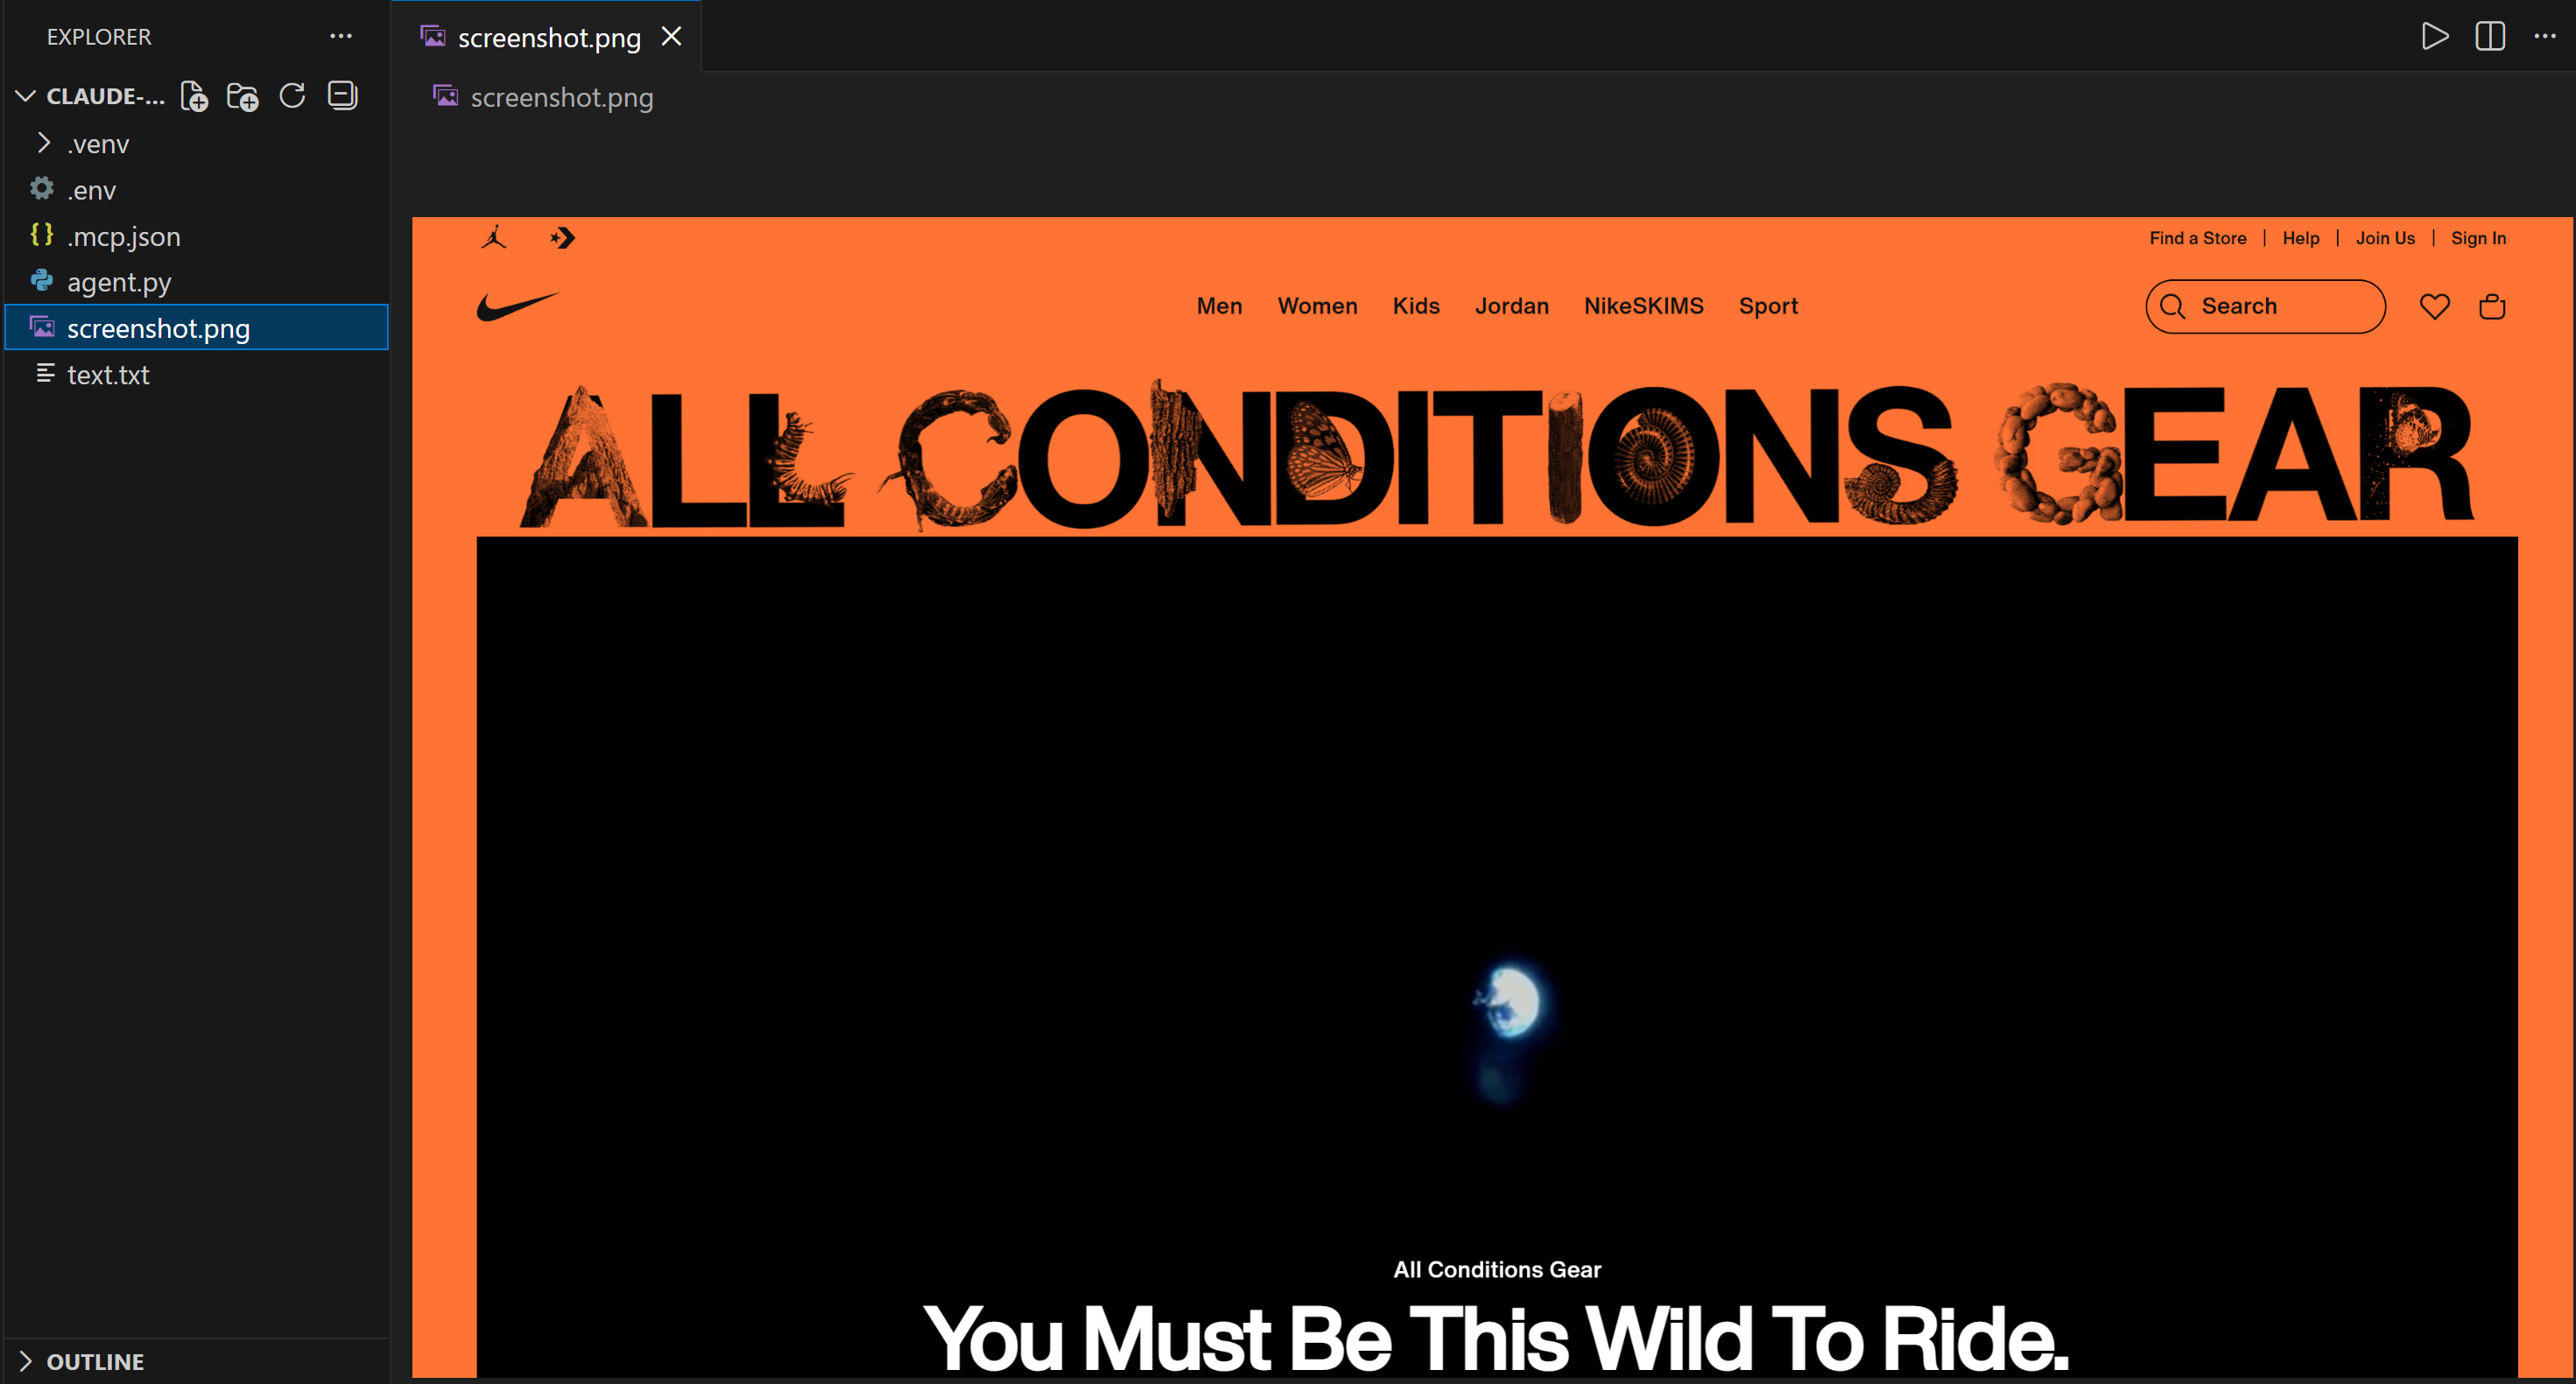
Open text.txt to view the extracted text from the above page: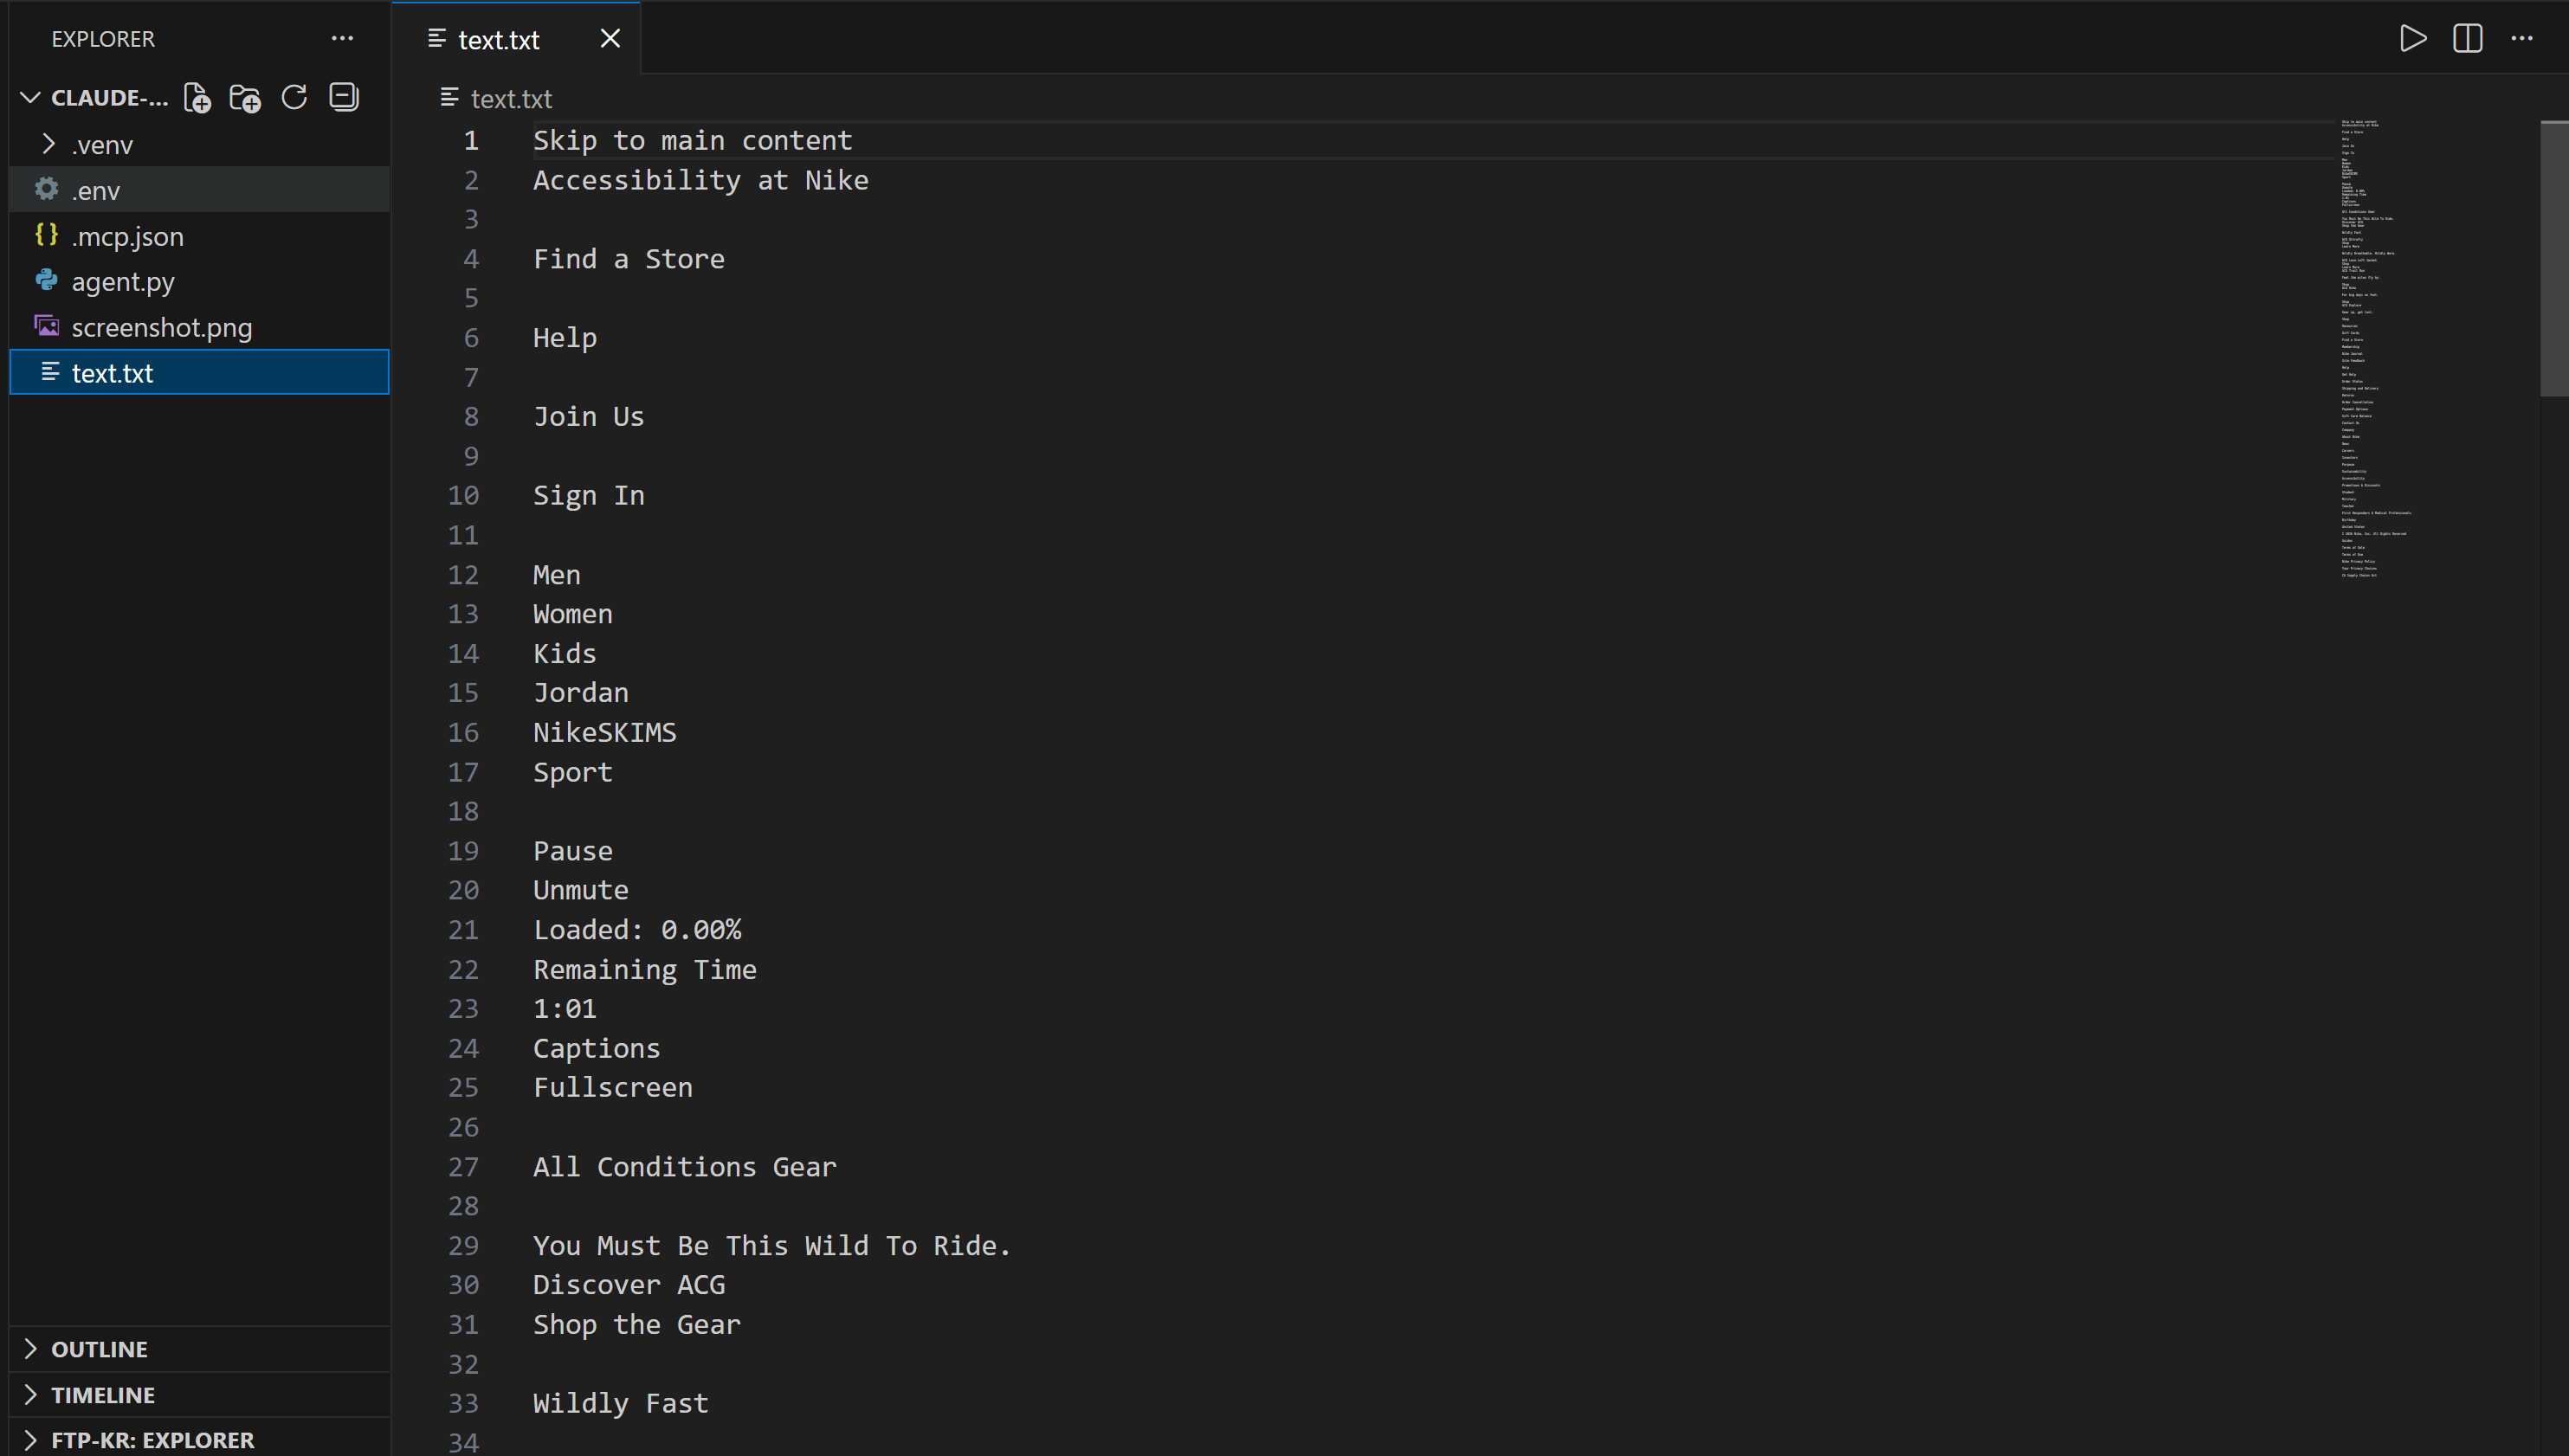
Et voilà! Your AI agent, orchestrated via the Claude Agent SDK and extended with Bright Data Web MCP, can now handle web browsing and much more!
Conclusion
In this tutorial, you learned how to leverage custom tooling via MCP integration in the Claude Agent SDK to build extended AI agents. Specifically, you saw why and how to enhance an AI agent powered by the Claude Agent Python SDK by connecting it to Bright Data’s Web MCP.
This integration equips your Claude-powered AI agent with powerful capabilities such as web search, structured data extraction, live web data retrieval, and automated web interactions—enabling a wide range of agentic use cases.
Sign up for a Bright Data account for free today and get hands-on with AI-ready web data tools!

Technical Writer
Antonello Zanini is a technical writer, editor, and software engineer with 5M+ views. Expert in technical content strategy, web development, and project management.


