







In this blog post, you will discover:
- What audio scraping is and how to perform it.
- The main challenges involved in scraping audio from the web and preparing it for processing.
- How to scrape audio at scale.
- How to convert scraped audio into WAV format for AI-based processing.
- How to generate timestamped transcripts from audio using AI speech-to-text models.
- Relevant use cases for scraped audio data.
Let’s dive in!
How Audio Web Scraping Works
Audio web scraping refers to automatically downloading audio content from websites. The audio may come from a standalone file or be embedded within a video.
Downloading the audio is usually only the first step. In real-world applications, the goal is to use the scraped audio for automated analysis, text detection, or AI model training. To perform such tasks, you typically need the text contained in the audio as well.
This is where audio transcription becomes important. By converting scraped audio into text, you can make spoken content searchable. Adding timestamps to each transcript segment also allows you to link specific pieces of text to their corresponding points in the original audio waveform.
In other words, scraping gives you access to the raw audio. Then, transcription transforms that audio into structured, machine-readable text that can be employed for a wide range of AI and data-processing tasks.
In this tutorial, you will be walked through the complete process. You will learn how to scrape and download audio from the web, convert it into a suitable format, and process it with AI models to generate a transcript.
Challenges of Scraping Audio and Solutions
Scraping audio from the web may seem straightforward, but building a reliable audio-processing pipeline involves many obstacles.
You first need to find an accessible audio source, then overcome potential restrictions when retrieving it, and finally convert the audio into usable text. Fortunately, each of these challenges can be addressed with the right tools and workflow!
Finding Audio Sources on the Web
The first challenge is finding a suitable audio source to scrape. Unlike web pages, audio is not always available through an obvious, direct download URL.
For example, the audio of interest might come from a video hosted on platforms such as YouTube, Vimeo, or Bilibili. One solution is to scrape these videos and extract their audio tracks, giving you access to a much larger pool of audio content.
If you want to skip audio web scraping altogether, consider relying on Bright Data’s AI-ready audio datasets. These contain already collected and prepared for AI and machine learning workflows.
Overcoming Web Access and Anti-Bot Challenges
Finding an audio source is only part of the problem. Once you identify the content you want to collect, the target website may apply anti-scraping techniques. These include IP reputation checks, rate limits, CAPTCHAs, JavaScript challenges, and other anti-bot mechanisms.
That is where Bright Data can help. Bright Data provides web access infrastructure designed to help you collect publicly available web data at enterprise scale. Its product portfolio includes solutions such as Web Unlocker API, Browser API, and proxy services.
Bright Data’s network includes more than 400 million IPs across 195 countries. This infrastructure supports unlimited concurrency, with a 99.95% success rate and 99.99% uptime.
Soon, you will see how to use Web Unlocker API to access audio resources from any site. This enables us to focus on the audio-processing workflow rather than building your own web-access layer.
Converting Audio Into Usable Text
The final issue is turning the scraped audio into text. That is not always simple, especially when recordings contain background noise, multiple speakers, or unclear speech. Yet, modern AI transcription models can handle most of these situations. Adding timestamps makes the transcript even more useful by connecting each section of text to its position in the recording.
Step #1: Scrape the Audio Resource from the Web
Audio web scraping starts with building an automated system to collect audio content from the web. This can involve directly targeting audio files, such as MP3 files, or, more commonly, downloading videos and extracting the audio track from them.
To help overcome restrictions that websites might apply to scraping bots, you will route your automated requests through Bright Data’s Web Unlocker API. This way, you can forget about CAPTCHAs, rate limits, and other access restrictions.
Follow the instructions below!
Prerequisites
Before getting started, make sure you have the following:
- Python 3.11+ installed locally.
- A Python development environment, including a Python project and a Python IDE.
- A Bright Data account with:
– An API key configured.
– A Web Unlocker API set up.
Follow the links below for additional guidance:
We will assume that your Web Unlocker API is named “web_unlocker”:
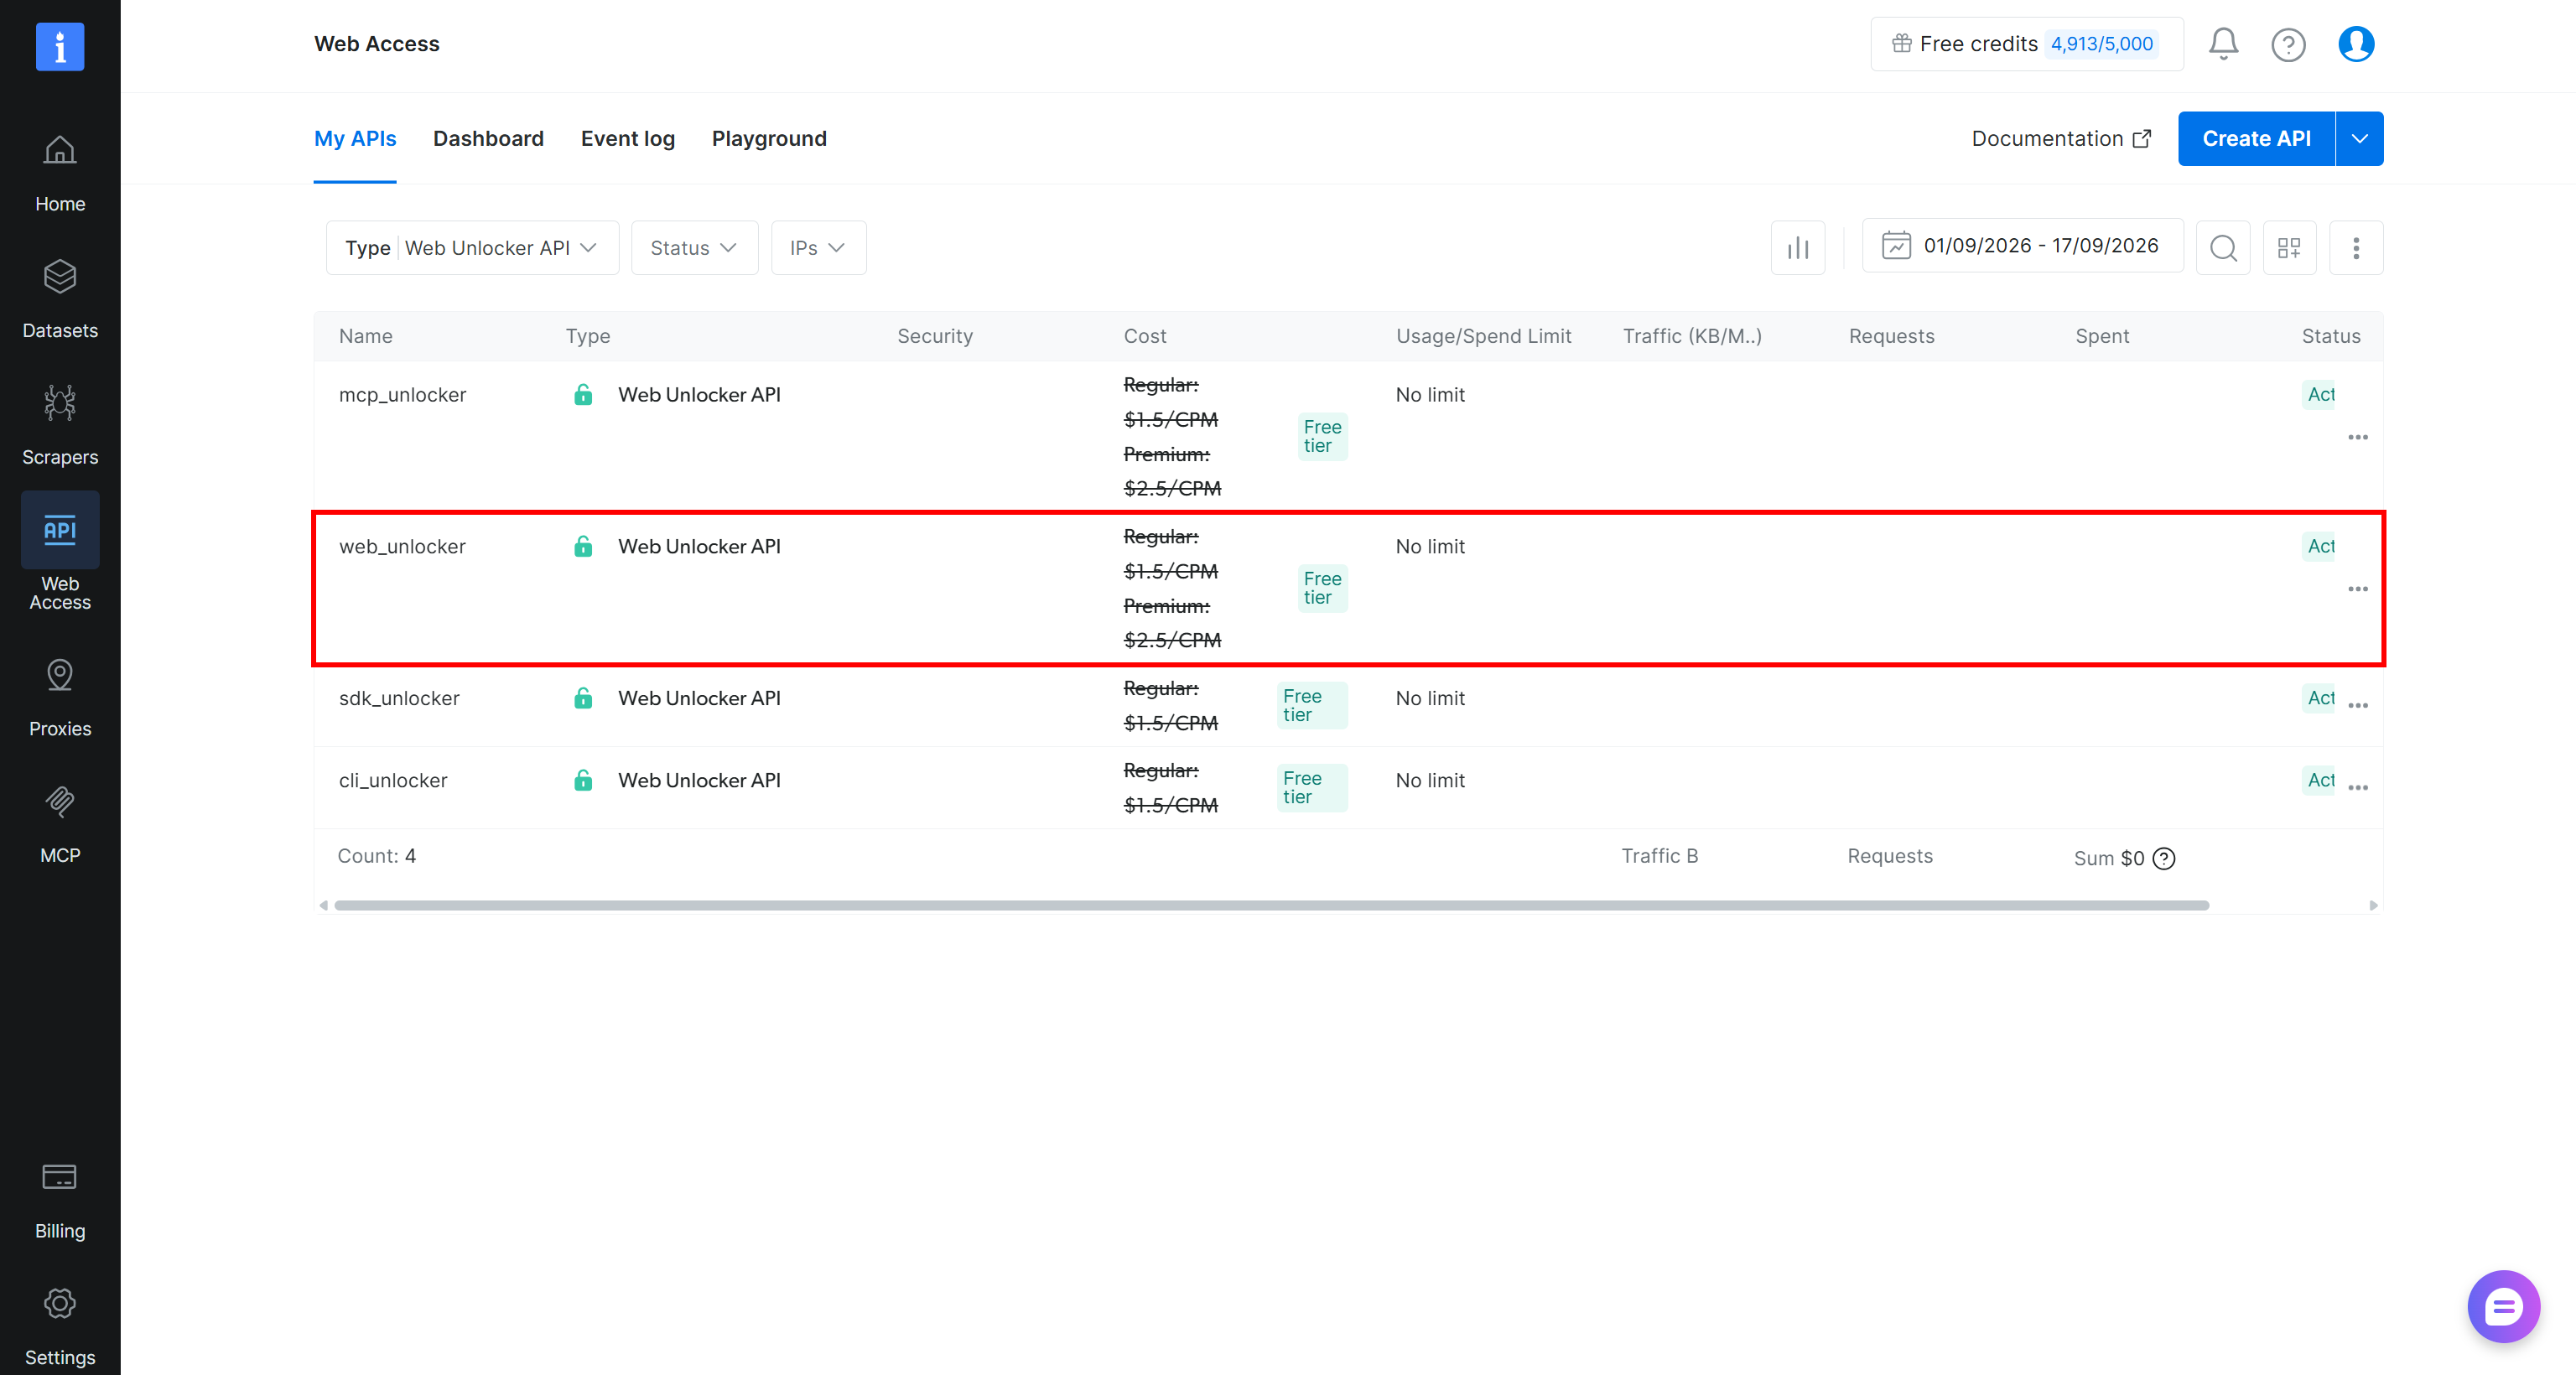
Important: Make sure to adapt the code examples in this step to match your actual Web Unlocker API name.
Also, you can find the credentials for proxy-mode directly on your Web Unlocker API page:
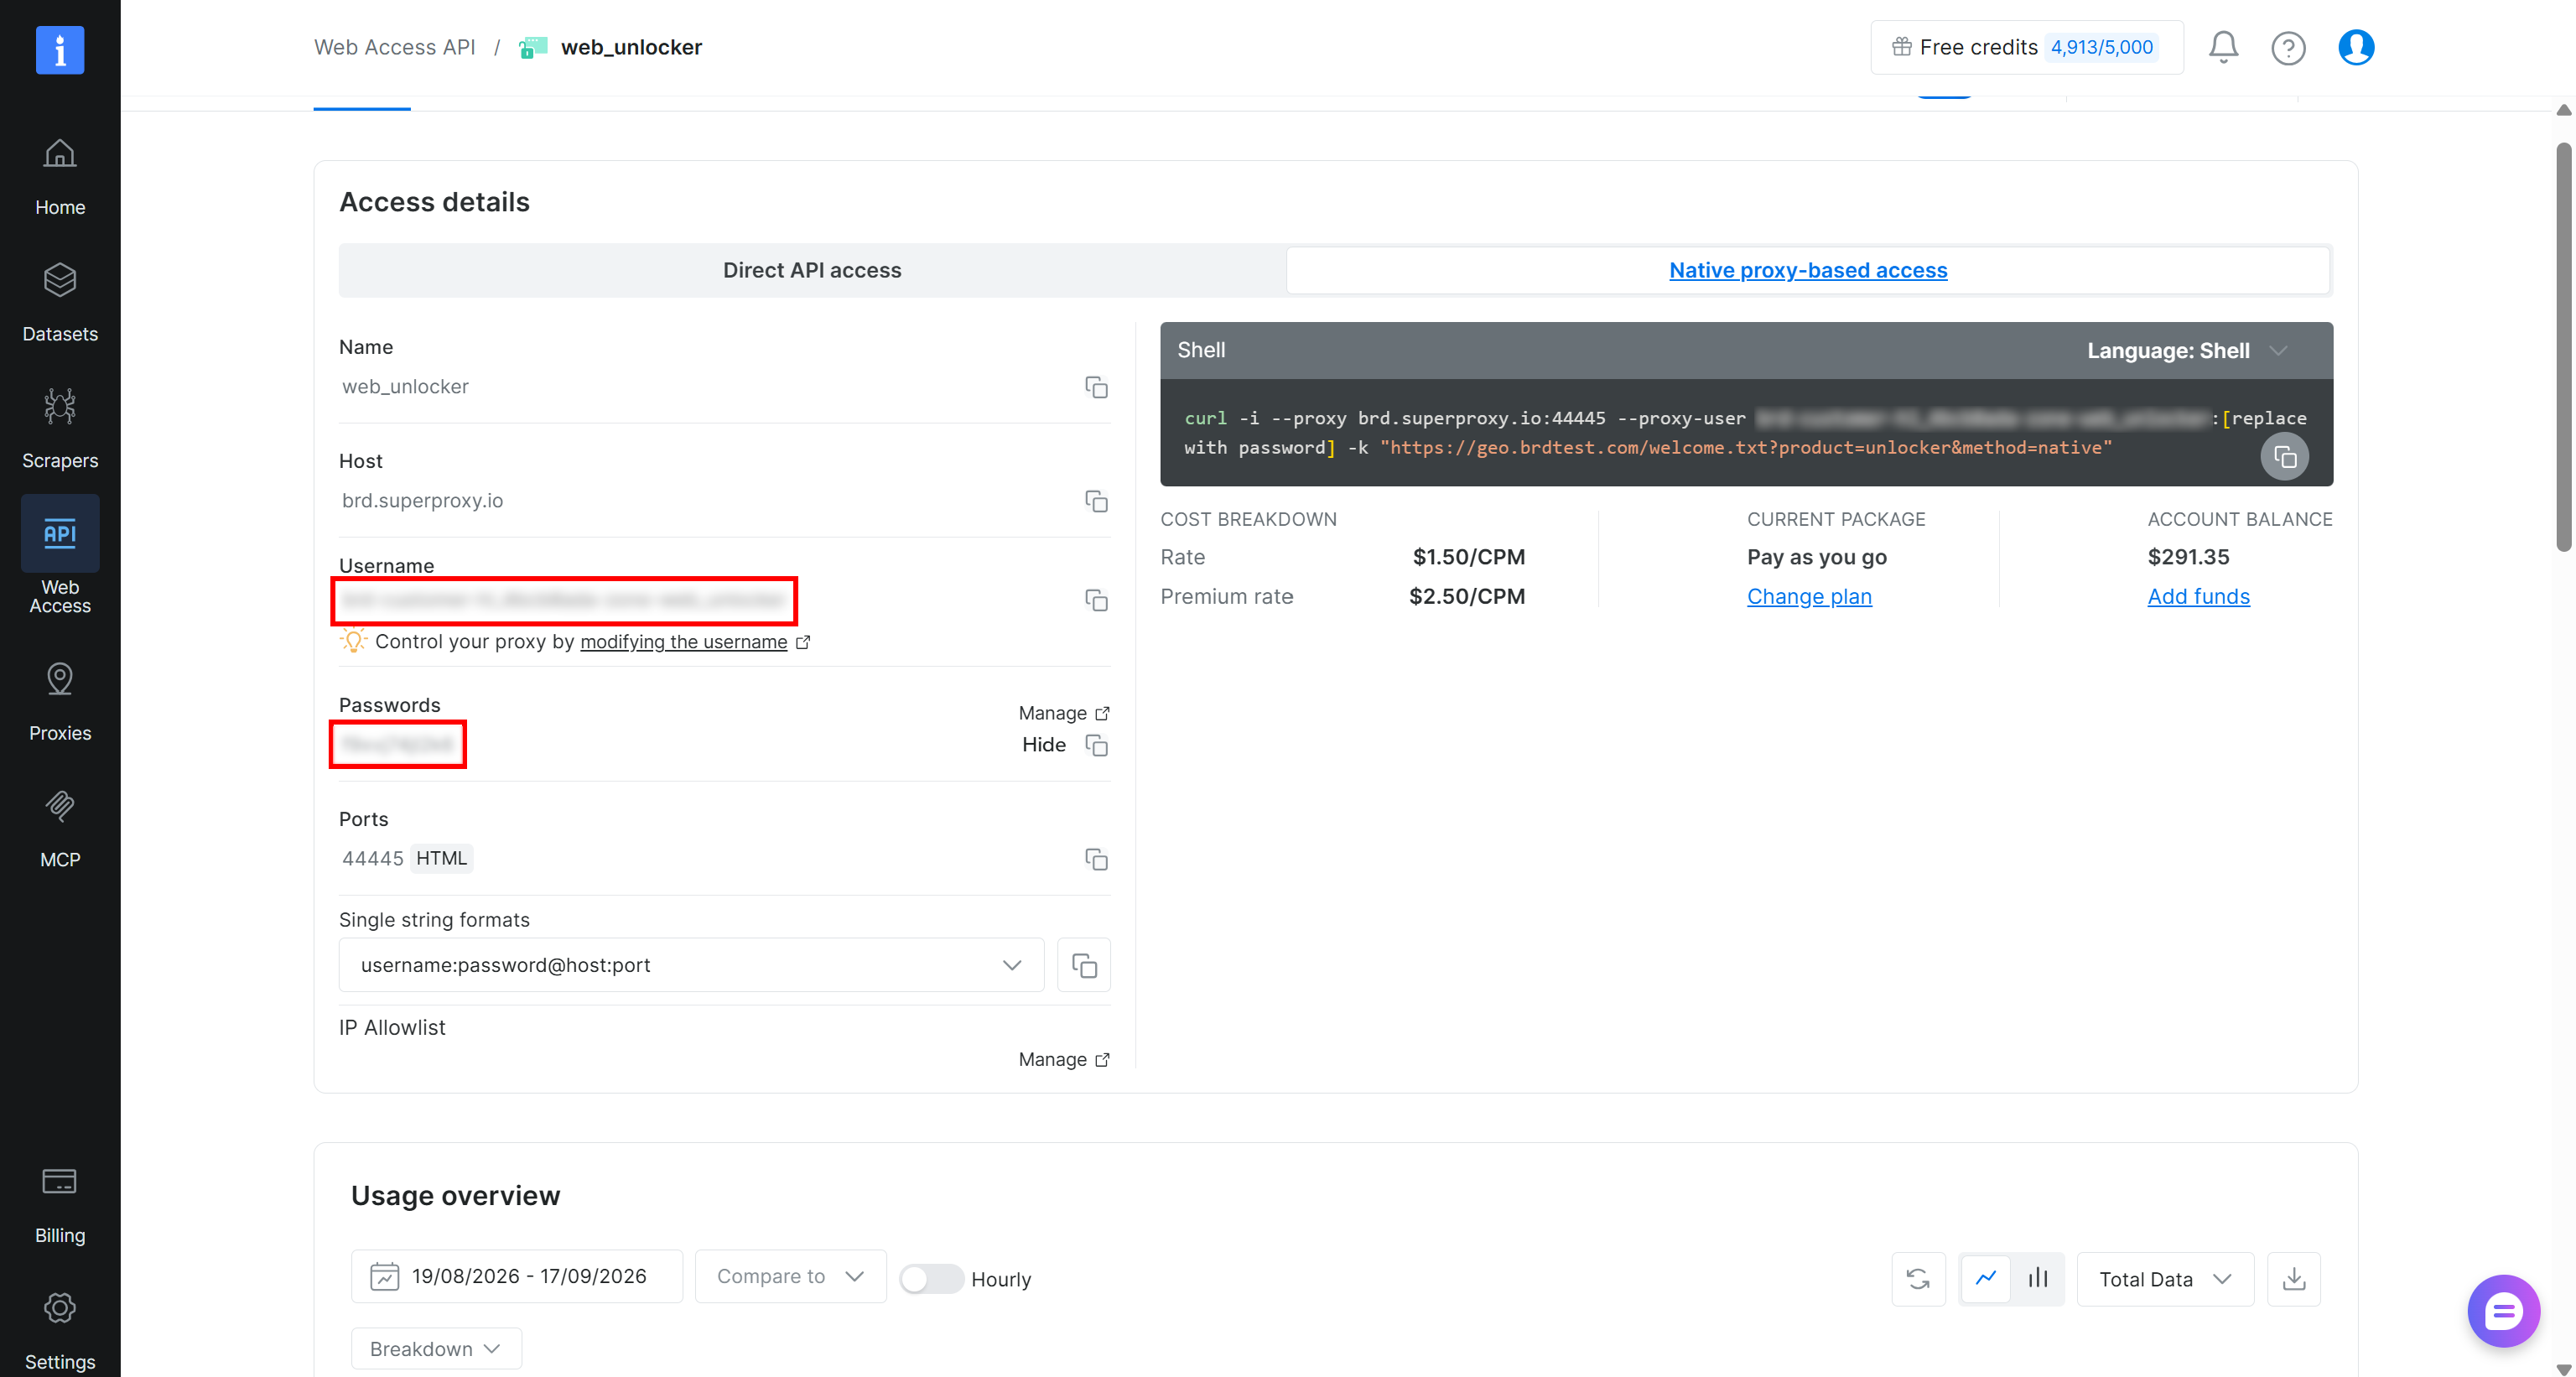
Go to the “Native proxy-based access” tab and click “Show” next to the password. Enter the verification code sent to your email.
Once you have your Web Unlocker API username, password, and port, you can construct the proxy URL using the following format:
http://<WEB_UNLOCKER_API_USERNAME>:<WEB_UNLOCKER_API_PASSWORD>@brd.superproxy.io:<WEB_UNLOCKER_API_PORT>By configuring this proxy in your Python HTTP client, its HTTP requests will be routed through your Web Unlocker API for anti-bot bypass.
Note: To avoid SSL certificate verification issues when using Web Unlocker API in proxy mode, download and install the Bright Data SSL certificate on your local machine.
Download an Online Video
Assume that your audio source is a YouTube video without a transcript, such as the following one:
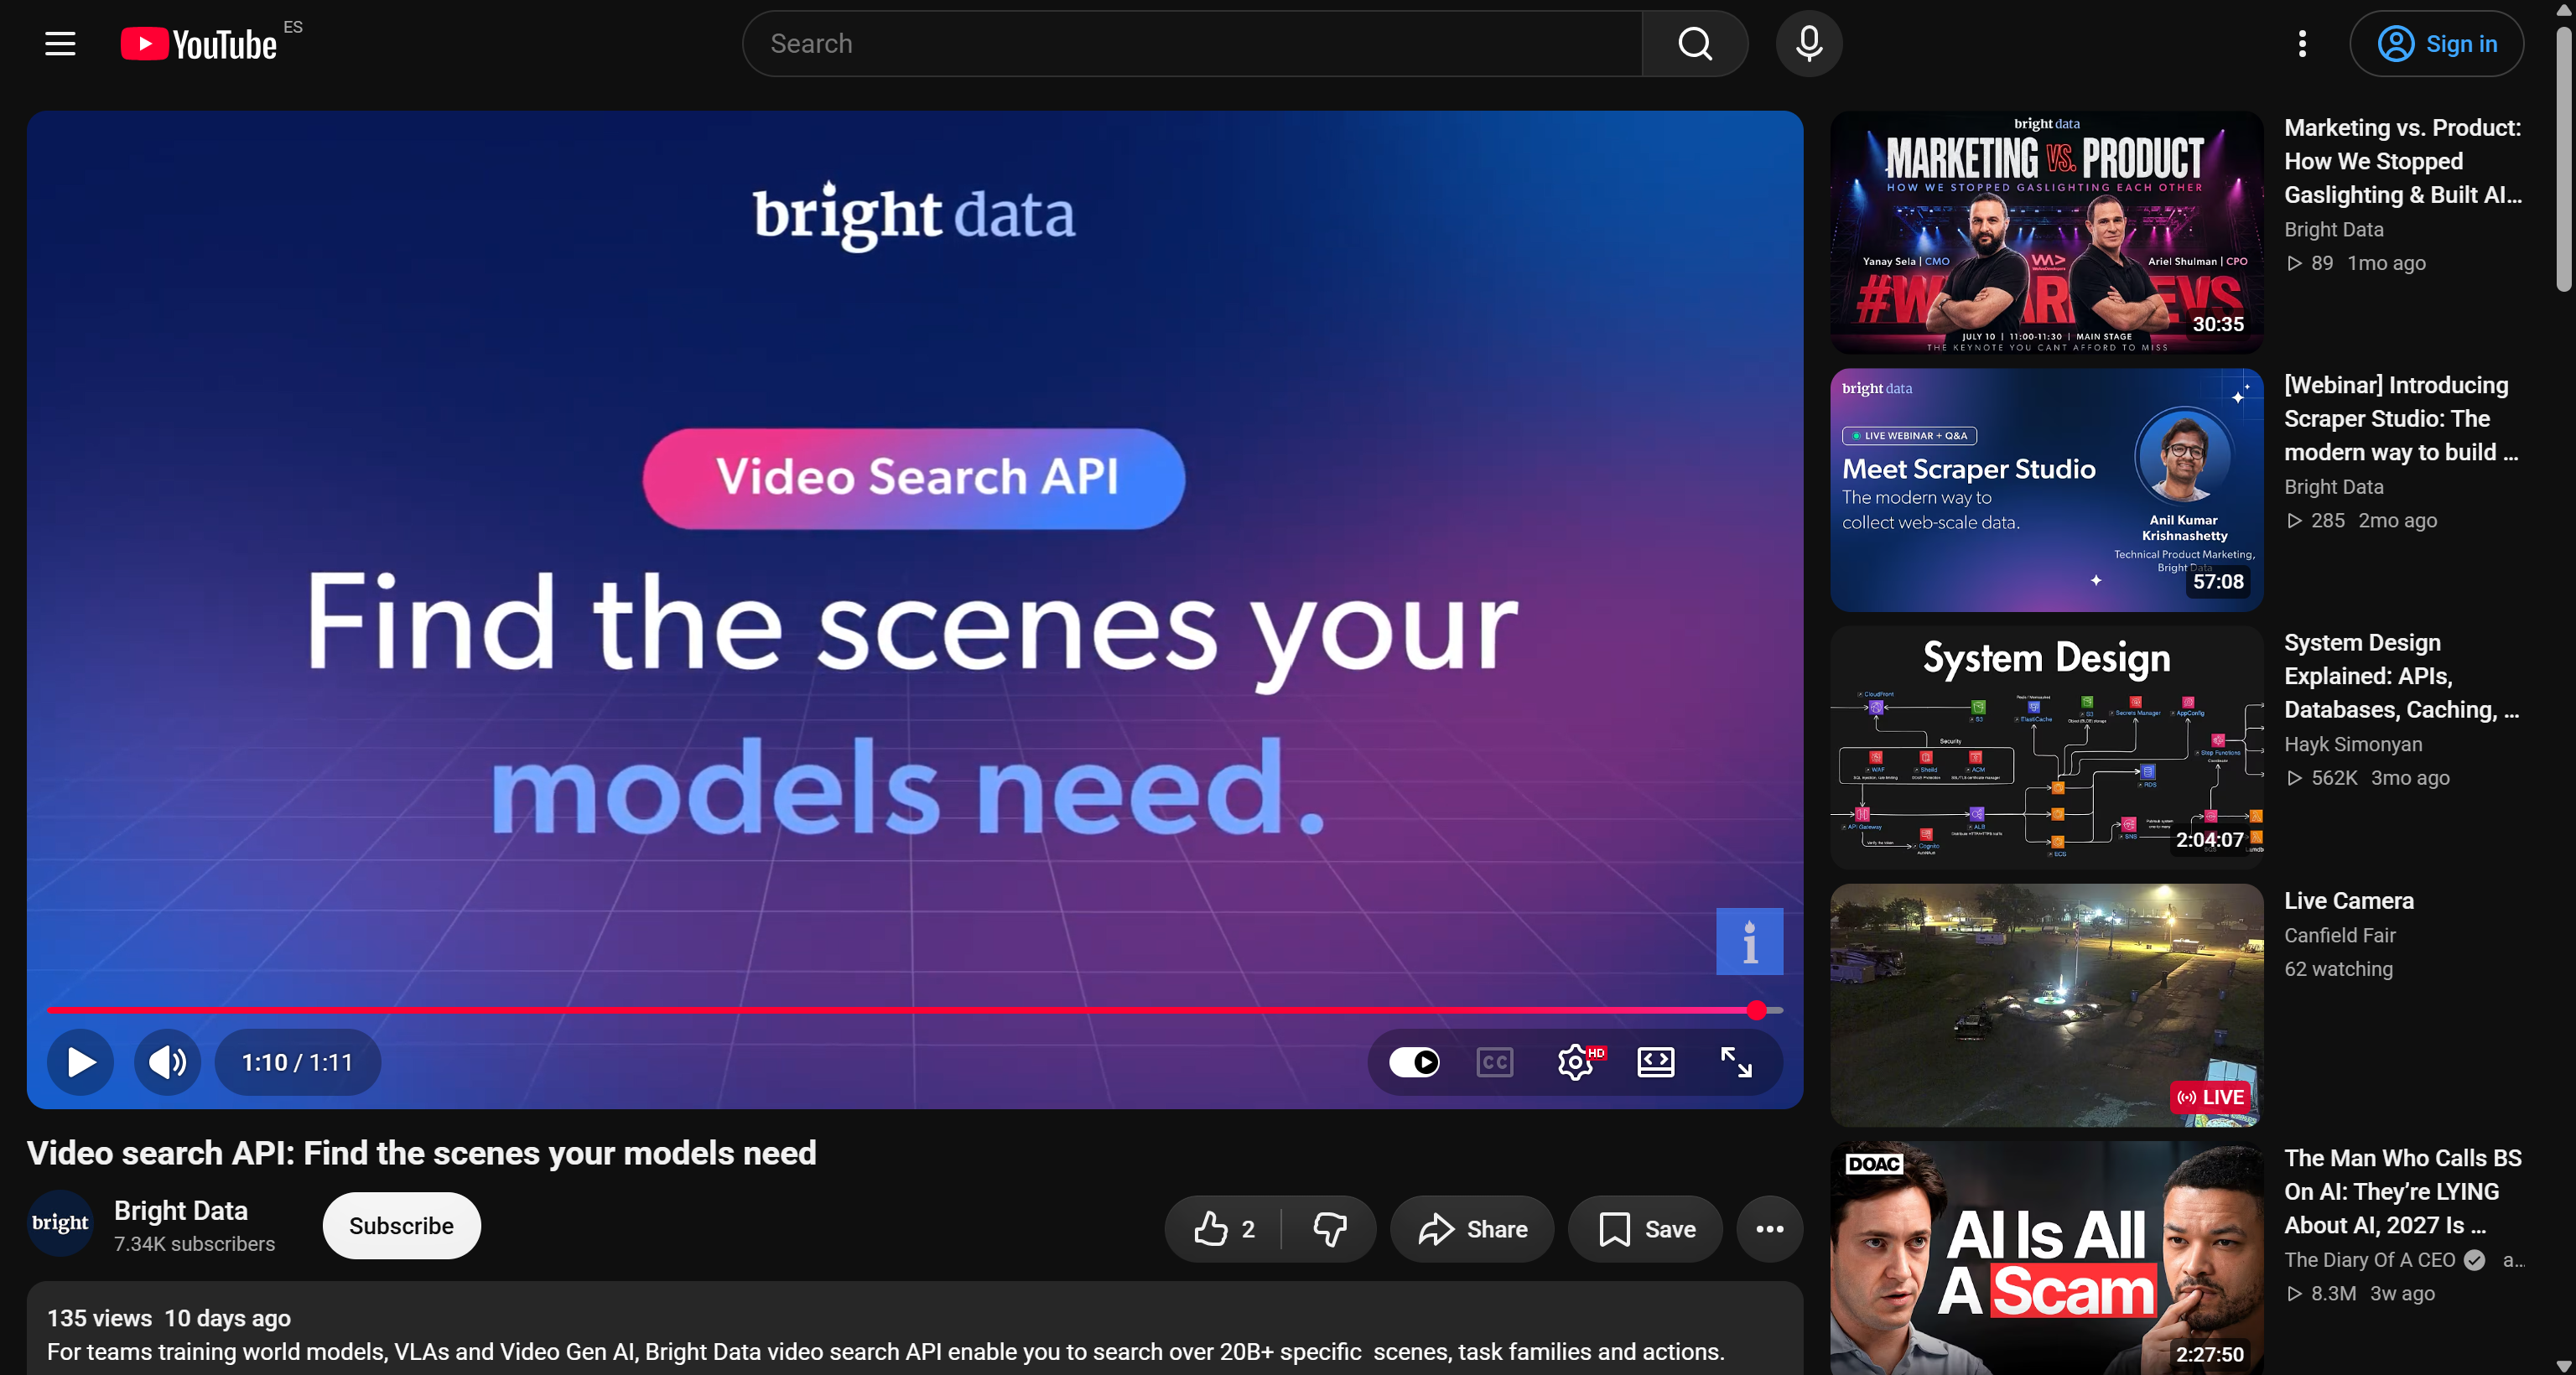
As you can see, the “Captions” option is disabled.
In this case, the audio is contained within a video rather than provided as a standalone audio file. To download the video, you can use yt-dlp, one of the most popular command-line tools and libraries for downloading video and audio content.
Keep in mind that scraping videos from YouTube and similar platforms can quickly result in your requests being blocked, especially when operating at scale. To avoid these issues, you need reliable IP rotation and mechanisms for handling anti-bot protections.
Bright Data supports yt-dlp, allowing you to route its requests through your Web Unlocker API. The result is unlimited access to video data.
Start by installing yt-dlp with pip:
python -m pip install -U "yt-dlp[default]"Next, run:
yt-dlp --proxy 'http://<WEB_UNLOCKER_API_USERNAME>:<WEB_UNLOCKER_API_PASSWORD>@brd.superproxy.io:<WEB_UNLOCKER_API_PORT>' '<YOUTUBE_VIDEO_URL>' --output output.mp4Remember to replace the placeholders with your Web Unlocker API credentials and the URL of your target YouTube video.
The above command downloads the specified YouTube video while routing the request through your Bright Data Web Unlocker API to avoid blocks. The downloaded video is then saved as output.mp4 in your project directory:
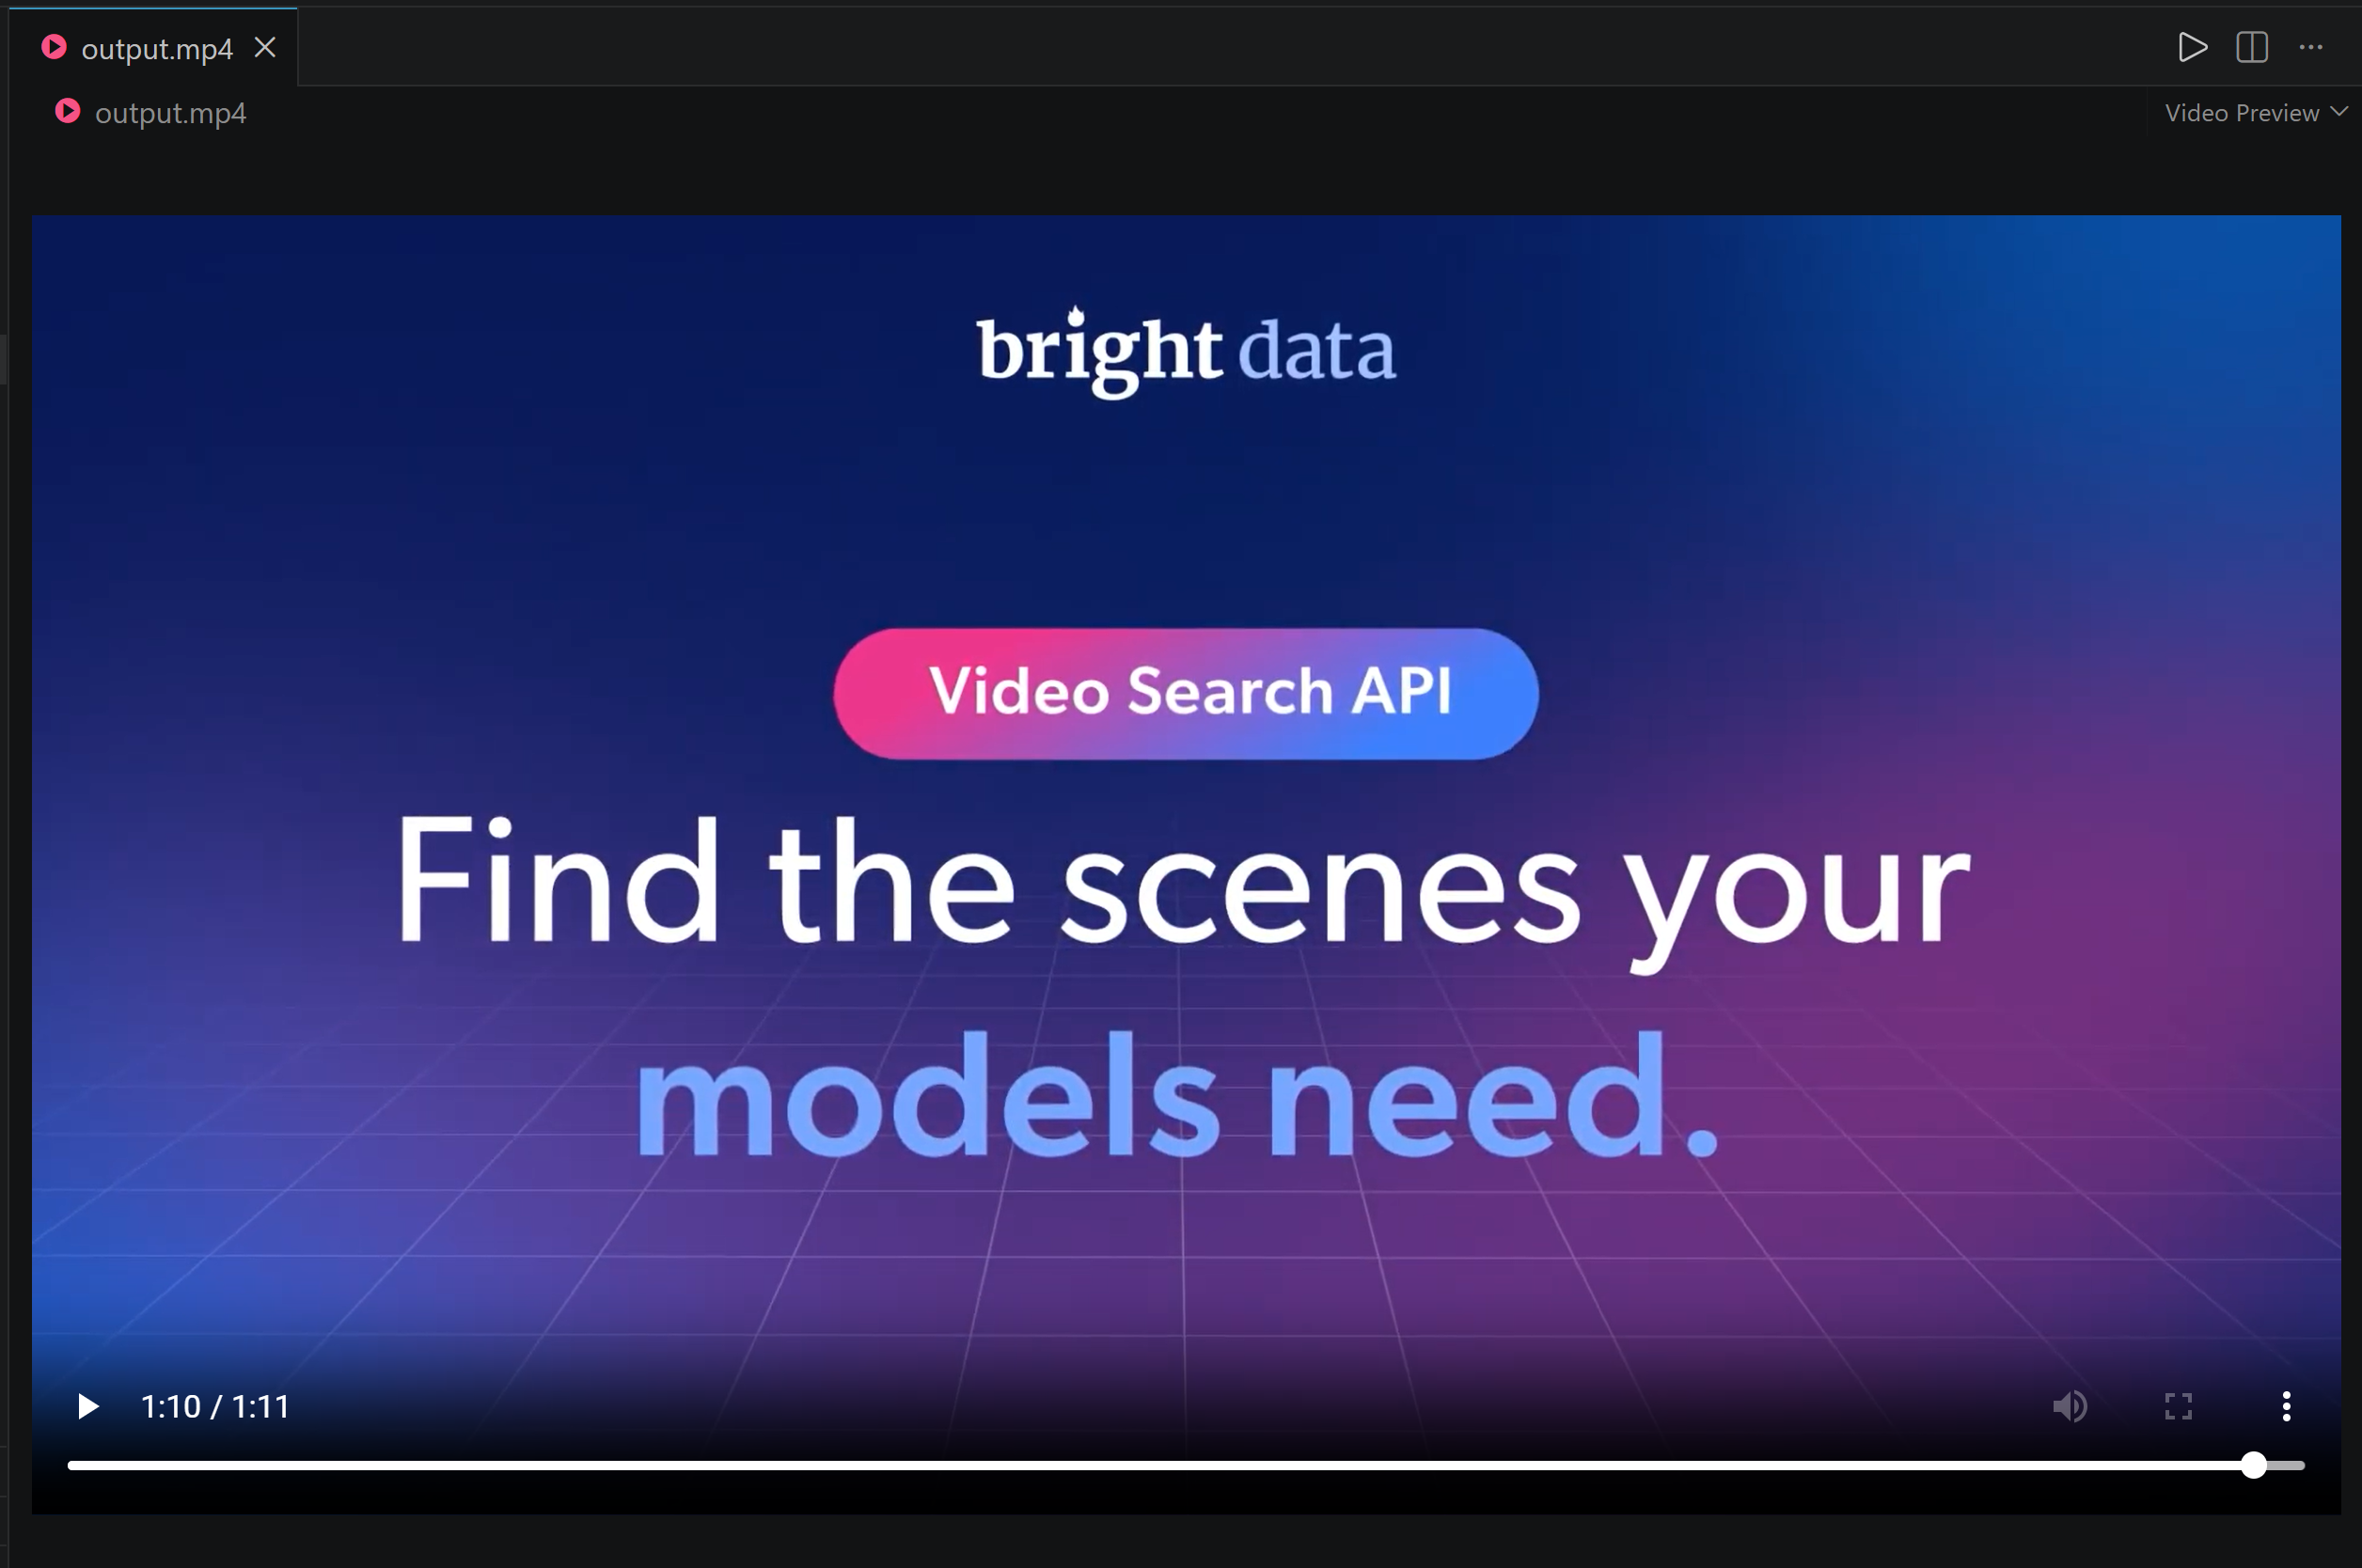
Great! You have now successfully scraped the video that contains your target audio.
If you want to scrape videos from other sources, refer to the following guides:
Download an Audio File Directly
Consider a scenario where the audio resource you are interested in is already available online as a standalone file.
For example, you may want to retrieve a specific recording hosted on the Internet Archive or another website. Here, the page already provides a direct download link for the audio file:
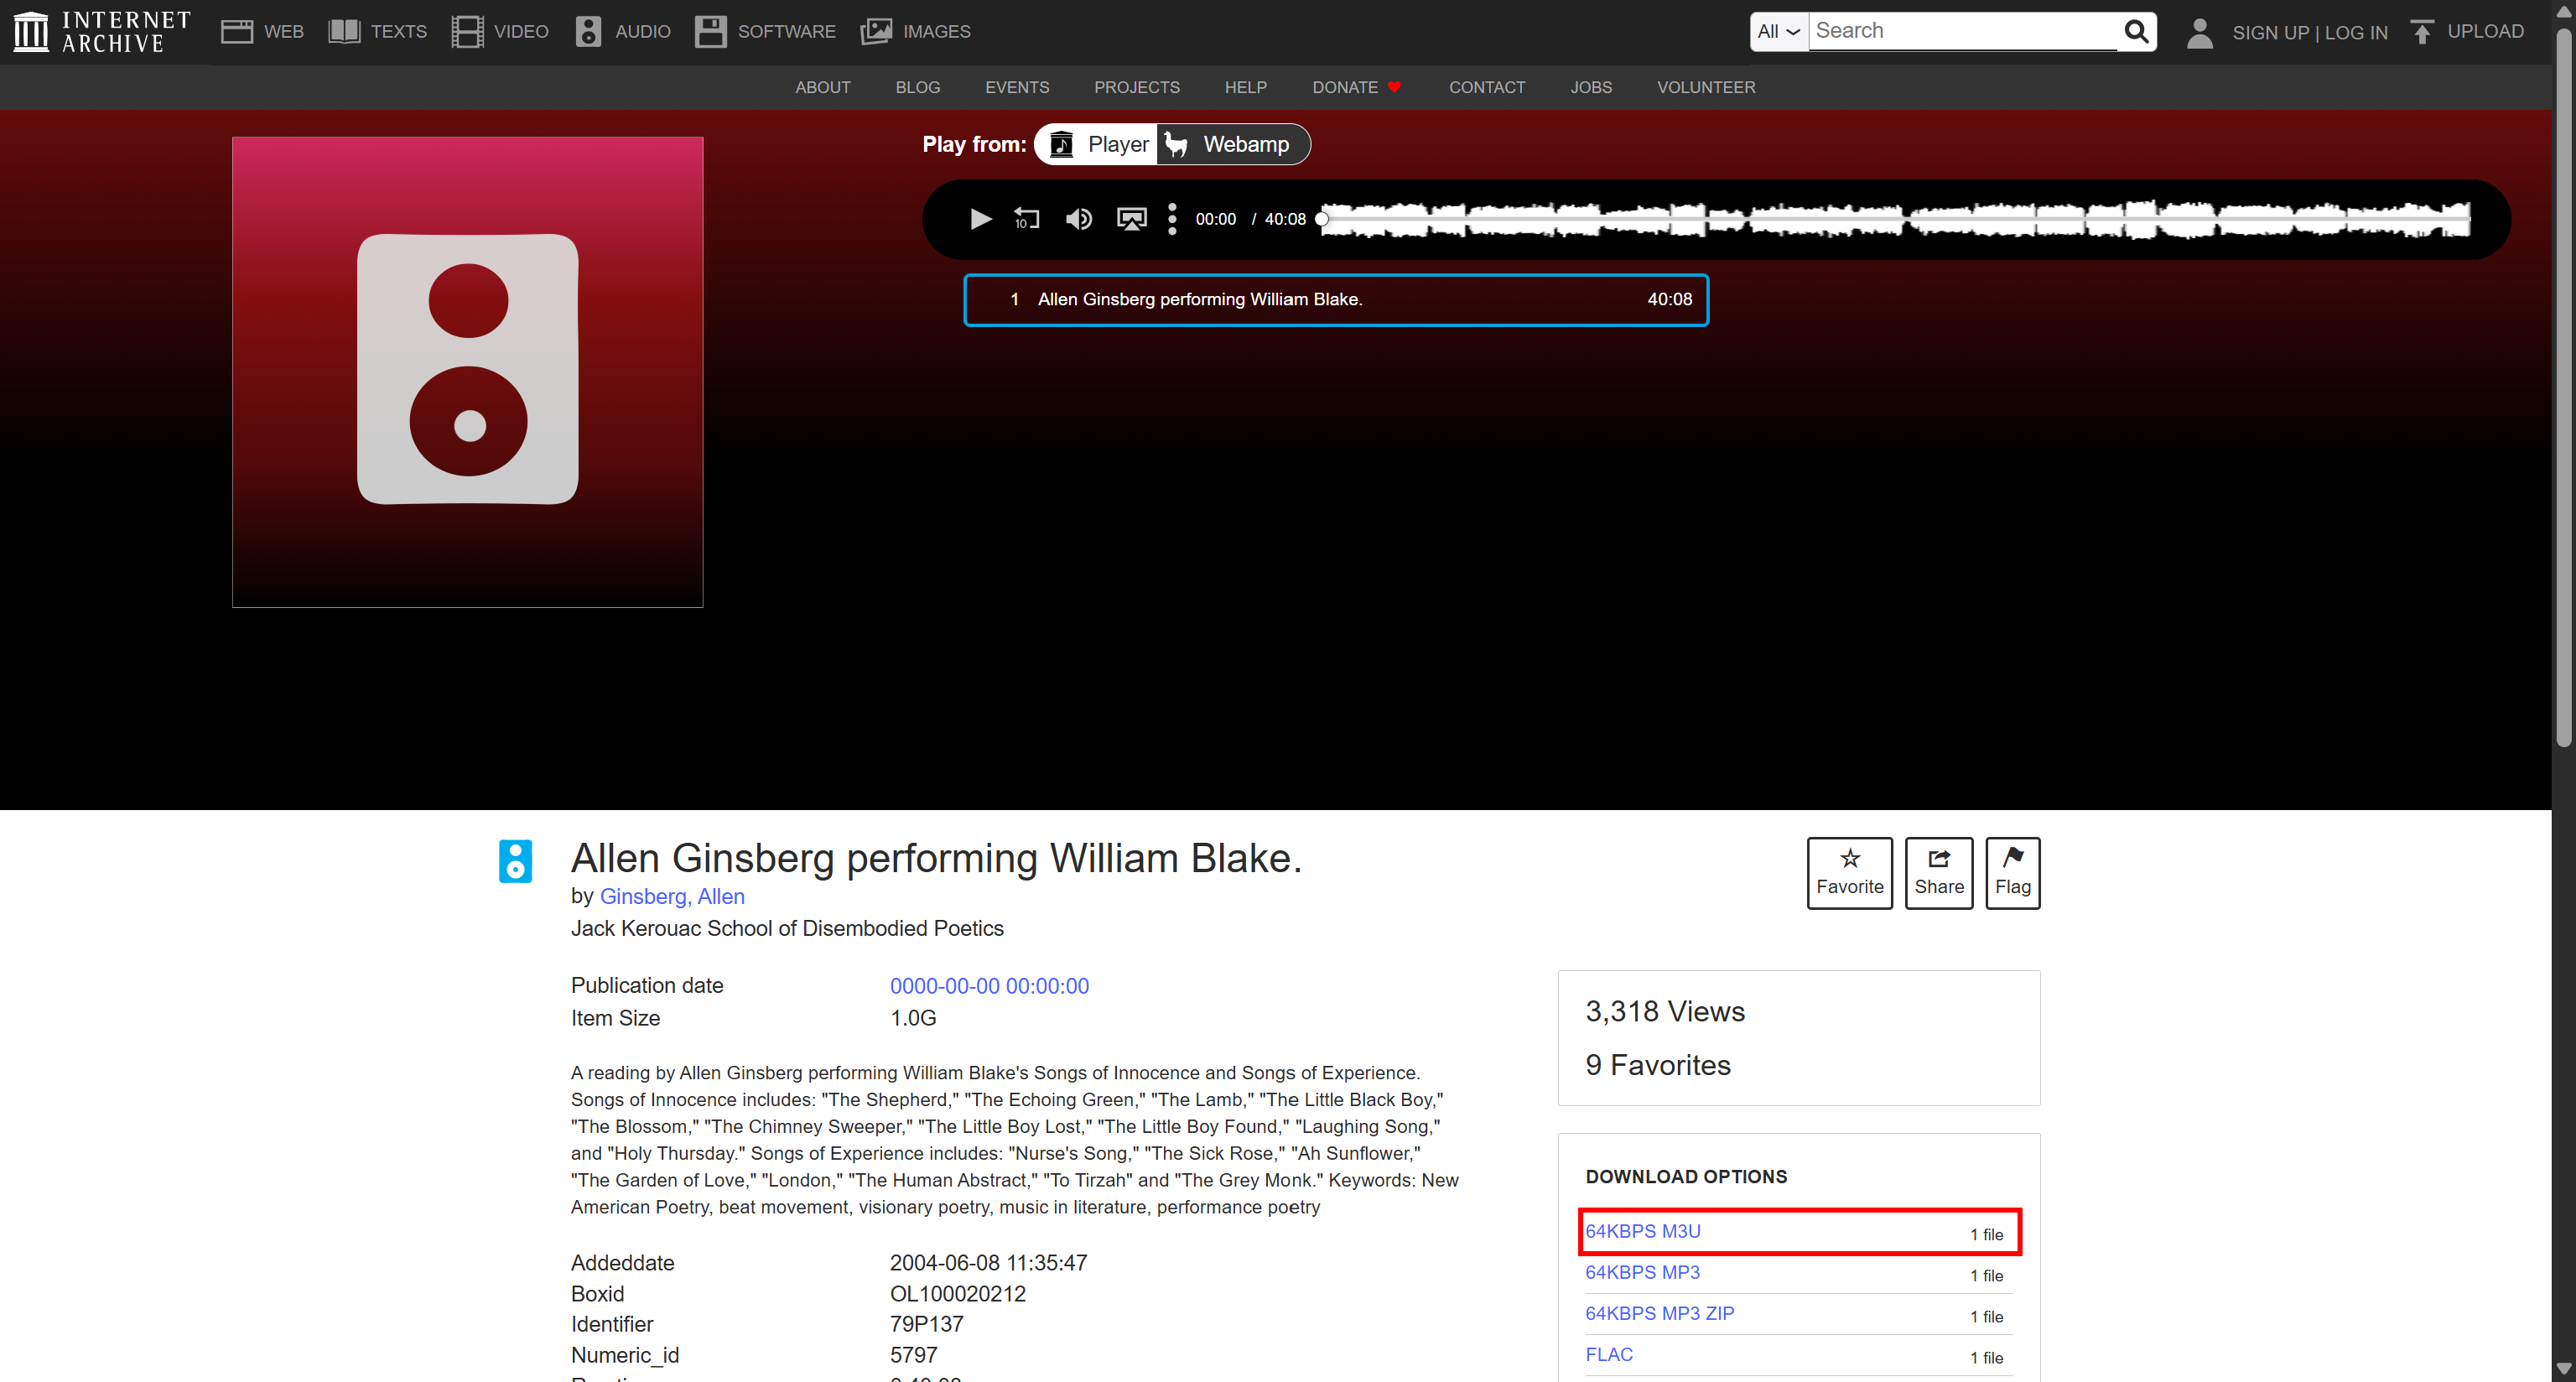
To automate the process and help handle potential access restrictions, you can build browser automation logic to navigate to the page of interest and discover the URL of the underlying audio resource. For that, you can use Bright Data’s Browser API.
Specifically, this time, the direct URL of the MP3 file is:
https://archive.org/download/79P137/79P137_64kb.mp3Once you have the target URL, you can send it to Bright Data’s Web Unlocker API through a POST request. Web Unlocker will then retrieve the resource for you, while bypassing anti-bot measures or other access restrictions.
Begin by installing the Requests HTTP library:
pip install requestsThen, create a Python script with the following code:
import requests

# Replace with your Bright Data API key
BRIGHT_DATA_API_KEY = "<YOUR_BRIGHT_DATA_API_KEY>"

target_audio_source = "https://archive.org/download/79P137/79P137_64kb.mp3"

# Access the audio resource through Bright Data's Web Unlocker API
response = requests.post(
    "https://api.brightdata.com/request",
    headers={
        "Authorization": f"Bearer {BRIGHT_DATA_API_KEY}",
        "Content-Type": "application/json",
    },
    json={
        "zone": "web_unlocker", # Replace with your actual Web Unlocker API name
        "url": target_audio_source,
        "format": "raw",
        "country": "us"
    },
)
response.raise_for_status()

# Export the audio content to an MP3 file
with open("output.mp3", "wb") as f:
    f.write(response.content)
This script sends the audio file URL to the Web Unlocker API, retrieves the resource, and saves the returned content to your local machine as output.mp3.
Note: In a production script, store your Bright Data API key and Web Unlocker API name in environment variables rather than hard-coding them in your source code.
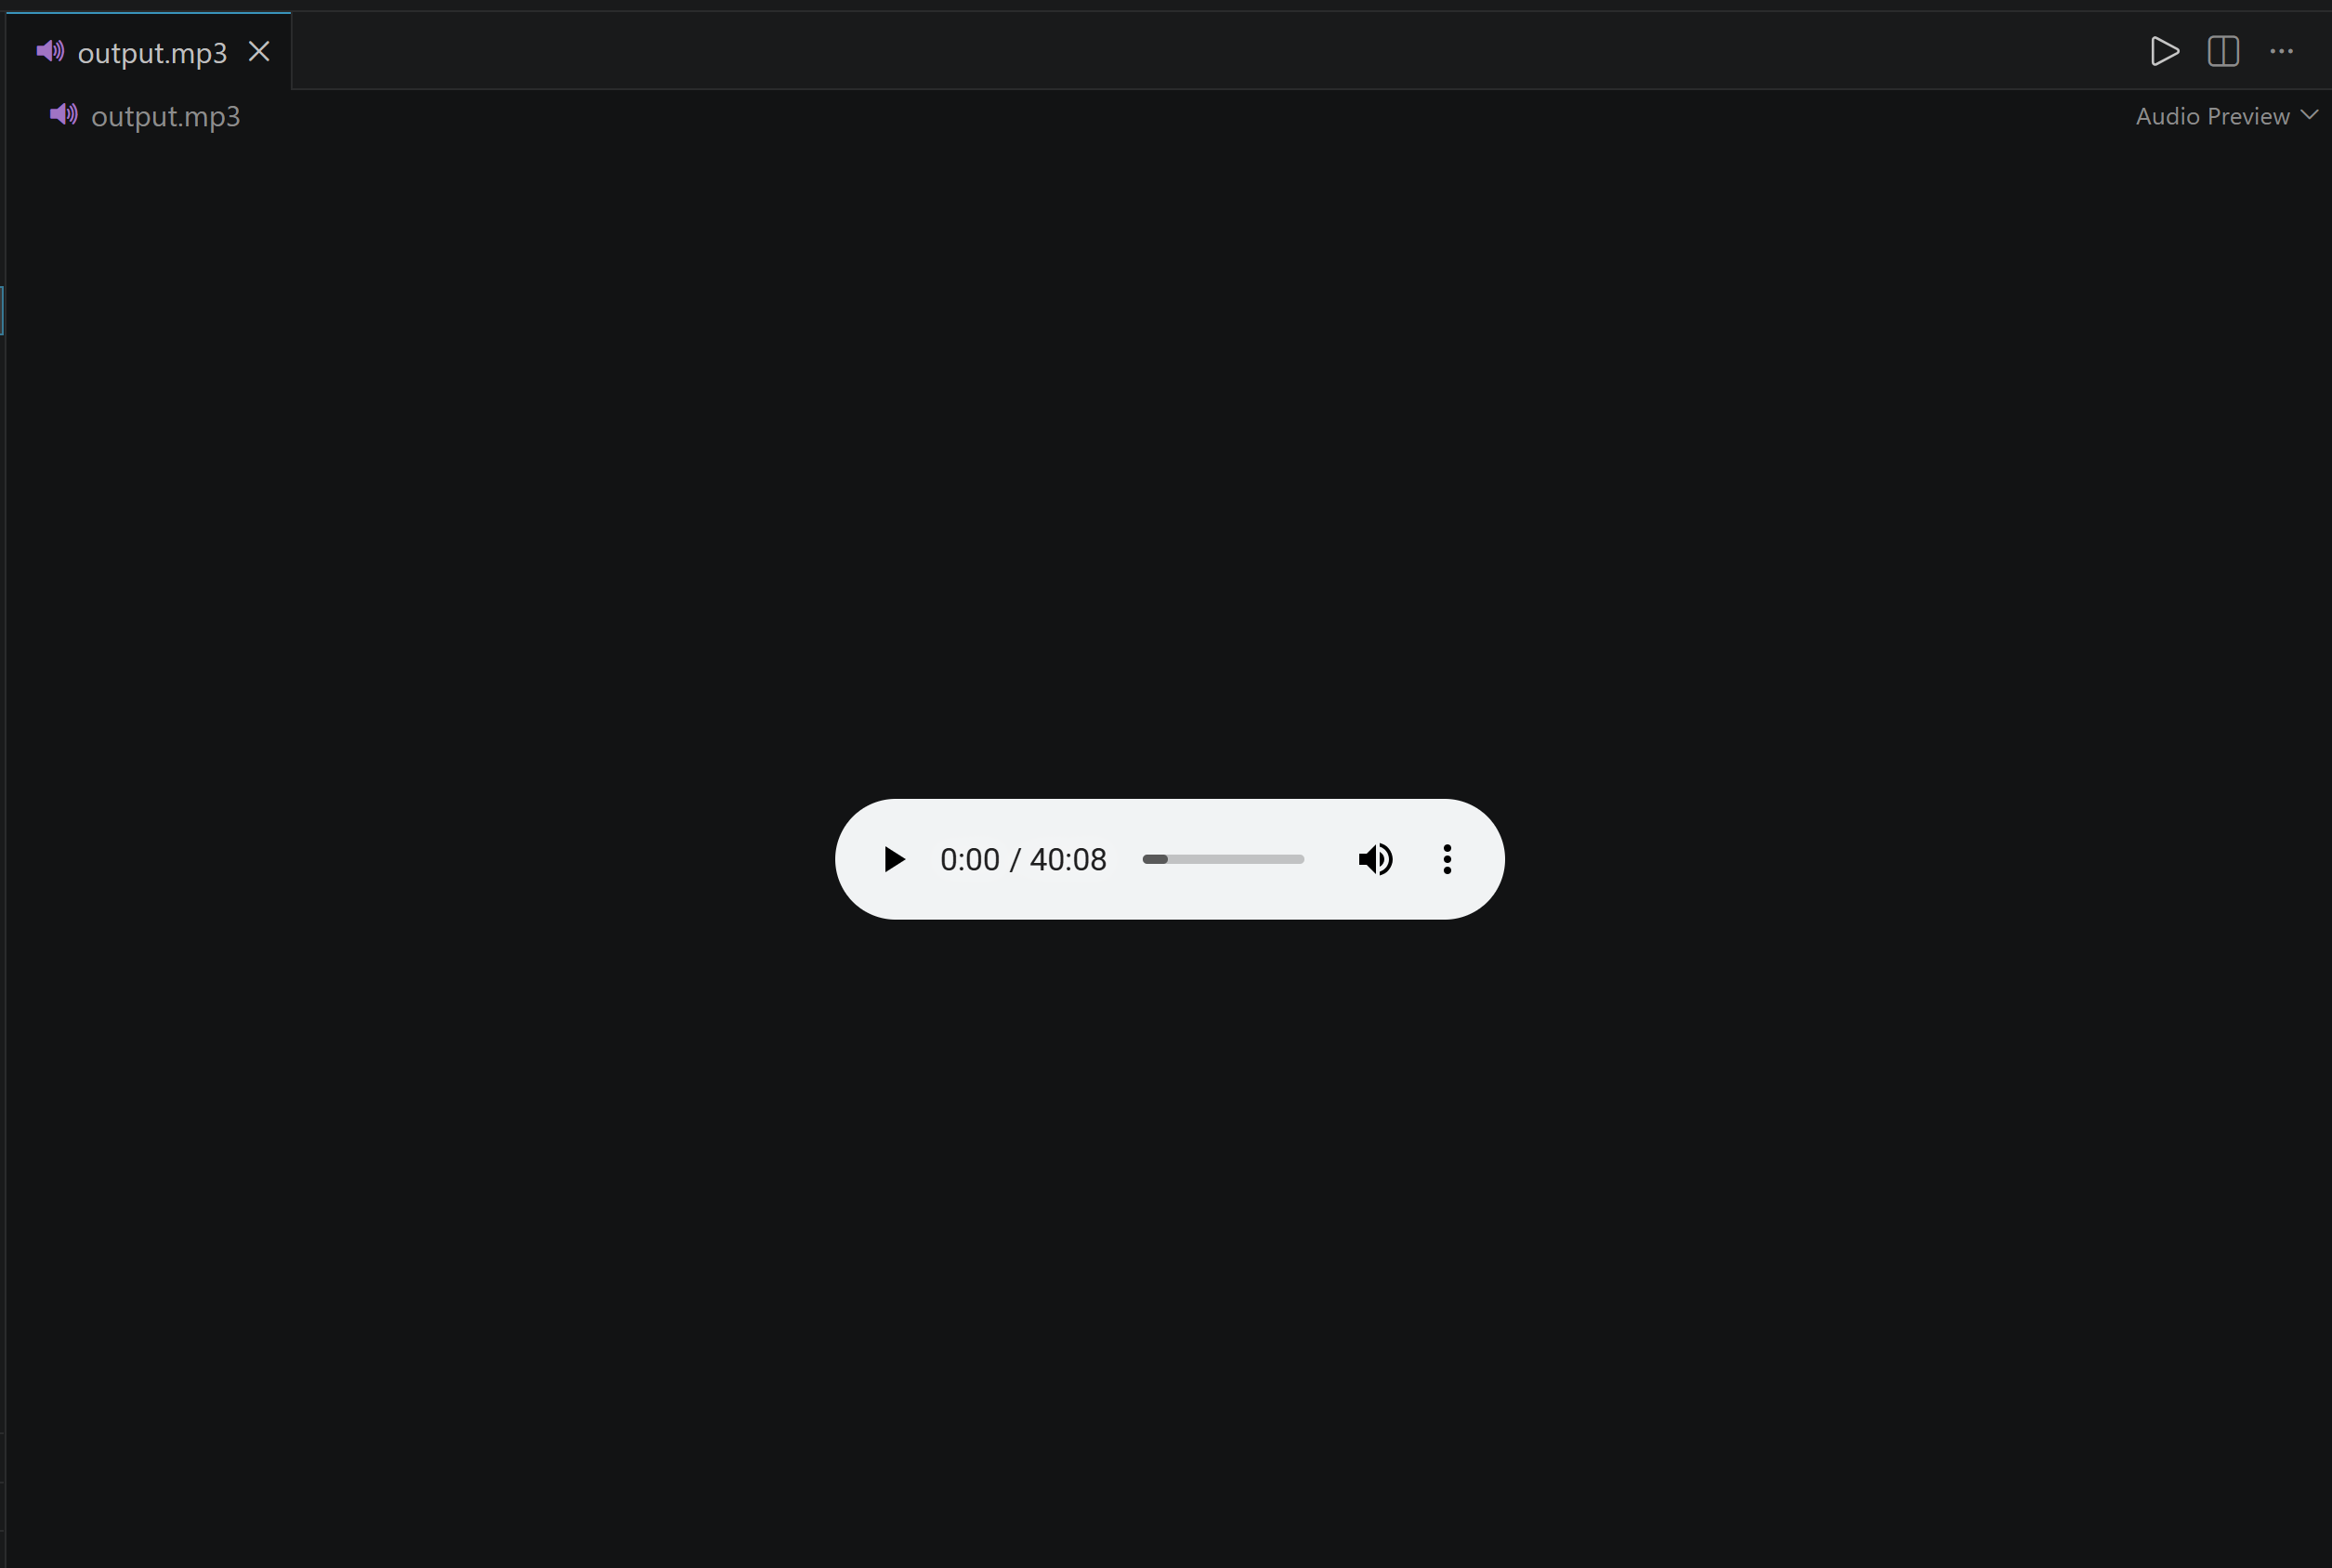
Run the Python script, and the retrieved audio file will appear in your project directory as output.mp3:
Step #2: Convert the Scraped Audio File to WAV
When it comes to audio processing, many multimodal AI models support WAV files as input. Even when multiple formats are supported, it is useful to standardize your scraped audio data by converting it to a single format.
In this chapter, you will learn how to convert your source audio and video files to WAV. That way, they can be used consistently in subsequent AI processing steps.
Prerequisites
Before proceeding, make sure FFmpeg is installed locally. FFmpeg is a command-line tool used to convert and process audio and video files.
Download FFmpeg from the official website and follow the installation instructions for your operating system.
From Input Video/Audio File to WAV
Convert the scraped YouTube video file into a WAV audio file using this command:
ffmpeg -i output.mp4 -vn -acodec pcm_s16le -ar 16000 -ac 1 video_output.wavHere is what each argument does:
-i output.mp4: Specifiesoutput.mp4as the input file.-vn: Disables video processing, so only the audio stream is extracted.-acodec pcm_s16le: Converts the audio to uncompressed PCM audio using signed 16-bit little-endian encoding, a common format for WAV files.-ar 16000: Sets the audio sample rate to 16,000 Hz (16 kHz).-ac 1: Converts the audio to a single channel (mono).video_output.wav: Specifies the name of the output WAV file.
The same approach can be used to convert a standalone audio file from another supported format to WAV:
ffmpeg -i output.mp3 -vn -acodec pcm_s16le -ar 16000 -ac 1 audio_output.wavNotice that the command is essentially the same. The main differences are the input and the output files.
Amazing! You are now ready to transcribe the scraped audio with an AI model.
Step #3: Use AI to Transcribe the WAV File
The final step is to feed the WAV-formatted audio into an AI transcription model, either through a cloud-based LLM or a model running locally.
For this task, you can use an AI model designed for speech-to-text transcription, or another multimodal AI model that accepts audio input. The choice depends on your requirements, such as transcription accuracy, timestamps, speaker identification, processing speed, and cost.
Get the Transcript with a Cloud-Based Multimodal AI Model
OpenAI provides several models and APIs for speech-to-text transcription. Utilize the OpenAI SDK to send your WAV audio file to a transcription model and retrieve the resulting timestamped transcript.
Start by installing the OpenAI Python SDK:
pip install openaiNext, achieve the goal with:
from openai import OpenAI

# Replace with your actual OpenAI API key
OPENAI_KEY = "<YOUR_OPENAI_API_KEY>"

client = OpenAI(api_key=OPENAI_KEY)

# Open the audio file and send it to OpenAI Whisper for transcription
with open("video_output.wav", "rb") as f:
    transcription = client.audio.transcriptions.create(
        model="whisper-1",
        file=f,
        response_format="verbose_json",
        timestamp_granularities=["segment"],
    )

# Write the complete timestamped transcript to a text file
with open("video_transcript.txt", "w", encoding="utf-8") as f:
    for segment in transcription.segments:
        # Get the start and end time of the segment
        start = segment.start
        end = segment.end

        # Get the transcribed text
        text = segment.text.strip()

        # Format the timestamp as HH:MM:SS
        start_time = f"{int(start // 3600):02d}:{int((start % 3600) // 60):02d}:{int(start % 60):02d}"
        end_time = f"{int(end // 3600):02d}:{int((end % 3600) // 60):02d}:{int(end % 60):02d}"

        # Create one timestamped transcript line
        line = f"[{start_time} - {end_time}] {text}"

        # Print the line and save it to the transcript file
        print(line)
        f.write(line + "\n")
This script first initializes the OpenAI client using your API key and opens the WAV file in binary mode. It then sends the audio to the whisper-1 model and requests a verbose JSON response containing segment-level timestamps.
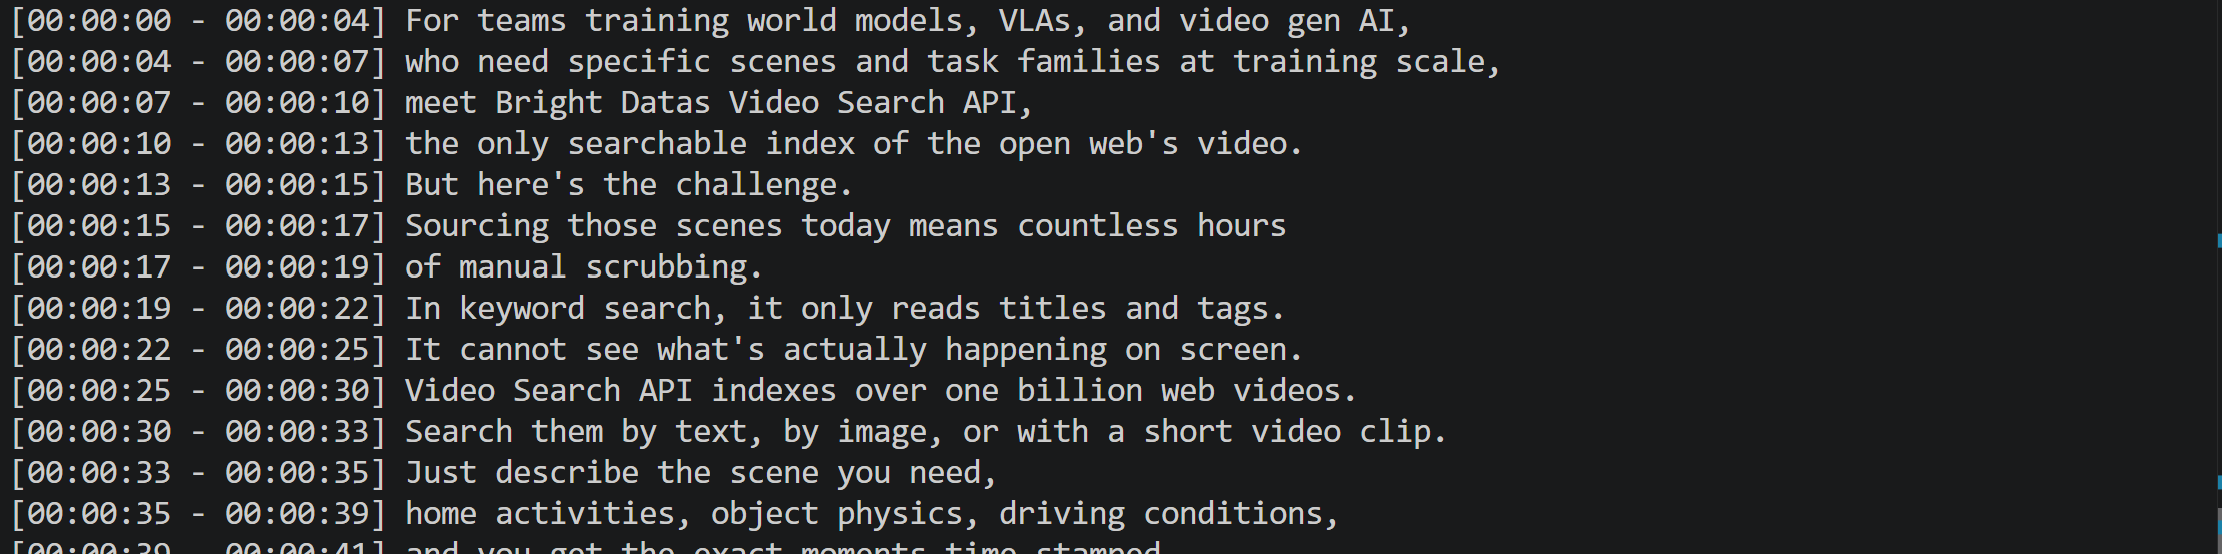
It then iterates over the returned segments, extracts the start time, end time, and transcribed text for each segment, and formats them into readable timestamped lines. Each line is printed to the terminal and written to video_transcript.txt.
Execute the Python script, and you will see the transcription output in your terminal:
Once processing is complete, the video_transcript.txt file will contain the timestamped transcript:
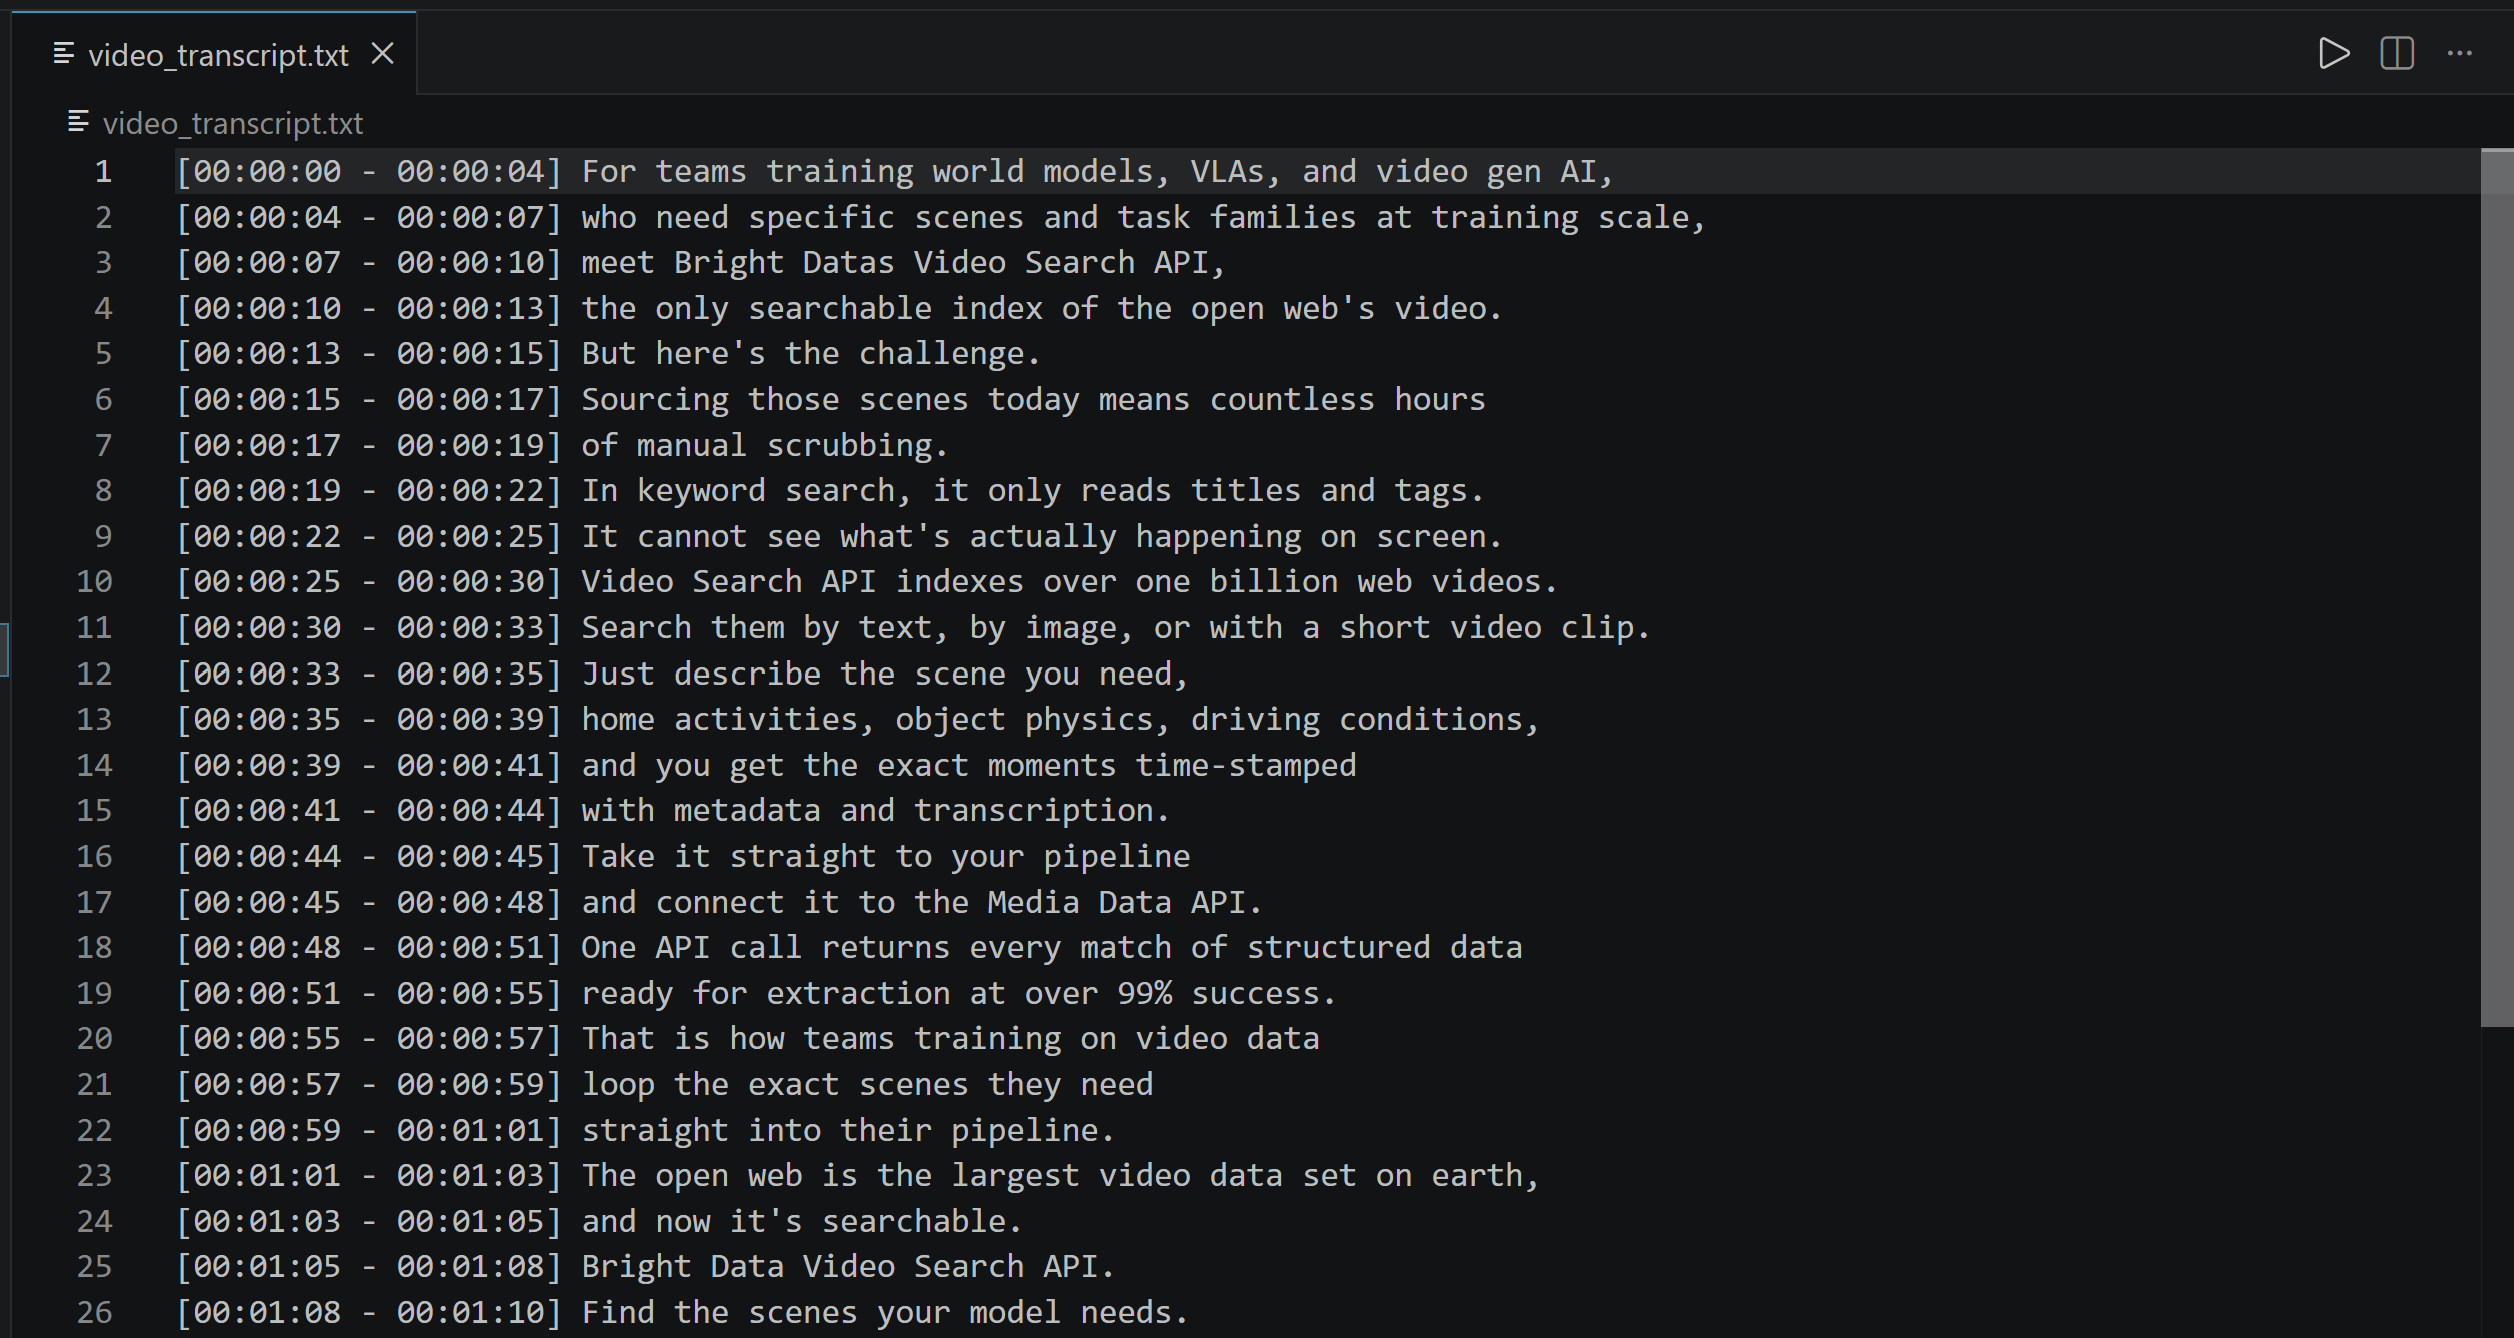
Mission complete! You started with a YouTube video, scraped it, converted its audio to WAV format, and finally transcribed it into text. You now have a clean transcript for further analysis.
The main limitations of this approach are:
- Input file size: Audio files submitted through the transcription API are limited to 25 MB. For larger recordings, you need to either compress the audio to reduce its file size or split it into smaller chunks before transcription.
- Cost: Long audio recordings can result in significant API usage. The longer the audio, the more input tokens are required and output tokens are produced.
Alternatively, you can run a speech-to-text model locally, as shown in the next section.
Get the Transcript with a Local AI Model
There are several local speech-to-text models and libraries that you can use to generate transcripts. faster-whisper is a popular option. This is a reimplementation of OpenAI’s Whisper model that uses CTranslate2, a high-performance inference engine for Transformer models.
Install faster-whisper with:
pip install faster-whisperThen, use it to generate a transcript from your local audio file:
from faster_whisper import WhisperModel

# Load the local Whisper model
model = WhisperModel(
    "small",
    device="cpu", # Run the task on the CPU
    compute_type="int8"
)

# Transcribe the input audio file and return timestamped transcript segments
segments, info = model.transcribe(
    "audio_output.wav",
    beam_size=5
)

# Print the language detected by Whisper
print(f"Detected language: {info.language}")

# Convert seconds into a readable HH:MM:SS timestamp
def format_timestamp(seconds):
    hours = int(seconds // 3600)
    minutes = int((seconds % 3600) // 60)
    seconds = int(seconds % 60)

    return f"{hours:02d}:{minutes:02d}:{seconds:02d}"

# Write each timestamped transcript segment to an output file
with open("audio_transcript.txt", "w", encoding="utf-8") as f:
    for segment in segments:
        # Get the start and end timestamps for this segment
        start = format_timestamp(segment.start)
        end = format_timestamp(segment.end)

        # Remove unnecessary whitespace from the transcribed text
        text = segment.text.strip()

        # Combine the timestamps and transcript into a single line
        line = f"[{start} - {end}] {text}"

        # Print the segment to the console and save it to the file
        print(line)
        f.write(line + "\n")
This script loads the small Whisper model locally and runs it on the CPU using int8 quantization. It transcribes audio_output.wav into timestamped segments, detects the audio language, and formats each segment with its start and end times. The resulting transcript is printed to the console and saved to video_transcript.txt.
Run the script, and you will see output similar to the following:
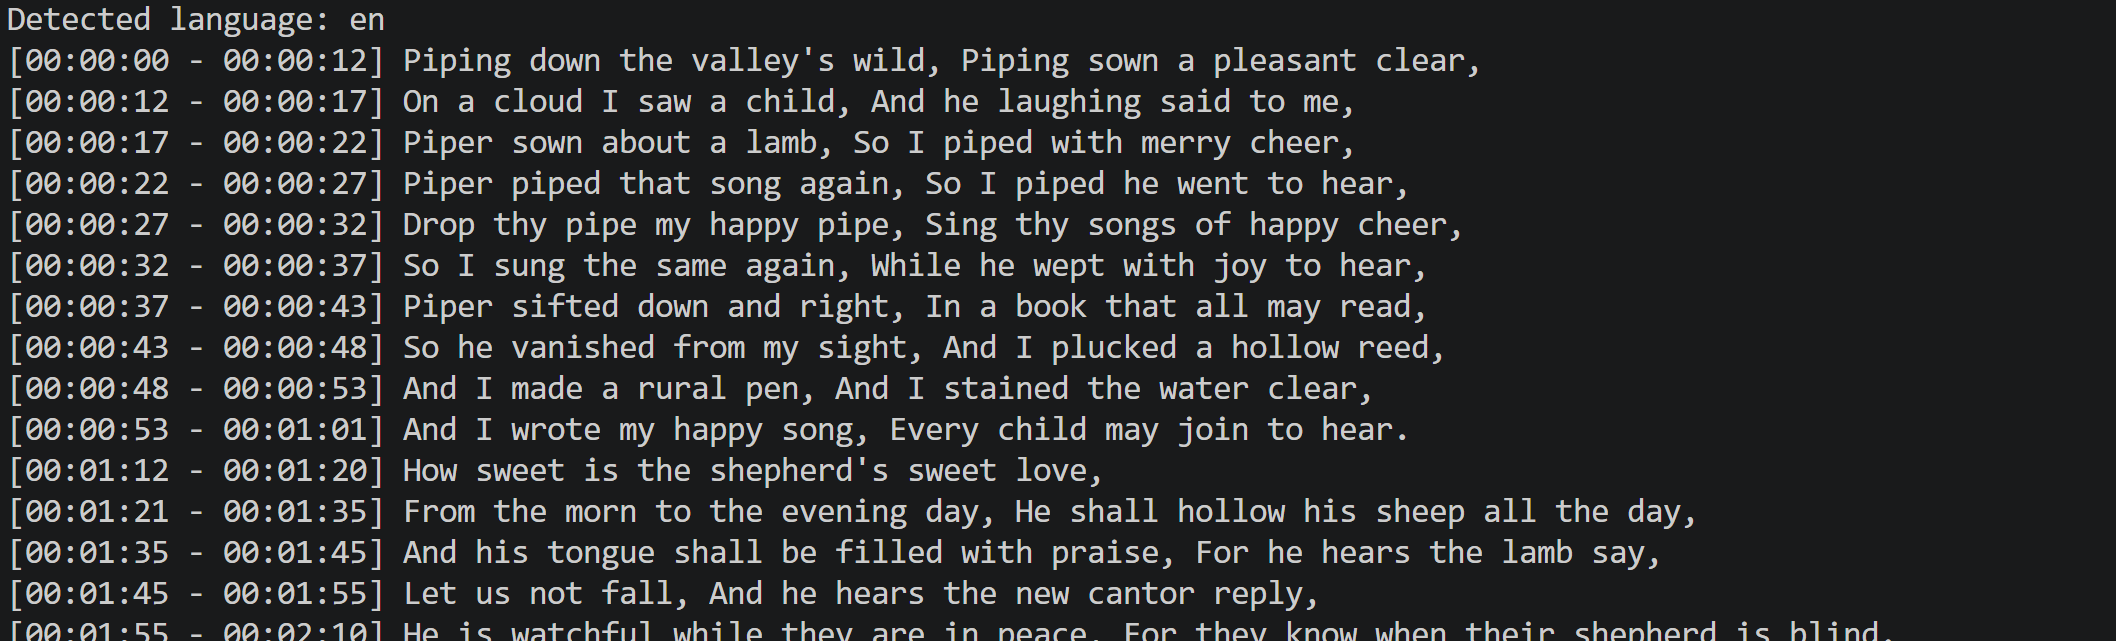
Now the faster-whisper model successfully detected the language of the audio as English and generated an accurate transcript.
The resulting video_transcript.txt file will contain the timestamped transcript:
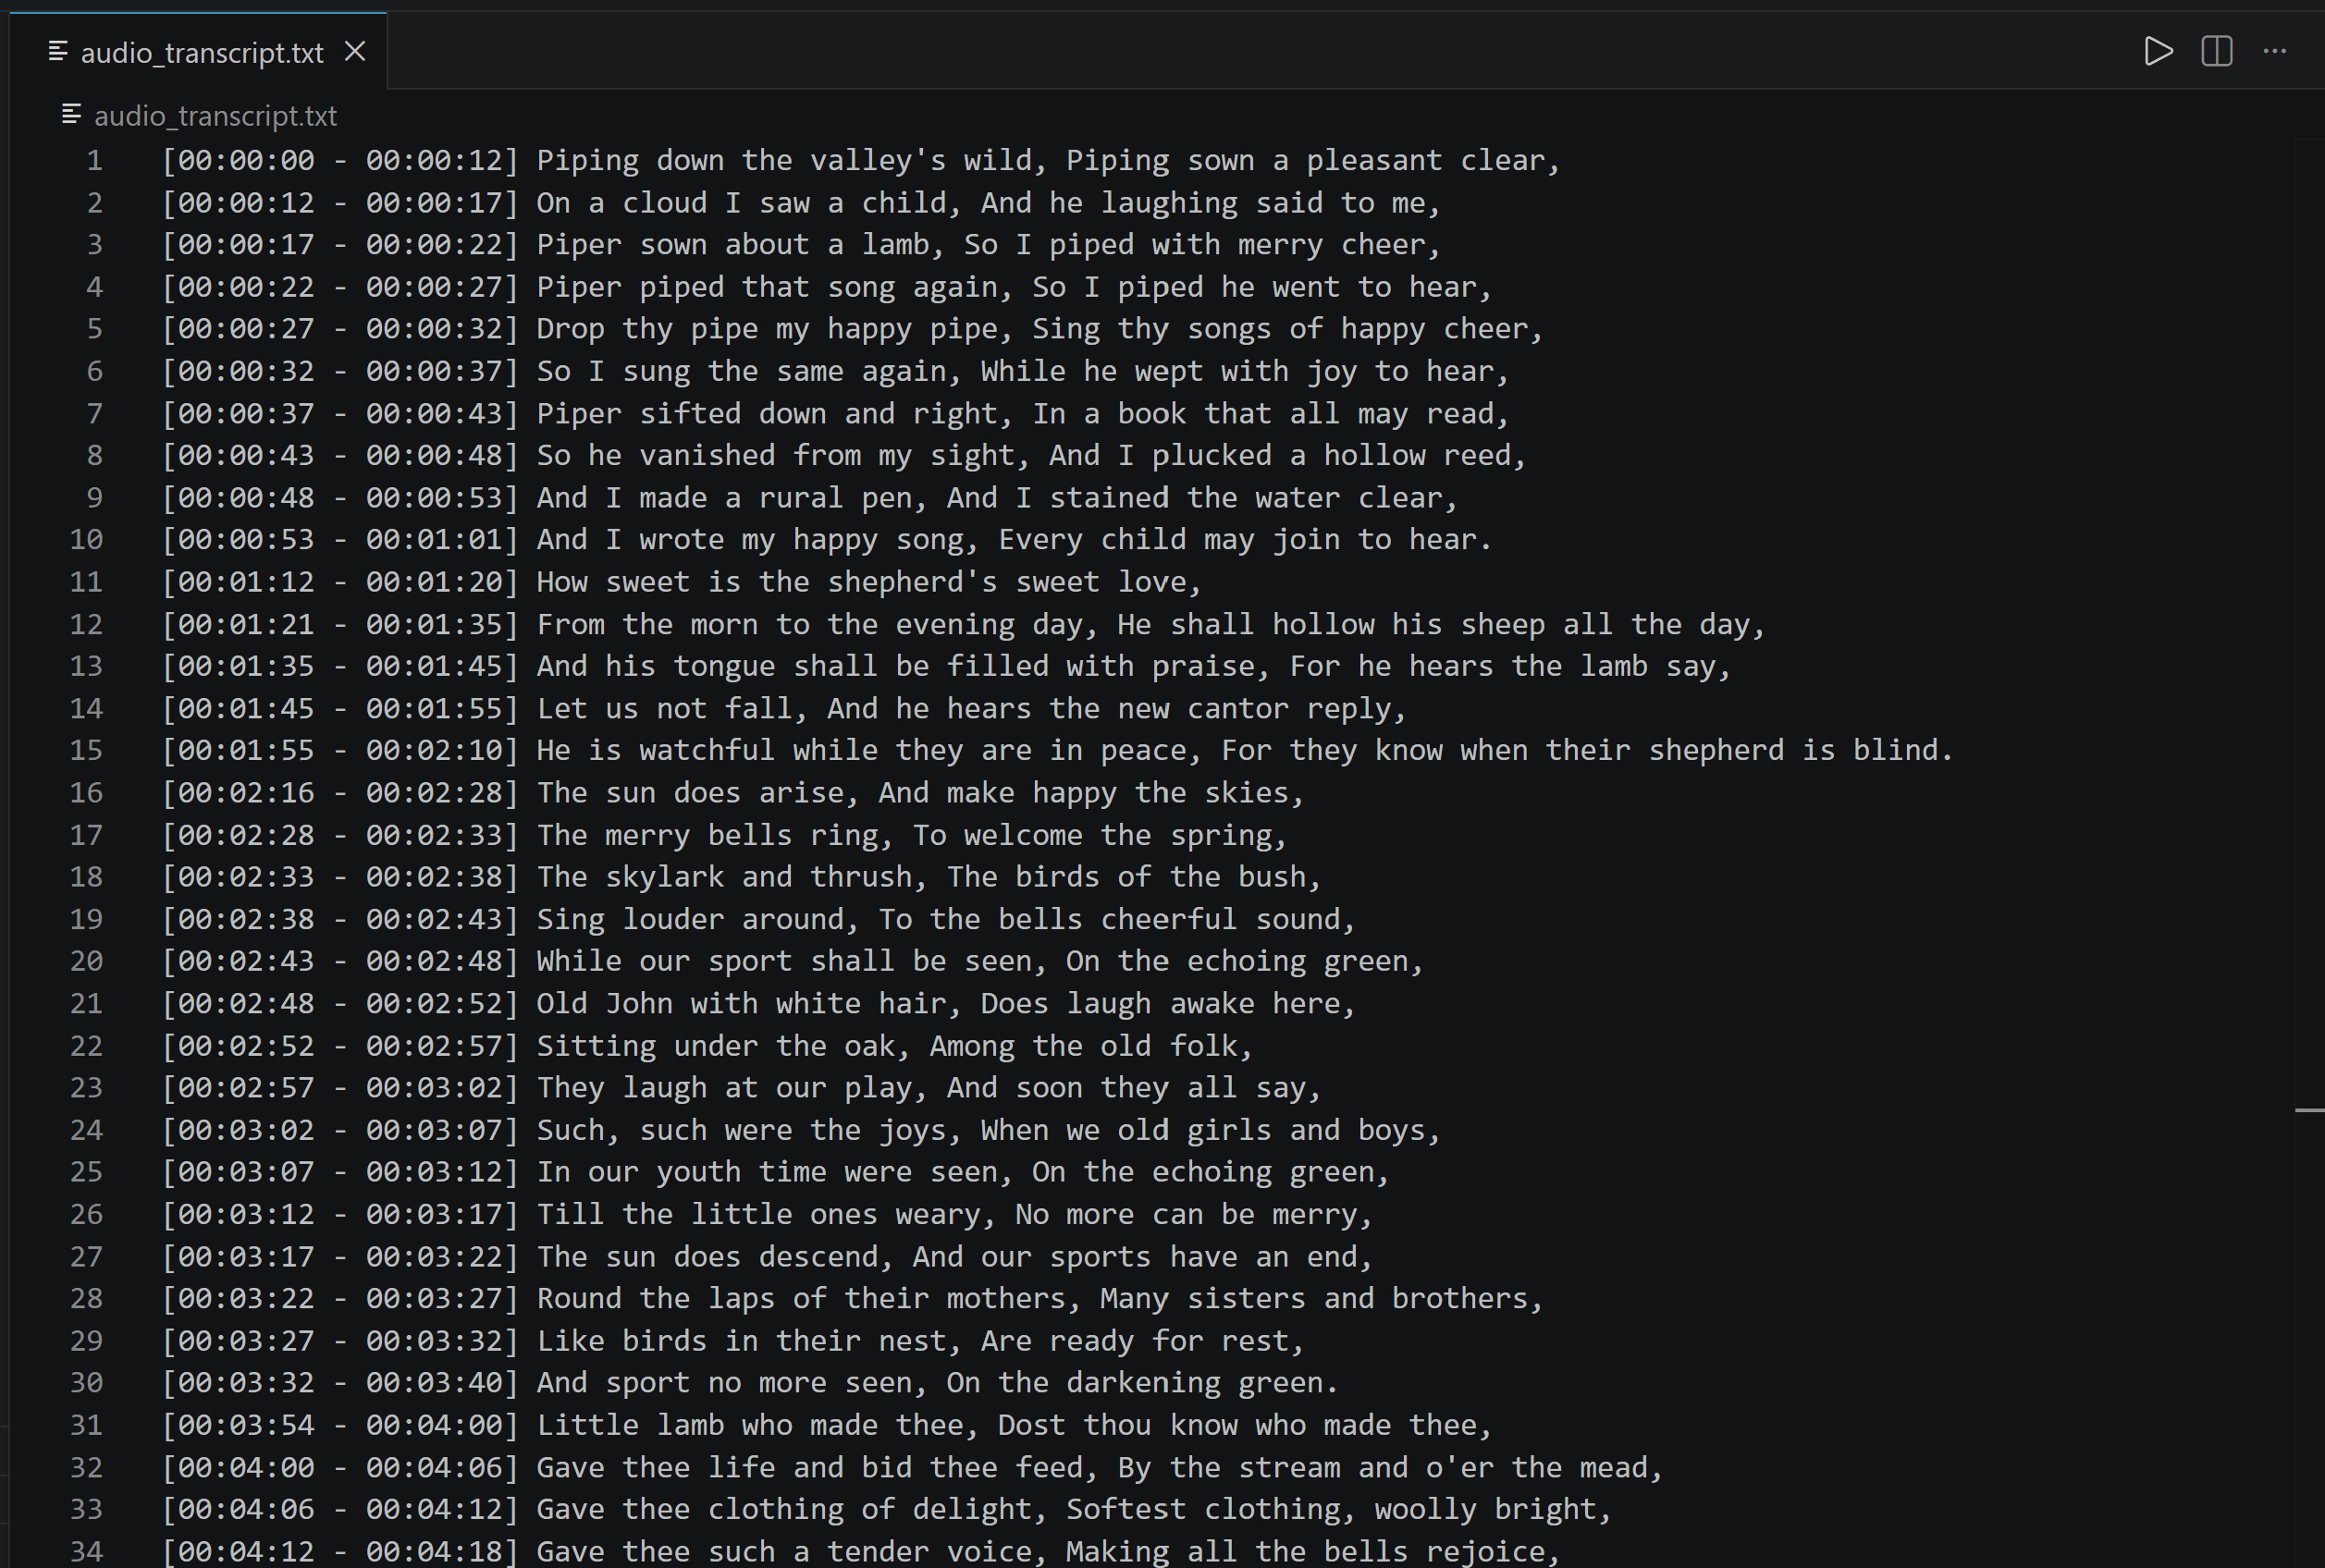
Et voilà! You have completed the full audio web-scraping pipeline by:
- Retrieving an audio recording from the web.
- Converting it to a standardized WAV file.
- Employing a local AI model to turn the audio into a timestamped text transcript.
Audio Web Scraping: Use Cases and Scenarios
Once you have scraped audio from the web and converted it into text, you can use the resulting output for a wide range of AI and data-processing applications.
The combination of audio, transcripts, and timestamps enables both content-level analysis and audio-text applications. Some possible use cases include:
- Media monitoring: Track podcasts, interviews, and broadcasts to identify mentions, topics, brands, or events.
- Content analysis: Analyze large collections of spoken content to discover recurring topics, trends, opinions, and key themes.
- AI model training: Build audio-text datasets for training or fine-tuning speech recognition and other AI models.
- Searchable archives: Transform large online audio collections into searchable text, allowing users to quickly locate specific information.
- Information extraction: Automatically extract names, organizations, locations, facts, or other structured information from spoken content.
- Content summarization: Generate concise summaries of podcasts, interviews, lectures, meetings, and other long-form recordings.
- Audio-text alignment: Use timestamps to connect transcript segments with their exact positions in the original audio, enabling precise content retrieval and analysis.
Conclusion
In this article, you learned how to scrape audio from the web and turn it into timestamped text for AI processing. In detail, you saw how to collect audio from videos or standalone files, convert it to WAV, and transcribe it with cloud-based or local AI models.
The result is a complete audio-processing pipeline that can support applications such as content analysis, information extraction, searchable archives, and AI model training.
If you want to skip the scraping step, explore Bright Data’s AI-ready audio datasets and video data packages. For custom audio collection, use Bright Data’s Web Unlocker to access the web resources you need reliably and at scale, without getting blocked.
Create a Bright Data account and start building your audio data pipeline today!



Technical Writer
 5.5 years experience
Antonello Zanini is a technical writer, editor, and software engineer with 5M+ views. Expert in technical content strategy, web development, and project management.