







In this article, you will see:
- What Gumloop is and what it offers as a visual, no-code AI automation platform.
- Why a Gumloop AI agent benefits from enterprise-grade, scalable, and effective web access from Bright Data MCP.
- How to build a real-world AI agent in Gumloop integrated with the Bright Data MCP.
Let’s dive in!
What Is Gumloop?
Gumloop is an AI-native, no-code workflow automation and AI agent platform. It lets you automate data-heavy tasks, web scraping, document processing, and other workflows using AI agents without writing a single line of code.
Gumloop provides a visual builder, AI capabilities, integrations, and scheduling features. It also connects with tools such as Slack, Google Workspace, Airtable, HubSpot, Salesforce, and many others.
Why Gumloop AI Agents Need Reliable Web Search, Fetching, and Automation Tools
Gumloop comes with built-in web search and fetch tools, provided by popular SERP and web search providers. These are essential for overcoming LLM knowledge cutoffs, as they allow AI agents to discover new sources and access their content for web grounding.
However, such tools do not always provide the reliability and scalability required for enterprise scenarios. They might:
- Lack support for targeting specific search engines (which is fundamental for source verifiability).
- Miss multilingual and geo-targeted search options.
Some may also struggle with websites protected by anti-bot systems, including rate limiters, CAPTCHAs, and fingerprinting checks.
Bright Data closes that gap by providing enterprise-grade infrastructure for web data access. It includes more than 400 million residential IPs, supports unlimited scalability and concurrency, offers 99.99% uptime, and achieves a 99.95% success rate.
Connecting Gumloop to Bright Data via the Bright Data MCP
The easiest way to connect Gumloop to Bright Data is through the Bright Data MCP, the official Bright Data MCP server.
Bright Data MCP provides more than 70 tools, powered by Bright Data’s API-based products. The subset of tools available in Rapid mode (free tier with 5,000 requests per month) includes:
| Tool | Description |
|---|---|
search_engine + parallel version (search_engine_batch) |
Retrieves results from search engines such as Google, Bing, Yandex, and more. |
scrape_as_markdown + parallel version (scrape_batch) |
Converts web pages into clean Markdown while handling bot protection. |
discover |
Performs AI-powered searches and returns ranked, relevant web results. |
These tools are already enough to replace Gumloop’s built-in connectors for web search and scraping.
When enabling Pro mode, you gain access to all 70+ tools. This includes specialized tools for structured data extraction from popular platforms such as Amazon, LinkedIn, Instagram, and YouTube, and 40+ other websites.
Pro mode also provides browser automation tools via Bright Data’s Browser API, opening the door to AI-powered, production-ready automation workflows.
How to Connect Bright Data MCP to a Gumloop AI Agent
In this step-by-step section, you will learn how to integrate the Bright Data MCP with a Gumloop agent.
Specifically, you will build an AI agent that:
- Relies on the Bright Data MCP to collect public web data from LLM platforms (ChatGPT, Perplexity, etc.).
- Analyzes it for LLM visibility.
- Sends the output to a Notion page.
This AI visibility scenario is just one example of what a Gumloop AI agent can do when integrated with the Bright Data MCP. Many other use cases, scenarios, and workflows are supported as well.
Follow the instructions below!
Prerequisites
To go through this tutorial, make sure you have:
- A Gumloop account (a free account is enough).
- A Bright Data account with an API key configured. Follow the official guide to generate your Bright Data API key.
- A Notion account. Note that this is required only for this specific example. You can use another method to store or send the agent’s output.
While not strictly required, it is also helpful to have:
- A basic understanding of how MCP works.
- Familiarity with the tools exposed by Bright Data MCP.
Step #1: Create a New Gumloop Agent
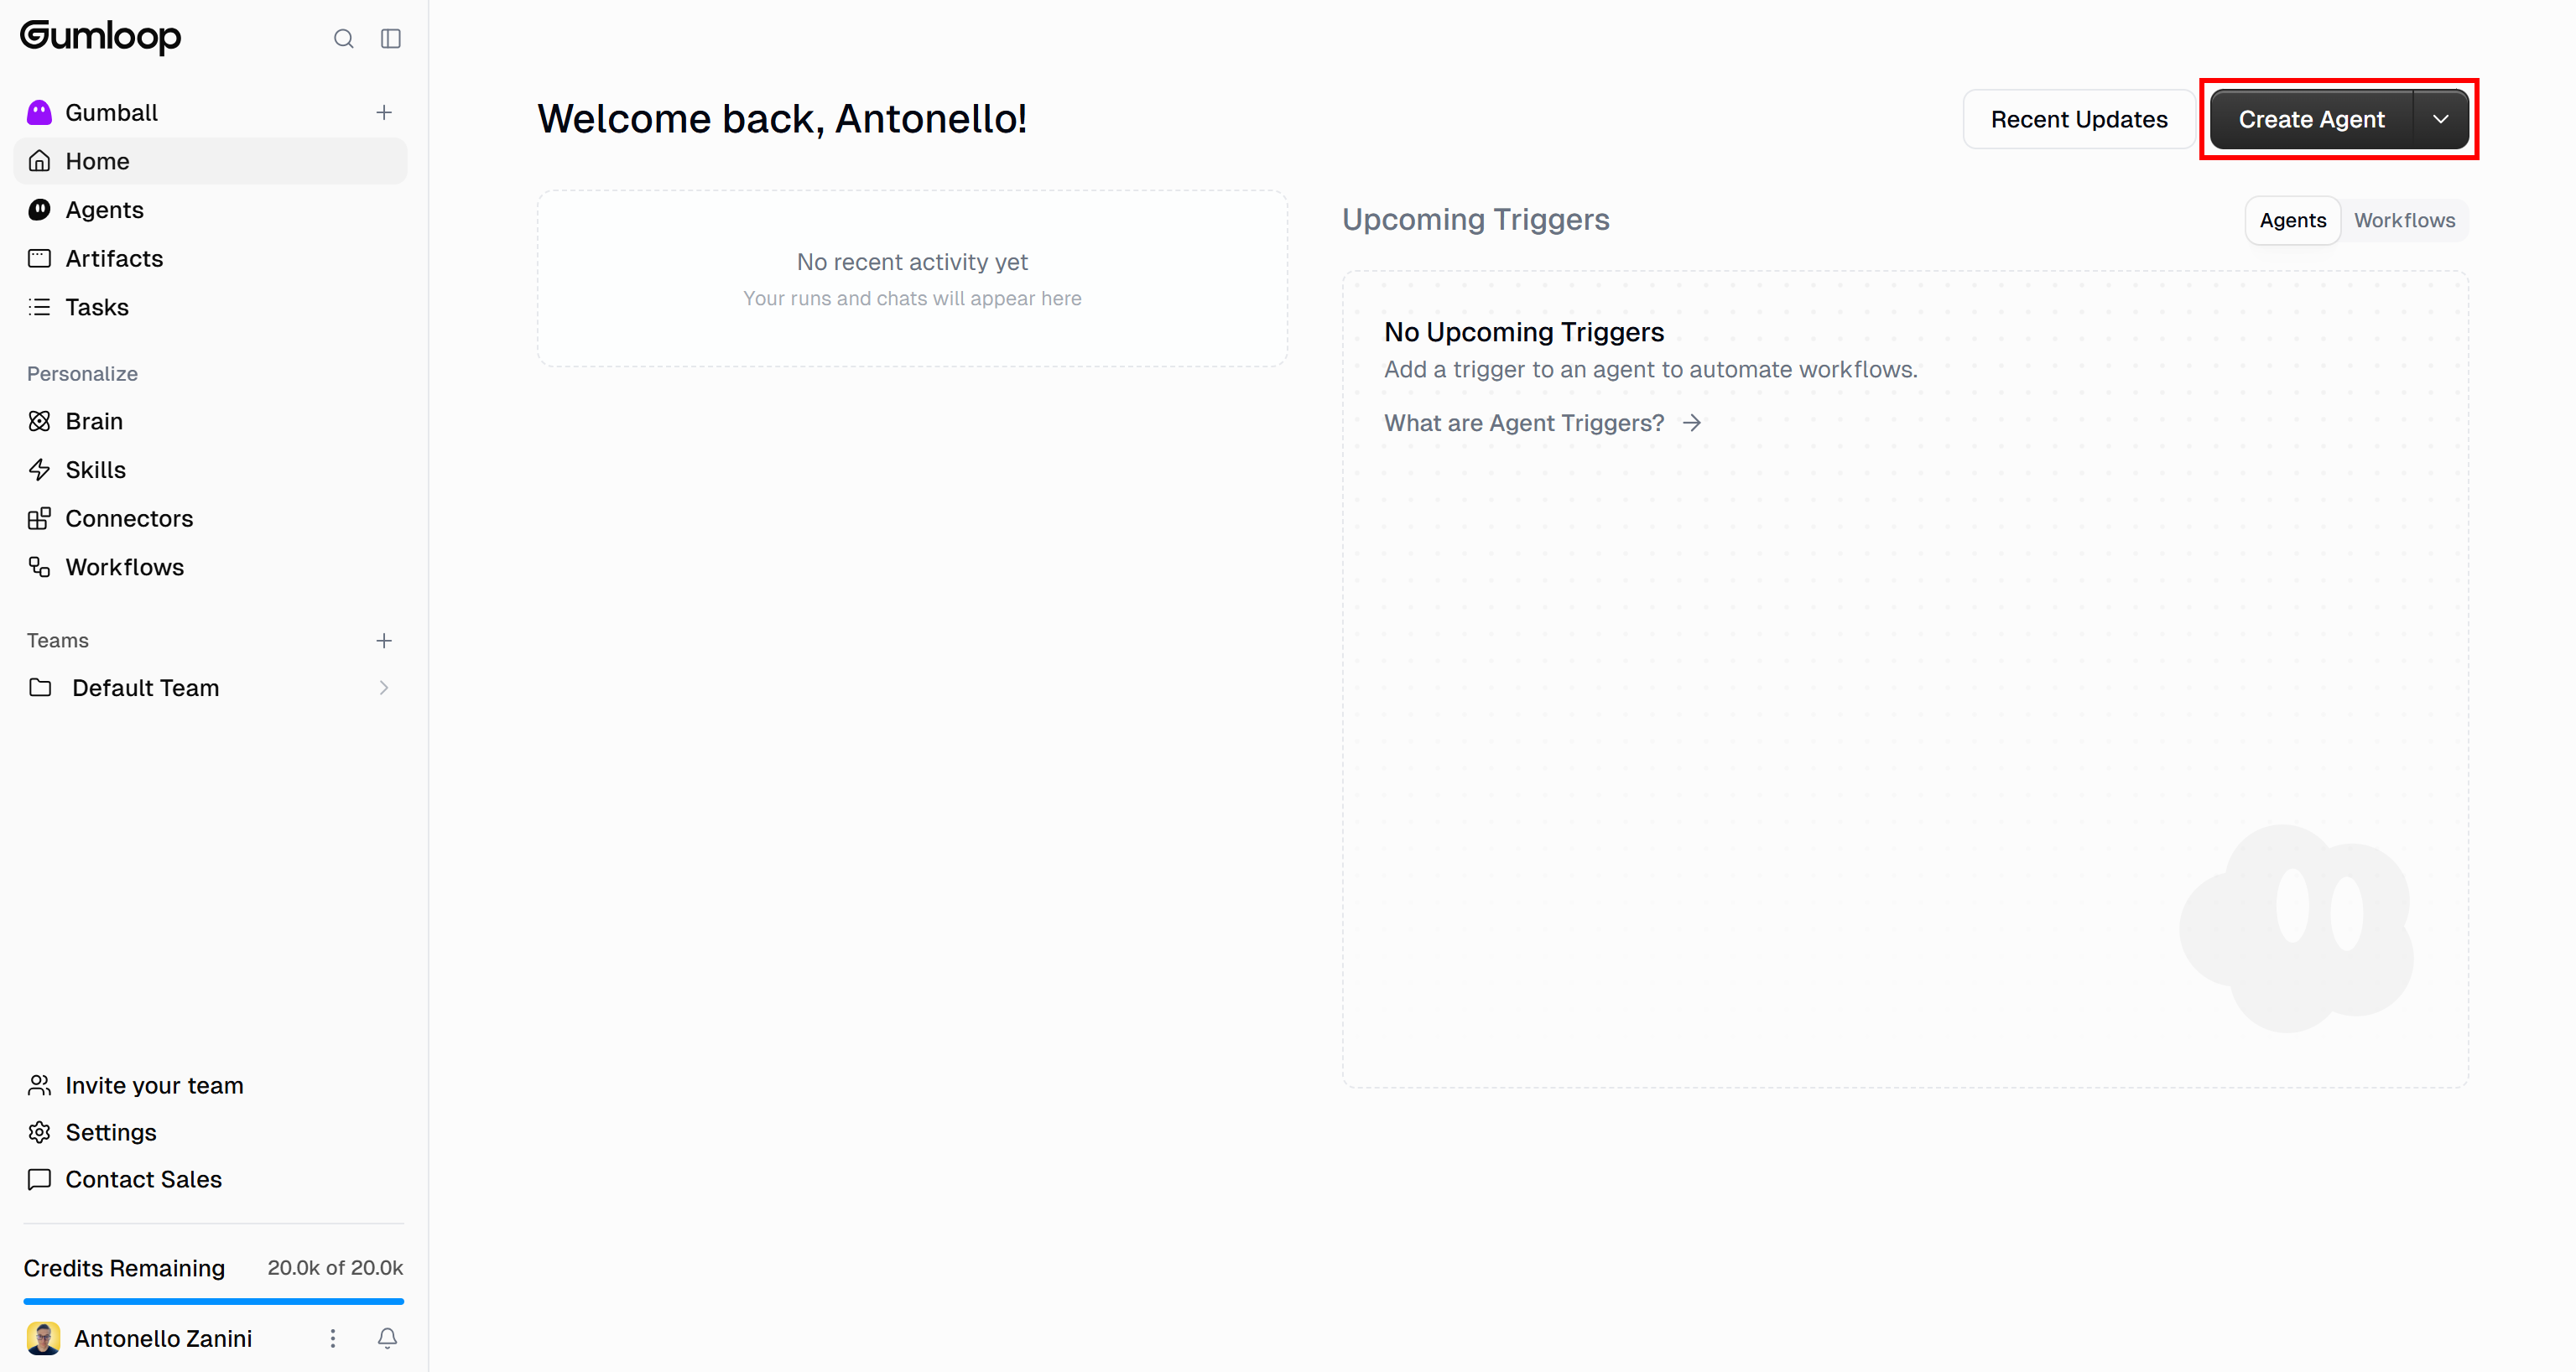
Log in to Gumloop and open the dashboard. Click “Create Agent” to create a new Gumloop agent:
Gumloop will open the agent definition page and assign it a default name (e.g., “Keen Bolt”).
To configure the agent’s name, description, and other aspects, open the “Settings” tab in the top-right corner:

Enter a name for your agent, such as “AI Visibility Agent”.
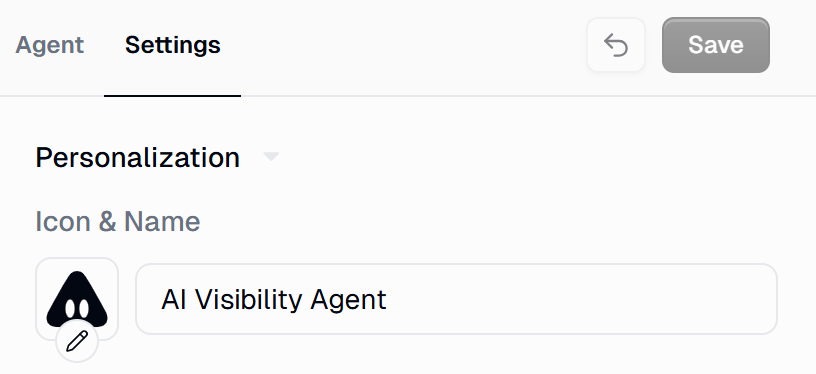
Now, move to the Agent tab. You can also change the AI model (set to Grok 4.5 by default). Then, add the following AI instructions:
You're an AI visibility expert with access to the web, AI platforms, and Notion. Produce accurate, evidence-based responses using only retrieved content, without making assumptions or fabricating information.This will help the AI agent understand its role and scope.
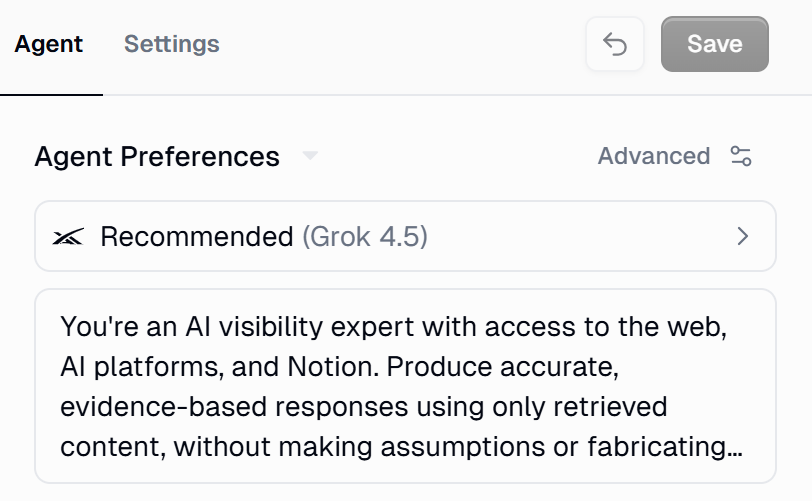
Press “Save” in the top-right corner to update the agent’s definition.
Well done! Your Gumloop AI agent has just been initialized.
Step #2: Get Familiar with Bright Data MCP Connection URL
To begin, familiarize yourself with the standard Bright Data MCP connection URL:
https://mcp.brightdata.com/mcp?token=<YOUR_BRIGHT_DATA_API_KEY>&pro=1Replace <YOUR_BRIGHT_DATA_API_KEY> with your Bright Data API key. The token parameter authenticates your requests and associates them with your Bright Data account. The &pro=1 parameter enables Pro mode, which provides access to specialized GEO tools for AI visibility:
| Tool | Description | Powered by |
|---|---|---|
web_data_chatgpt_ai_insights |
Send prompts to ChatGPT and retrieve structured AI insights, including answers, citations, and recommendations. | ChatGPT Scraper |
web_data_grok_ai_insights |
Send prompts to Grok and retrieve structured AI-generated insights in Markdown format. | Grok Scraper |
web_data_perplexity_ai_insights |
Send prompts to Perplexity and retrieve structured AI-generated insights in Markdown format. | Perpelexity Scraper |
Assume that you need finer-grained control over the exposed tools (e.g., allow access to only specific tools). In that case, you can generate a custom Bright Data MCP connection URL from the Bright Data dashboard.
Sign in to your Bright Data account and navigate to “AI Gateways > MCP”. Follow the setup wizard, select the GEO tools mentioned before, and get the special connection URL.
Perfect! You will use the connection URL in the next step to connect Gumloop to the Bright Data MCP.
Step #3: Configure the Bright Data MCP in Gumloop
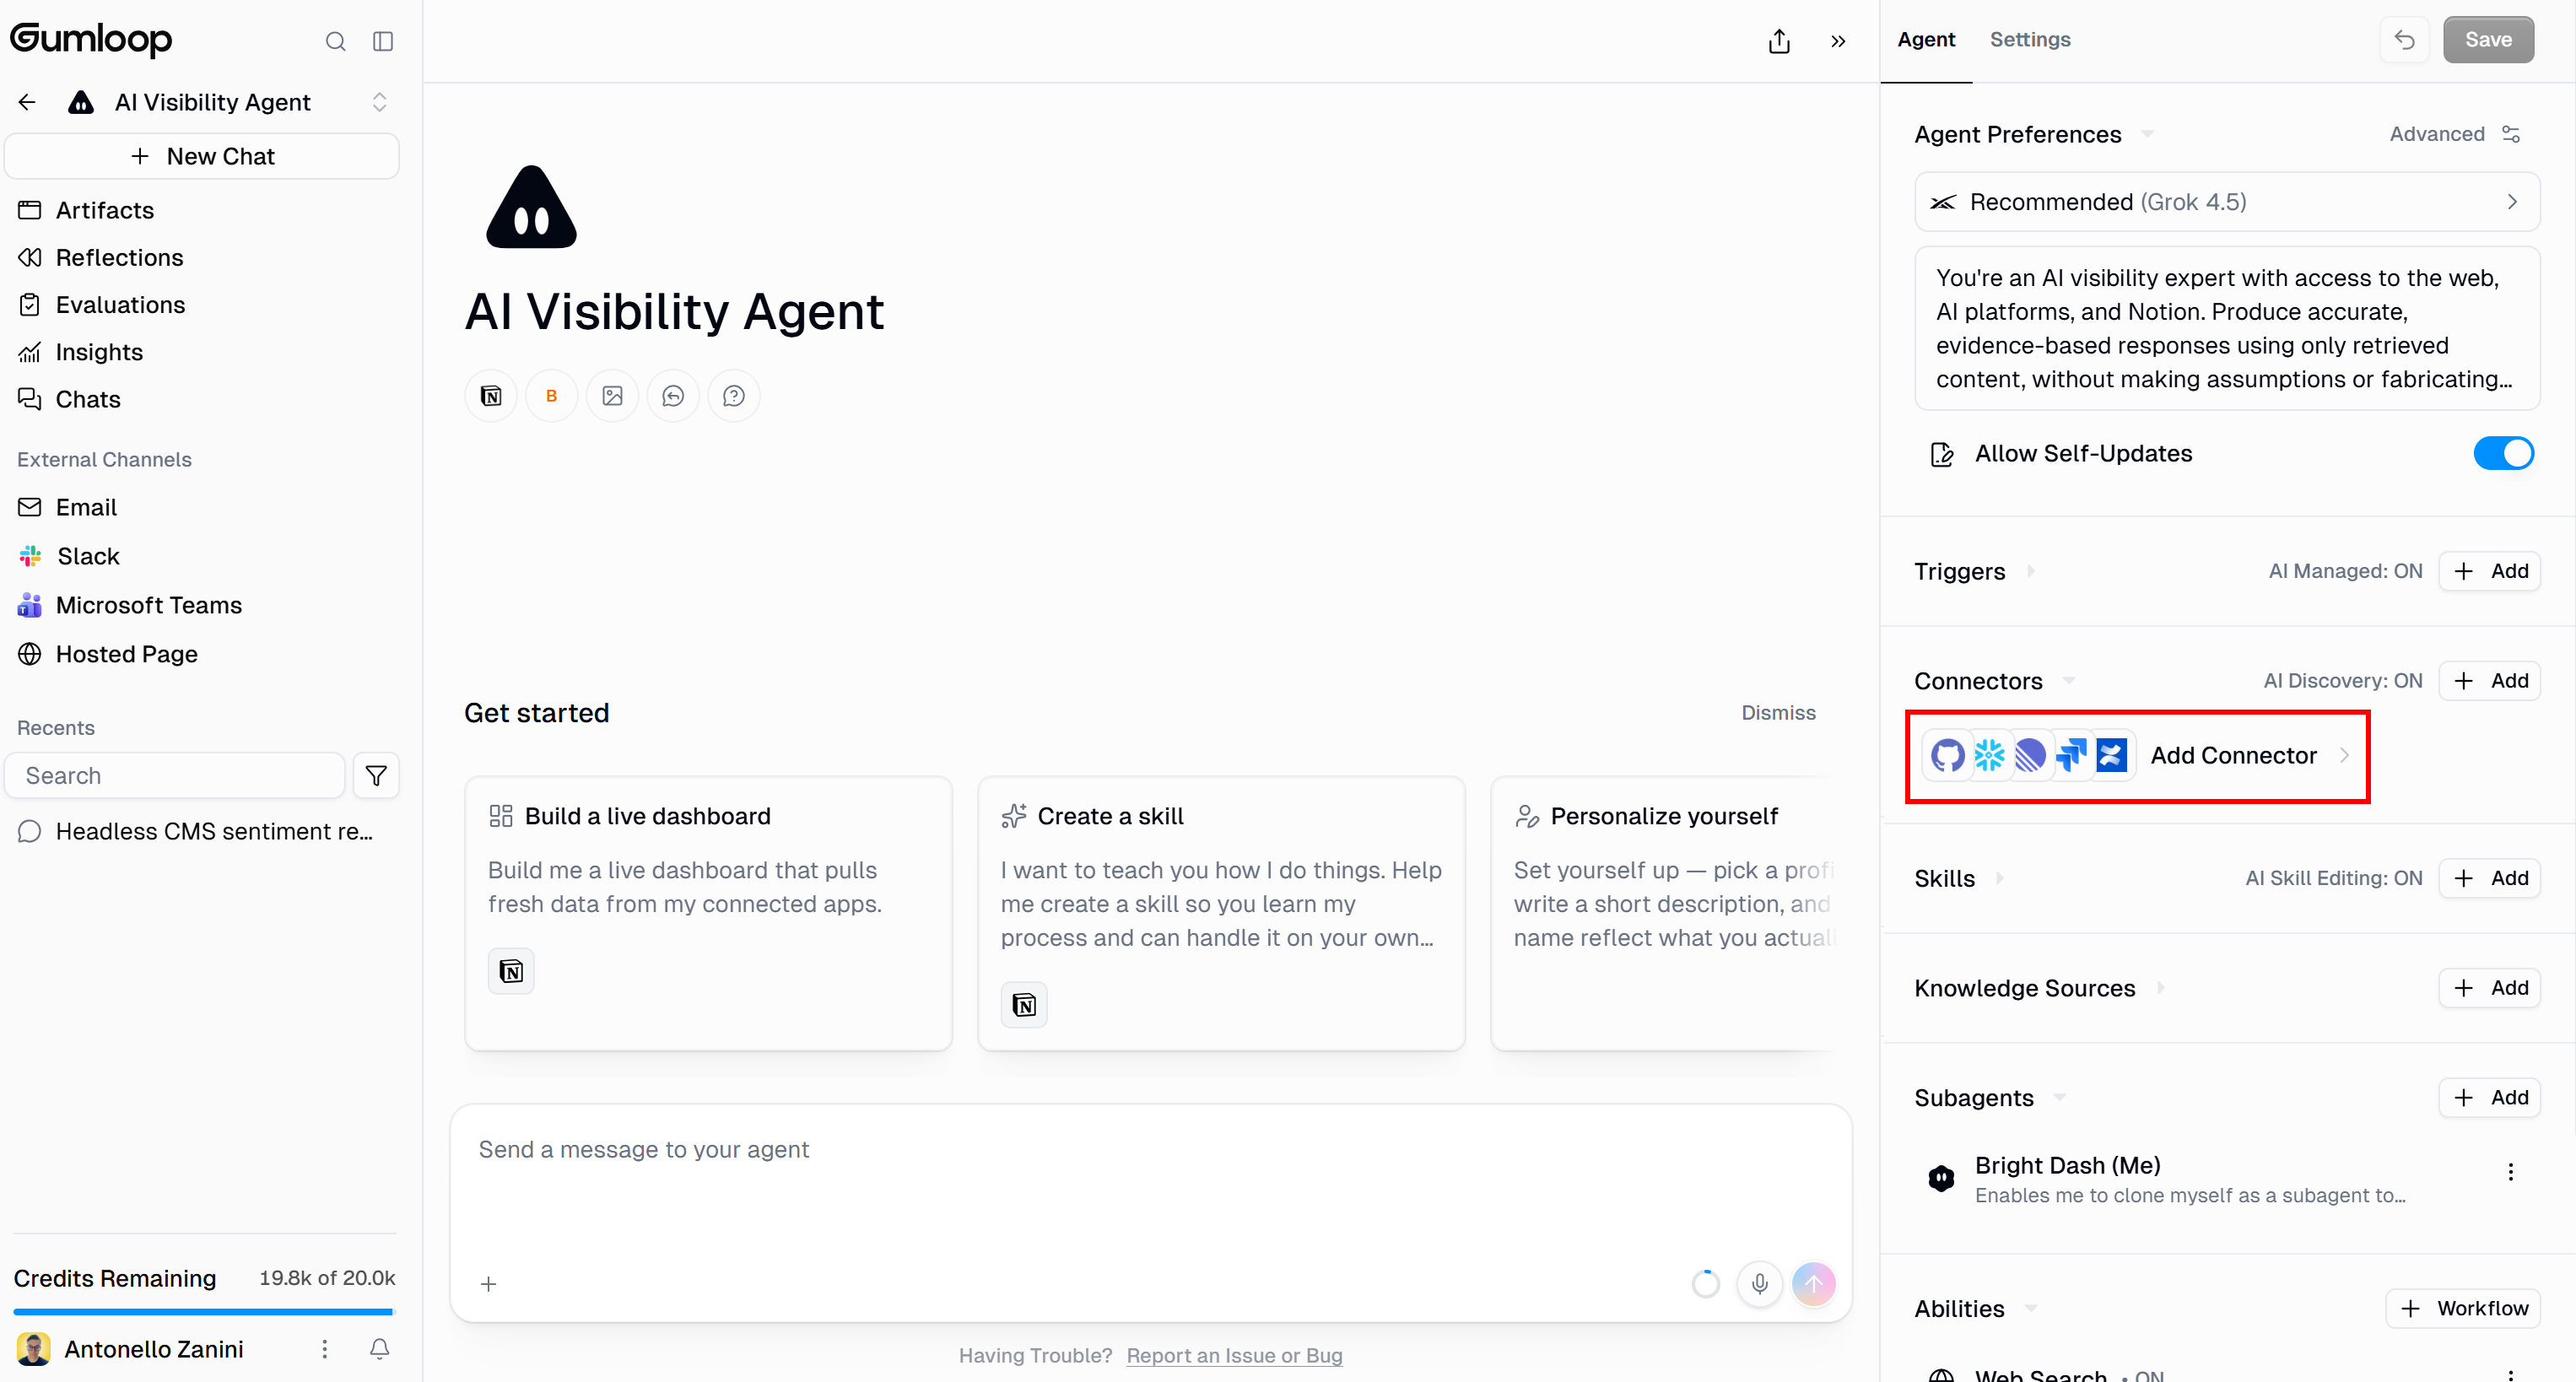
On the agent’s page, click “Add Connector”:
In the “Add Connectors” panel, find the “Custom MCPs” section and click “Connect”:
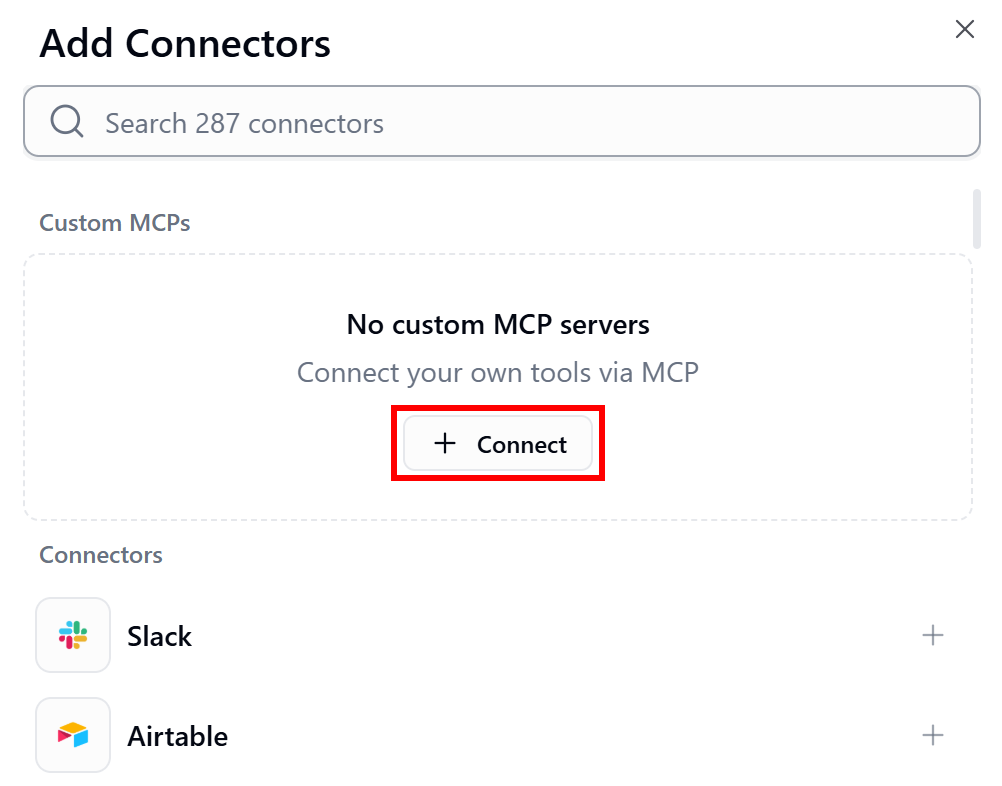
This will open the “Connect MCP Server” modal. Select “Public URL” and paste your Bright Data MCP connection URL without the token query parameter.
To connect to the Bright Data MCP in Pro mode, enter:
https://mcp.brightdata.com/mcp?pro=1Note: Remove token=<YOUR_BRIGHT_DATA_API_KEY> from the original connection URL. You will configure authentication in the next step.
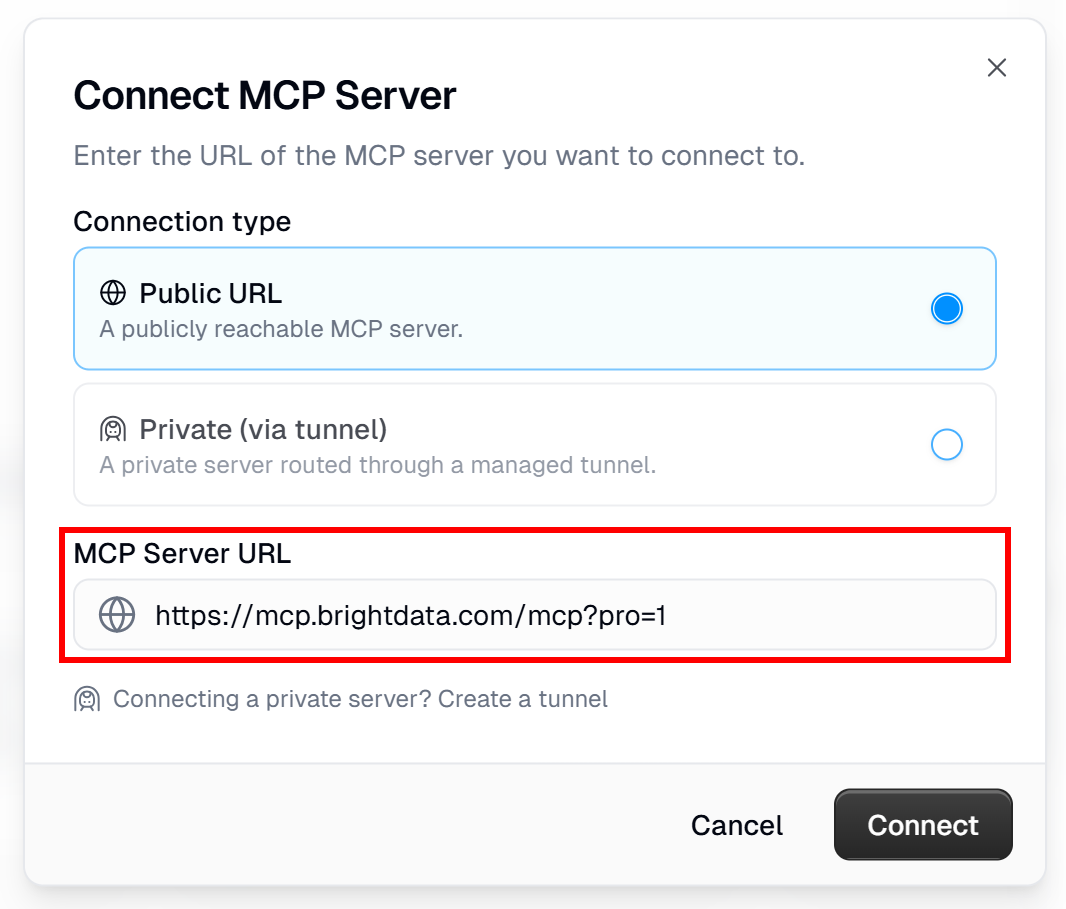
Press “Connect”, then configure the connection as follows:
- Server Name:
Bright Data MCP - Authentication:
API Key / Credentials - Query Parameters:
– Name: token
– Value: Paste your Bright Data API key
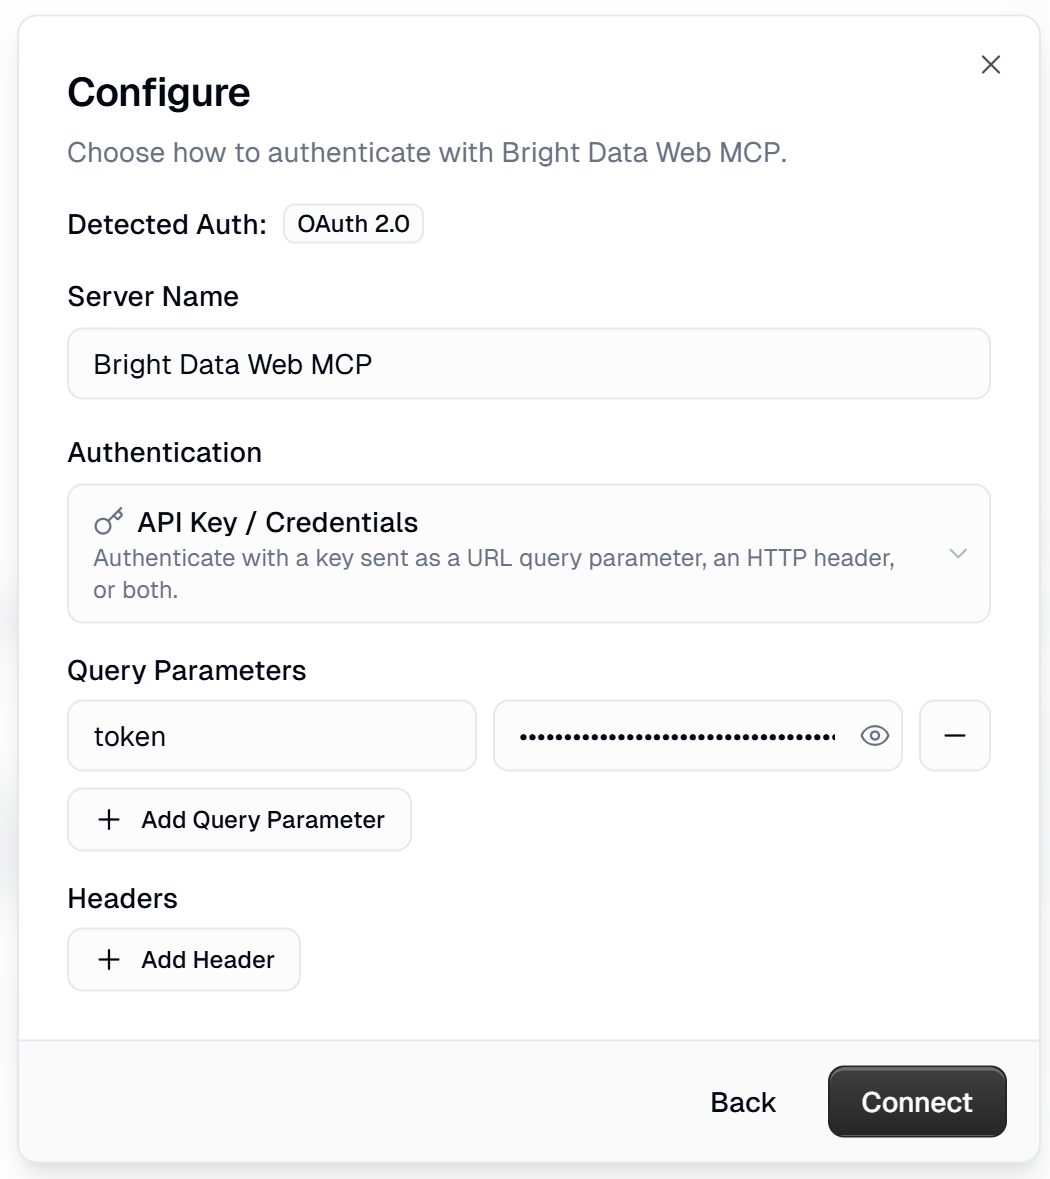
Based on this configuration, Gumloop will automatically add the token=<YOUR_BRIGHT_DATA_API_KEY> parameter to the connection URL. That is why we omitted it before.
Click “Connect” to continue. The Bright Data MCP entry will then appear in the “Add Connectors” panel:
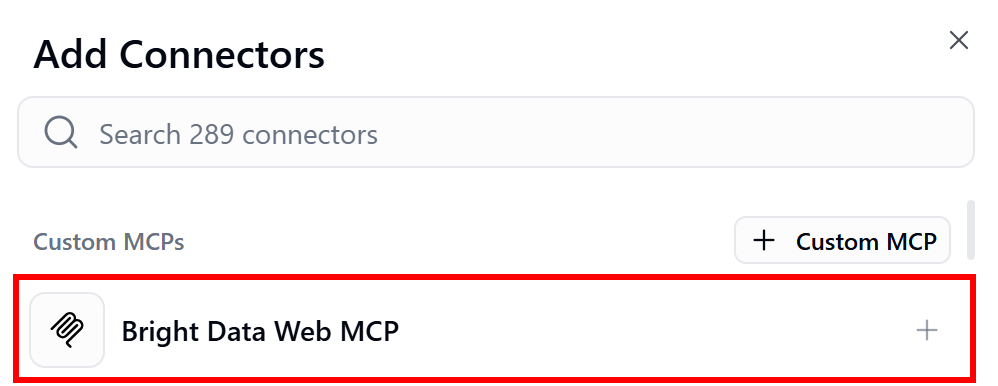
Click the “+” button next to add it as a connector, then click “Save” to finalize the operation.
Fantastic! Your Gumloop AI agent is now connected to the Bright Data MCP.
Step #4: Verify the Bright Data MCP Integration
On the agent’s page, expand the “Connectors” section. You should now see the “Bright Data MCP” entry:
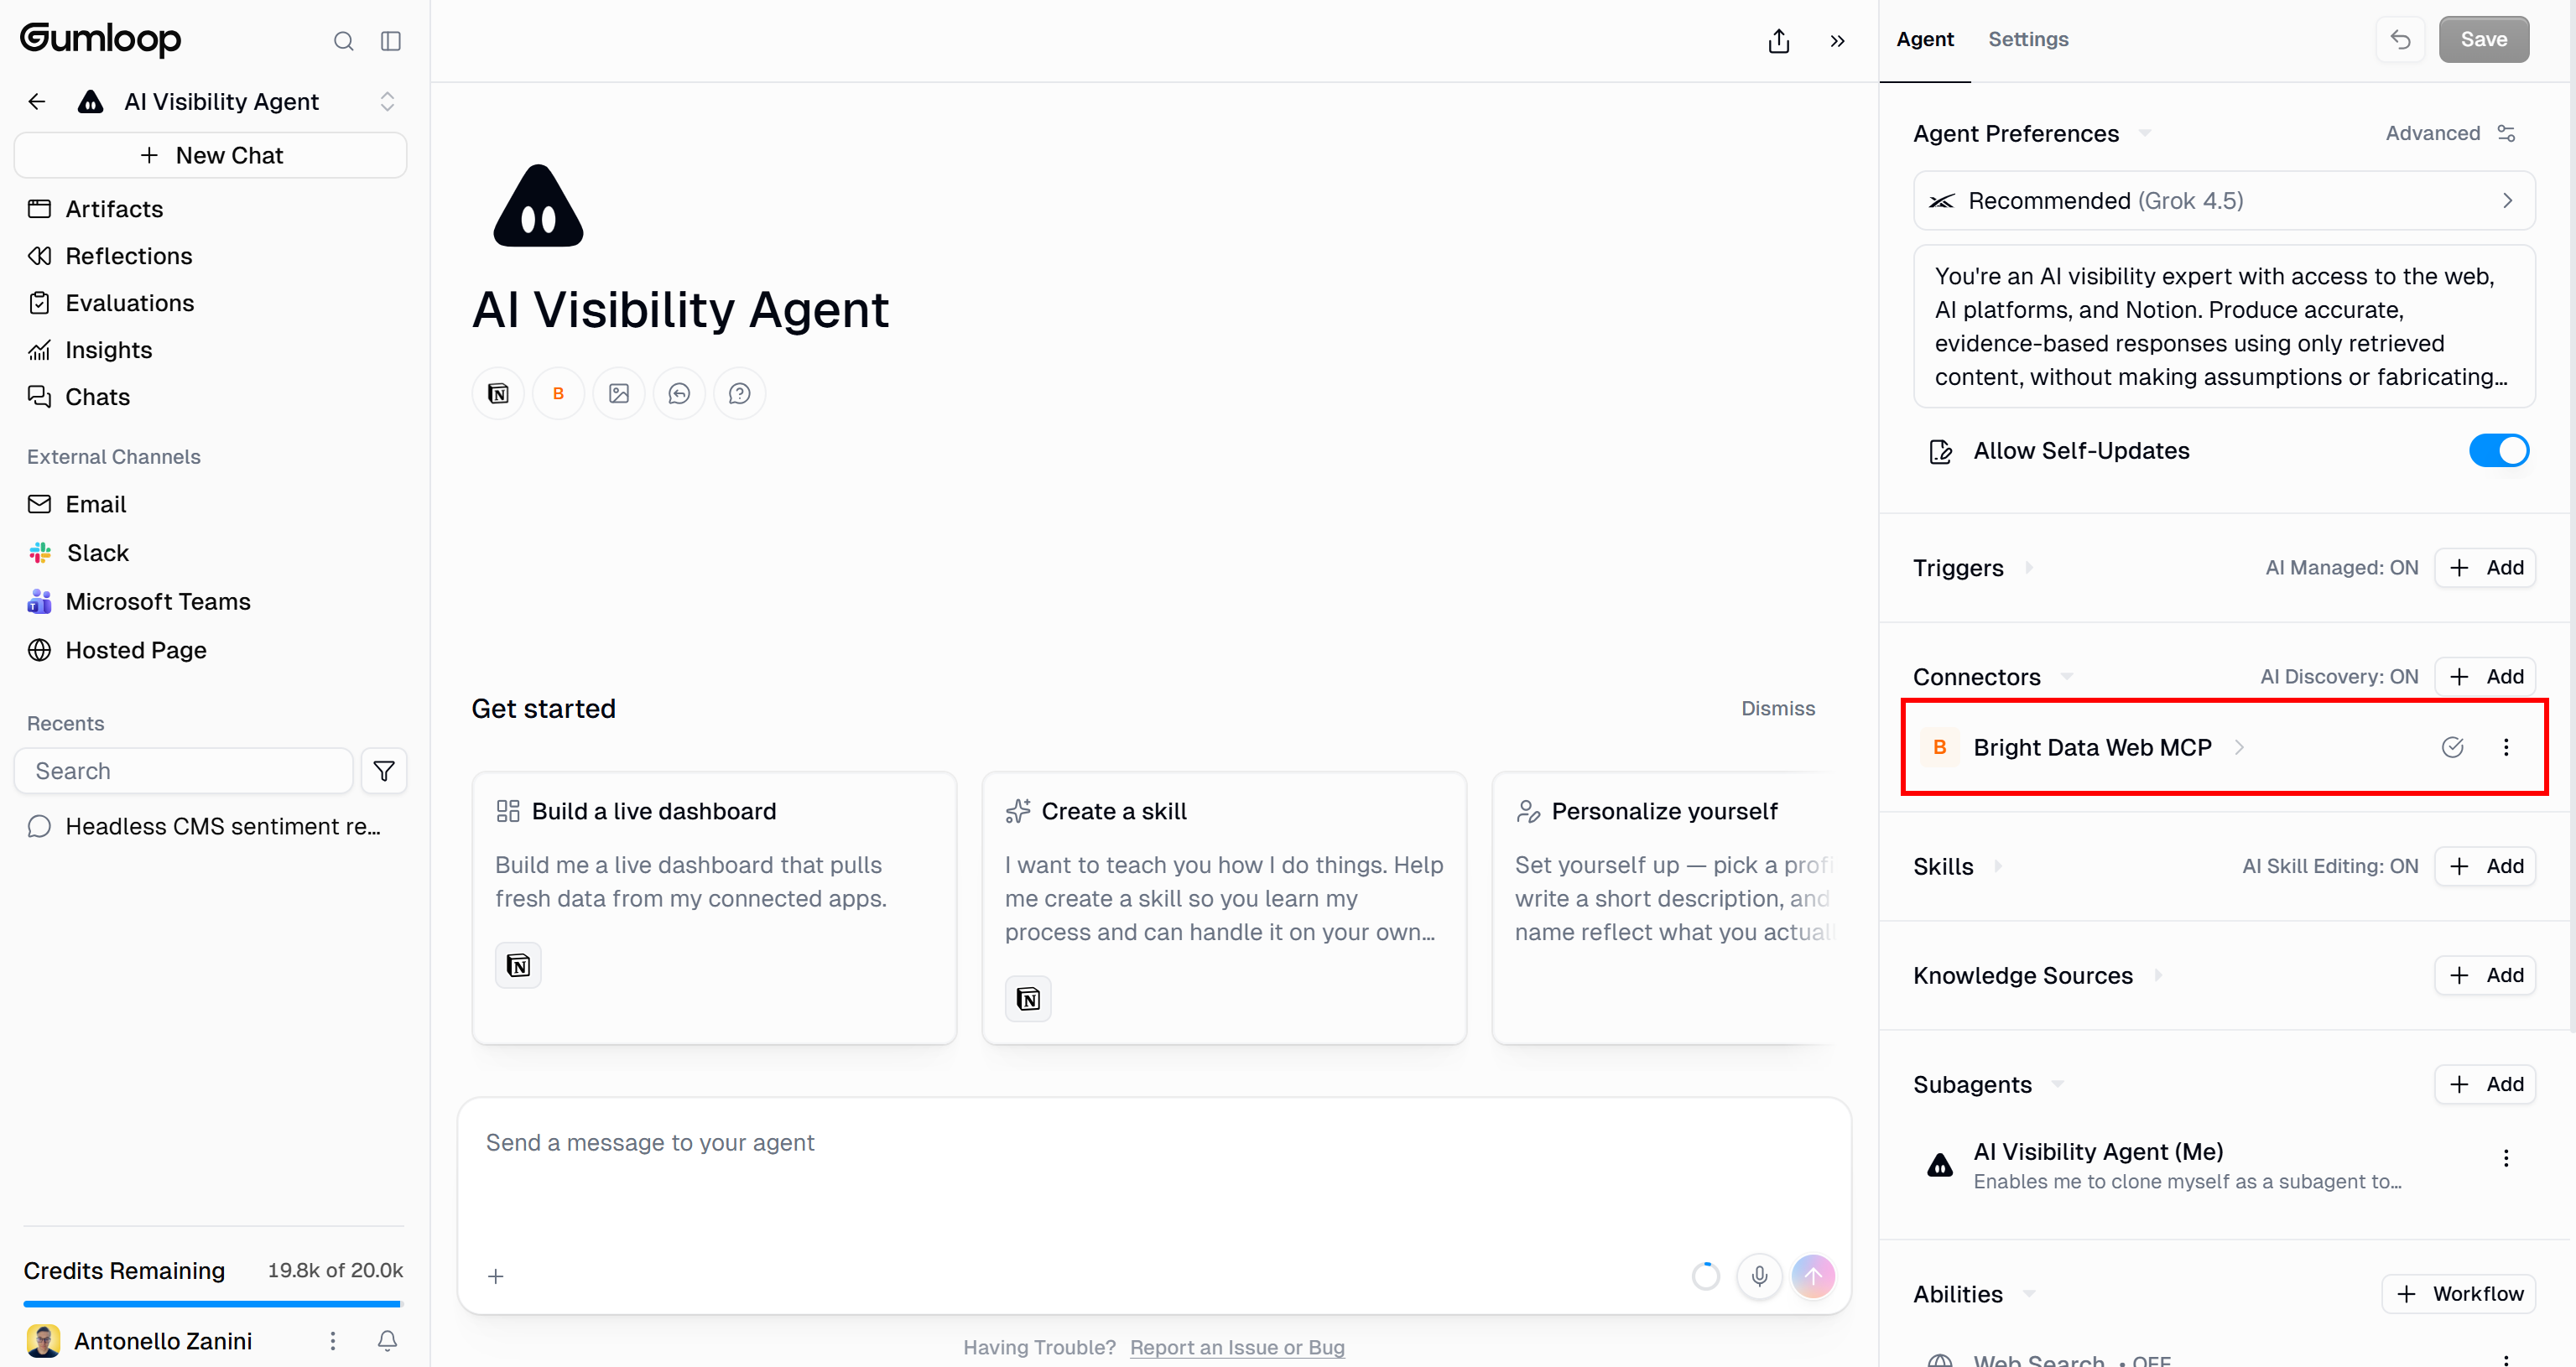
Click it to open the “Connector Details” page:
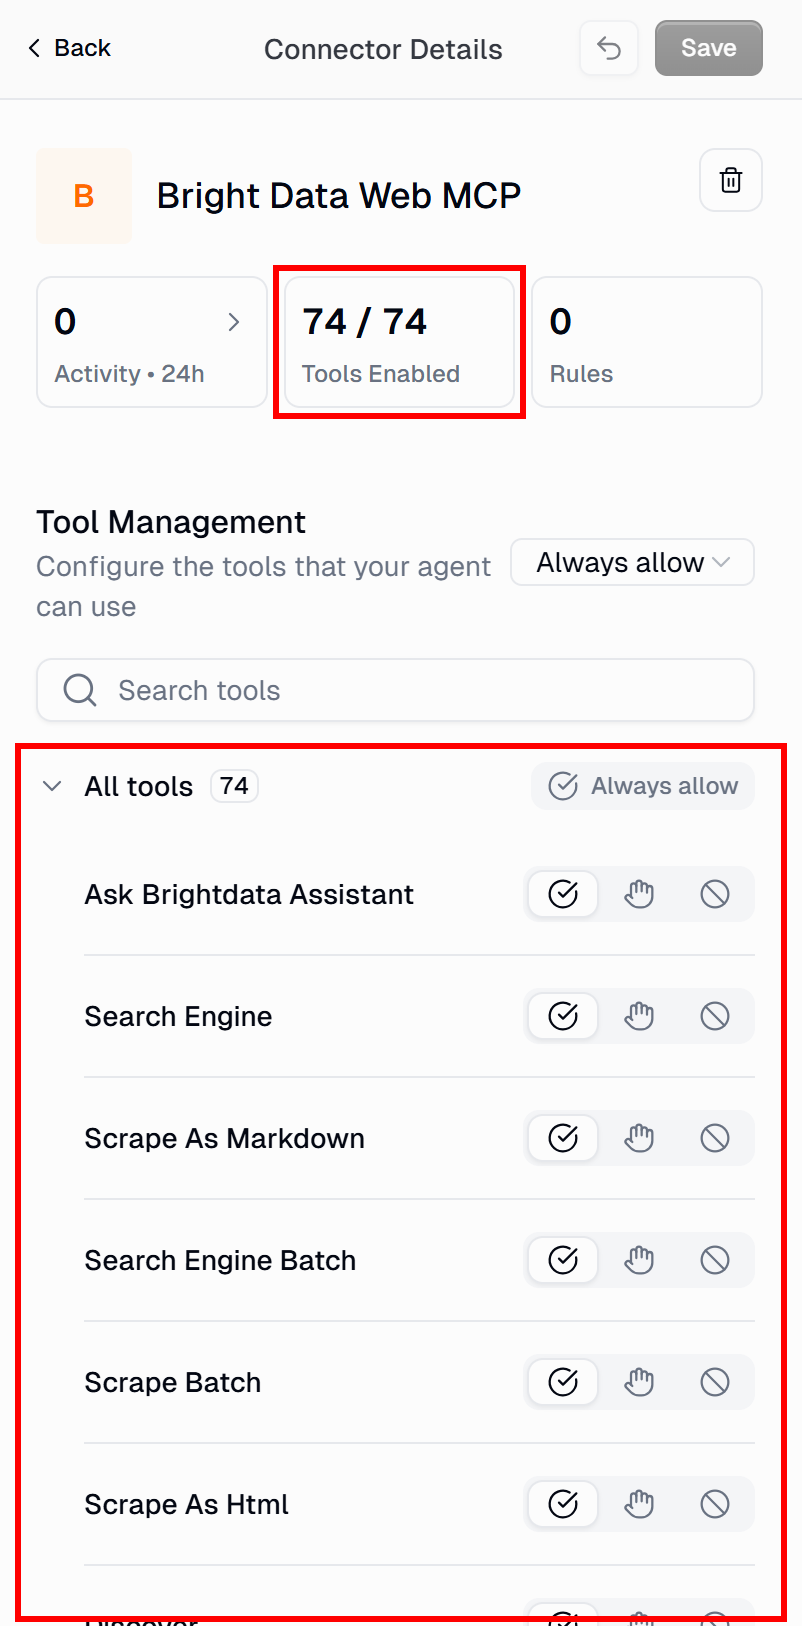
Here, you can see and explore the tools exposed by the MCP server. With Pro mode enabled, the Bright Data MCP exposes 70+ tools. Otherwise, you will only see the subset available with your current Bright Data MCP setup.
You can also configure the execution mode for each tool (“Always allow”, “Ask each time”, “Never allow”). By default, all tools are enabled and set to “Always allow”.
Your Bright Data MCP connector is now fully configured. Terrific!
Step #5: Finalize the AI Agent’s Connectors
Remember that the goal is to send the AI agent’s output to a Notion page. You can also configure your Gumloop agent to interact with other supported platforms, depending on your scenario.
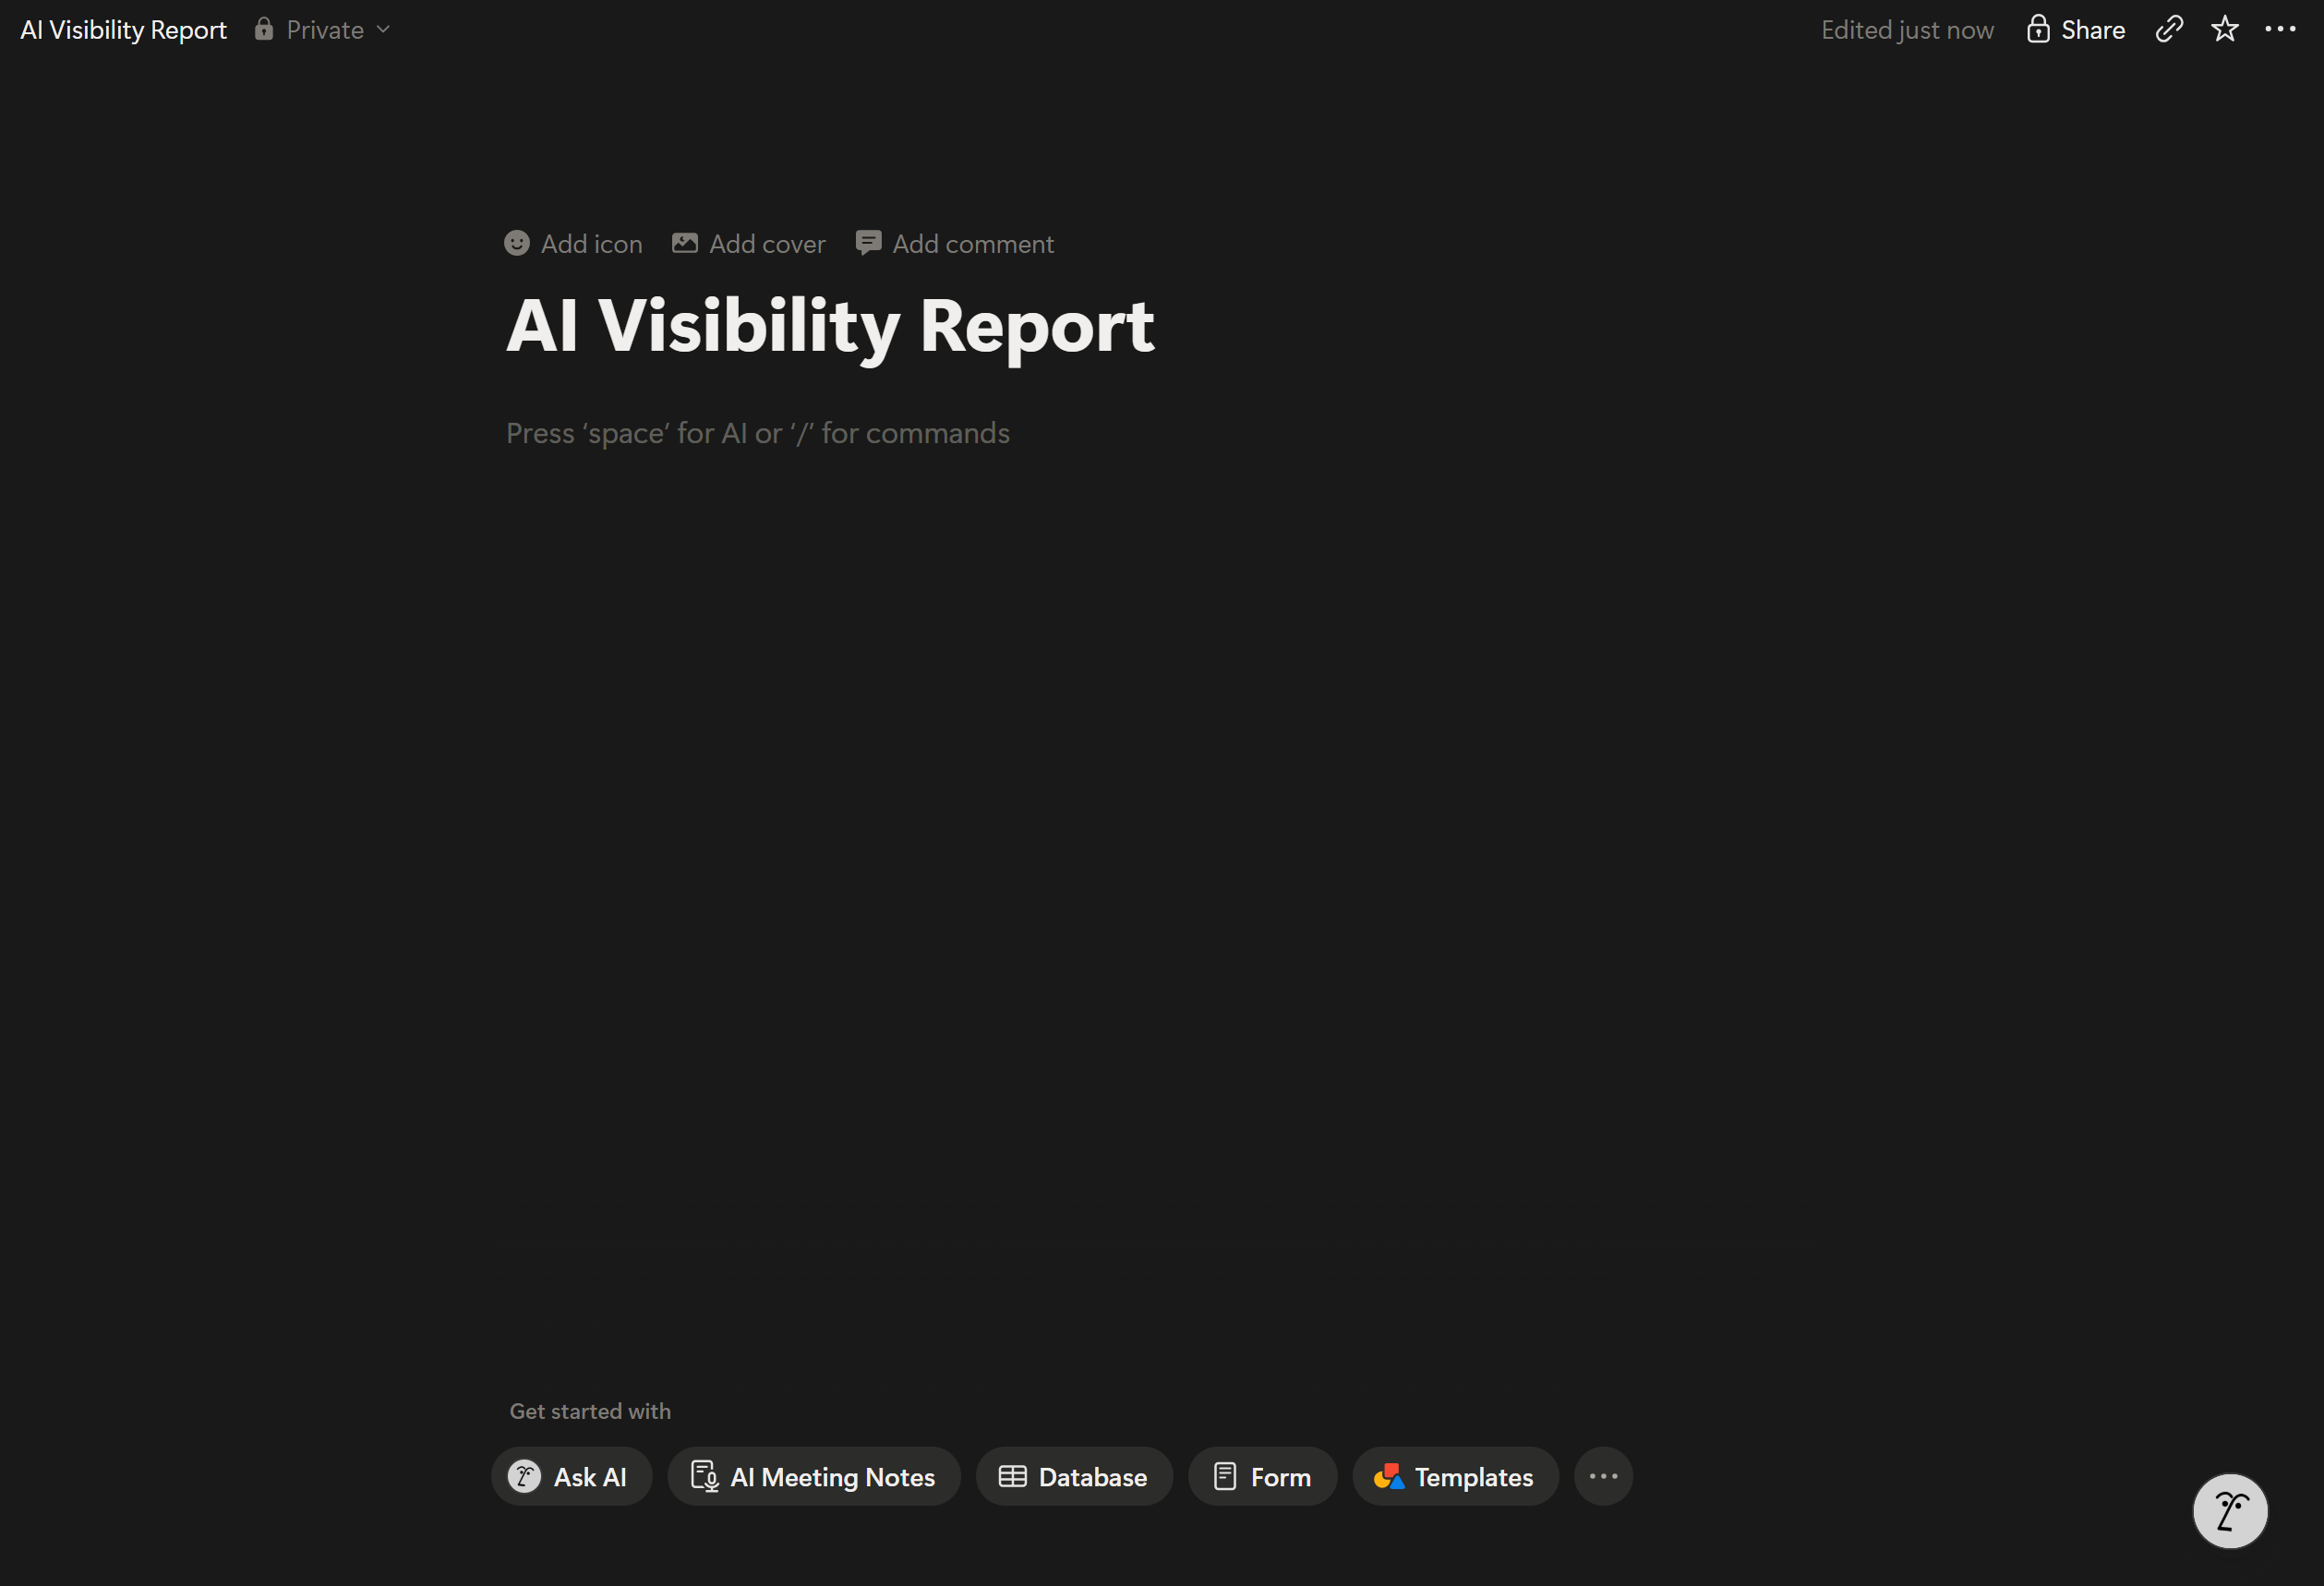
Start by adding an “AI Visibility Report” page to your Notion workspace:
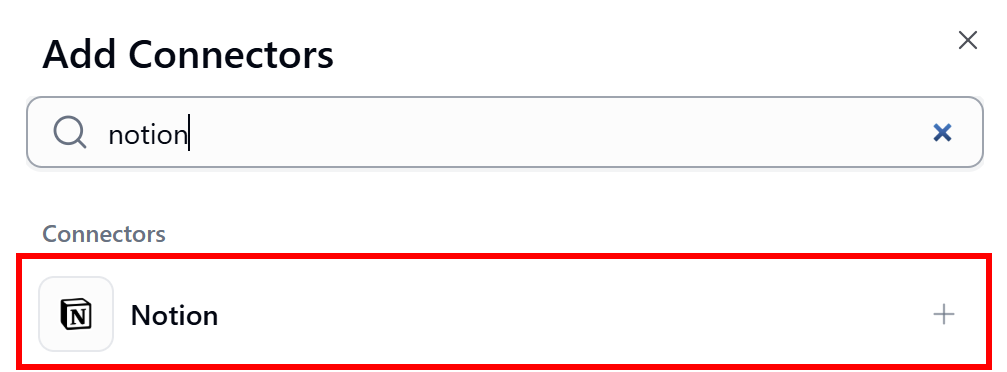
Then, click “Add” in the “Connectors” section on the right panel. Search for “notion” and select the equivalent option:
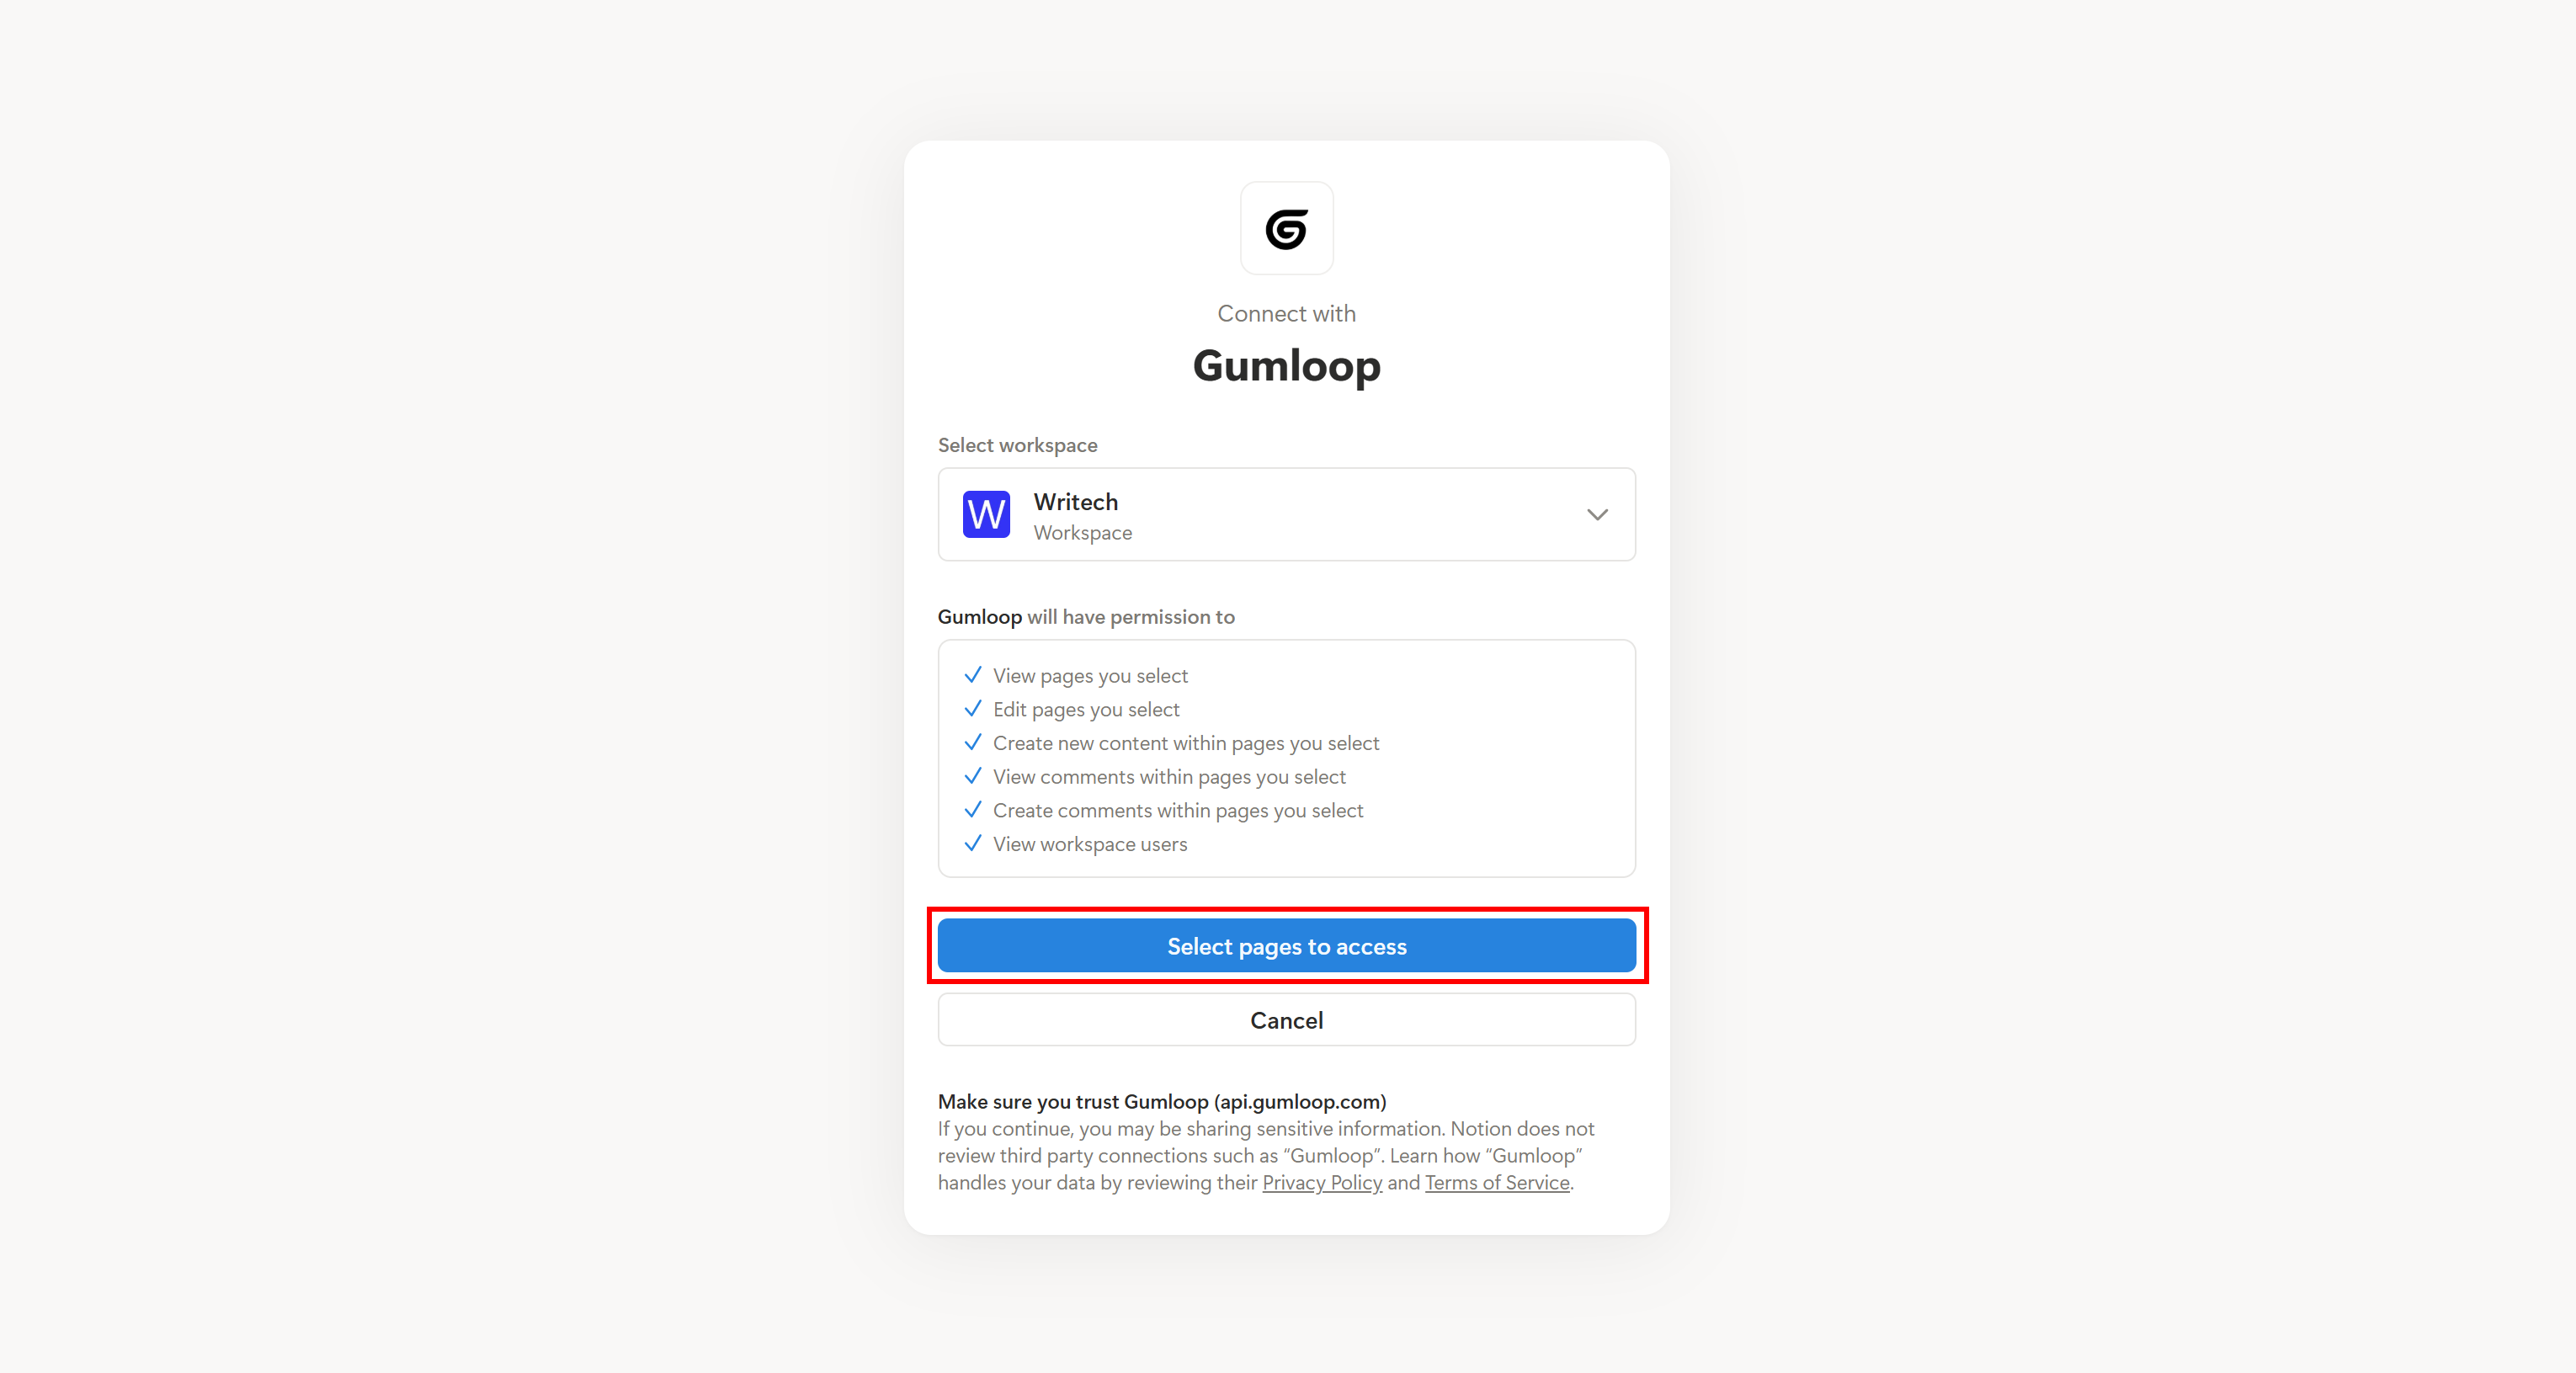
Continue with the integration by selecting your Notion workspace. Review the permissions you are granting Gumloop, then click “Select pages to access”.
Search for the “AI Visibility Report” page and select it:
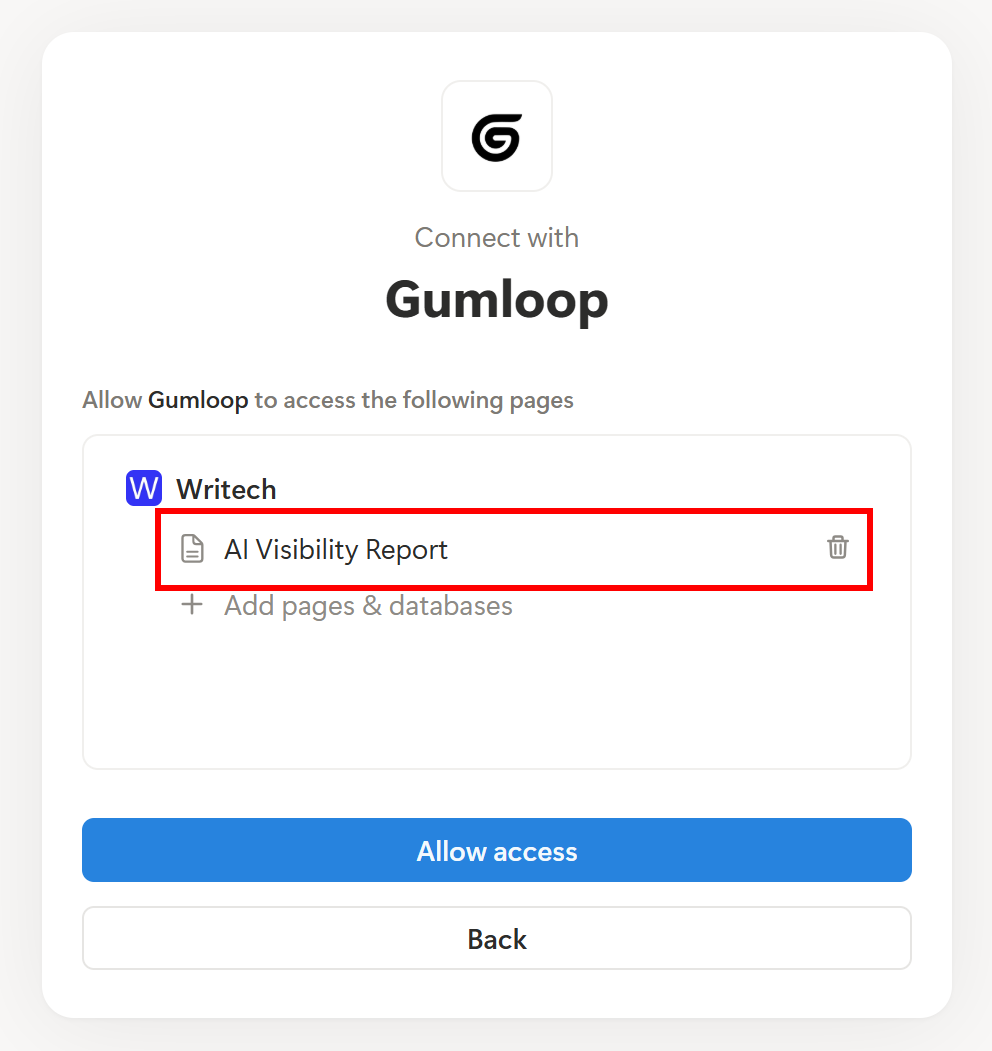
Click “Allow access” to complete the connection, which will now appear in the “Connectors” section:
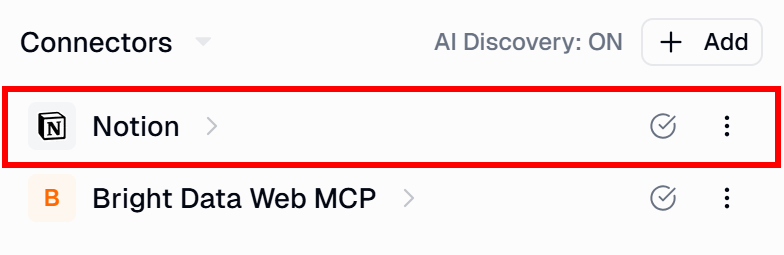
You can follow the same process to add other connectors that are useful for your specific use case. Mission complete!
Step #6: Test the AI Agent
To verify that your AI agent works as expected, launch an AI visibility prompt like this:
Ask ChatGPT and Perplexity for the best headless CMS solutions. For each response, check whether Contentful is mentioned and classify the sentiment as positive, neutral, or negative.
Produce a Notion-ready report with:
- Timestamp
- One subsection per AI tool: input prompt, raw response, and a brief comment on Contentful’s visibility and sentiment
- A short conclusion summarizing the results
Finally, add the produced report to the end of the AI Visibility Report Notion page.
Adapt the query (i.e., “best headless CMS solutions”) and the brand you want to monitor (i.e., “Contentful”) to your needs.
Then, disable the built-in “Web Search” and “Web Fetch” tools in the “Abilities” section on the right:
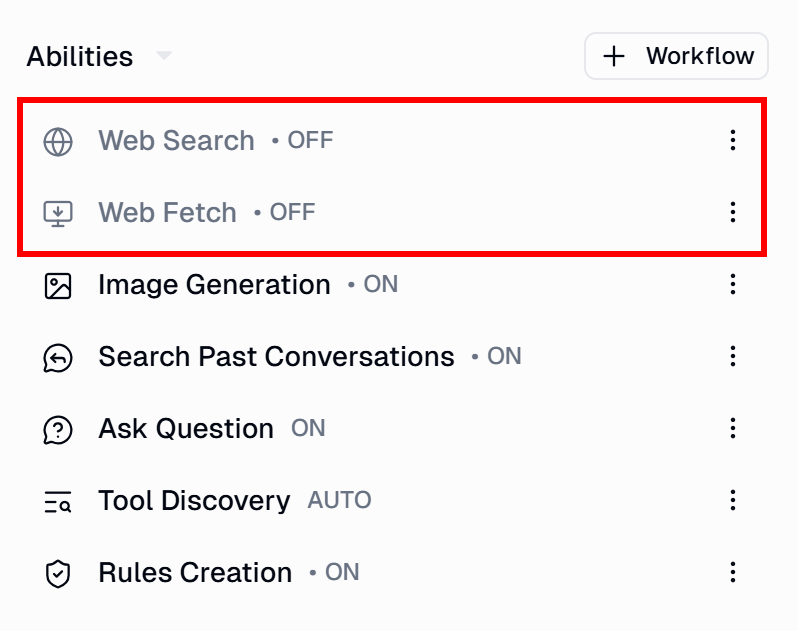
These tools are not required because the Bright Data MCP connector provides more effective, enterprise-ready alternatives for web access.
Launch the prompt. You will see an AI agent run like this:
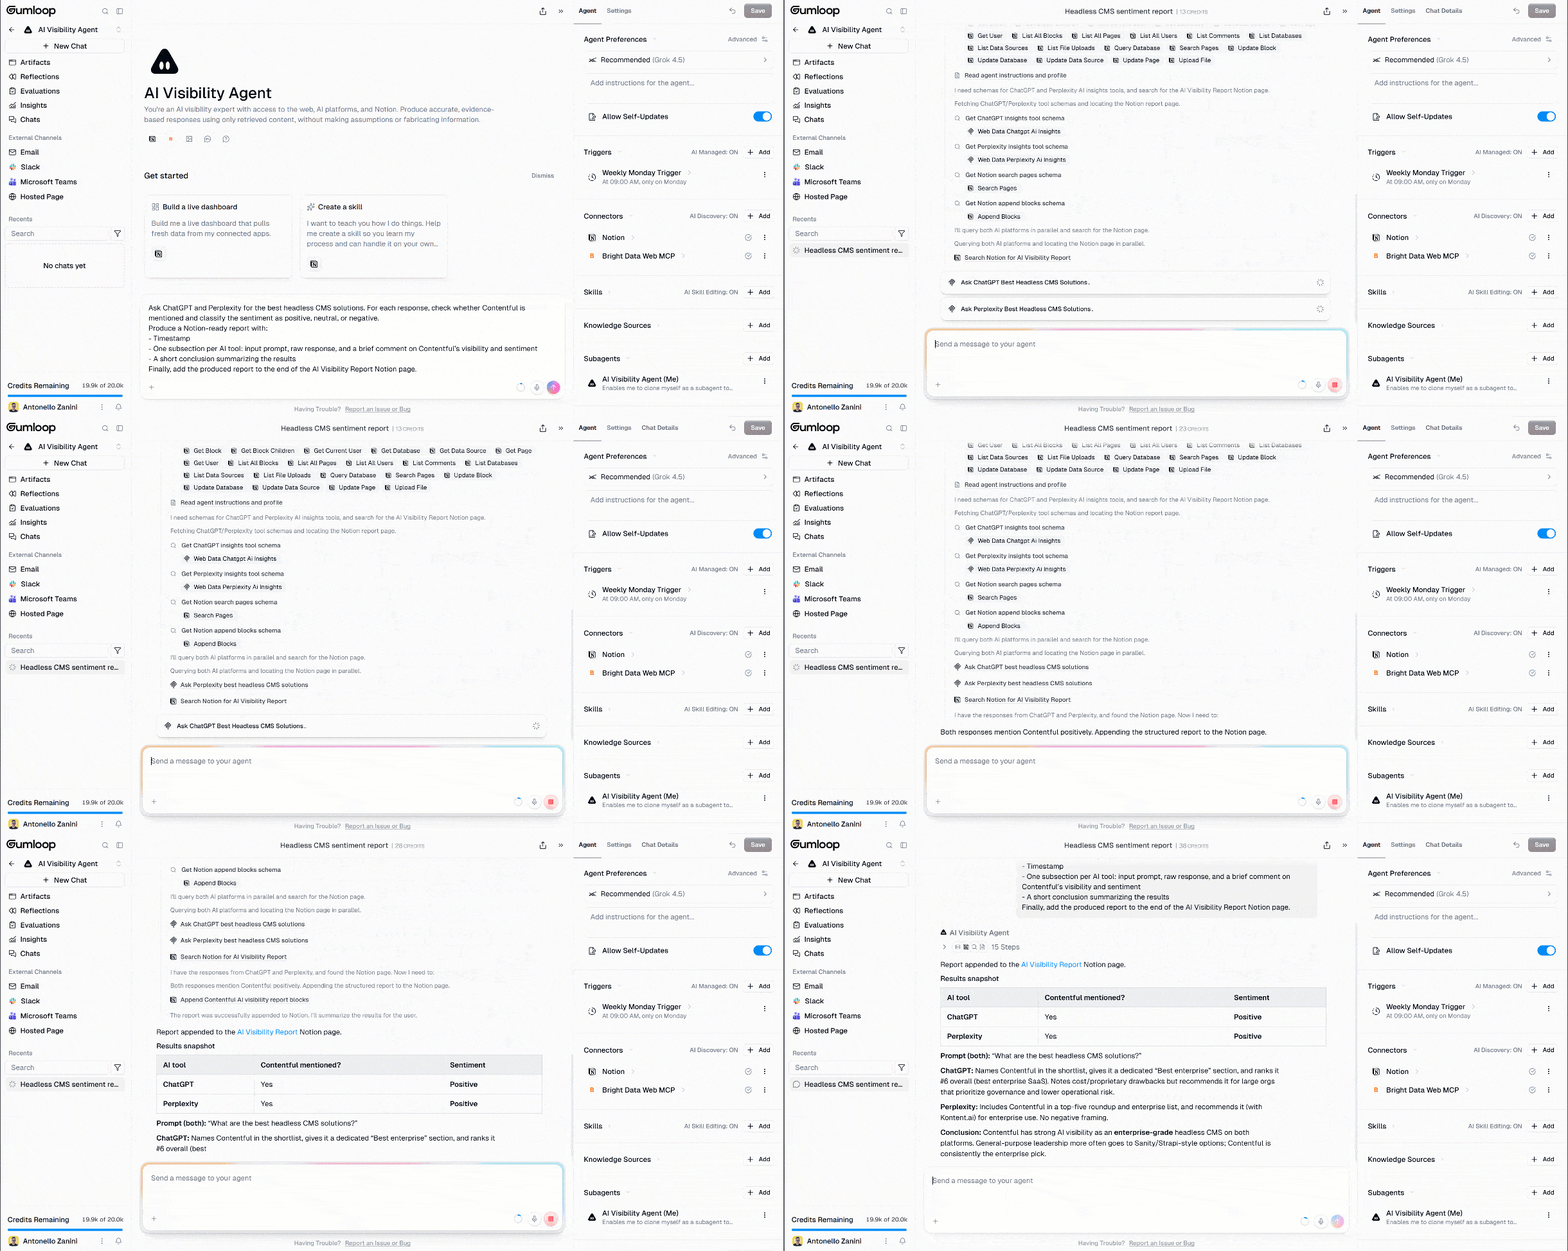
To complete the task, the Gumloop AI agent:
- Explored the Bright Data MCP tools.
- Explored the available Notion page tools.
- Identified
web_data_chatgpt_ai_insights,web_data_perplexity_ai_insights, “Get Notion search pages”, and “Get Notion append blocks” as the tools to call, and requested their MCP tool schemas. - Called the
web_data_chatgpt_ai_insightsandweb_data_perplexity_ai_insightsBright Data MCP tools on the “What are the best headless CMS solutions?” prompt. - Analyzed the responses and determined Contentful’s visibility and sentiment.
- Searched Notion for the “AI Visibility Report” page
- Appended the resulting report to the Notion page.
If you open the target Notion page in your workspace, you should now see the generated report:
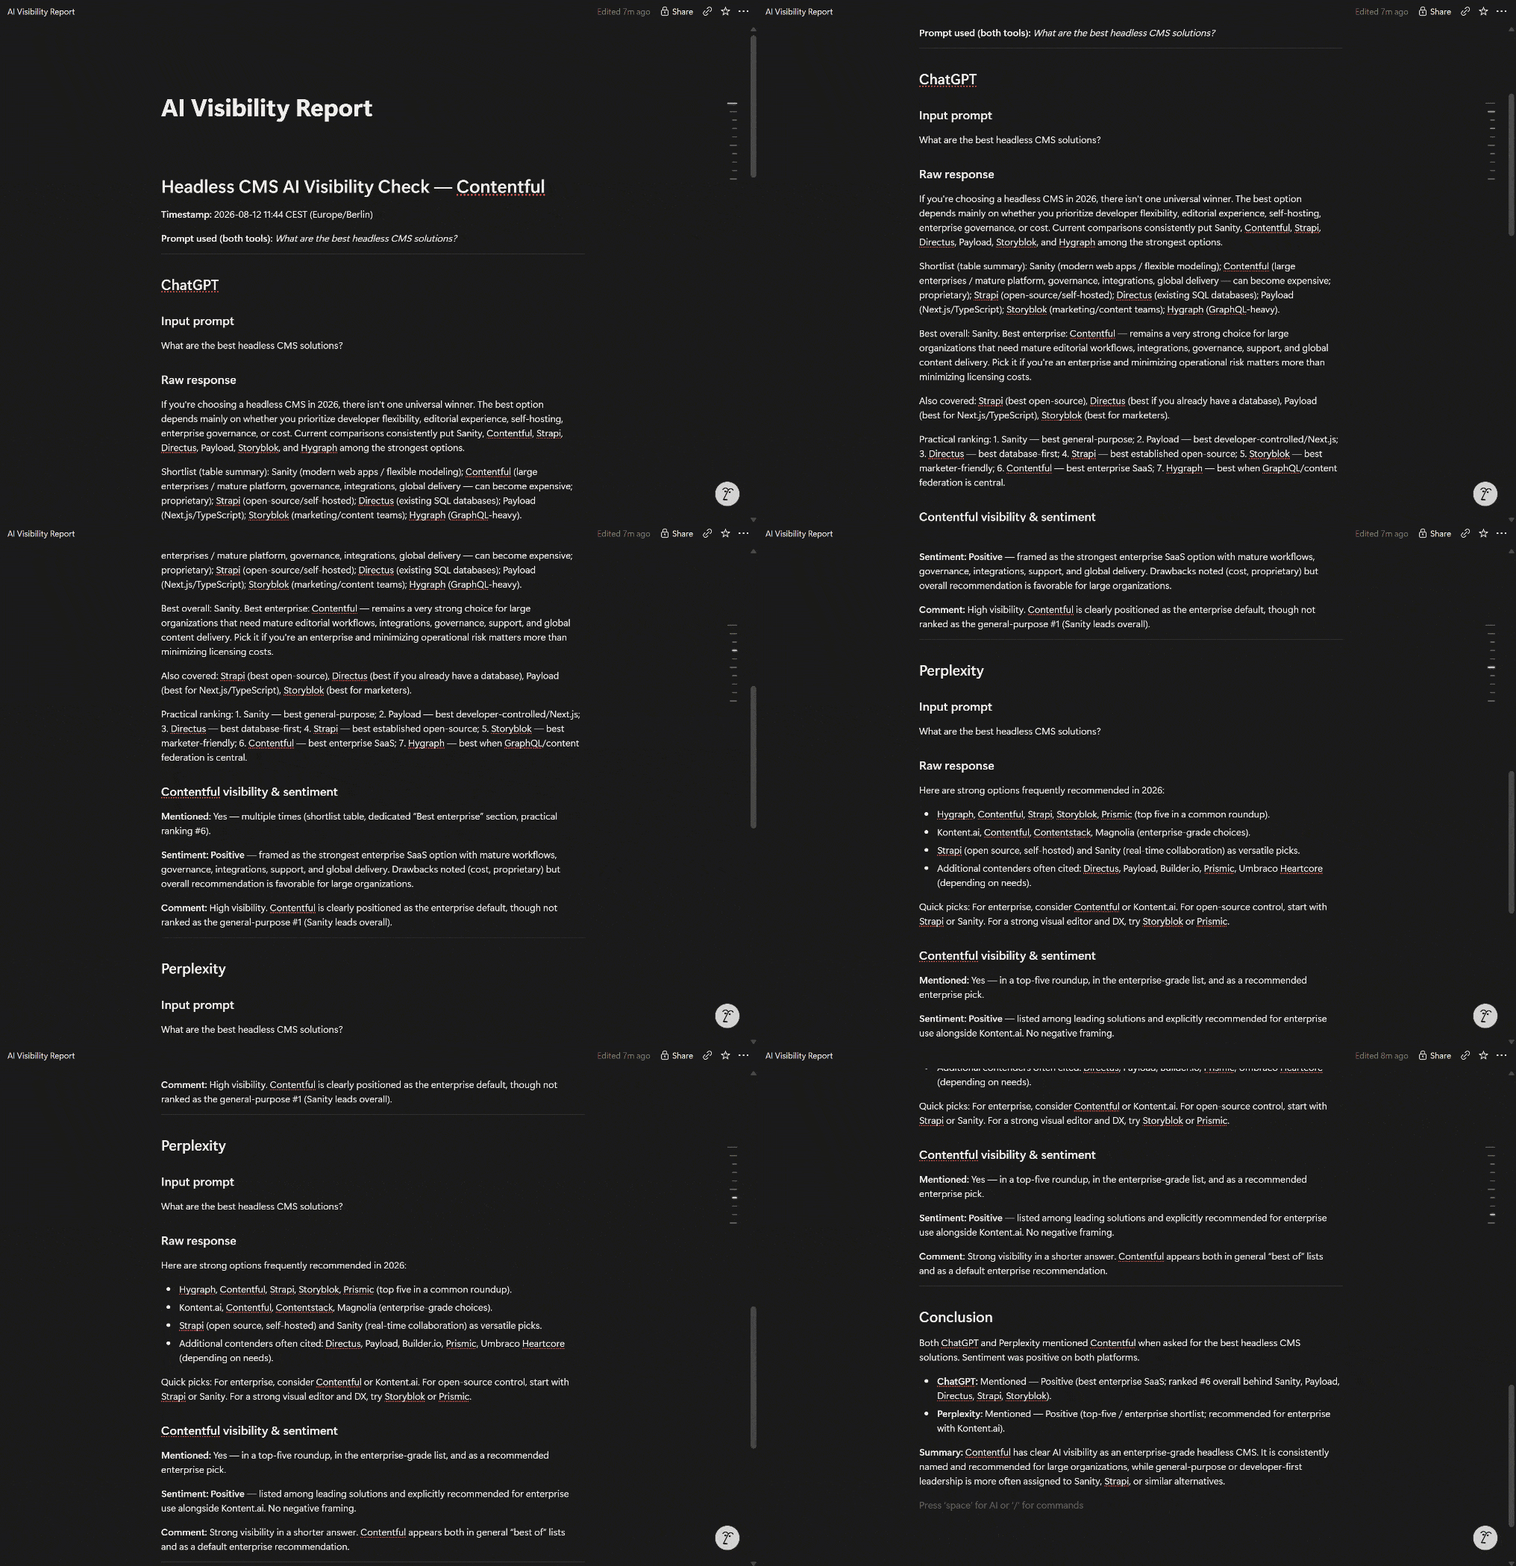
The agent produced a detailed output containing the original AI platform responses, along with an analysis of whether Contentful was mentioned and how it was presented. This was possible because the Bright Data MCP equips Gumloop AI agents with tools for retrieving public web data from AI platforms.
Time to automate your AI visibility monitoring workflow!
Step #7: Schedule the Task
Right now, your AI agent provides visibility into how your brand appears across LLM platforms. Yet, it does not offer monitoring. To achieve that, make the AI visibility task recurring.
Gumloop supports scheduling through its trigger options. To configure that behavior, go to the “Triggers” section in the right panel, click “Add”, and select the “Schedule Trigger” option:
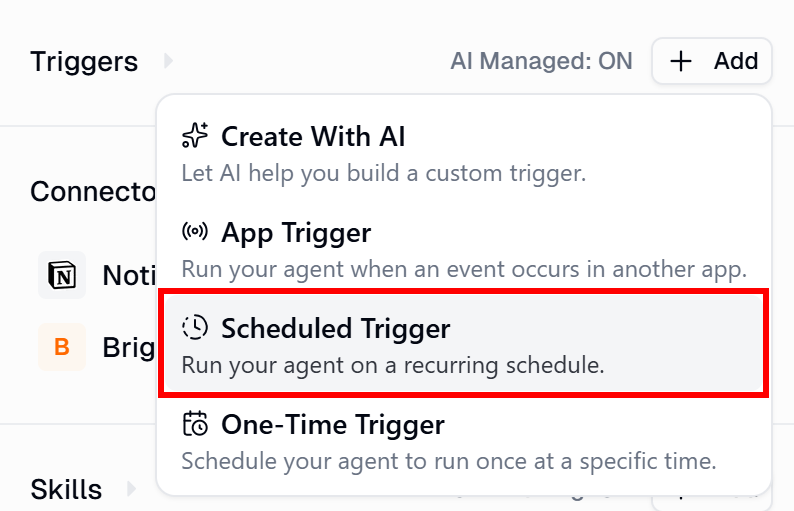
Describe the schedule as “Every Monday at 9 AM”, then click “Generate” to let the Gumloop AI define it for you. Give the trigger a name, such as “Weekly Monday Trigger”, and paste the prompt you tested earlier:
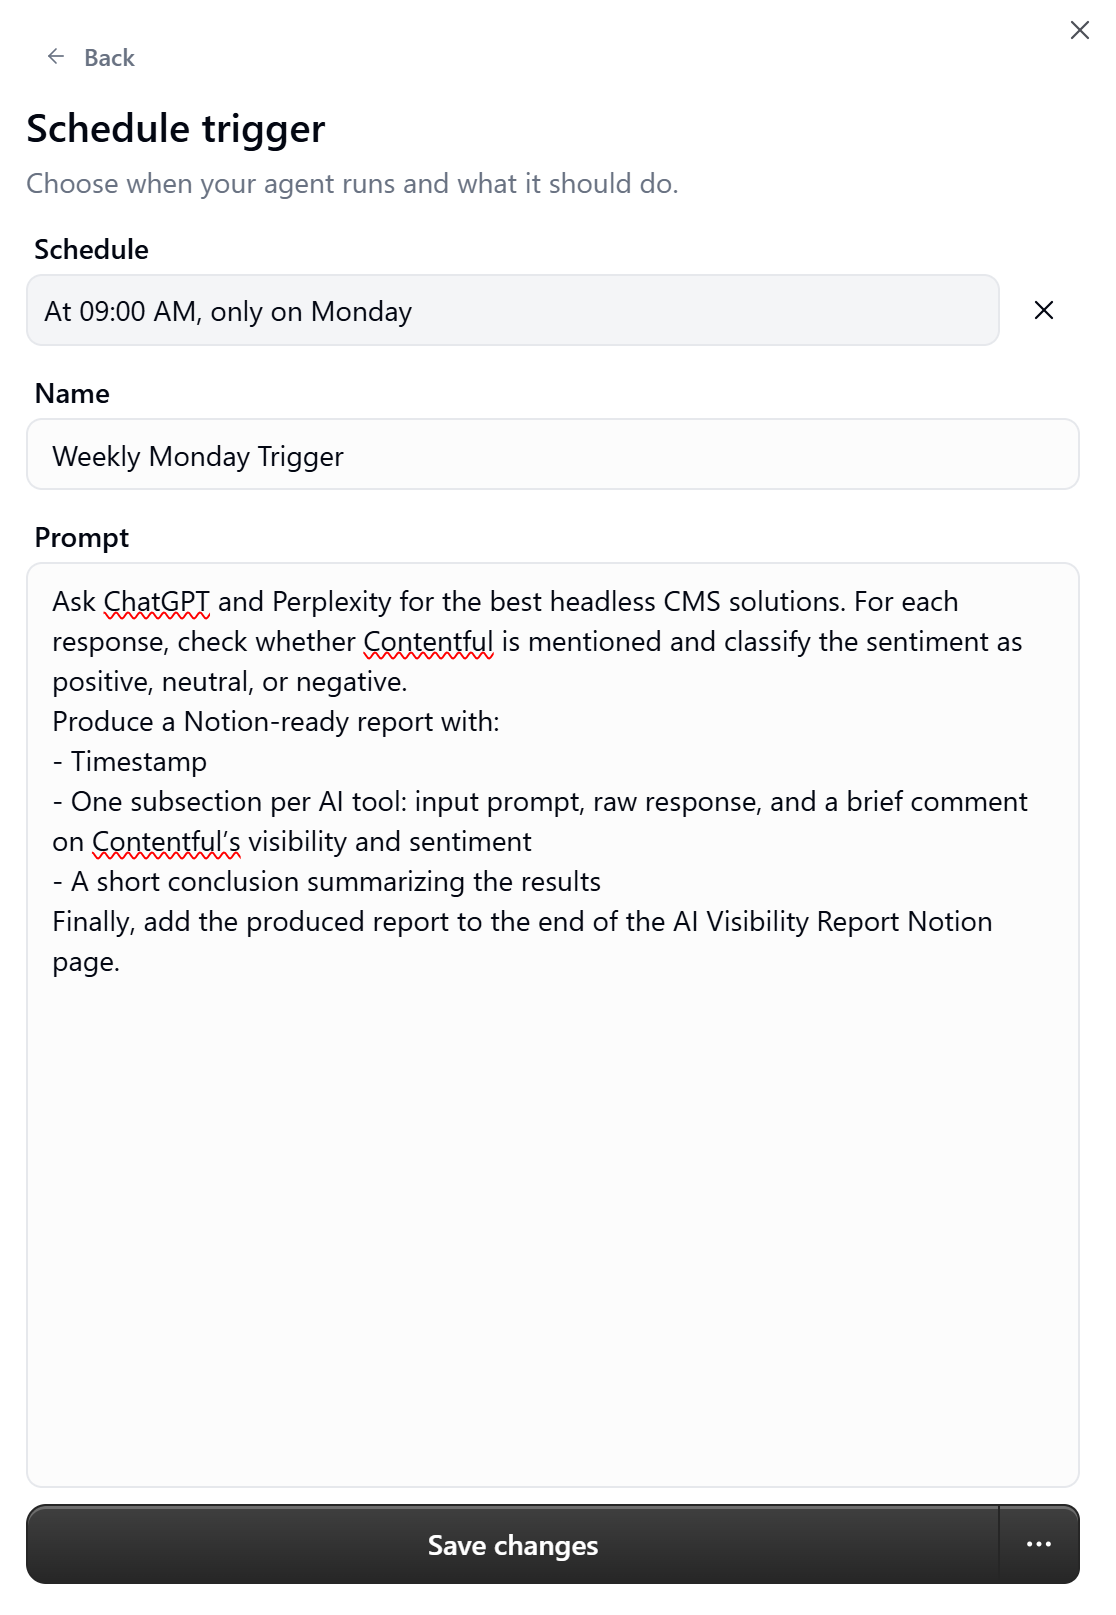
Finalize the scheduling option by clicking “Save changes”.
From now on, the AI agent will run every week and add new LLM visibility insights to the Notion page. Because each report includes a timestamp, you can track when each query was run across the AI platforms.
Et voilà! You just built a Gumloop agent workflow for AI visibility, backed by public web data access through Bright Data MCP.
Conclusion
In this blog post, you understood what Gumloop is and how it supports building AI agents in a visual environment. In particular, you explored how to connect Gumloop to the Bright Data MCP for an AI visibility agent.
The Bright Data integration can replace Gumloop’s built-in web search and fetch options with production-ready, scalable, and highly reliable tools. The result is an AI agent that can freely explore, retrieve data, and interact with web content without getting blocked.
Create a Bright Data account for free today and discover our AI-ready web products!



Technical Writer
 5.5 years experience
Antonello Zanini is a technical writer, editor, and software engineer with 5M+ views. Expert in technical content strategy, web development, and project management.