







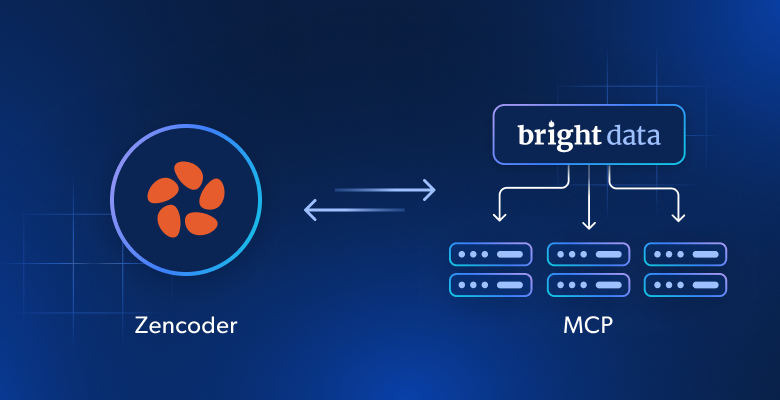
In this blog post, you will learn:
- What Zencoder is and what products it offers to improve software development with AI.
- Why extending it with web access makes outputs more reliable and accurate.
- How Bright Data supports Zencoder integration for web scraping, search, discovery, and browser automation.
- How to connect Bright Data to Zencoder Zenflow (and its IDE plugins) using MCP.
- How to give Zencoder products knowledge of Bright Data using official Agent Skills.
- What the Bright Data + Zencoder integration enables, illustrated with a complete example.
Let’s dive in!
What is Zencoder?
Zencoder is a company that provides solutions for AI-powered coding agents that act as autonomous pair programmers.
Its main product is Zenflow, an AI orchestration platform that runs multi-agent workflows across IDEs, CI/CD pipelines, and desktop environments. It enables agents to plan, build, test, and verify code, using full codebase context, structured workflows, and built-in quality gates. Its end goal is to automate software development and operational tasks at scale.
Zenflow supports two modes:
- Zenflow Code: AI agents for software development (build, test, refactor).
- Zenflow Work: AI agents for enterprise workflows across tools such as Jira, Slack, and others.
Note: Zencoder is also available via IDE Agents in Visual Studio Code and JetBrains.
The main features supported by Zencoder products are:
- Multi-agent orchestration: Multiple AI agents collaborate on planning, coding, reviewing, and auditing tasks.
- Full codebase context: Agents understand multi-repo architectures and dependencies before acting.
- Structured workflows: “Spec → plan → build → test → verify” pipelines replace ad-hoc prompting.
- Built-in verification: Automated tests, linting, and code review ensure quality before output is accepted.
- Parallel execution: Multiple agents run simultaneously in isolated environments.
- Cross-tool integration: Works with GitHub, Jira, Slack, CI/CD systems, and more.
- Enterprise controls: Role-based access, approval gates, audit logs, and compliance support (SOC 2, ISO).
- Autonomous scheduling: Agents run recurring tasks such as dependency updates or PR reviews automatically.
Find out more in the official docs.
Why Give Zencoder AI Agents the Ability to Explore the Web and Source Data from It
Just like any other LLM-powered solutions, Zencoder agents are constrained by a fundamental limitation: information decay. Since large language models produce responses derived from their training datasets, they operate within a fixed window of the past.
In a rapidly evolving technical ecosystem, that latency represents a huge obstacle. Such a coding agent may propose obsolete library methods or overlook vital new security updates. To bypass these limitations, your AI models necessitate live web connectivity. This is precisely where Bright Data comes in!
Bright Data’s AI-ready infrastructure enables your Zencoder agent to transcend its initial training. That way, it gains the ability to:
- Perform real-time searches: Browse Google or other search engines for up-to-date documentation and information, reducing hallucinations and outdated suggestions.
- Validate precision: Cross-check code snippets against Stack Overflow discussions or GitHub issues to improve debugging accuracy.
- Extract structured data: Collect data from live web pages to populate local repositories or generate realistic mock data for development and testing.
- Enhance documentation: Recommend trusted, high-reputation URLs for README files or internal project wikis.
- And much more…
The defining edge for Bright Data is its colossal global proxy network of 400 million+ residential IPs spanning 195 nations. This infrastructure delivers unlimited concurrency, 99.99% uptime, and a 99.95% success rate.
By integrating Bright Data into Zencoder products, the result is scalable AI agents grounded in structured, up-to-date, and contextual web data.
How to Connect Zencoder AI Agents to Bright Data’s Web Data Infrastructure
Bright Data supports Zencoder through two integrations:
- Bright Data MCP: MCP server exposing 70+ tools for web data access, extraction, and browser automation.
- Bright Data skills: Agent Skills that guide Zencoder agents in effectively using Bright Data solutions.
Note that these approaches are not alternatives but are synergistic. In detail, a specific skill provides guidance for optimal use of Bright Data MCP tools.
Important: The following chapters will refer to integrating Bright Data into Zenflow via MCP and Agent Skills. Zencoder IDE plugins also rely on the same affected configuration files. So, the setup remains unchanged (only UI screenshots and some minor instructions differ).
Bright Data MCP
The Bright Data MCP provides 70+ tools for interacting with Bright Data’s API-based products and services.
Even in Rapid mode (free tier), core tools include:
| Tool | Description |
|---|---|
search_engine + batch version for parallel usage |
Retrieve Google, Bing, or Yandex results in structured JSON or Markdown |
scrape_as_markdown + batch version for parallel usage |
Convert any web page into clean Markdown while handling anti-bot protection bypass |
discover |
AI-powered search returning ranked, relevant web results |
Then, Pro mode unlocks advanced capabilities for structured data extraction from platforms like GitHub, NPM, PyPI, Amazon, LinkedIn, Yahoo Finance, YouTube, Zillow, Google Maps, and 40+ others. Also, it exposes tools for full browser automation.
Bright Data Skills
The Bright Data skills include:
| Skill | Description |
|---|---|
search |
Performs a web search and returns structured results |
scrape |
Scrapes pages into clean Markdown with bot protection handling |
data-feeds |
Extracts structured data from 40+ sites with scheduled polling |
bright-data-mcp |
Orchestrates the Bright Data MCP tools for improved search, scraping, and automation |
brightdata-cli |
Bright Data CLI usage guide for scraping, proxies, and dataset management |
bright-data-best-practices |
Reference for using Bright Data APIs correctly and efficiently |
scraper-builder |
Builds production scrapers via guided site analysis and extraction steps |
competitive-intel |
Live competitive analysis using web data across markets and competitors |
seo-audit |
SEO audits using live web signals, structure, and ranking indicators |
design-mirror |
Recreates UI design patterns, tokens, and component structures |
Common Steps
In the next two chapters, we will explore how to integrate Bright Data into Zenflow using MCP and Agent Skills, respectively. For now, let’s focus on a few common setup steps required before getting started.
Prerequisites
To follow this tutorial, make sure you have:
- Node.js 22+ installed locally.
- A Zencoder account (the Free plan or trial is sufficient).
- A Bright Data account with an API key configured (refer to the official guide to generate one).
Install and Configure Zenflow
Download the Zenflow installer, run it, and then launch the application. This is the welcome screen you should see: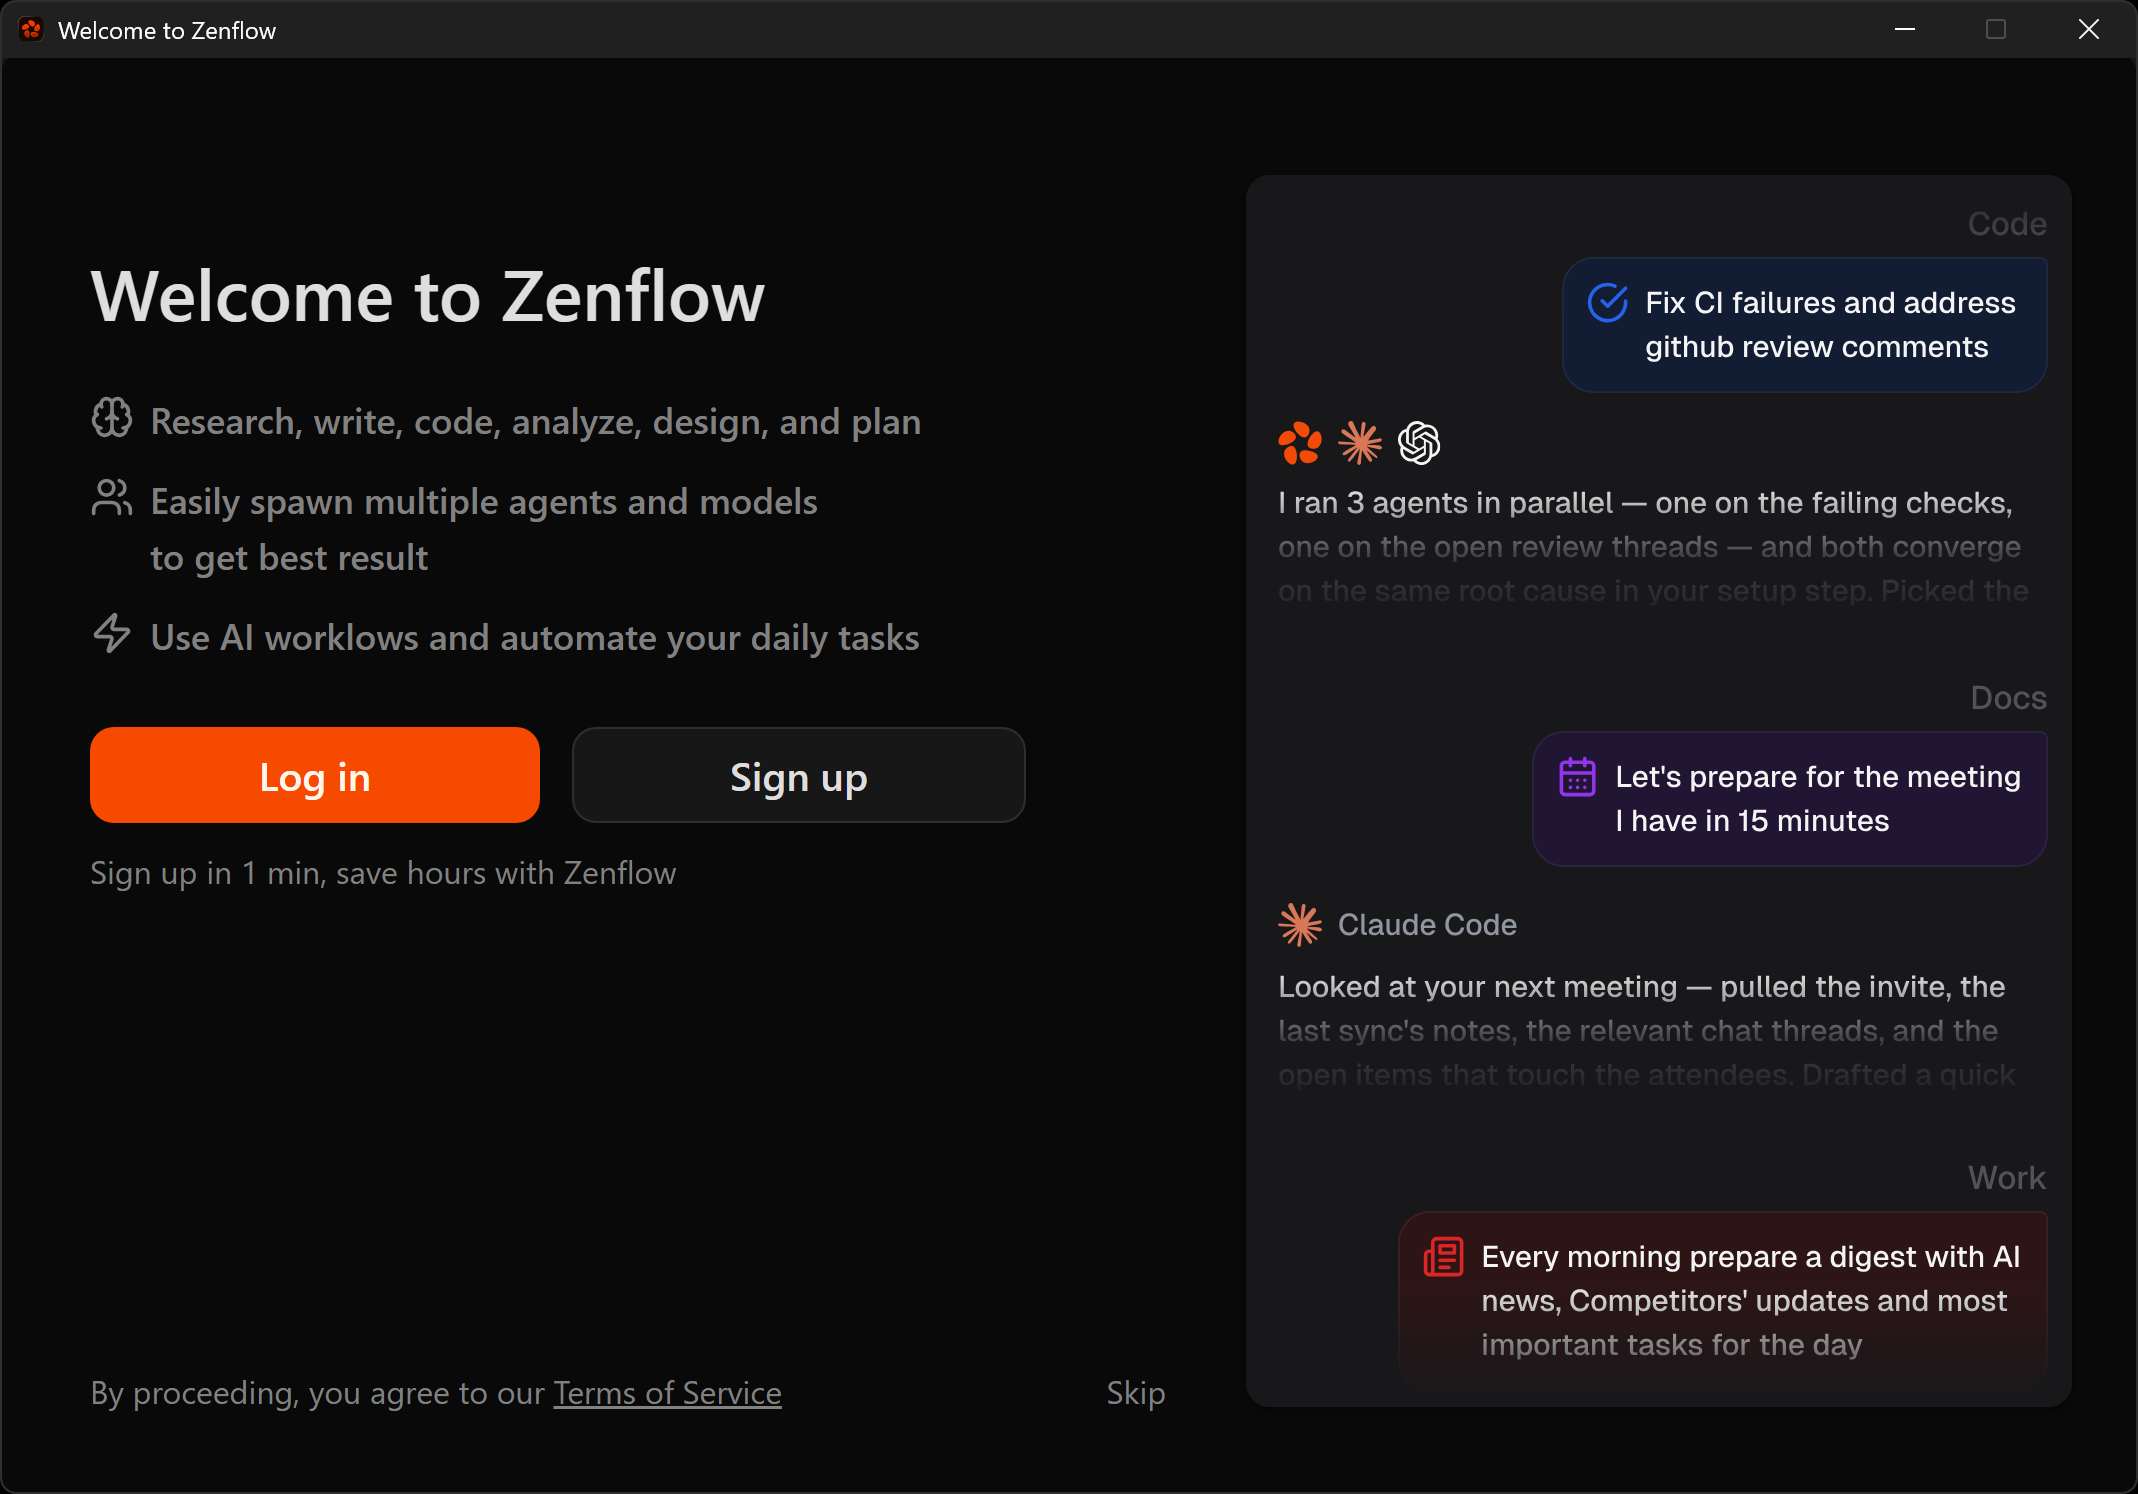
Log in (or sign up if you have not already) to connect your Zencoder account to Zenflow.
You will be guided through a few setup questions. Answer them, then choose your default AI agent: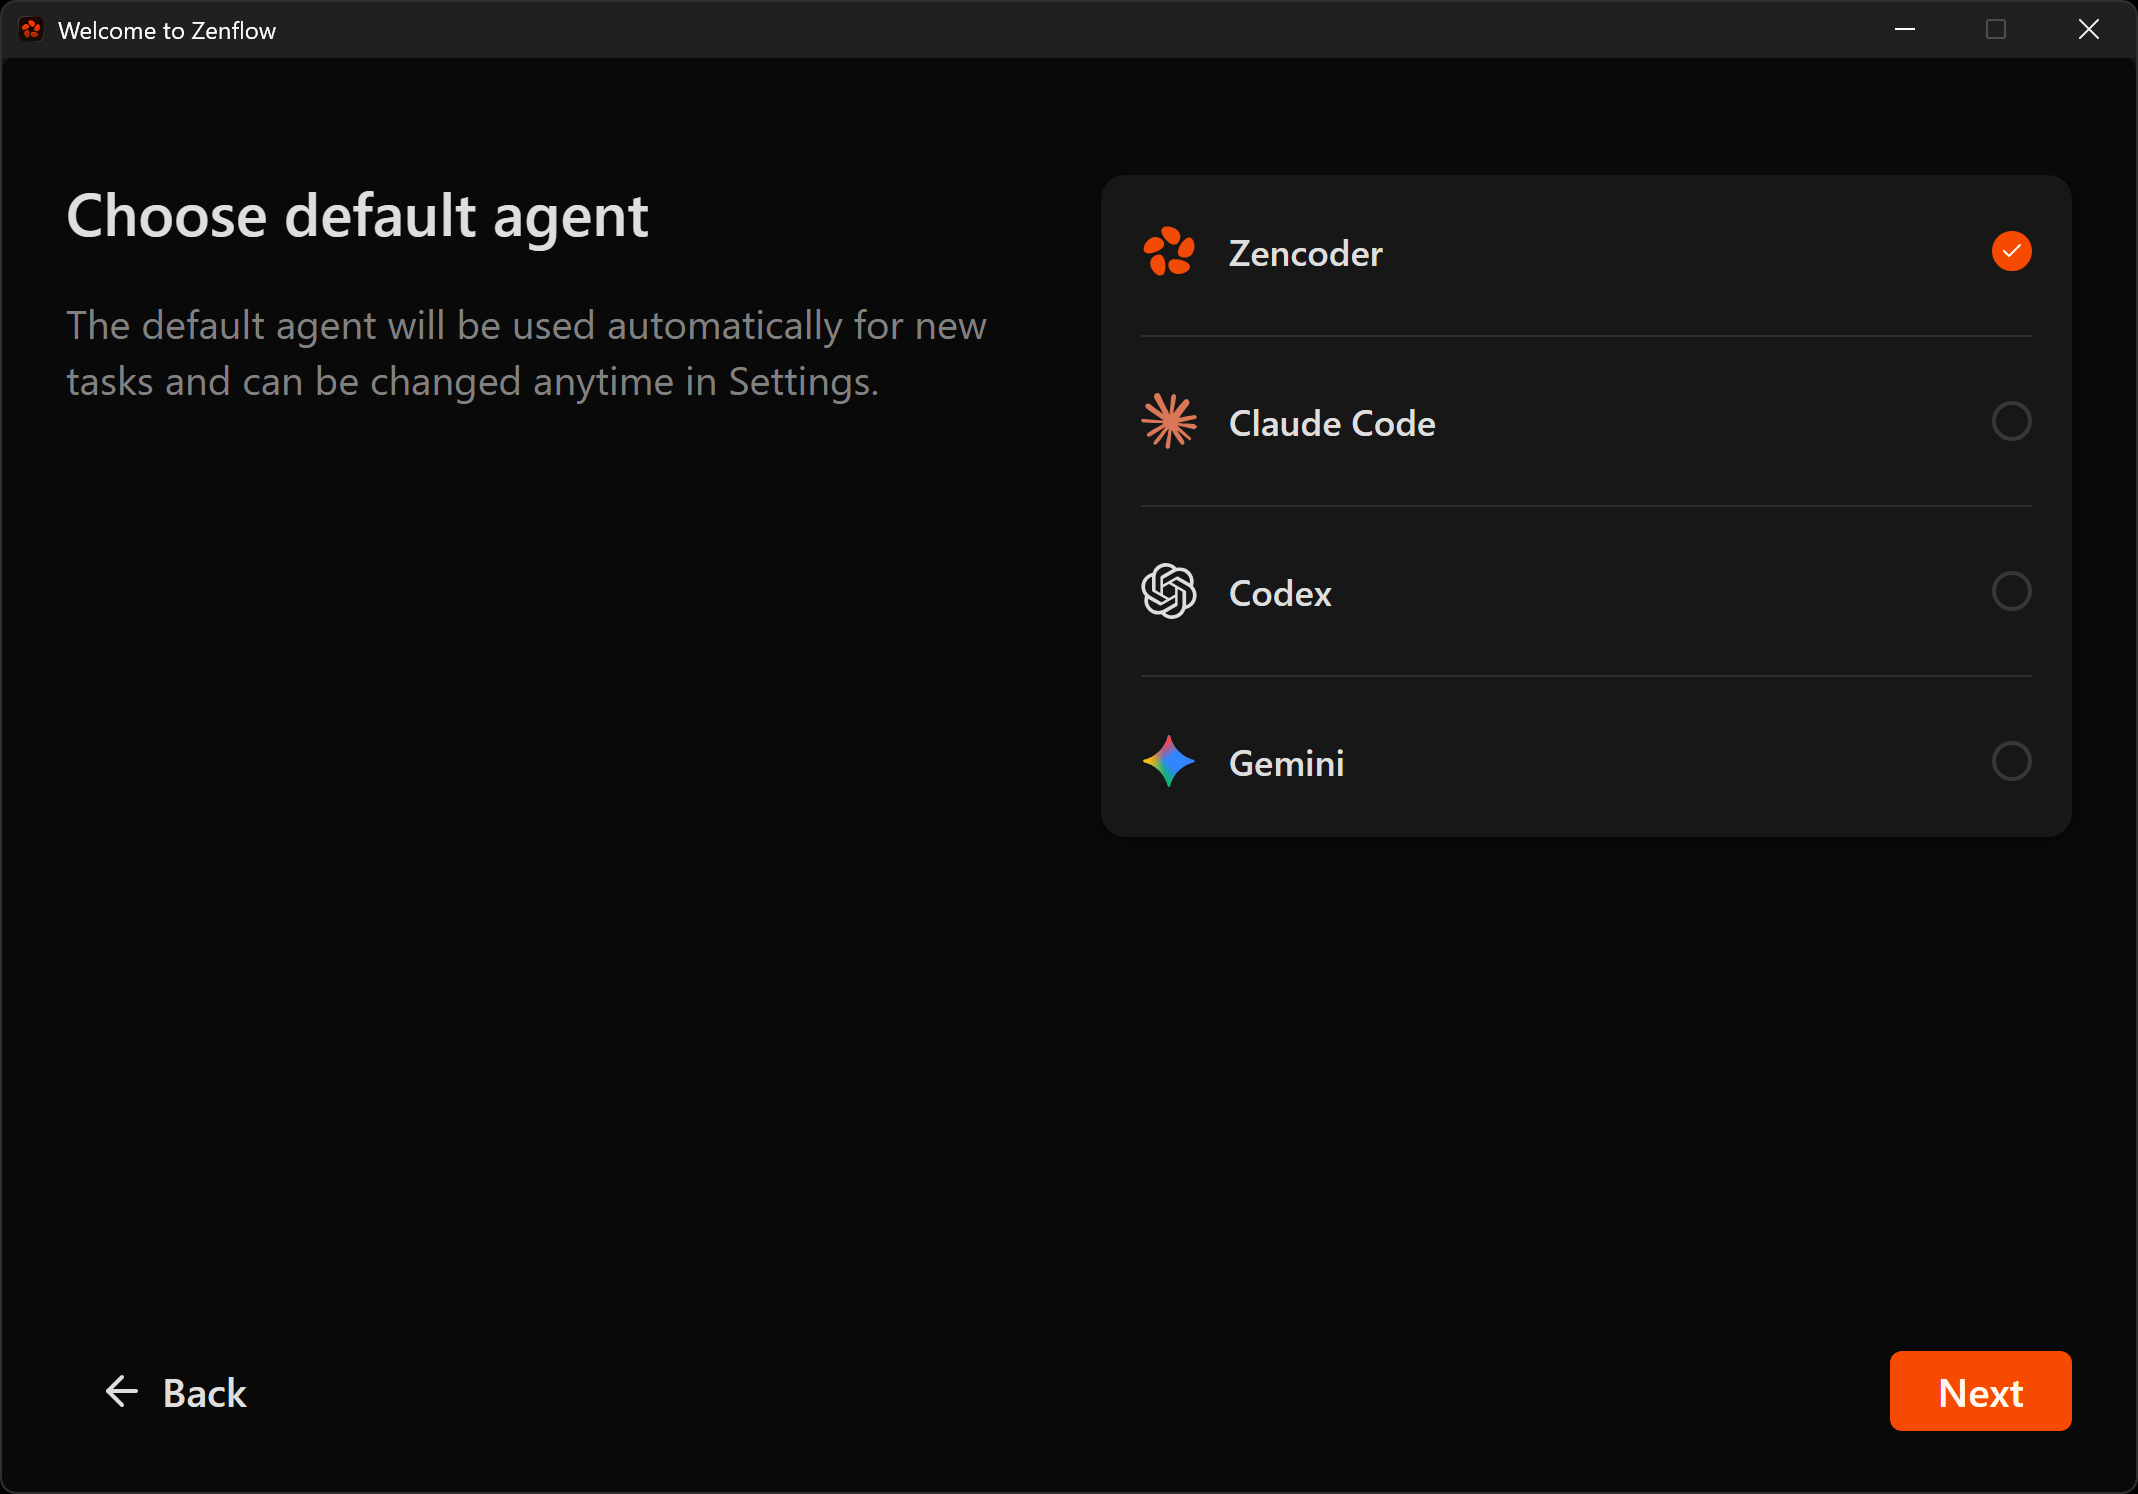
Click “Next” one final time to complete the setup: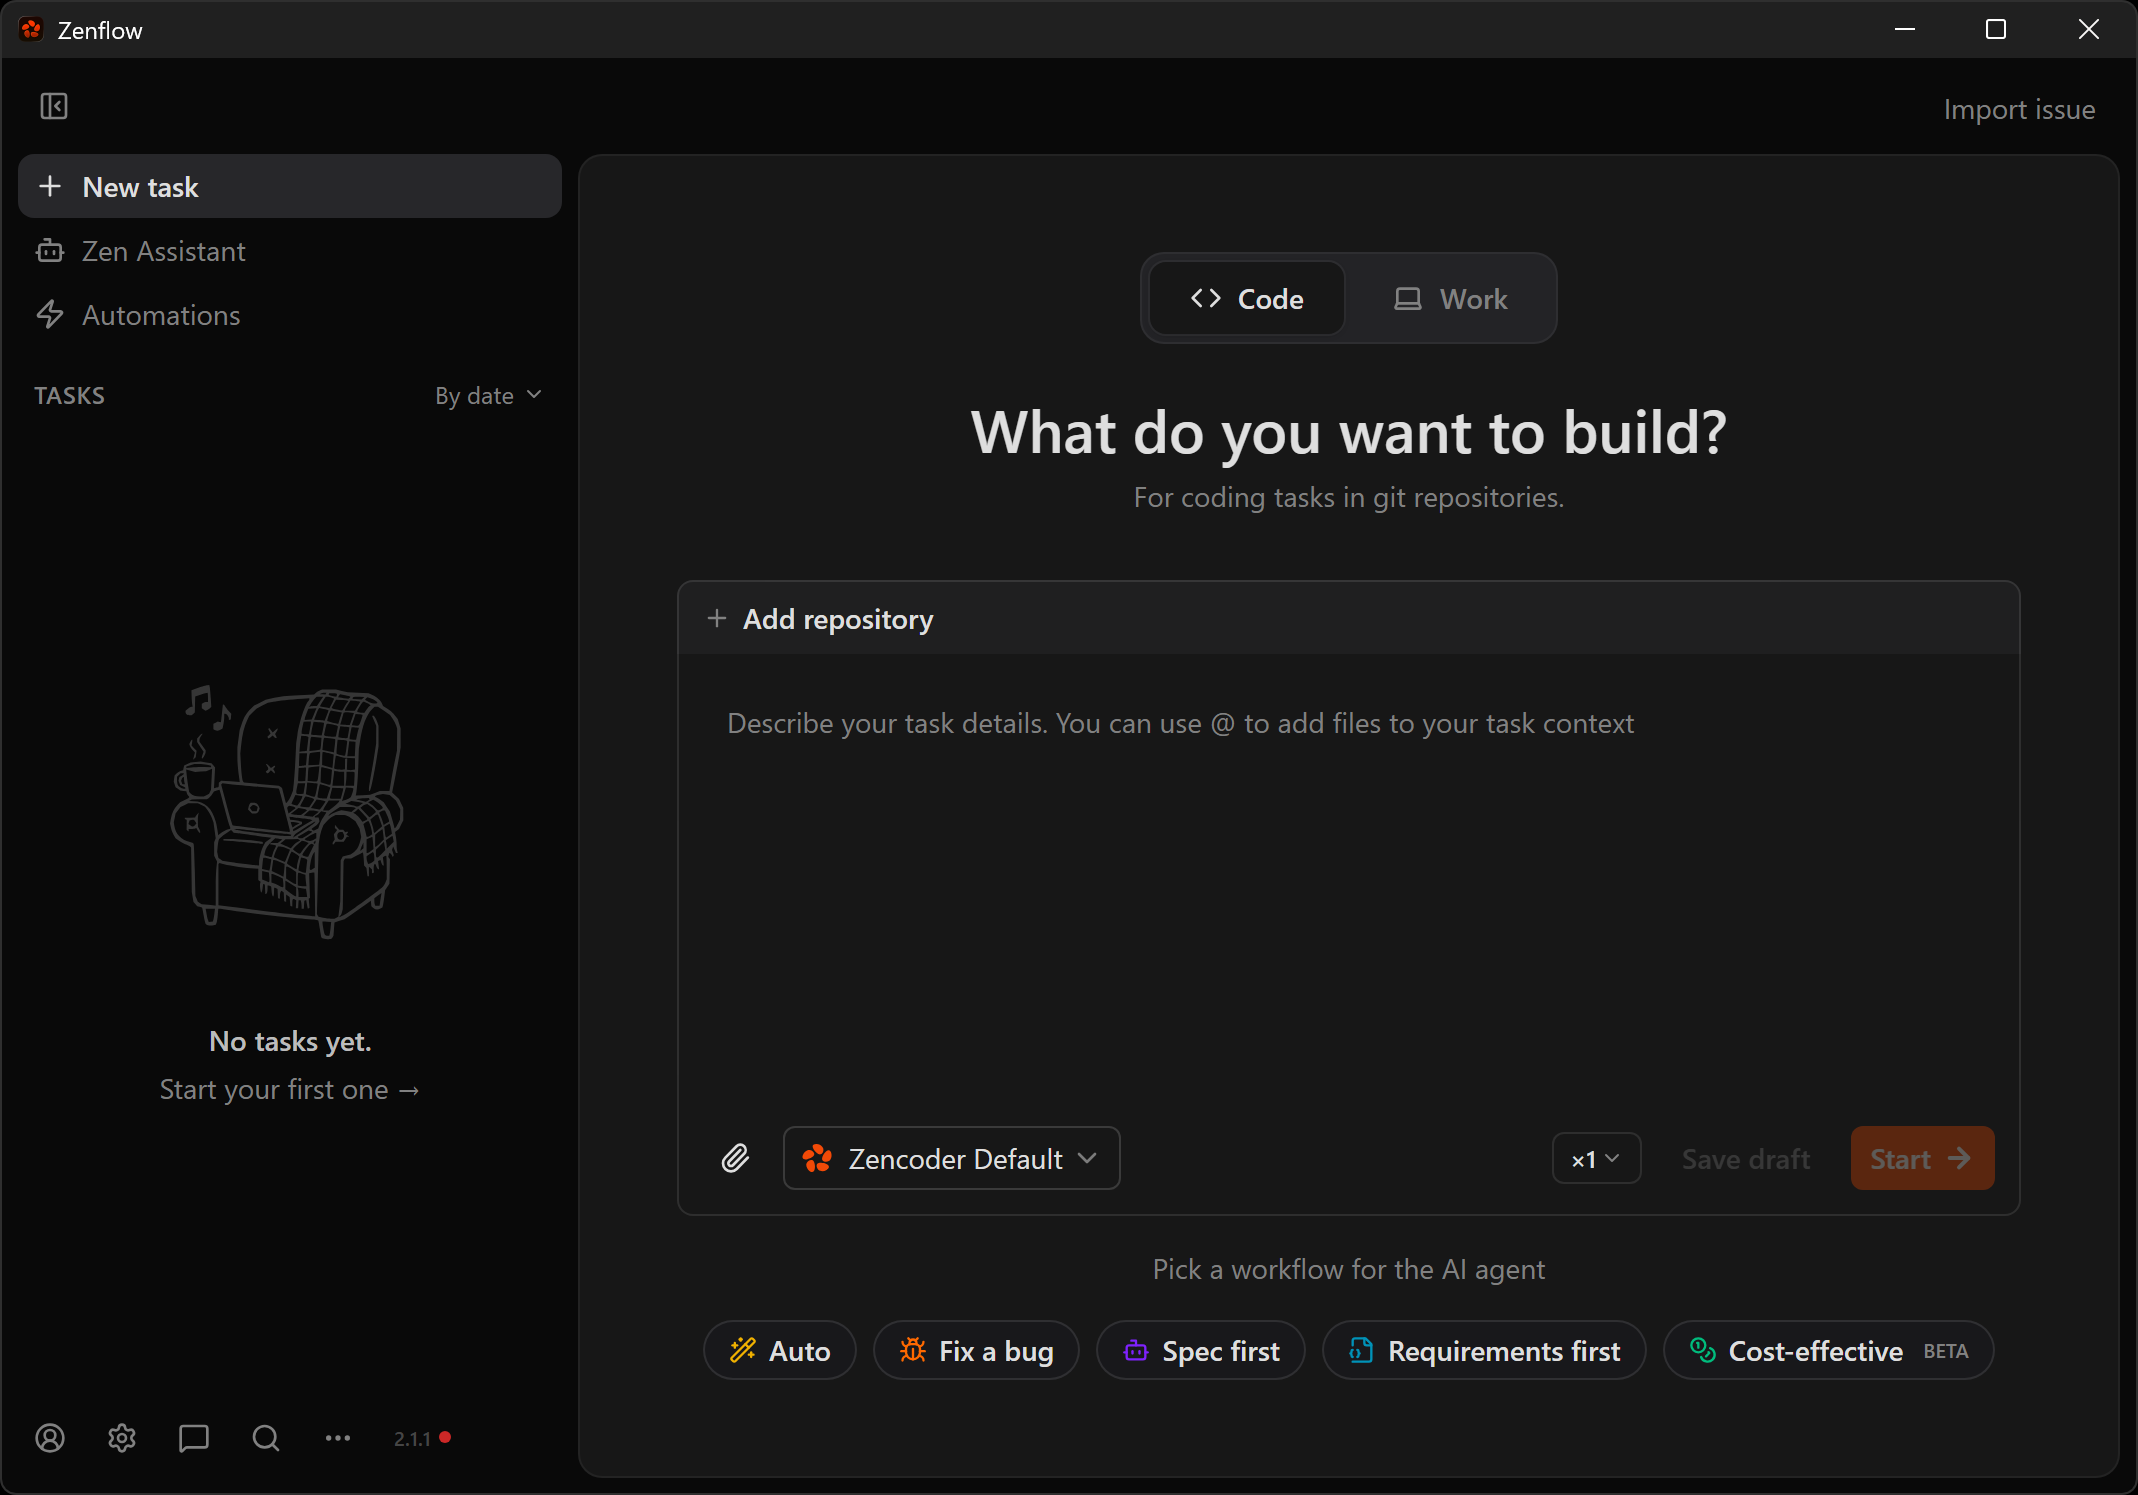
Well done! You have successfully installed Zenflow. Time to configure it for Bright Data integration.
Connect Bright Data to Zencoder via the Bright Data MCP
In this section, you will be guided through setting up the Bright Data MCP in Zenflow.
Prerequisites
To follow along more easily, it is recommended that you have:
- A basic understanding of how MCP works.
- Familiarity with the tools provided by the Bright Data MCP.
Note: The prerequisites listed in the “Common Steps” chapter apply here as well.
Step #1: Get Started with Bright Data MCP
Before connecting Bright Data MCP to Zenflow, make sure the MCP server runs correctly on your machine.
Start by logging in to your Bright Data account. For a quick setup, follow the instructions in the “MCP” section of the Bright Data control panel: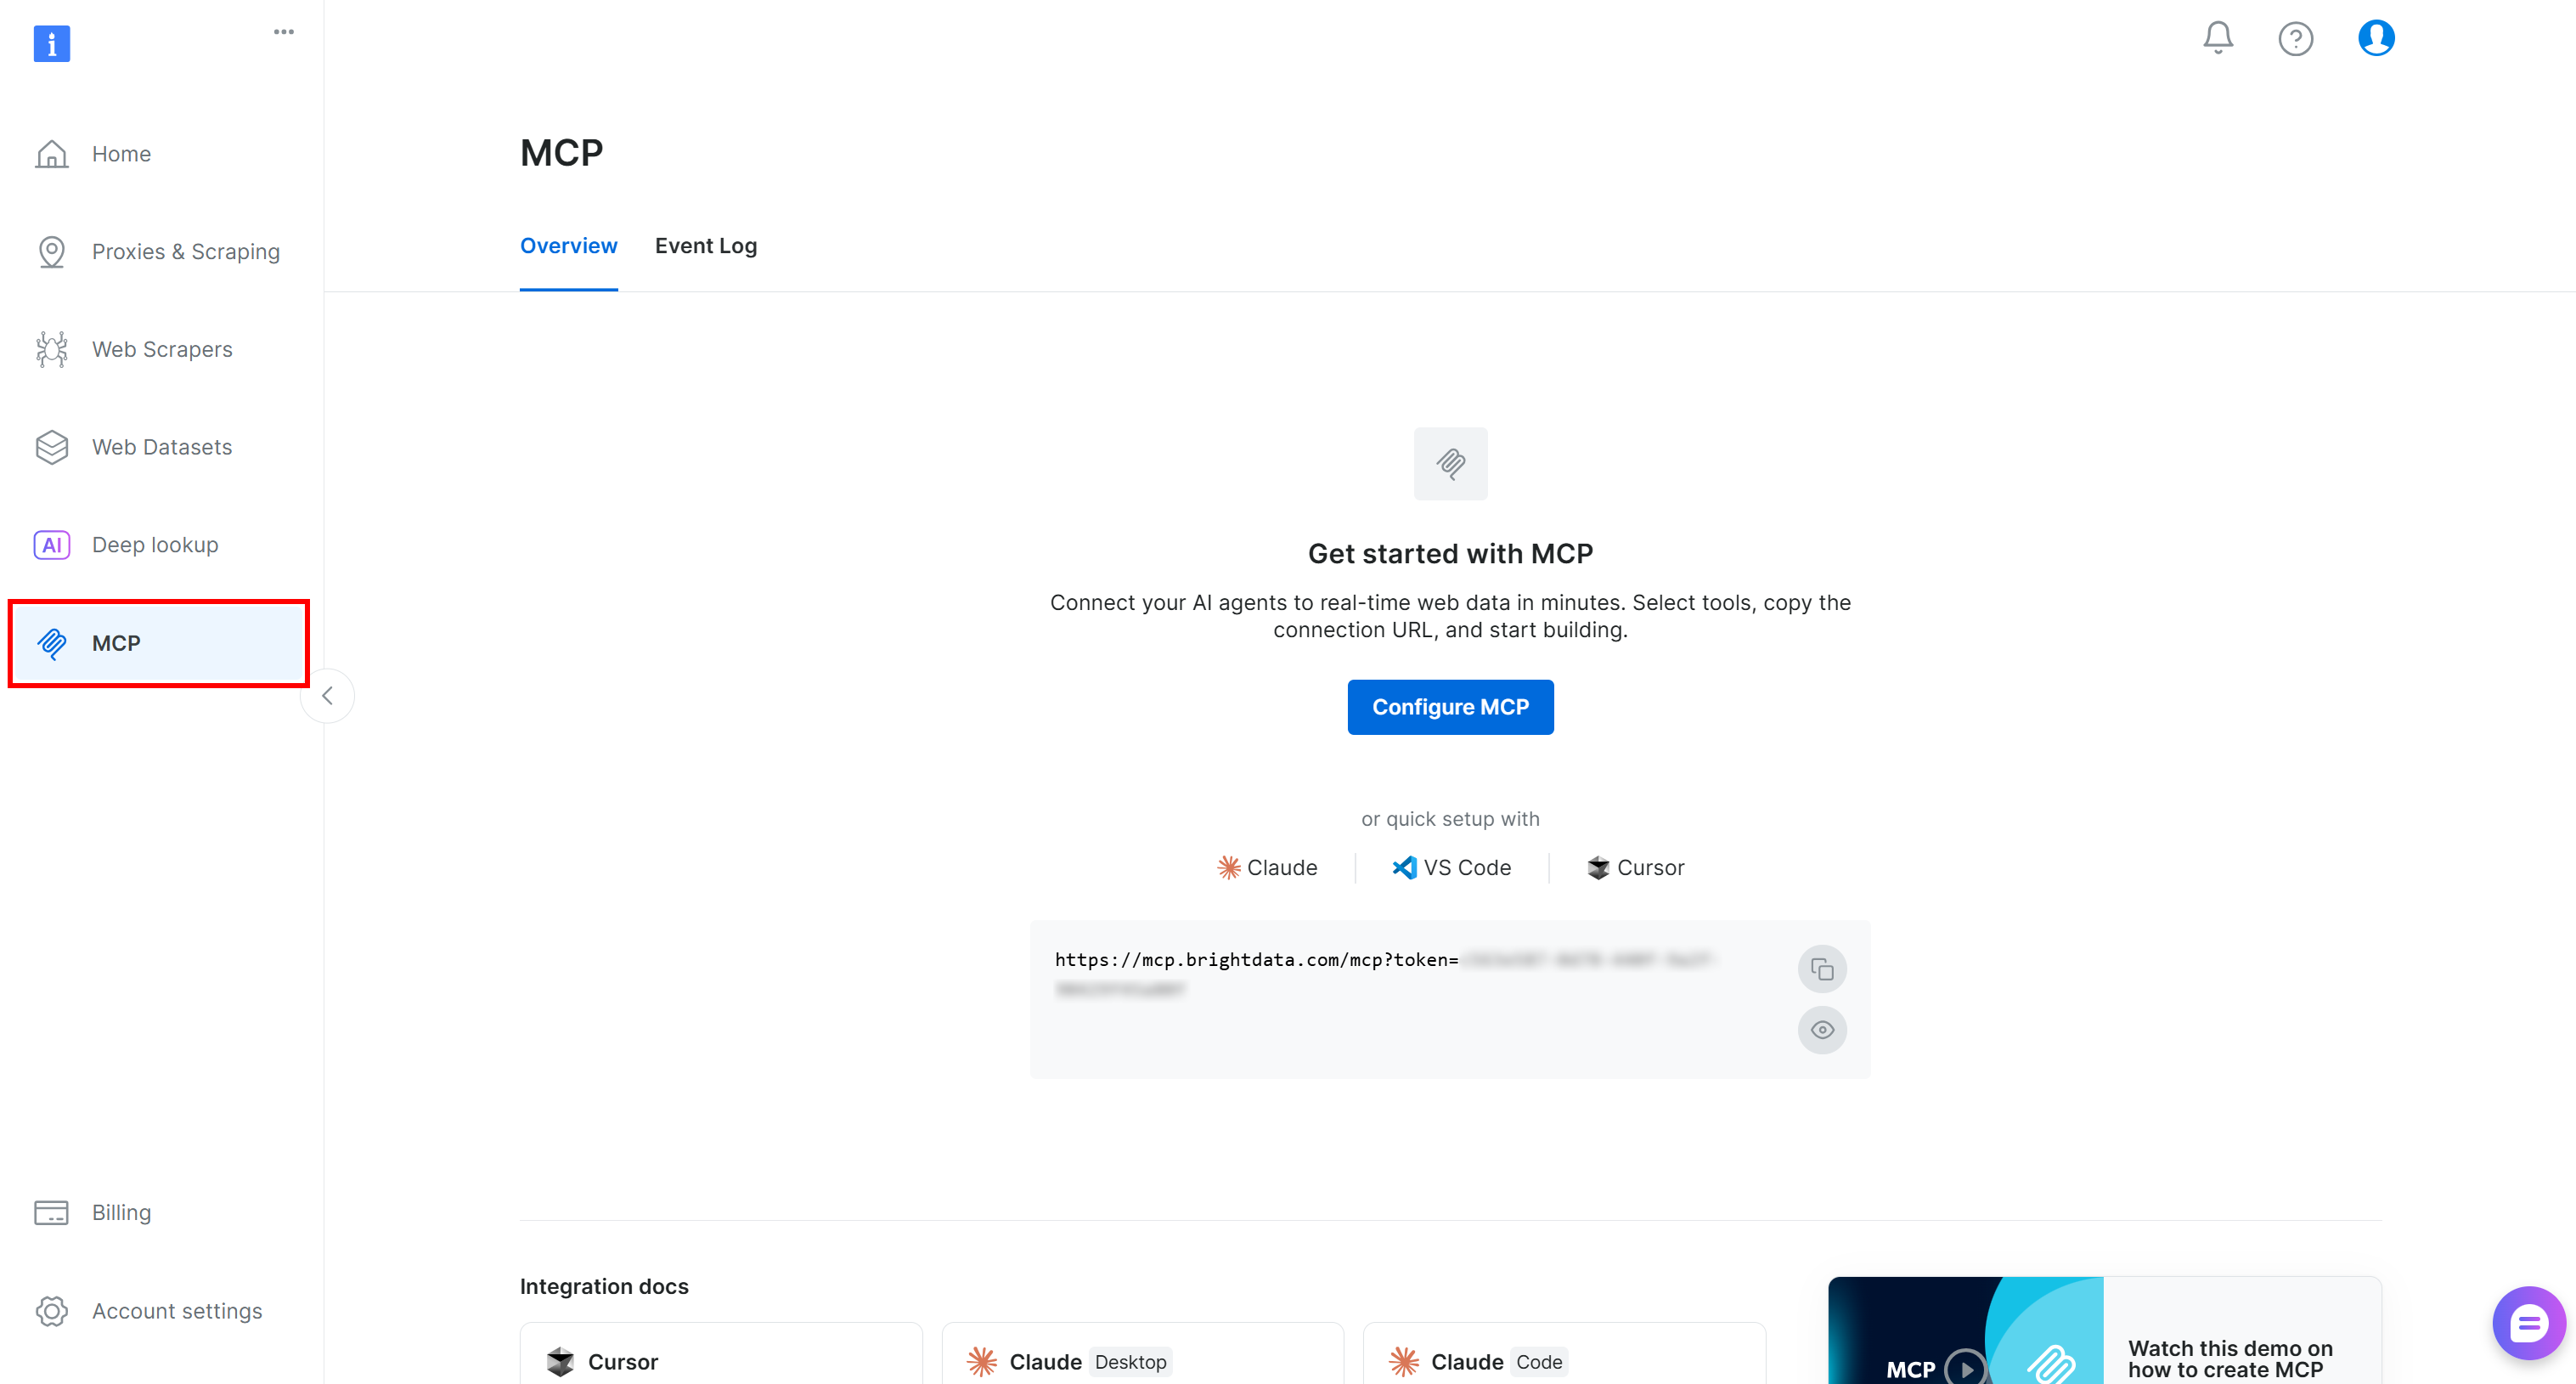
Alternatively, for more guidance, follow the manual setup steps below.
First, install the Bright Data MCP globally:
npm install -g @brightdata/mcpCheck that the MCP server starts with:
API_TOKEN="<YOUR_BRIGHT_DATA_API>" npx -y @brightdata/mcpOr, equivalently, in PowerShell:
$Env:API_TOKEN="<YOUR_BRIGHT_DATA_API>"; npx -y @brightdata/mcpReplace the <YOUR_BRIGHT_DATA_API> placeholder with your actual Bright Data API key. This command sets the required API_TOKEN environment variable and launches the Bright Data MCP server locally via the @brightdata/mcp package.
If everything works correctly, you should see these logs:
On first run, the @brightdata/mcp package creates two zones in your Bright Data account:
mcp_unlocker: A zone for Web Unlocker.mcp_browser: A zone for Browser API.
These zones power the 70+ tools available in Bright Data MCP. If needed, you can also configure custom zones, as described in the official repository.
To verify that the zones were created, go to the “Proxies & Scraping Infrastructure” section in the Bright Data control panel: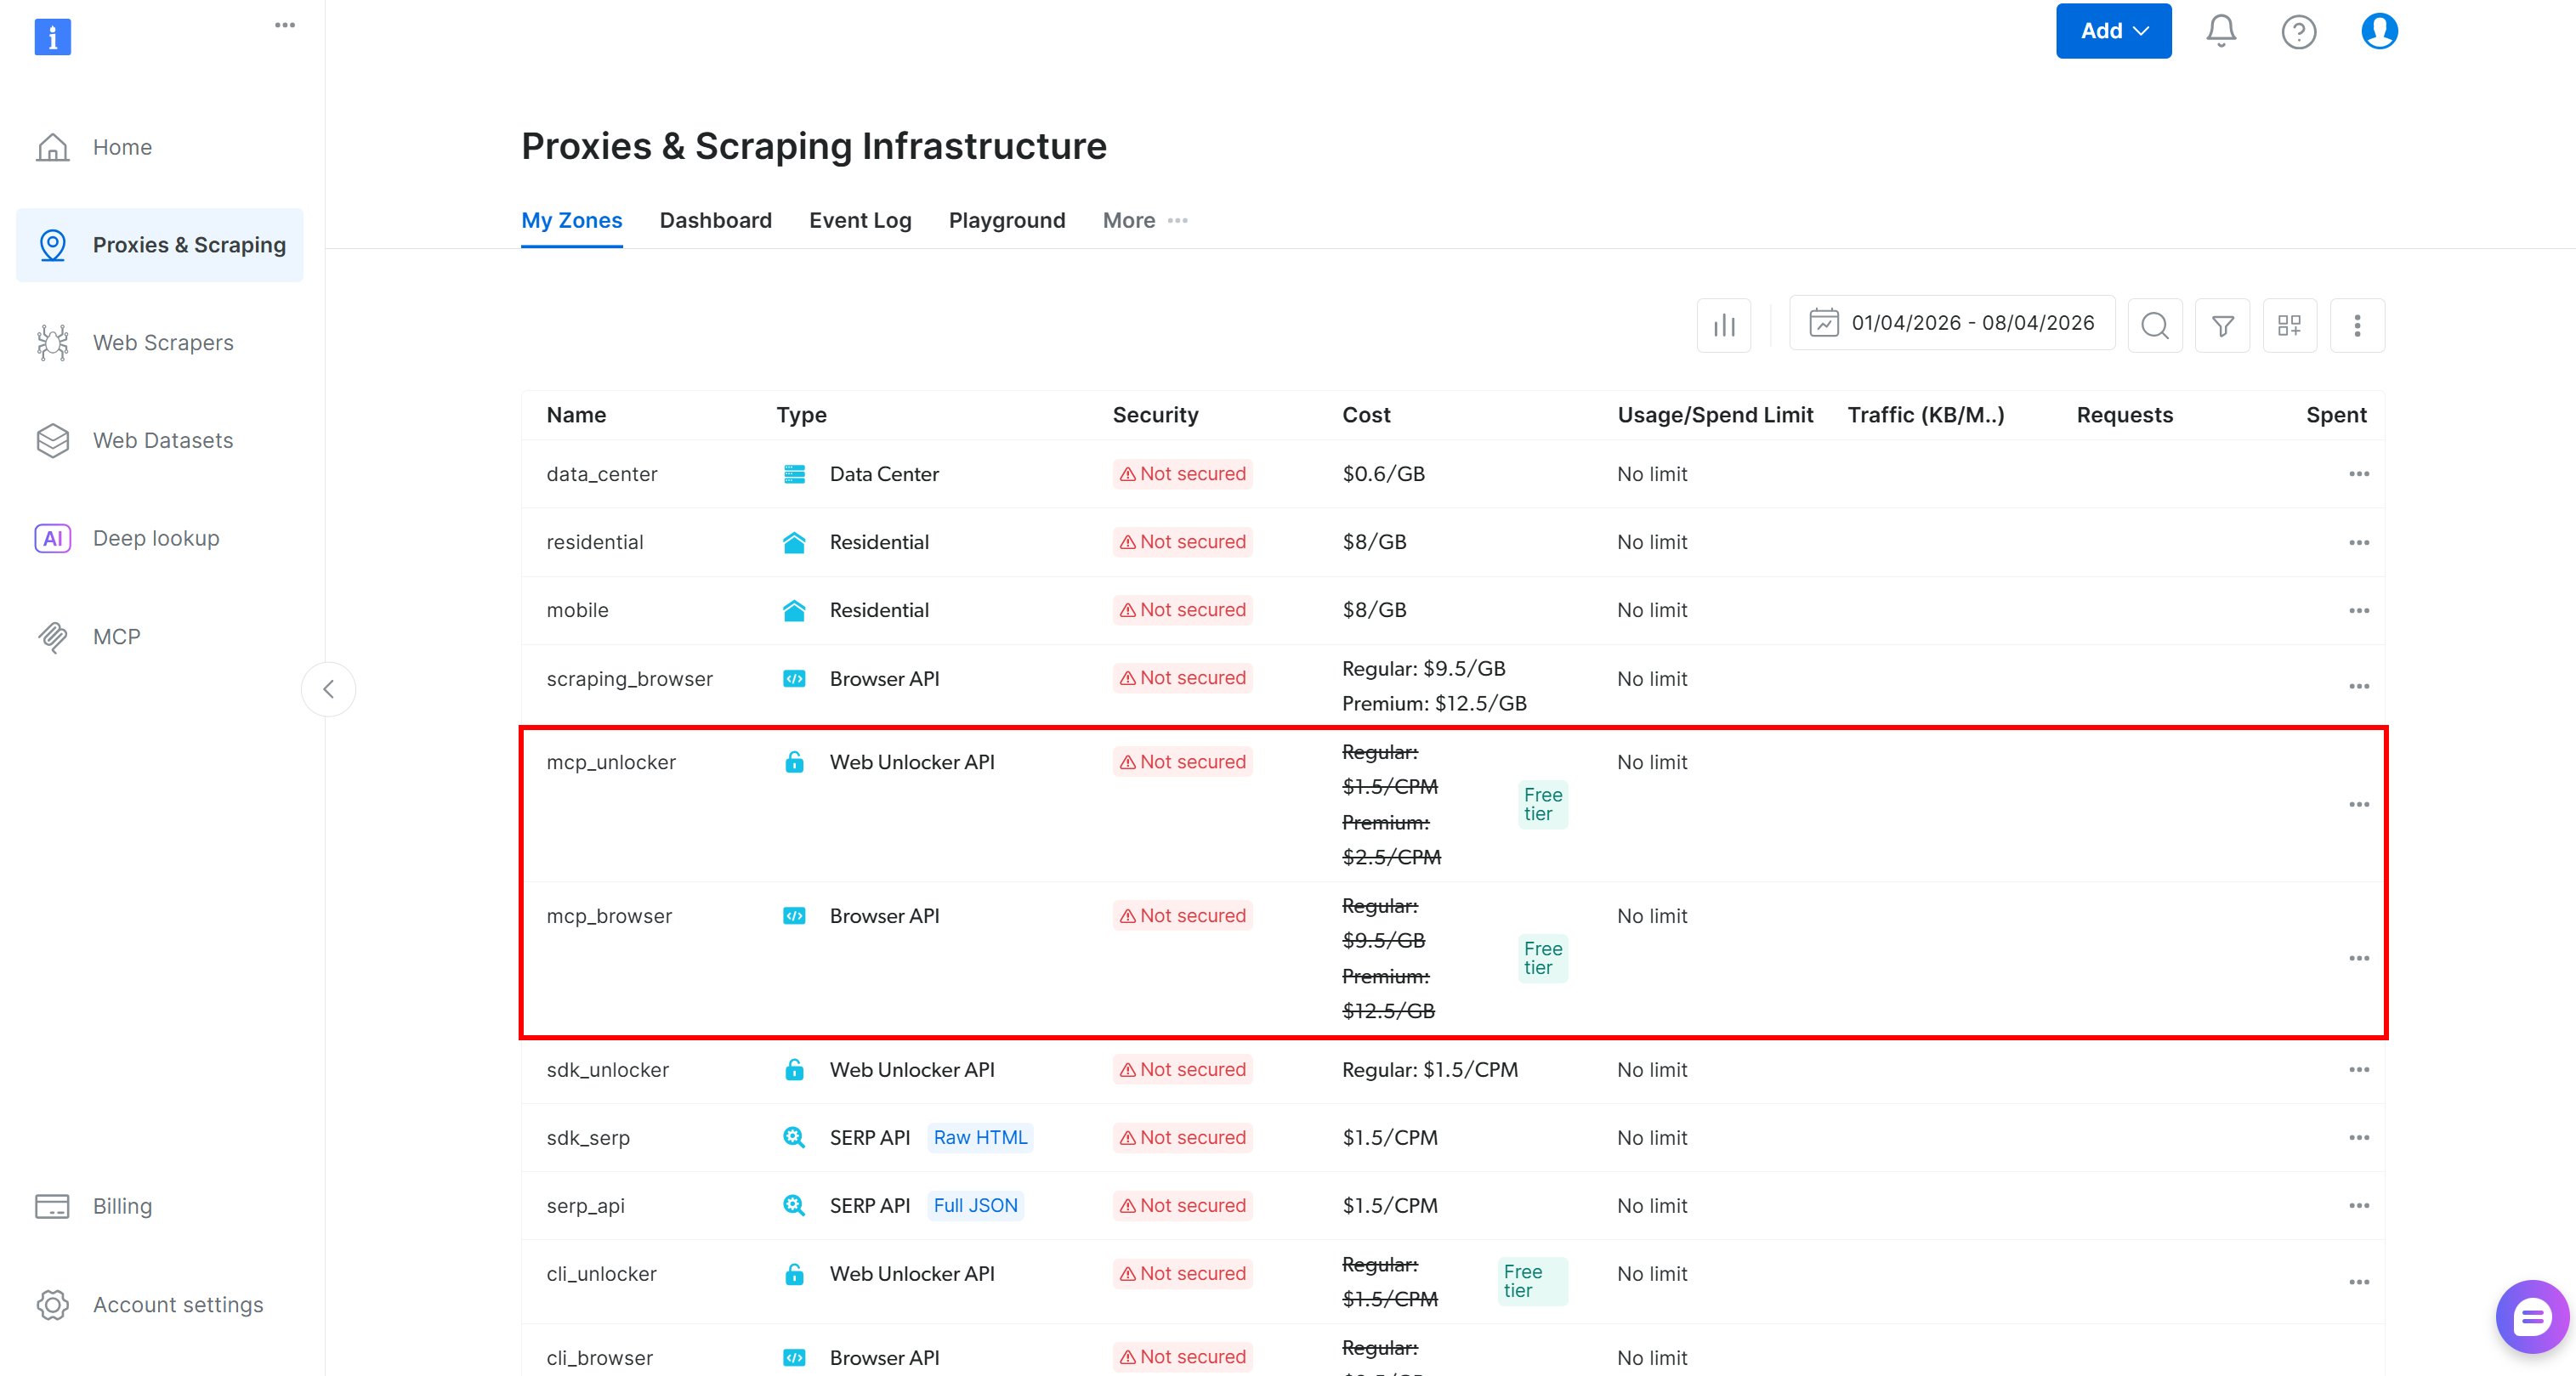
Remember that on the Bright Data MCP free tier (Rapid mode), you have access to a limited set of tools.
To unlock all 70+ tools, you must enable Pro mode. To do so, set the PRO_MODE="true" environment variable:
API_TOKEN="<YOUR_BRIGHT_DATA_API>" PRO_MODE="true" npx -y @brightdata/mcpOr, on Windows:
$Env:API_TOKEN="<YOUR_BRIGHT_DATA_API>"; $Env:PRO_MODE="true"; npx -y @brightdata/mcpNote: Pro mode is not included in the free tier and incurs additional charges.
Perfect! You just verified that the Bright Data MCP runs on your machine. Next, you will configure Zencoder Zenflow to connect to it.
Step #2: Configure Bright Data MCP in Zenflow
All Zencoder products support MCP integration through a configuration file located at ~/.zencoder/settings.json. You can either edit this file manually or access it through the Zenflow UI.
For a UI workflow, start by clicking the “Settings” icon in the bottom-left corner:
Then navigate to the “MCP Servers” section, where you can edit the configuration file directly from the UI: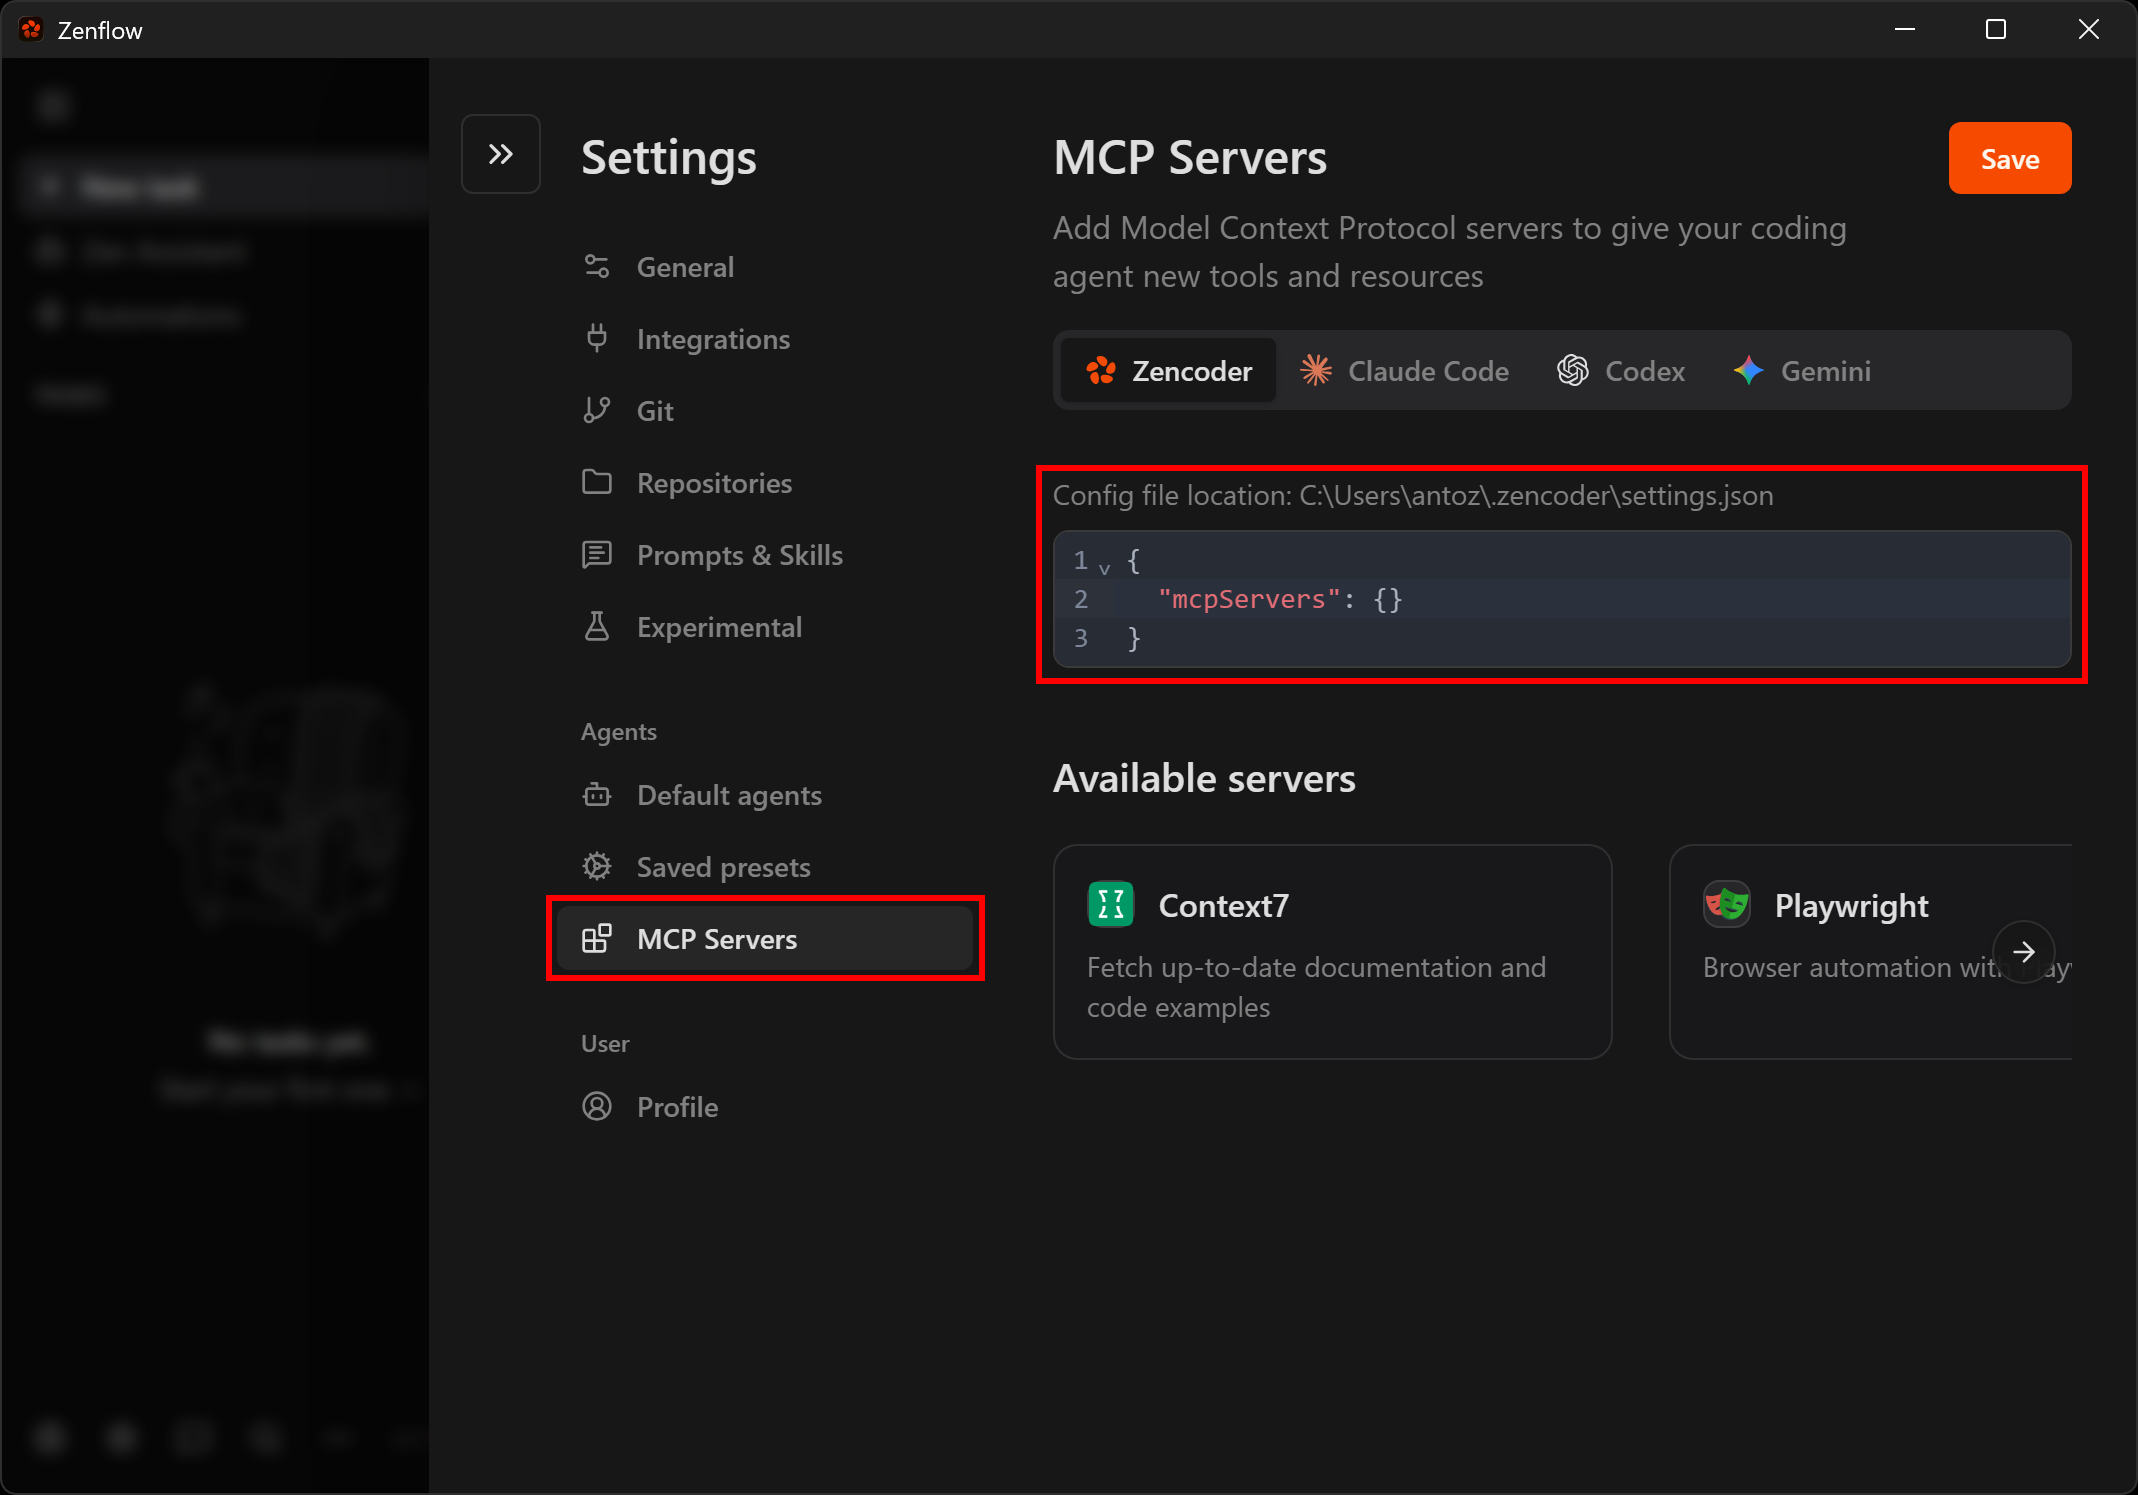
Ensure your ~/.zencoder/settings.json file includes the following:
{
  "mcpServers": {
    "bright-data-web-mcp": {
      "type": "stdio",
      "command": "npx",
      "args": ["@brightdata/mcp"],
      "env": {
        "API_TOKEN": "<YOUR_BRIGHT_DATA_API_KEY>",
        "PRO_MODE": "true"
      }
    }
  }
}
If you are editing via the UI, enter the same configuration and click “Save”: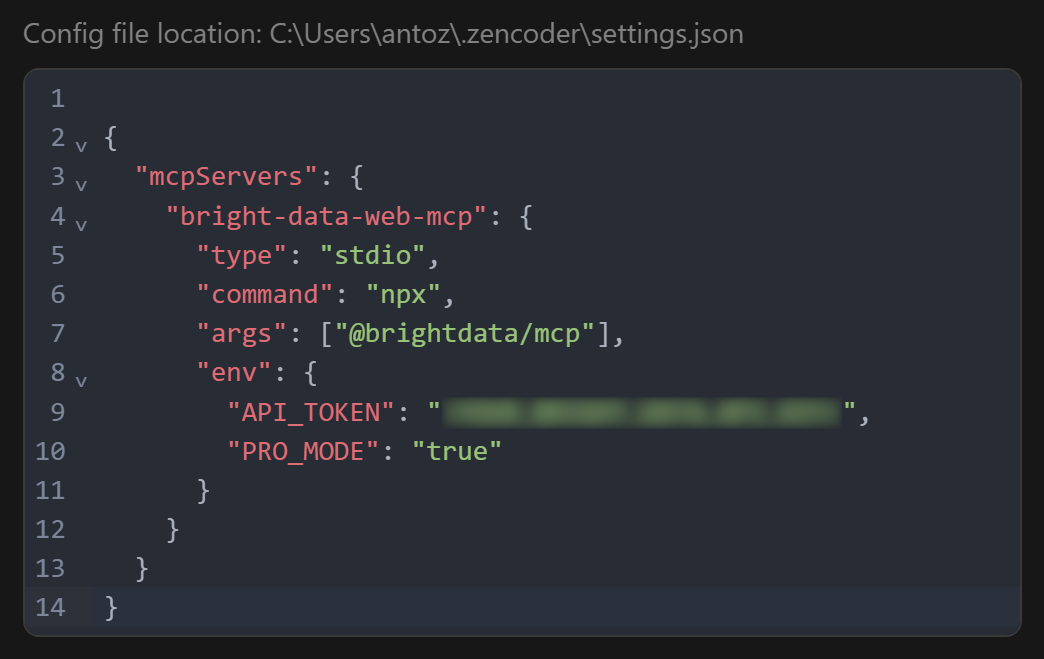
This setup mirrors the npx command you tested earlier and uses environment variables for authentication and configuration:
API_TOKEN(required): Your Bright Data API key.PRO_MODE(optional): Set to"true"to enable Pro features, or remove it to use the free tier.
Once configured, Zencoder will launch the local Bright Data MCP server using the specified npx command and connect to it. Fantastic!
Step #3: Verify Bright Data MCP Connection
At the time of writing, Zenflow does not provide a direct UI to inspect available MCP tools. To verify the connection, switch to Work mode and send a prompt like:
Which MCP tools do you have access to?You should see a result similar to: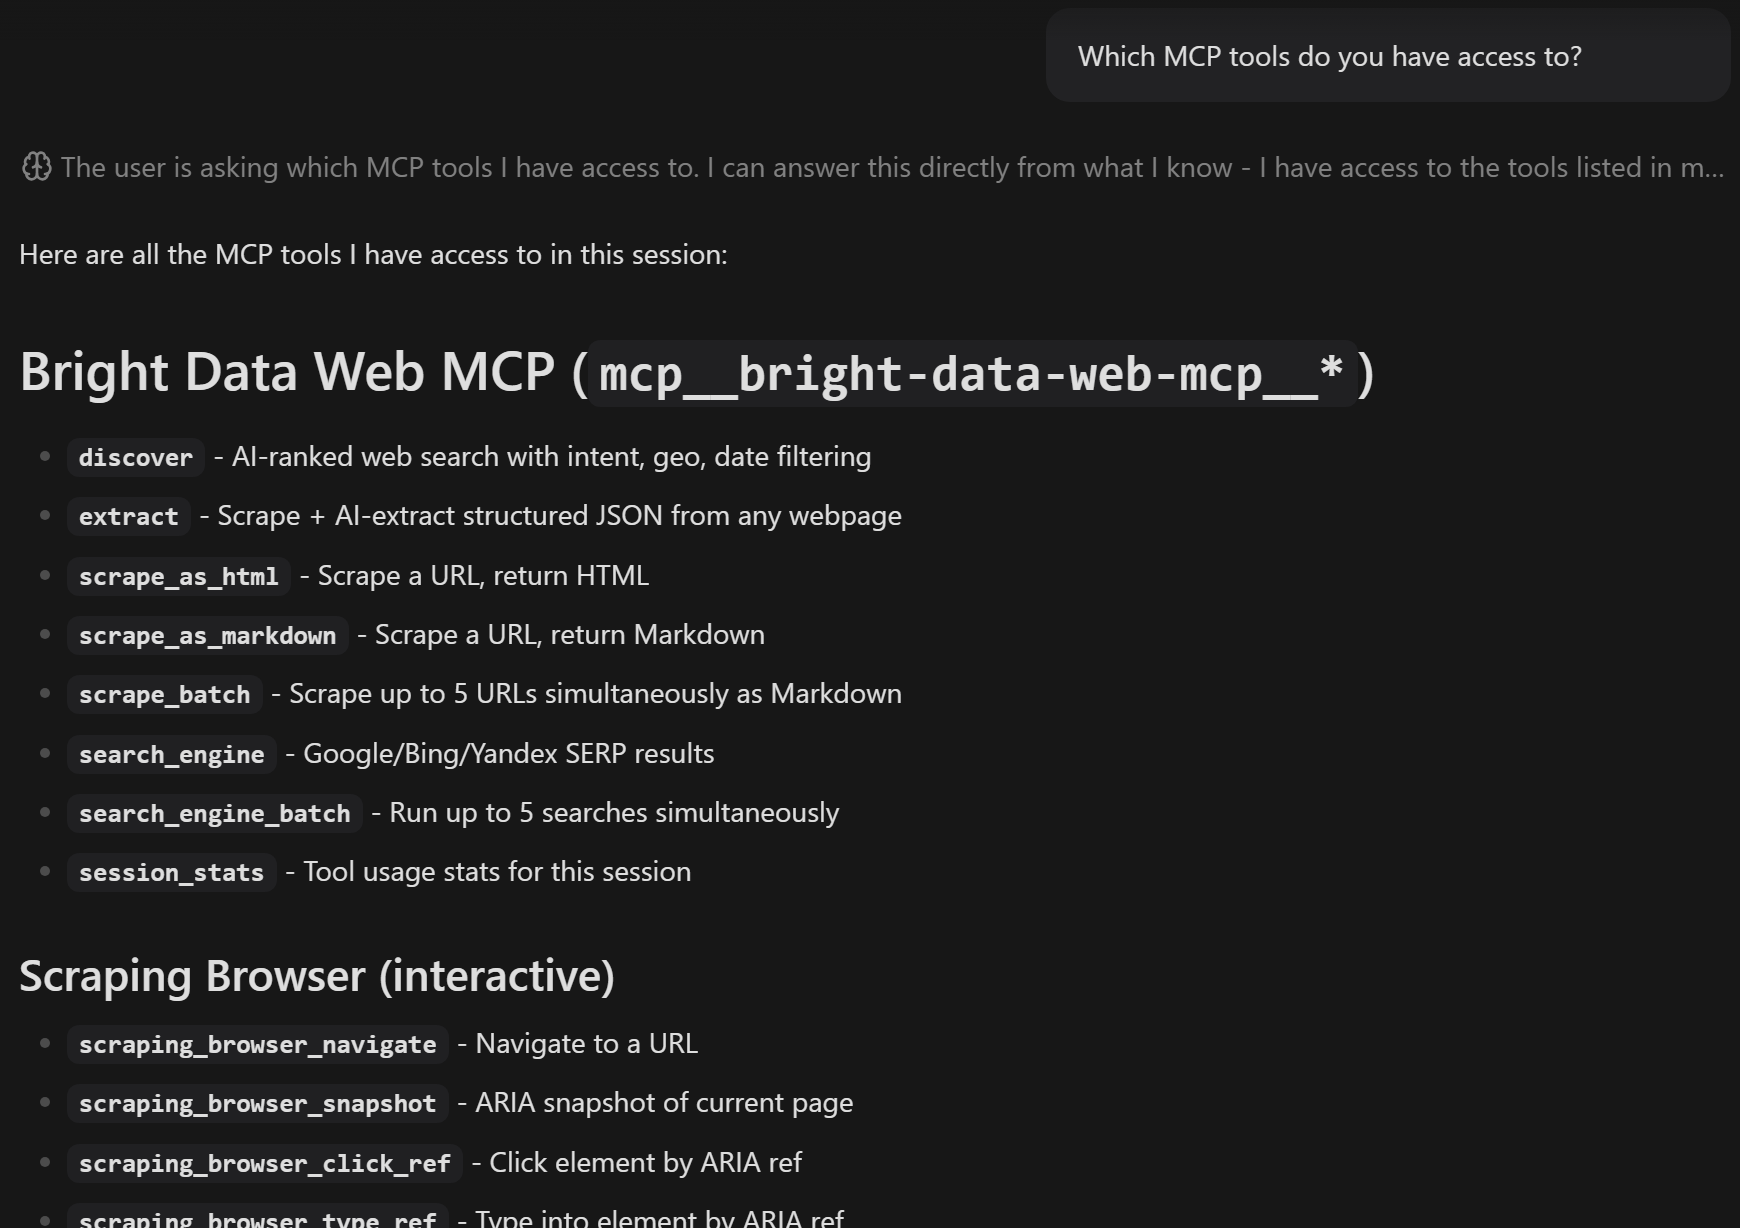
The response will list all available MCP tools. In Pro mode, the list includes the 70+ Bright Data MCP tools. Otherwise, you will only see the tools available in Rapid (free) mode.
Great! This confirms that the Bright Data MCP is correctly connected and exposing tools to your Zencoder product. Later in this blog post, you will see how to use Bright Data MCP together with Bright Data Skills in a real workflow.
Add the Bright Data Skills to Zencoder
Here, you will learn how to add Bright Data Skills to your Zencoder setup via the guided workflow provided by Vercel’s skills tool.
Quick manual setup: If you prefer a manual approach, begin by cloning the Bright Data skills repository. Then, copy the skills into the ~/.zencoder/skills directory:
git clone https://github.com/brightdata/skills
cp -r skills/skills/* ~/.zencoder/skills/
Otherwise, follow the more guided approach below!
Prerequisites
Make sure you have:
- The Bright Data CLI installed and configured locally (the main prerequisites for the Bright Data skills).
- Basic knowledge of the Bright Data skills.
Note: For a quick setup of the Bright Data CLI, refer to the “Bright Data CLI: Installation & Setup” guide. Alternatively, read the dedicated blog post.
A basic understanding of the Agent Skills standard and some familiarity with Vercel’s skills CLI tool will also be helpful.
Step #1: Install the Bright Data Skills
To install the Bright Data Skills in your Zencoder environment, run:
npx skills add brightdata/skills -a zencoderThe above command installs the skills package and launches the setup process, which will:
- Download the Bright Data skills from the official Agent Skills Directory.
- Configure them for use across all Zencoder products, including Zenflow and IDE plugins
You will first see a screen where you can choose which skills to install: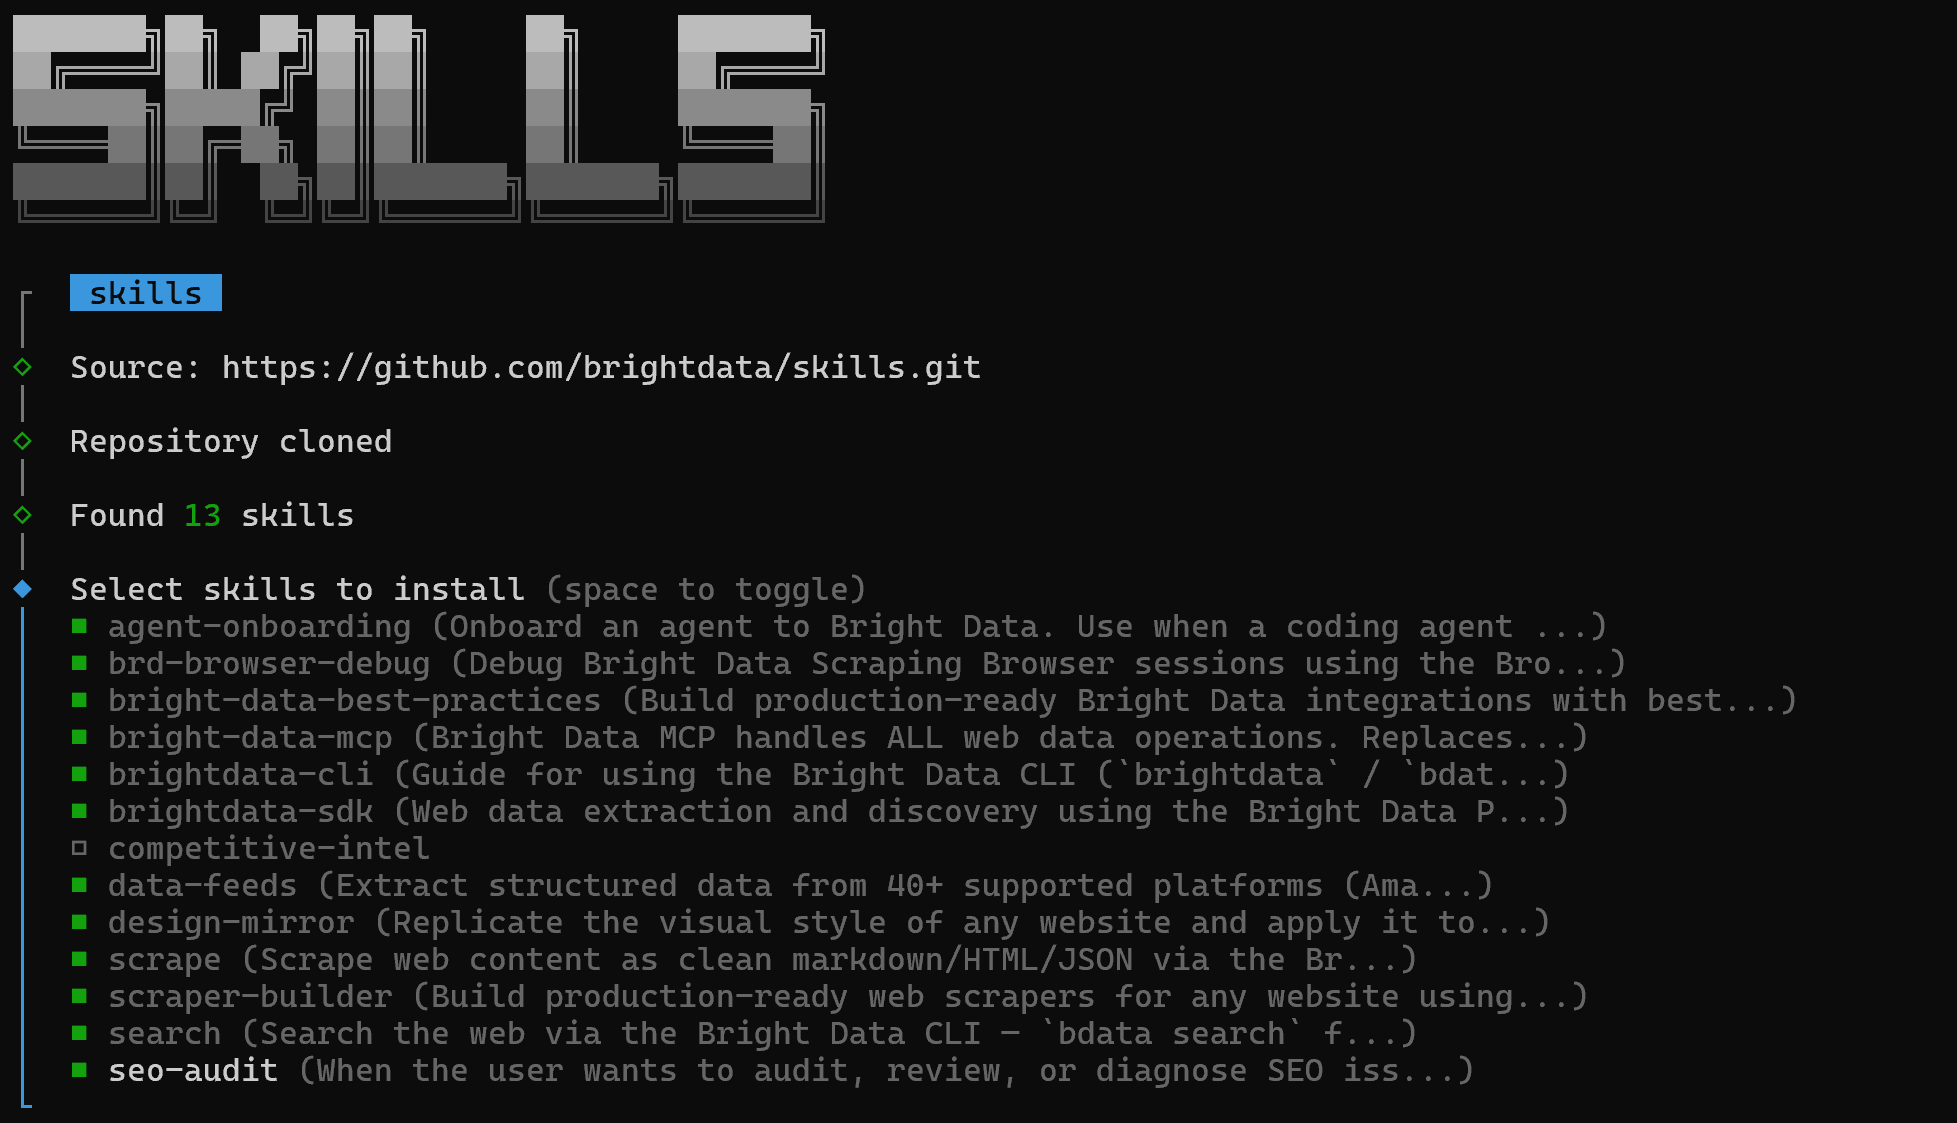
To install all of them, use the spacebar to select each skill, then press Enter.
Then, you will be prompted to select the installation scope. Since the Bright Data MCP integration was configured globally, you should install the Bright Data skills globally as well. So, choose the “Global” option:
Next, you will be shown “Installation Summary” and “Security Risk Assessment” sections. Review both carefully and press Enter to confirm. Finally, you will get a confirmation message: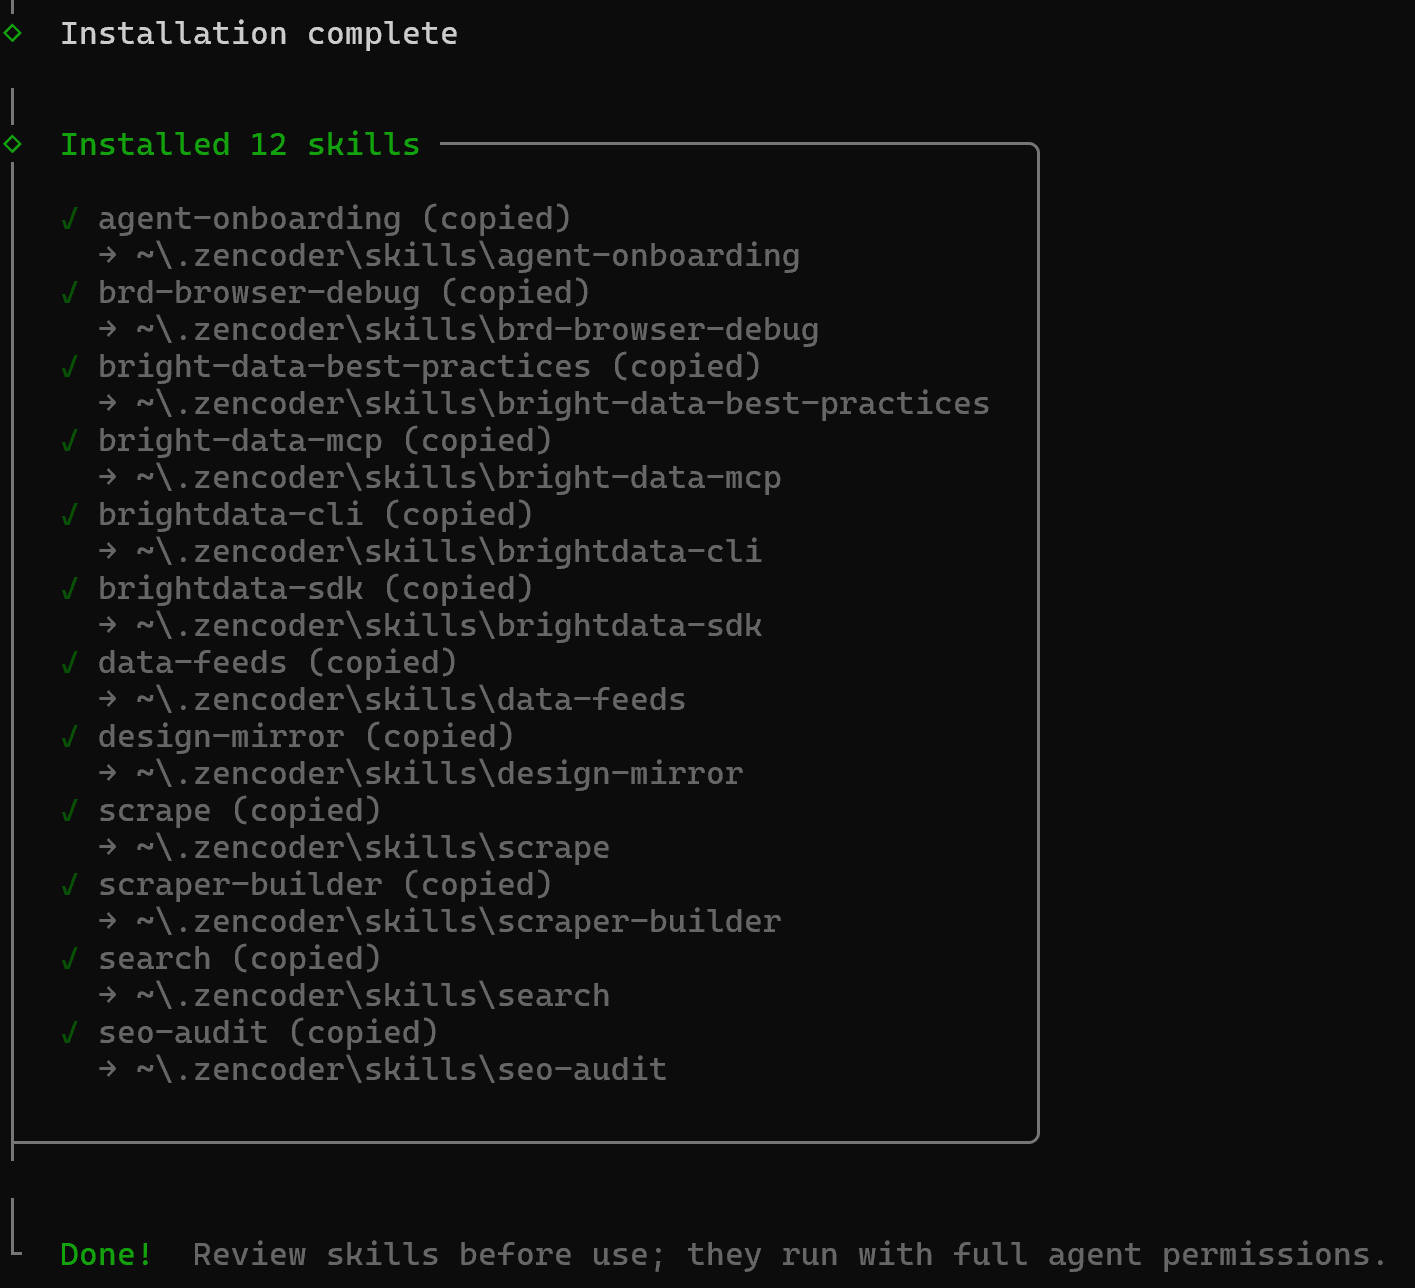
The Bright Data skills will be installed into the ~/.zencoder/skills directory. Restart your Zencoder product to ensure the changes are loaded. Awesome!
Step #2: Verify That the Skills Are Available
You should now be able to access the installed skills as special commands. To verify this, press / in Zencoder and check that the Bright Data skills appear in the list (along with the default Zencoder skills):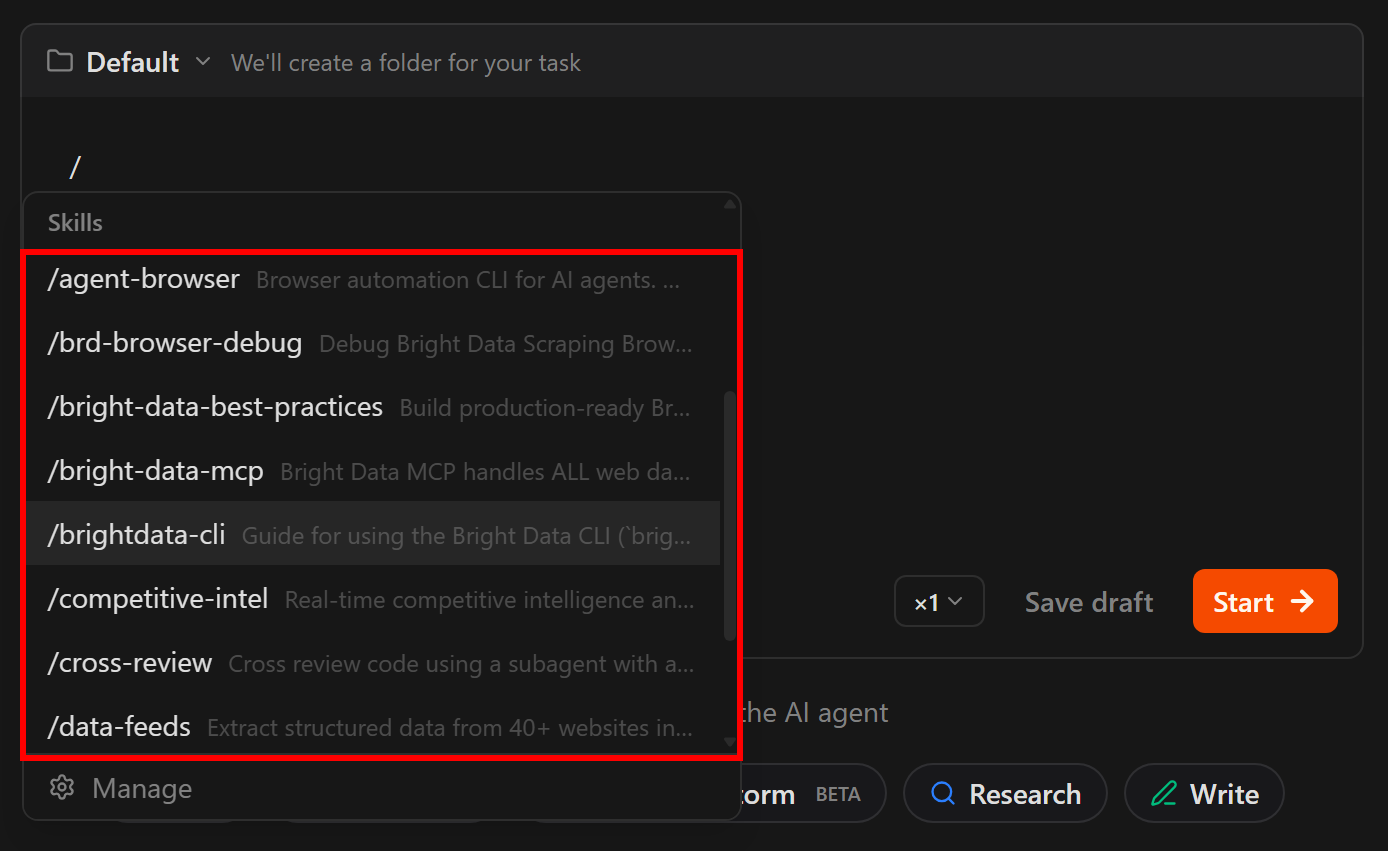
The listed commands should match the Bright Data skills, confirming successful installation.
Important: If the skills do not appear, restart your Zencoder product. In Zenflow, ensure the skills are also copied into ~/.agents/skills (you can also install them in that folder with npx skills add brightdata/skills -a cline). Then, restart Zenflow.
Optional: If you have not yet configured the Bright Data CLI, run the onboarding skill and follow the instructions:
/agent-onboarding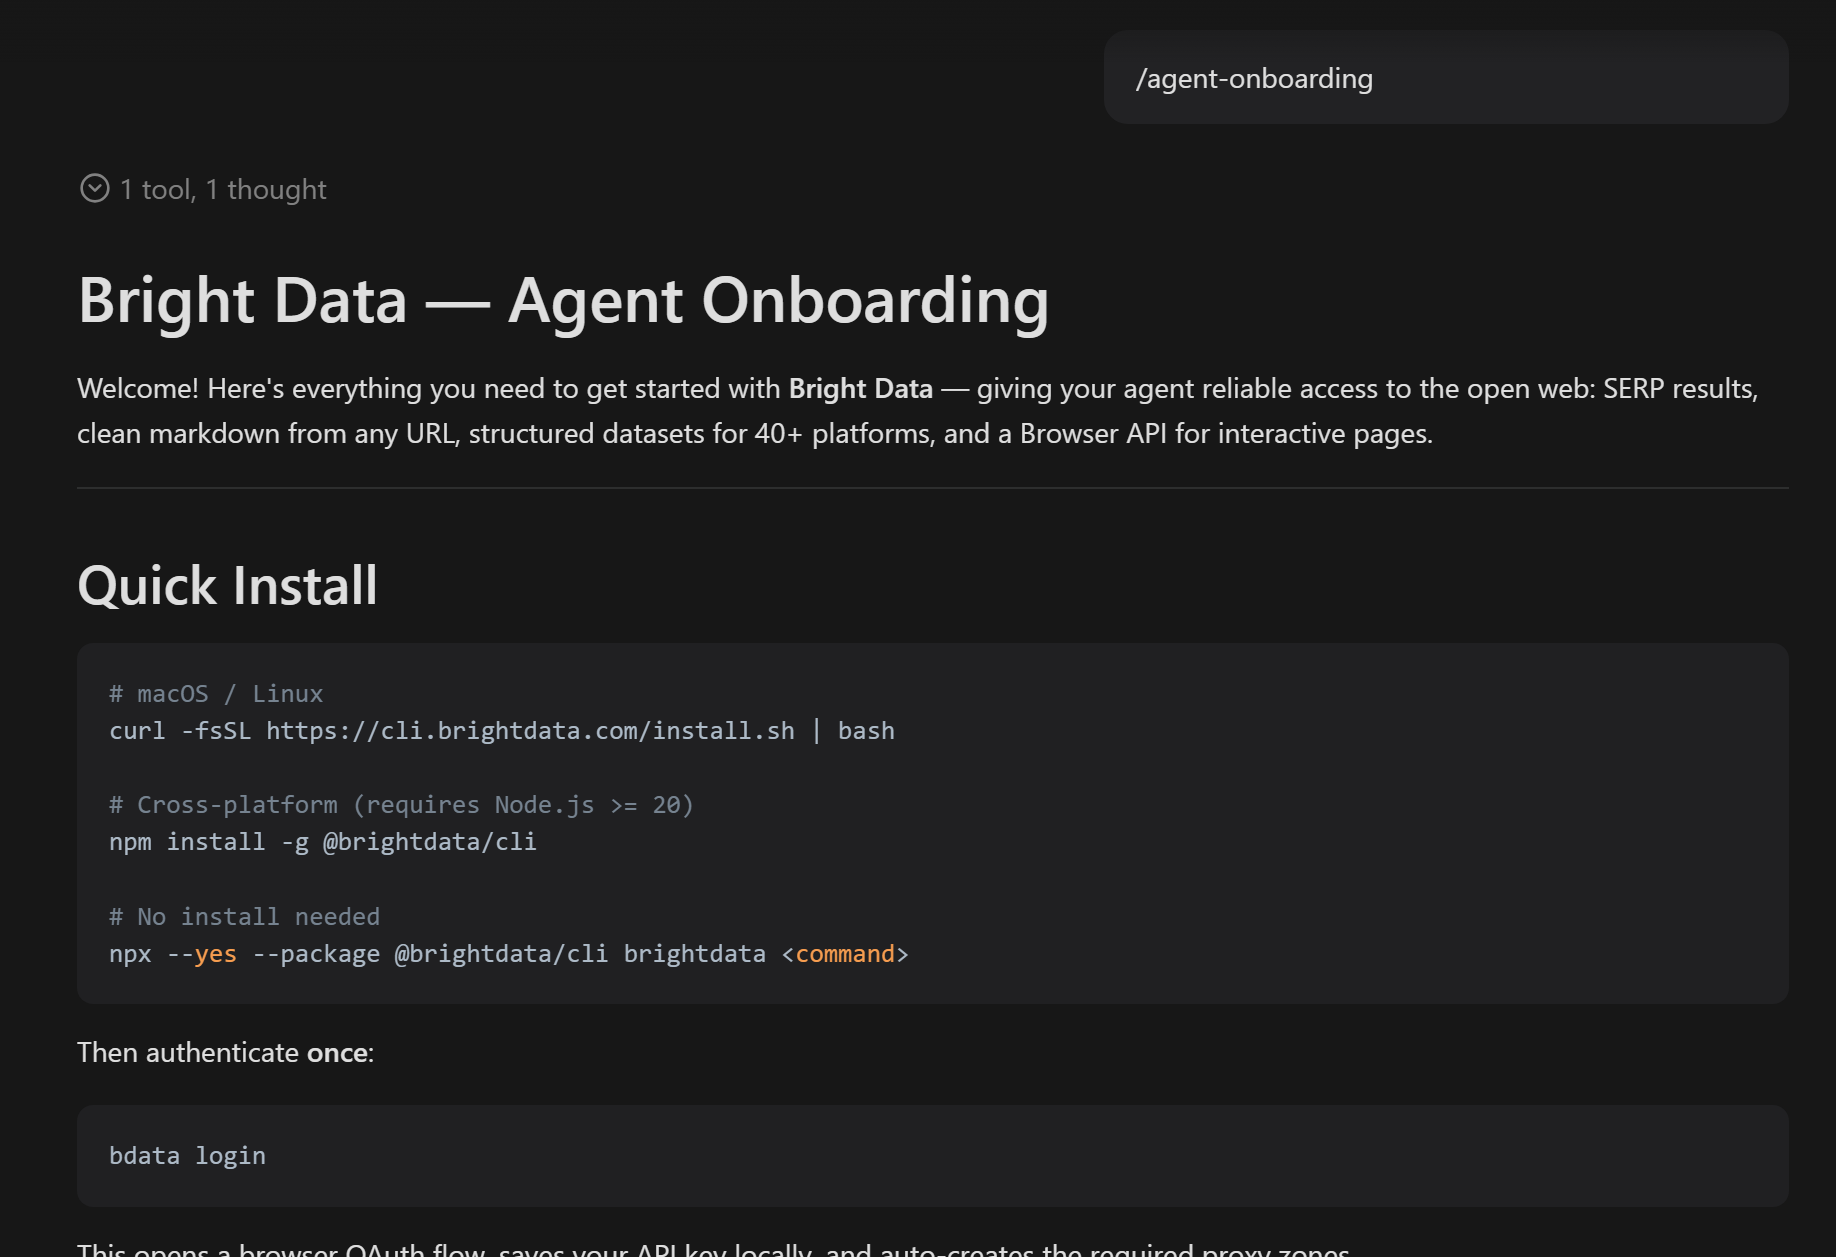
Mission accomplished! In the next chapter, you will see how to fully leverage the Bright Data MCP and skills within Zencoder AI agents.
Zencoder + Bright Data: Next-Level AI Assistance Experience
To verify how powerful the Zencoder + Bright Data setup is, consider a concrete task that requires real-world web data.
Suppose you are looking for the best Python hashing libraries for a project you are working on.
Relying only on an LLM in such a scenario can be risky. After all, AI models may not be aware of recent updates, security issues, CVEs affecting specific libraries, or changes in underlying algorithms. For this reason, it is important to ground the agent in live web data.
You may also want to scrape information from sources such as PyPI or GitHub. This will provide the AI agent with extra details about dependencies, installation commands, maintenance status, and more.
Achieve the goal with a prompt like this:
Discover online the best Python libraries for hashing. Start by performing a contextual search on Google, access the most relevant 2-3 pages, and then select a list of the top 5-7 Python libraries. For each library, scrape structured data from its PyPI page.

With the scraped data, produce a final structured report with a ranking, including for each library: a description, main capabilities, installation instructions, and (if available) requirements, GitHub links, and other relevant details.
Launch it in Work mode, and the following should occur: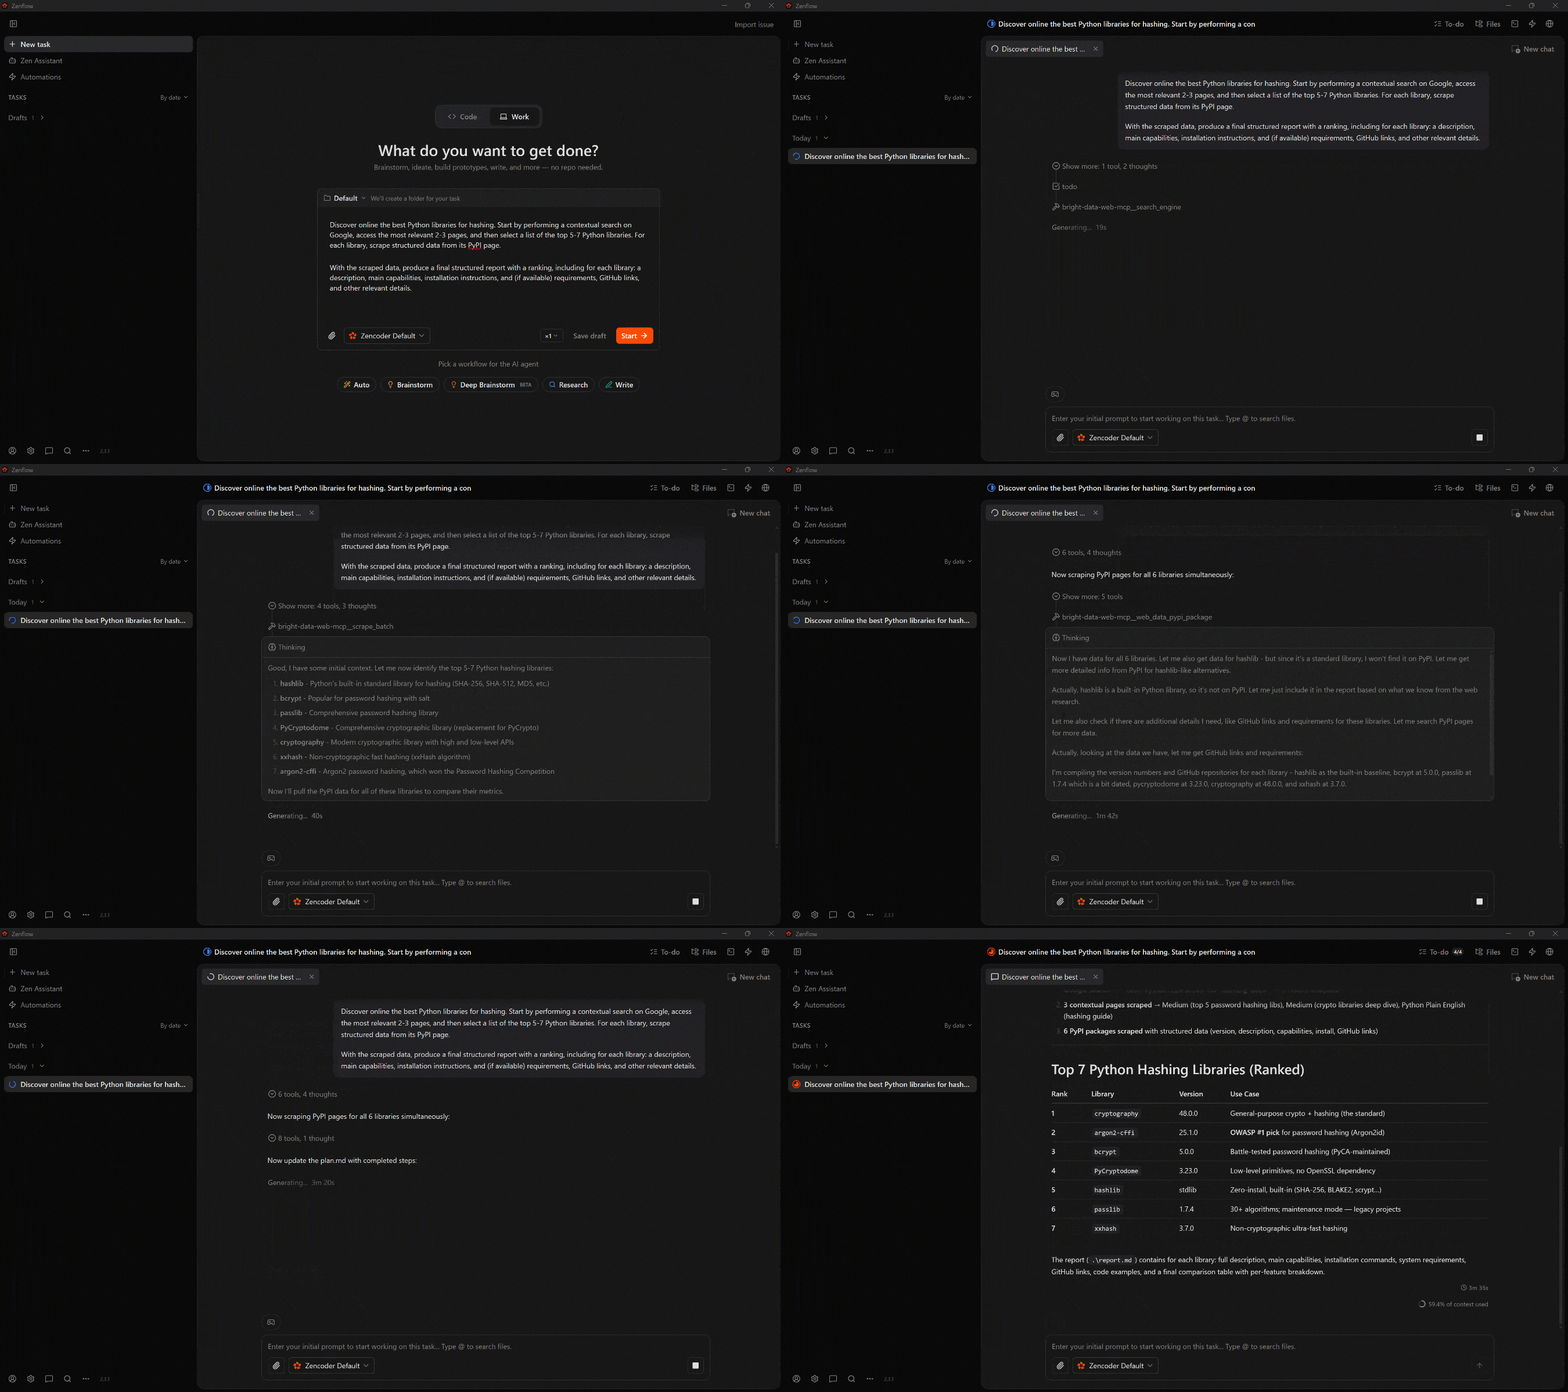
This is what happened:
- The agent starts by defining a plan.
- It uses the
search_enginetool (backed by Bright Data SERP API) from the Bright Data MCP to retrieve contextual Google SERP results. - It selects the most relevant pages and scrapes them using
scrape_batch(via Web Unlocker API). - It identifies the top 7 most relevant libraries and enriches them with structured PyPI data by calling the
web_data_pypi_packageBright Data MCP Pro tool in parallel. - It aggregates all collected information into a final
report.mdfile.
The final output is a report.md file in the project directory: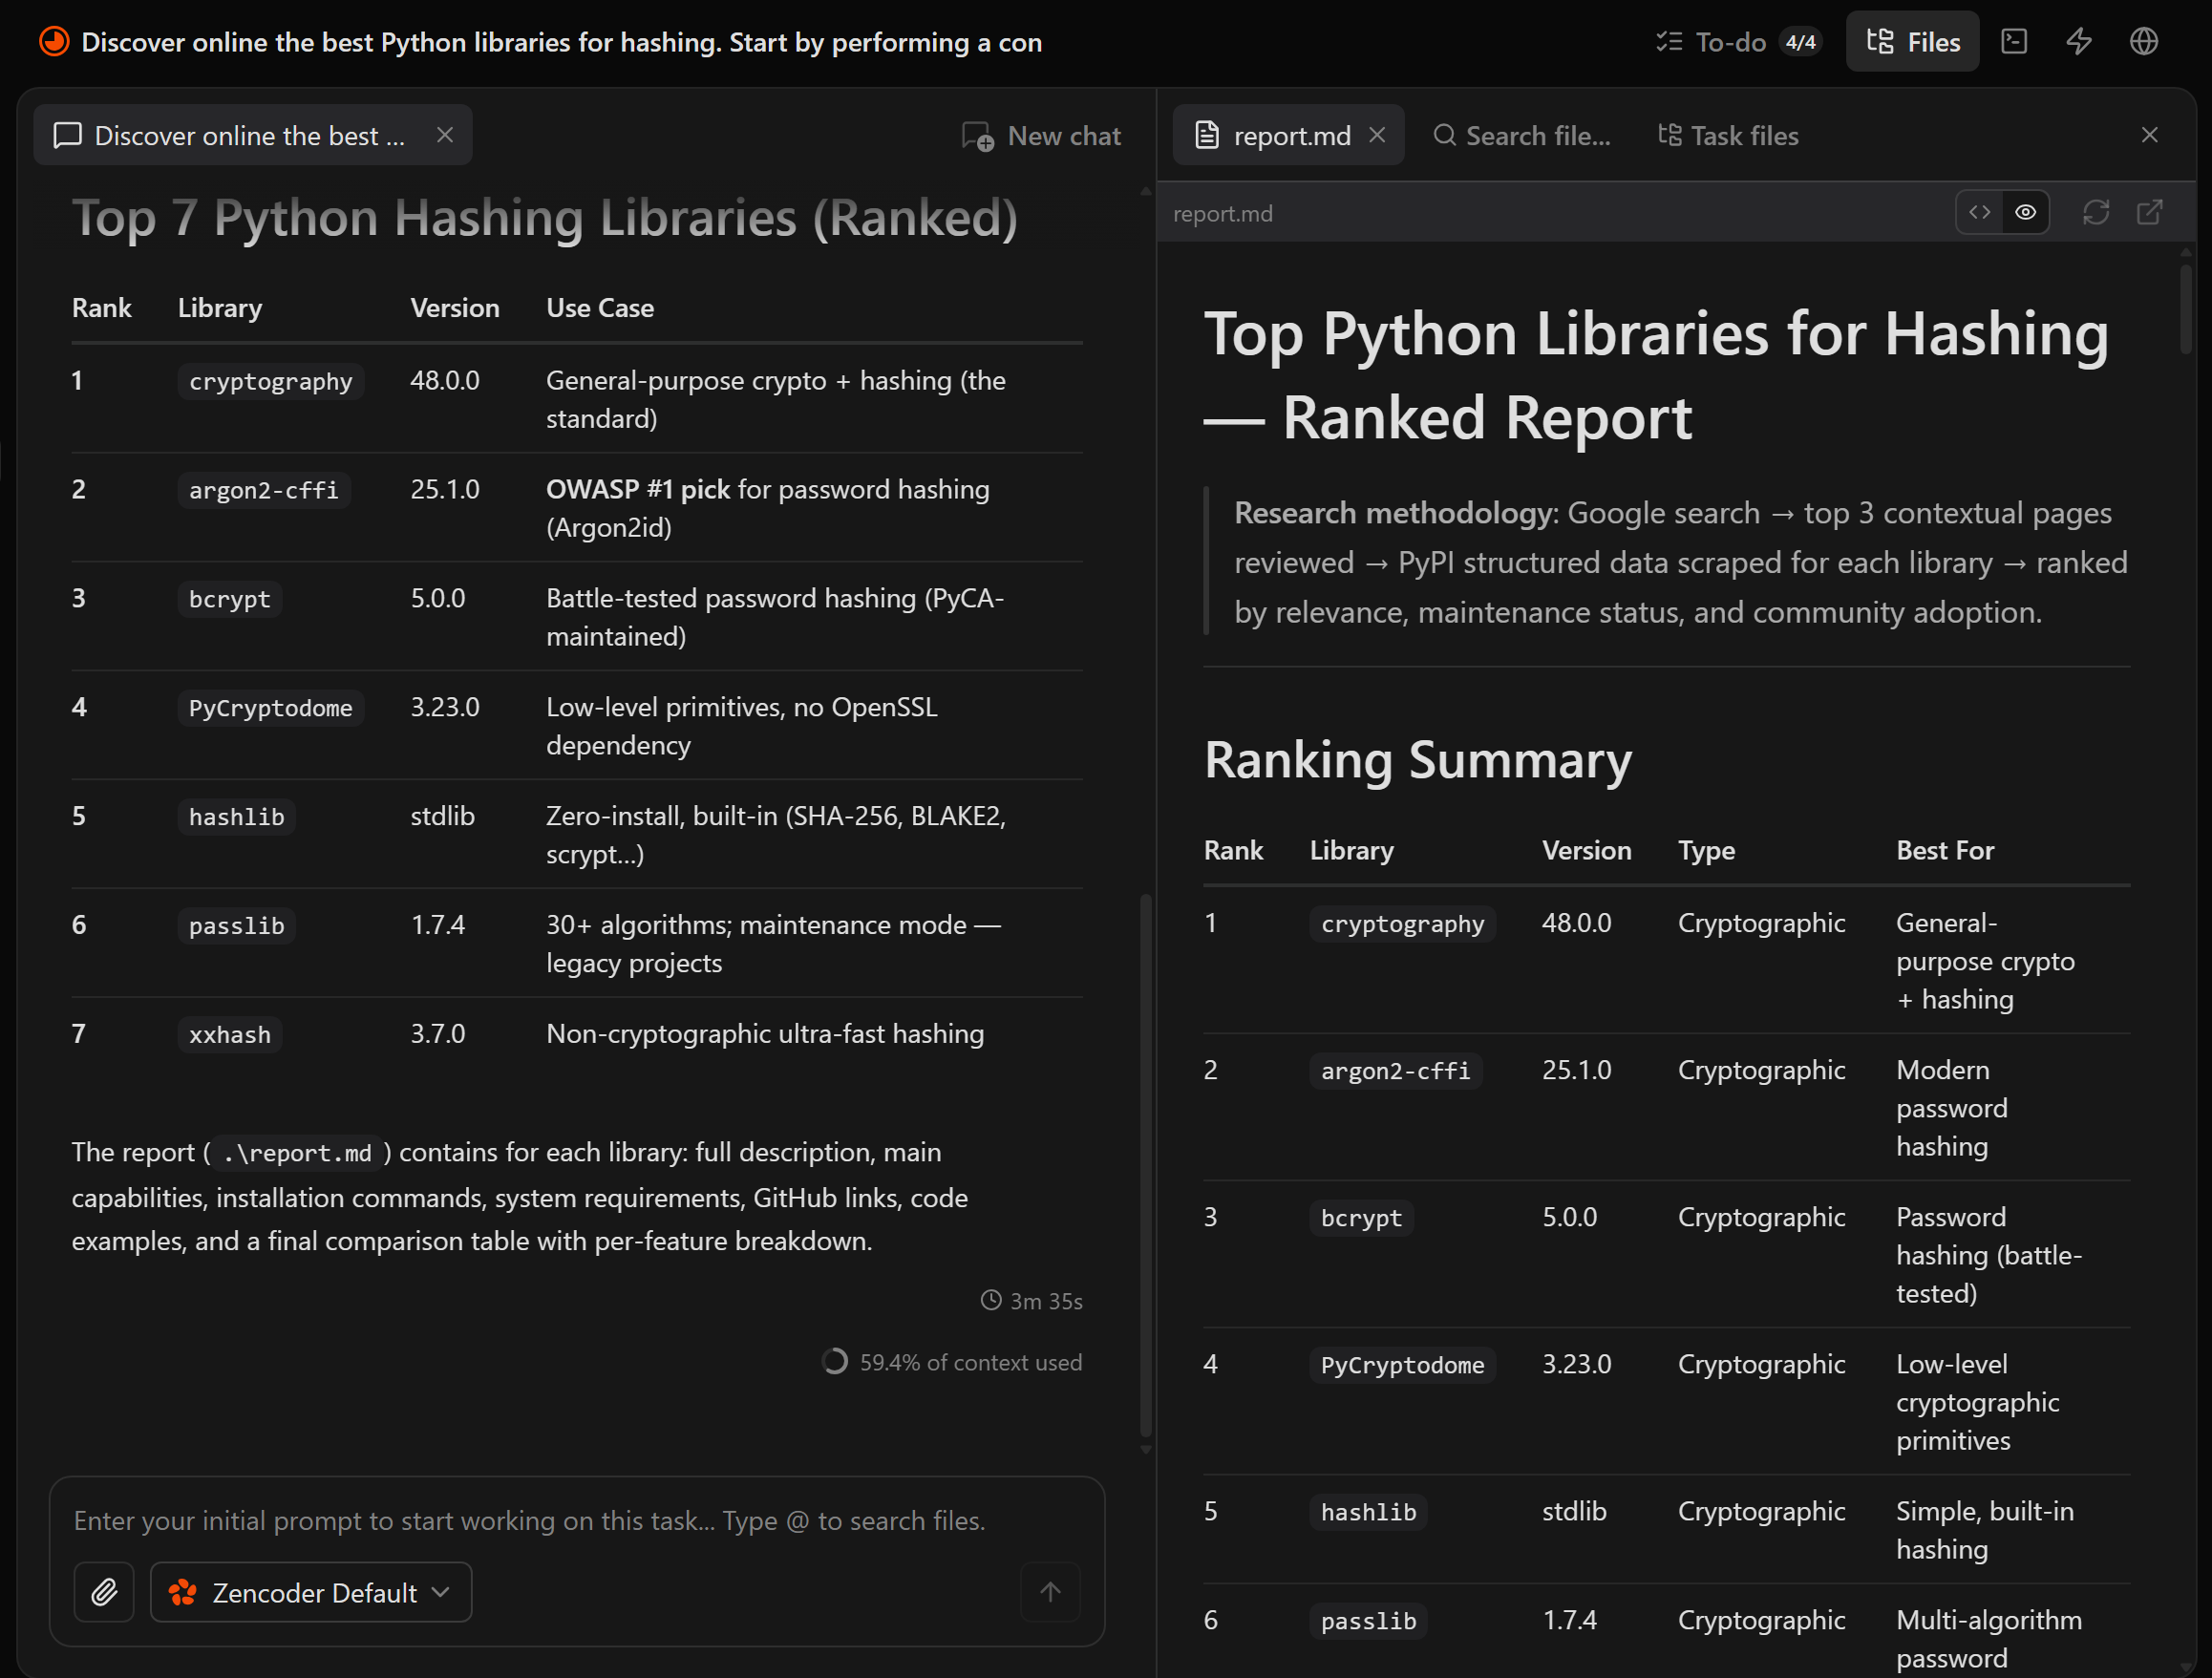
Open it, and you will observe a structured Markdown report containing detailed, verifiable information. Focus on a Python hashing library: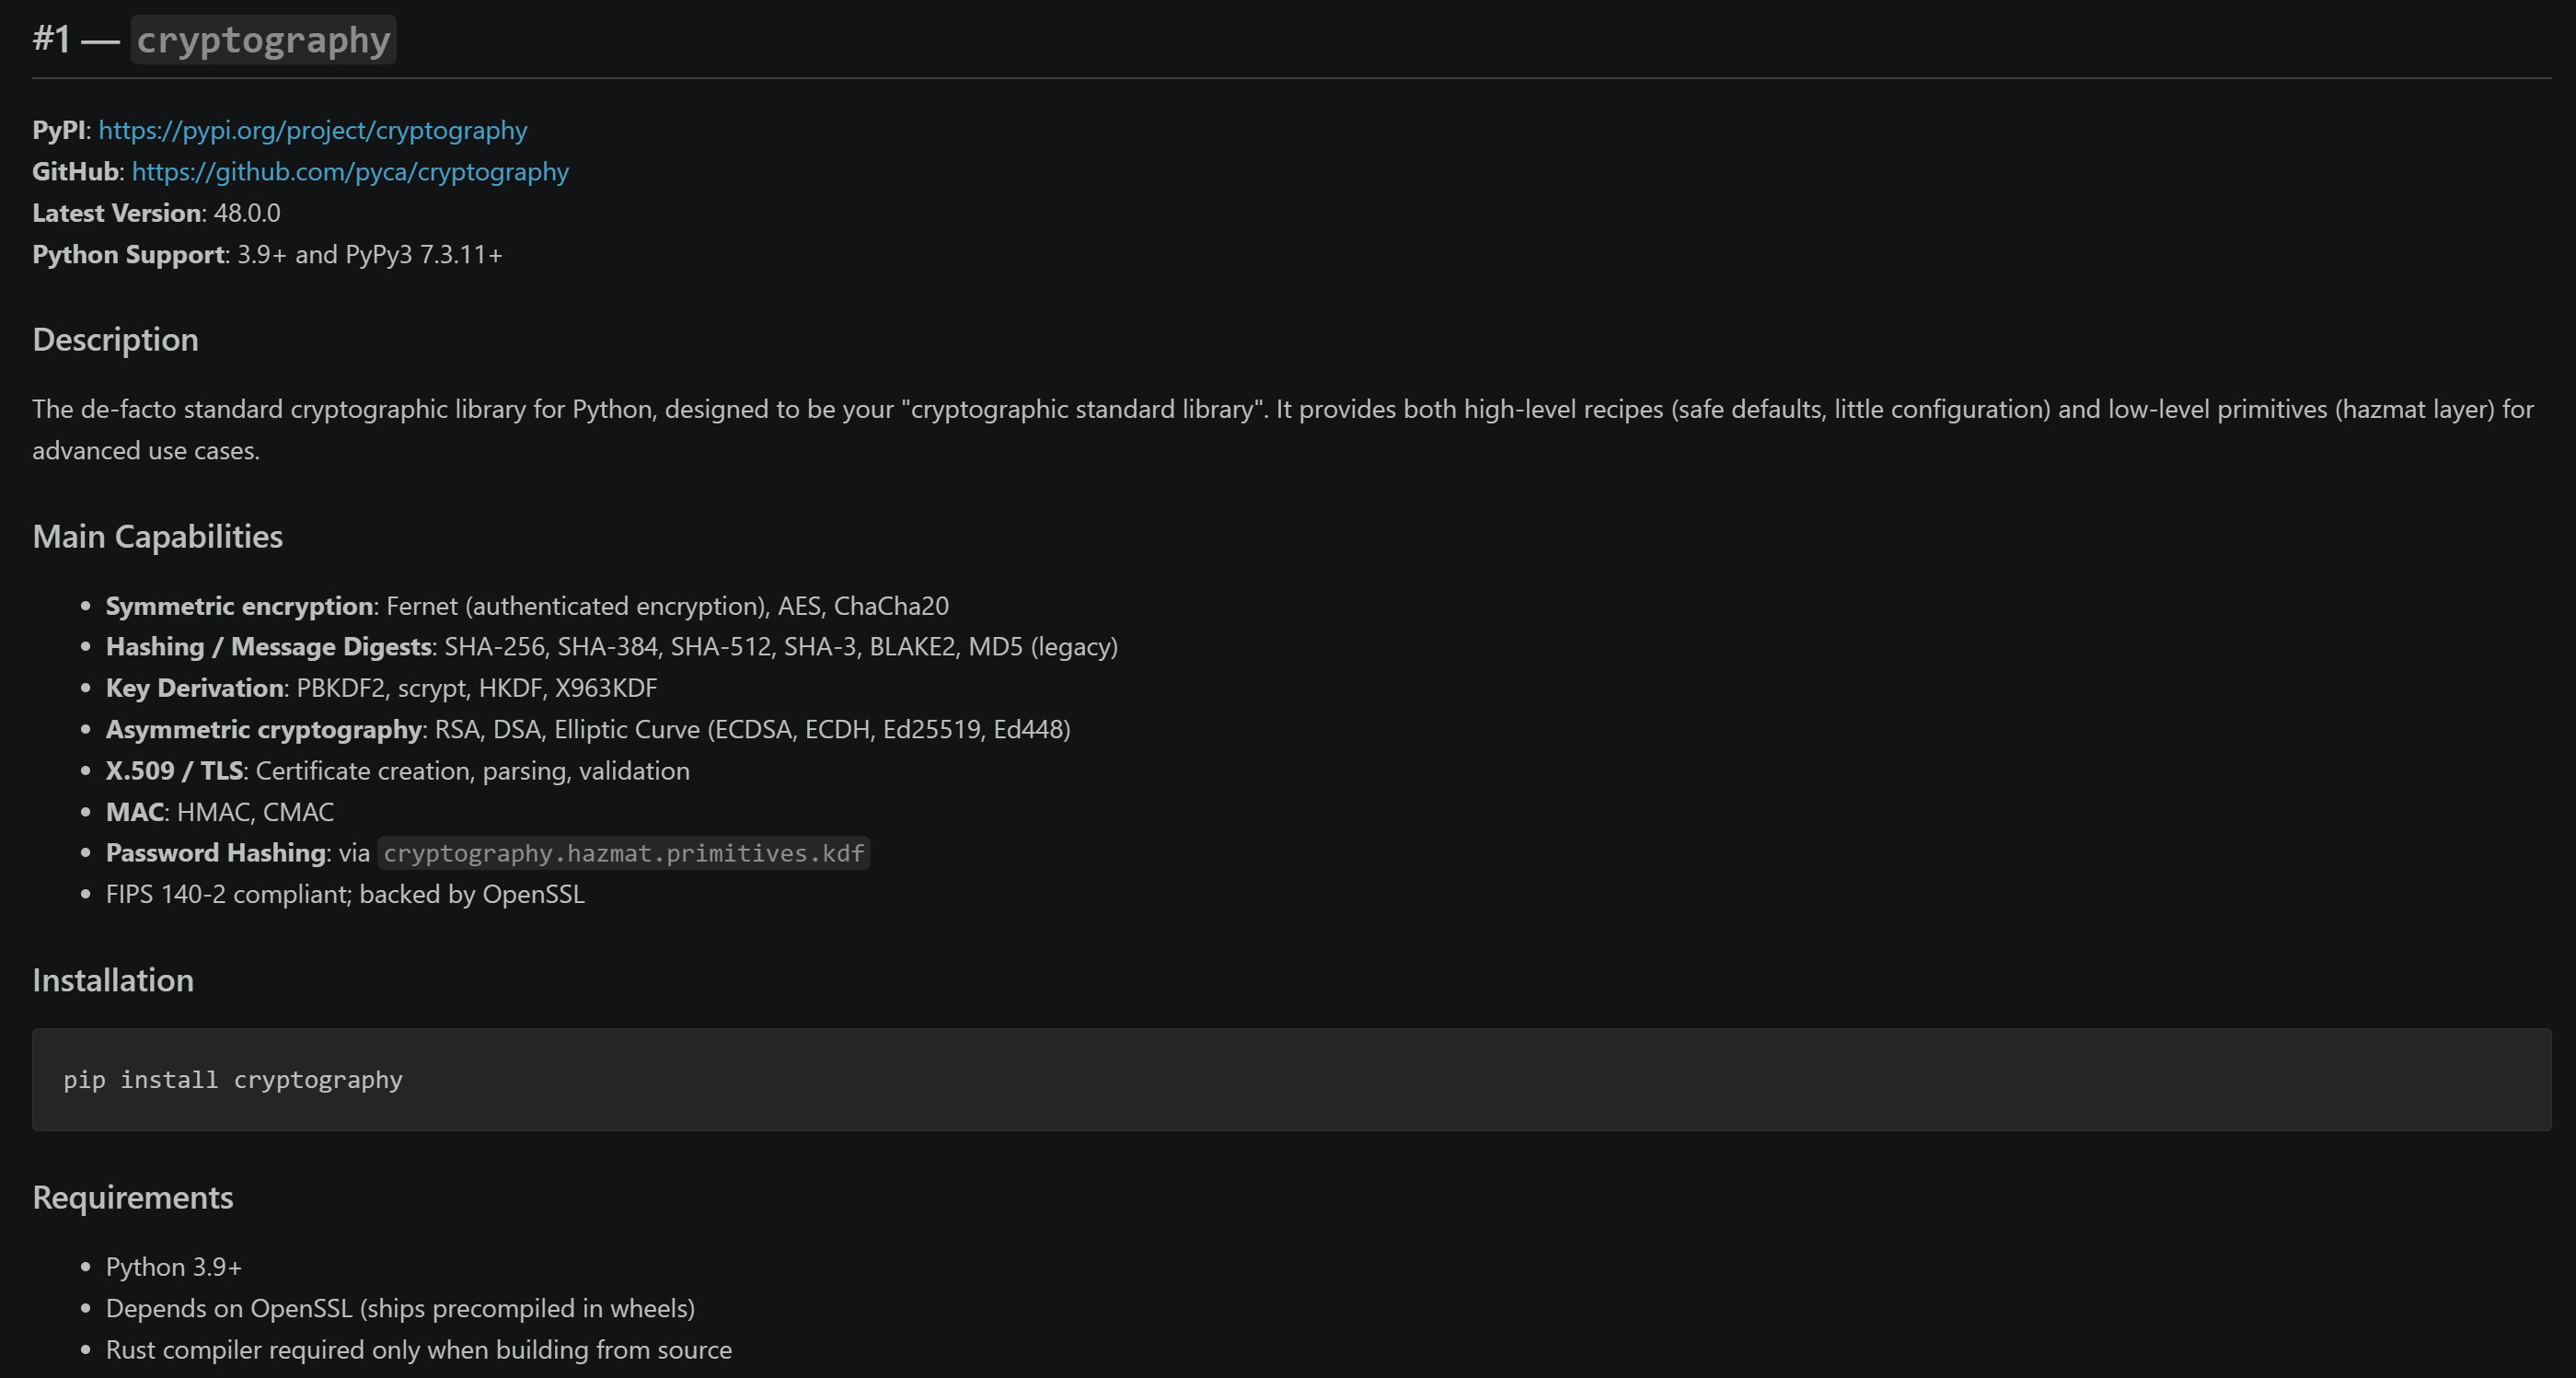
Note how each library section is based on live PyPI data rather than model-only training knowledge.
The report also includes a comparison table to support decision-making: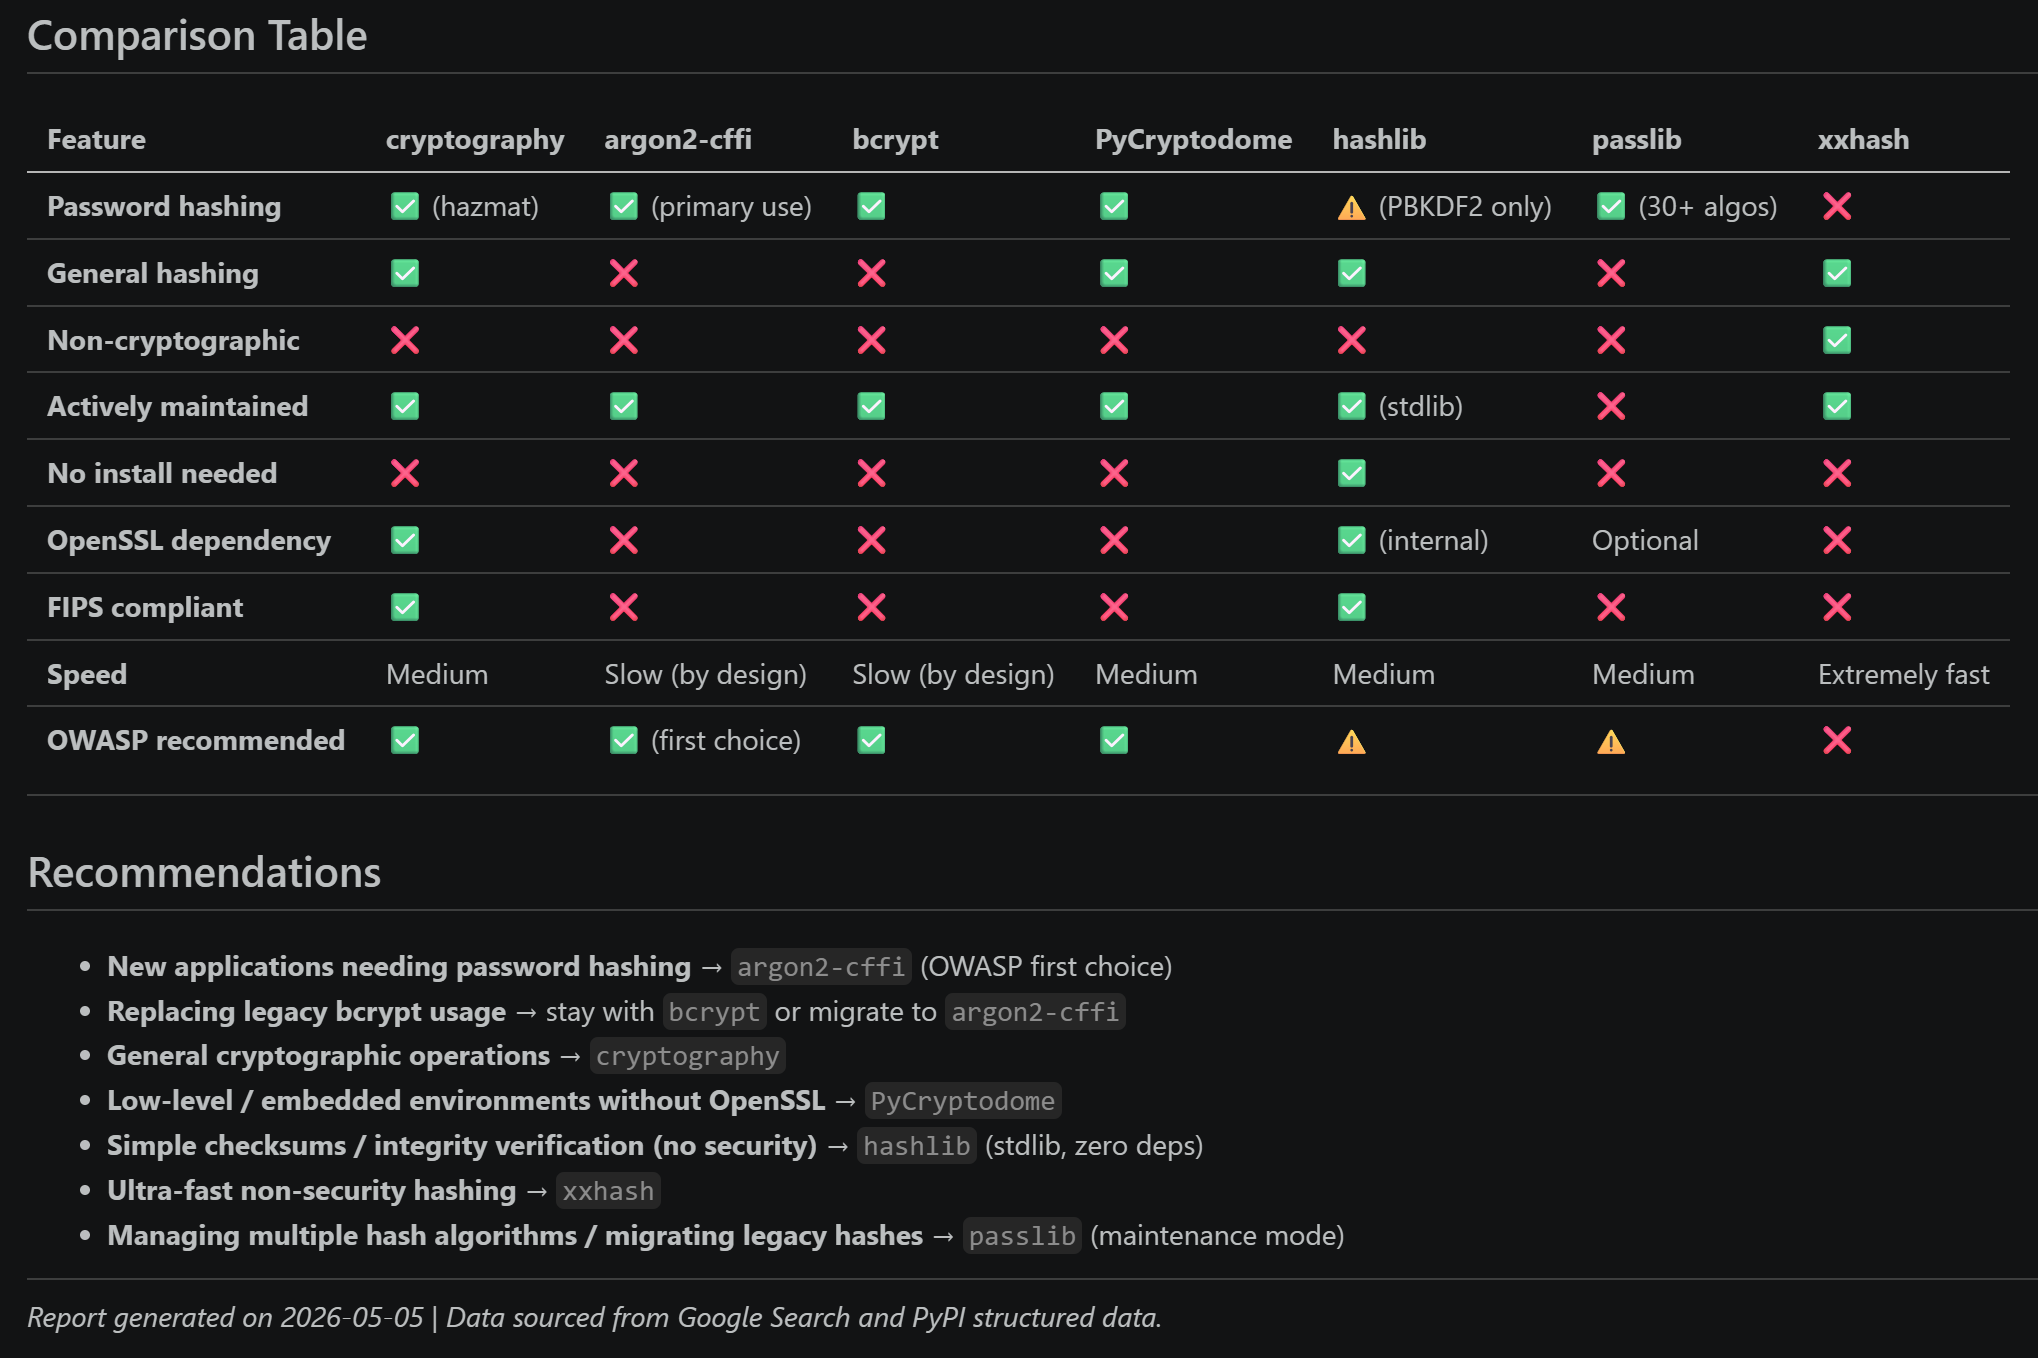
Et voilà! This simple example demonstrates the value of integrating Bright Data into Zenflow Work (or any other Zencoder products). Zencoder agents can now retrieve AI-ready, up-to-date information from the web, producing more reliable outputs across a wide range of use cases.
Conclusion
In this tutorial, you learned what Zencoder is and what features it provides through Zenflow and its IDE plugins. In particular, you saw why and how to extend Zencoder products by connecting them to Bright Data via the Bright Data MCP and its official skills.
This integration greatly enhances the Zencoder AI coding assistance experience. Thanks to it, the underlying AI agent gains the ability to interact with the web for grounding, research, and automated browser actions.
For even more advanced workflows, explore the full range of AI-capable services in Bright Data’s ecosystem.
Create a free Bright Data account today and start integrating our AI-infrastructure-ready web data tools!



Technical Writer
 5.5 years experience
Antonello Zanini is a technical writer, editor, and software engineer with 5M+ views. Expert in technical content strategy, web development, and project management.