







In this tutorial, you will learn:
- What Pi Agent is and why it stands out as a minimal yet powerful terminal-based coding agent.
- How connecting it to live web data can significantly expand its capabilities.
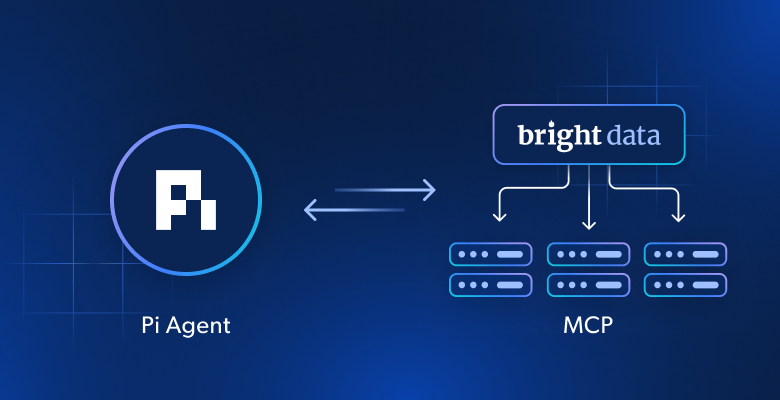
- How to integrate Pi Agent with Bright Data MCP server to give it real-time search and scraping capabilities.
Let’s dive in!
What is Pi Agent?
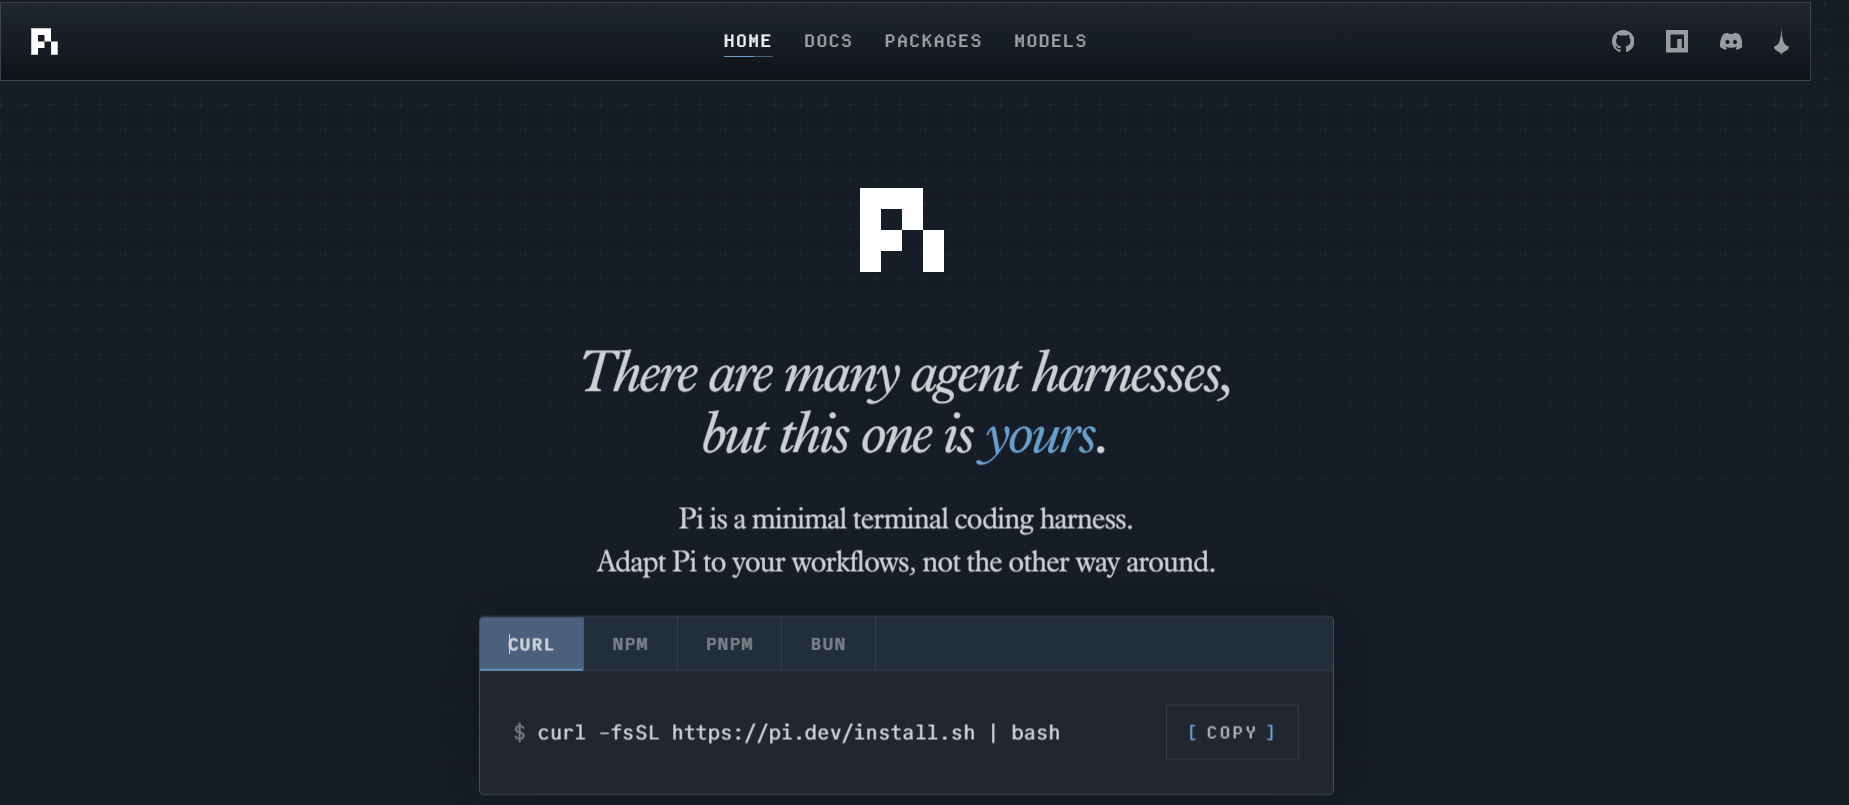
Pi Agent is a terminal-based coding agent built by Mario Zechner, the creator of the libGDX game framework. Unlike most coding agents that ship with dozens of built-in features, Pi takes a deliberately minimal approach. Pi Agent is a terminal-based coding agent built by Mario Zechner, the creator of the libGDX game framework. Unlike most coding agents that ship with dozens of built-in features, Pi takes a deliberately minimal approach.
You can install it globally via npm:
npm install -g @mariozechner/pi-coding-agentOut of the box, it gives the model four tools:read: for reading files and directorieswrite: for creating and editing filesedit: for making targeted edits to existing filesbash: for executing shell commands
Everything else is opt-in. You extend Pi through TypeScript extensions, skills, and prompt templates bundled as packages and installable via npm or git. This means Pi adapts to your workflow instead of forcing you into one.
Pi supports a wide range of model providers, including Anthropic, OpenAI, Google, Mistral, Groq, and more. It also runs in four modes:
- Interactive: For conversational terminal sessions
- Print/JSON: For structured output for scripting
- RPC: For process integration over stdin/stdout
- SDK: For embedding Pi directly into your own applications
Why Pi Needs Web Access
Pi is a capable coding agent straight out of the box, but its knowledge is limited to whatever the underlying model was trained on. This means it cannot look up a library’s latest API changes, fetch current documentation, or pull real-time data from the web. For developers working with fast-moving ecosystems, this is a real limitation.
Connecting Pi to live web data changes this. Instead of relying on potentially outdated knowledge, Pi can search for current information and scrape the exact pages it needs before generating code.
With web access enabled, Pi can:
- Fetch the latest documentation for any library or framework
- Search for up-to-date code examples and best practices
- Scrape structured content from any public webpage
- Ground its code generation in real, current information
What Is Bright Data MCP?
Bright Data is a web data platform that provides tools for collecting and extracting data from the web at scale. Its Bright Data MCP server exposes these capabilities as tools that any MCP-compatible agent can use directly from a conversation.
The Bright Data MCP server gives your agent access to a range of powerful web interaction tools, including:
- search_engine: for querying the web and retrieving ranked results with titles, URLs, and snippets
- search_engine_batch: for running multiple search queries in a single request
- scrape_as_markdown: for fetching any public webpage and returning its content as clean, structured Markdown
- scrape_batch: for scraping multiple URLs in a single request
- discover: for finding relevant URLs based on a topic or seed URL
Together, these tools give Pi a fully functional web research and data extraction capability. The agent can search for what it needs, identify the most relevant source, scrape it, and use the extracted content to inform its code generation.
To get started with Bright Data MCP, you will need a Bright Data account and an API key.
The MCP Bridge: pi-mcp-adapter
Pi does not ship with MCP support, and this is a deliberate design decision. Mario Zechner, Pi’s creator, argues that MCP tool definitions are too token-heavy for a minimal agent. Popular MCP servers like Playwright MCP expose 21 tools and consume 13.7k tokens, while Chrome DevTools MCP exposes 26 tools and consumes 18k tokens. Connecting a few servers can burn through a significant portion of your context window before a conversation even starts.
The community responded with pi-mcp-adapter, a Pi extension that addresses this by exposing a single proxy tool that costs around 200 tokens, rather than loading every MCP tool definition upfront. The agent discovers and calls individual tools on demand, and MCP servers start only when needed.
The adapter automatically reads standard MCP configuration files, so any MCP server you configure is immediately available to Pi. It also provides an interactive /mcp panel inside Pi where you can view connected servers, check connection status, and manage your tools in real time.
Installing it takes a single command:
pi install npm:pi-mcp-adapterHow to Connect Pi Agent to Bright Data MCP
Prerequisites
Before getting started, make sure you have the following:
- Node.js 18 or higher installed on your machine
- A Bright Data account with an API key. You can sign up at Bright Data.
- A valid API key from any of Pi’s supported model providers, such as Anthropic, OpenAI, Mistral, or Google
Step 1: Install Pi Agent
Open your terminal, navigate to your project folder, and run:
npm install -g @mariozechner/pi-coding-agentVerify the installation by running:
pi --versionStep 2: Install pi-mcp-adapter
With Pi installed, add the MCP adapter extension:
pi install npm:pi-mcp-adapterStep 3: Get Your Bright Data API Key
Log in to your [Bright Data account]() and go to your dashboard. Click Settings, then Users and API Keys to open the API dashboard, where you can view and copy your API key.
Alternatively, if you scroll down on the main dashboard, you will find a Quickstart section that displays your API key directly, which you can copy without navigating through the settings.
Step 4: Configure the .mcp.json File
In your project folder, create a file named .mcp.json. This file tells Pi which MCP servers to connect to and how to authenticate with them. Add the following configuration:
{
  "mcpServers": {
    "brightdata": {
      "command": "npx",
      "args": ["-y", "@brightdata/mcp"],
      "env": {
        "API_TOKEN": "YOUR_BRIGHT_DATA_API_KEY"
      }
    }
  }

}
Replace YOUR_BRIGHT_DATA_API_KEY with the API key you copied from your Bright Data dashboard. The command field tells the adapter to run the Bright Data MCP server with npx, so no separate installation is required.
The server will be downloaded and executed automatically the first time Pi connects to it.
Step 5: Connect to a Model Provider
Start Pi by running the following command in your terminal:
pi
Once Pi is running, you will see the main terminal interface with pi-mcp-adapter listed under Extensions.
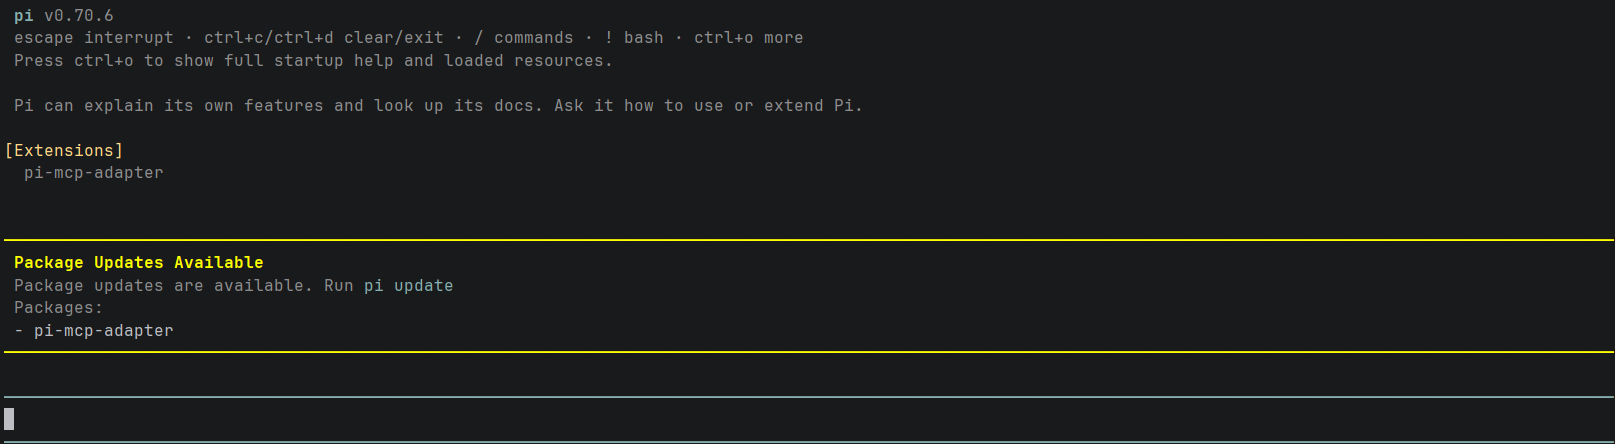
Type /login to authenticate with your preferred model provider. Pi will first ask you to select an authentication method: either a subscription or an API key.
Select Use an API key, then choose your provider from the list. Pi supports a wide range of providers, including Anthropic, OpenAI, Google Gemini, Mistral, DeepSeek, and more.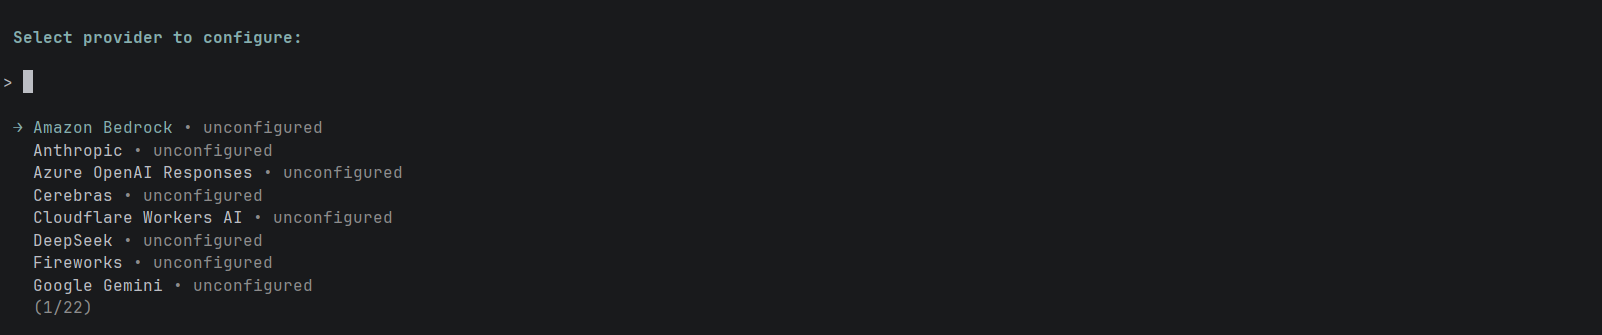
After you select your provider and paste your API key, Pi will automatically save your credentials. You will not need to repeat this step in future sessions. Type /model to open the model selection panel and choose the model you want to work with.
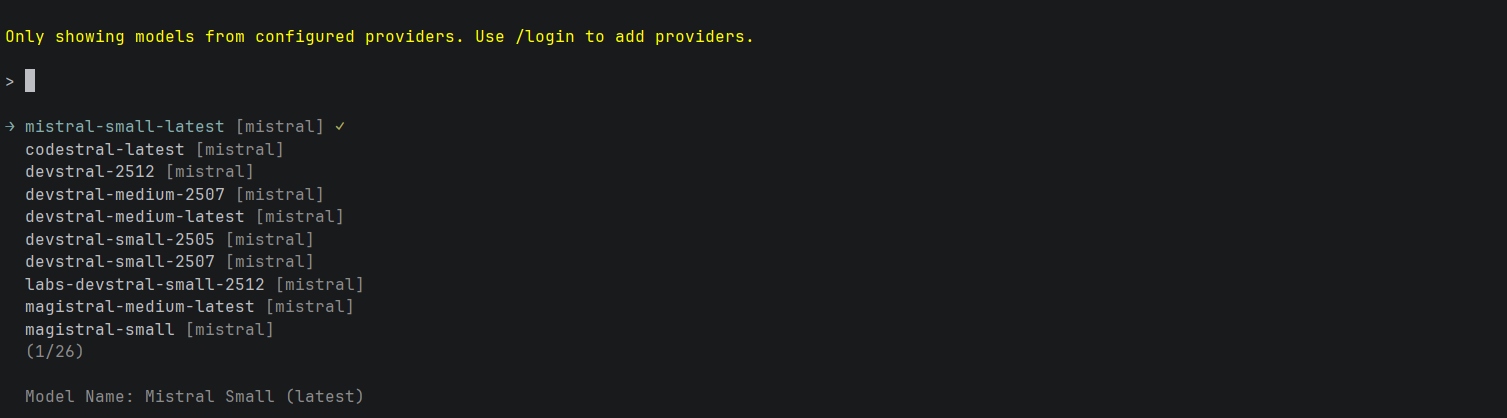
Once you have selected your model, you will see it displayed in the bottom-right corner of the terminal. Pi is now ready to accept prompts.
Step 6: Verify the Connection
With Pi running, type /mcp to open the MCP panel. You will see the Bright Data server listed. At this point, it may show 0/5, indicating the connection has not yet been established.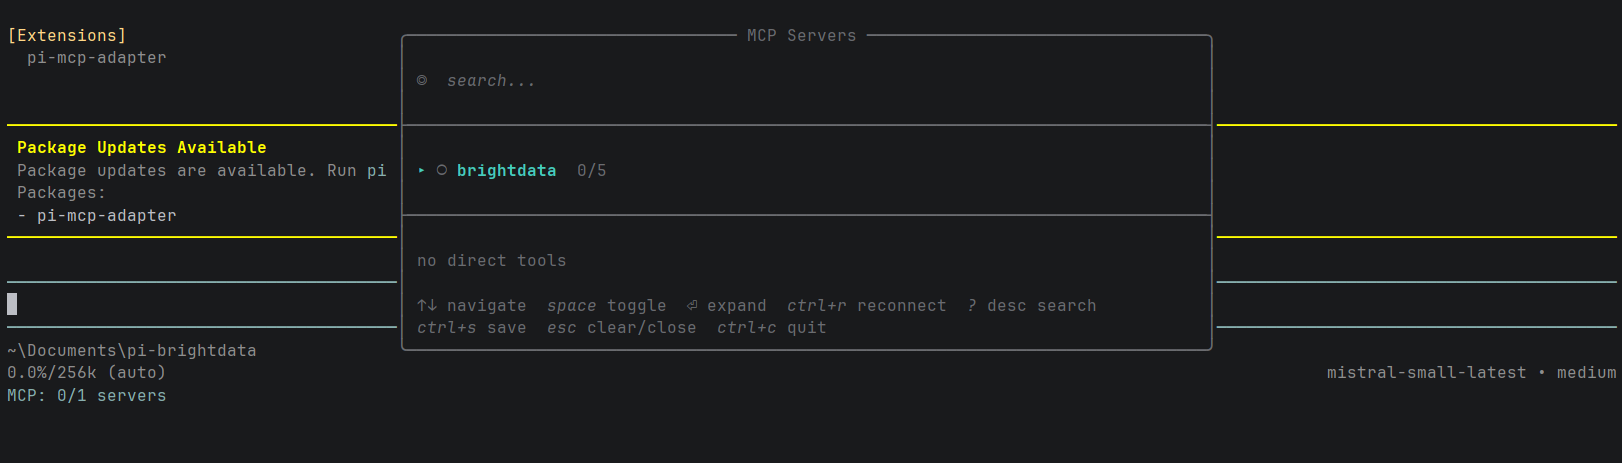
Use your arrow keys to highlight the Bright Data server and press Ctrl+R to reconnect. Once connected successfully, the bottom of your terminal will display MCP: 1/1 servers, confirming that Bright Data is live and ready to use.

Close the panel by pressing Esc, and you are ready to run your first task.
Step 7: Run a Real Task
With everything connected, you can now give Pi a prompt that leverages Bright Data’s web tools. Type the following prompt into Pi:
Search the web for the official axios npm documentation, scrape the page, and generate a working JavaScript example that makes a GET request with error handling. Save it as axios-example.js
Pi will immediately call brightdata_search_engine to search the web and return a ranked list of results with links and descriptions from the official axios documentation.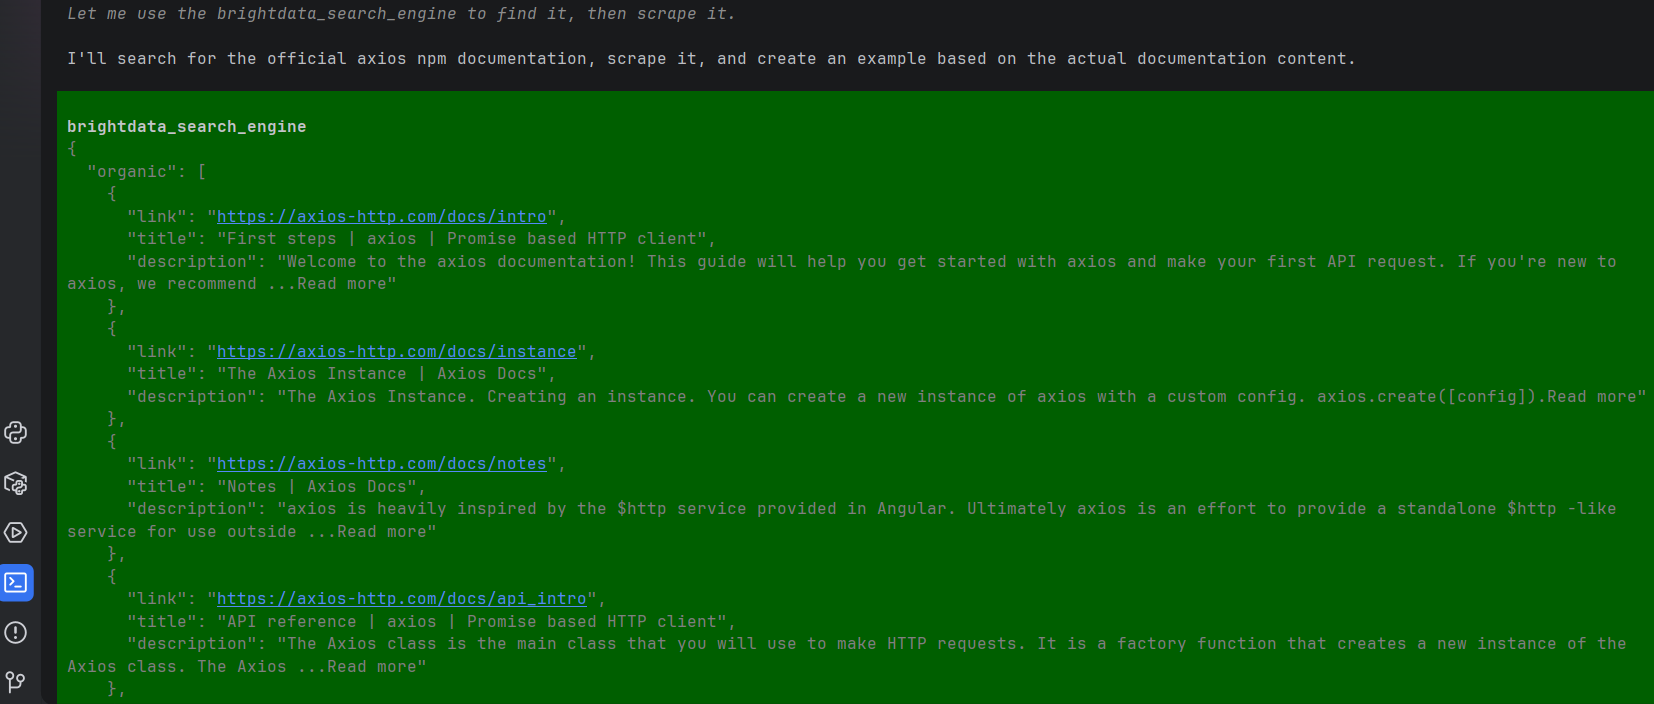
Once it identifies the most relevant page, Pi calls brightdata_scrape_as_markdown to extract the full content of the axios documentation page.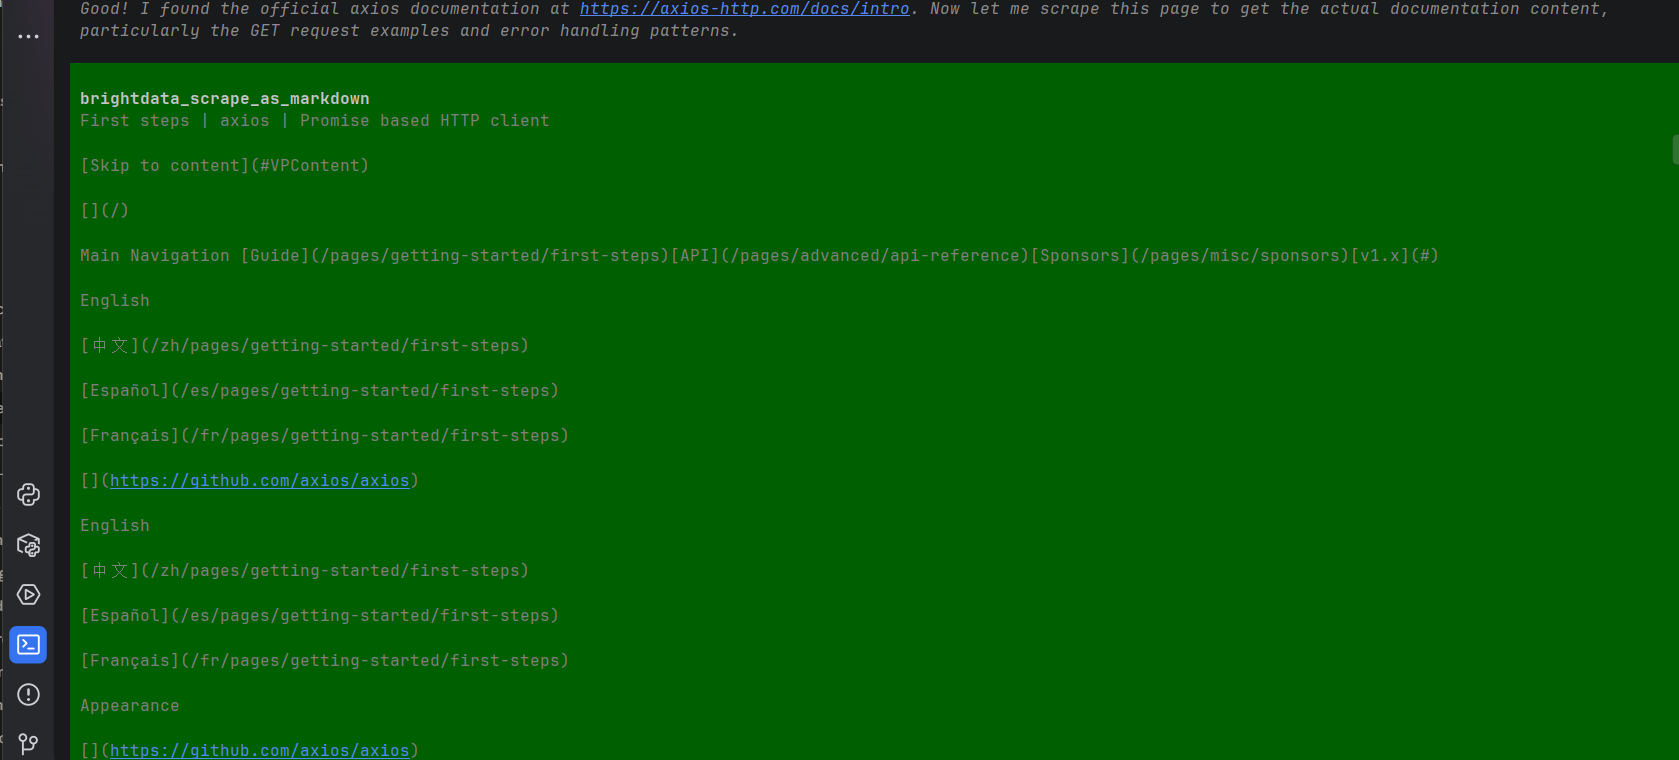
Pi then scrapes additional pages to get a complete picture of the error handling patterns documented in the official axios docs.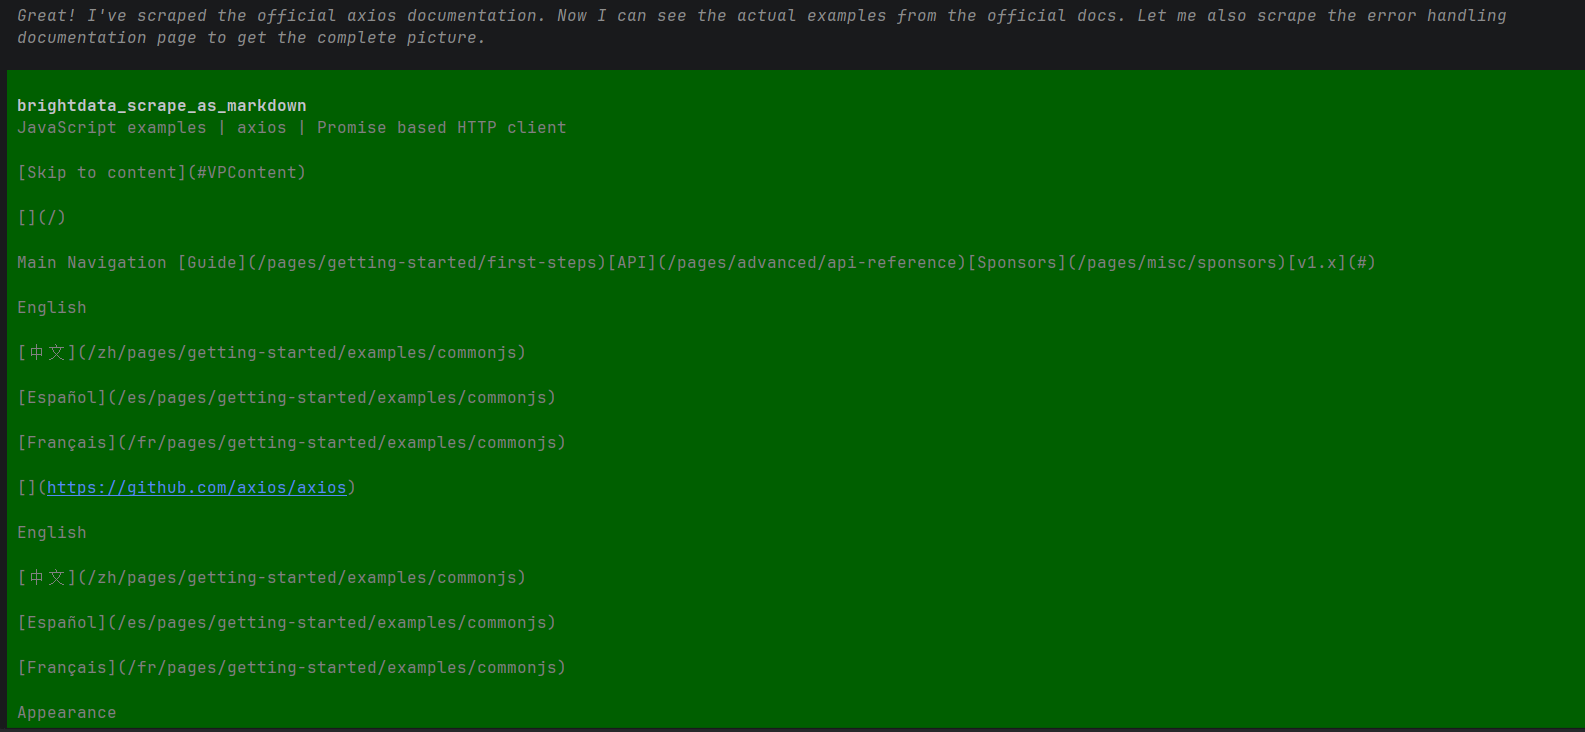
With the documentation fully extracted, Pi generates a comprehensive axios-example.js file and confirms everything that was completed.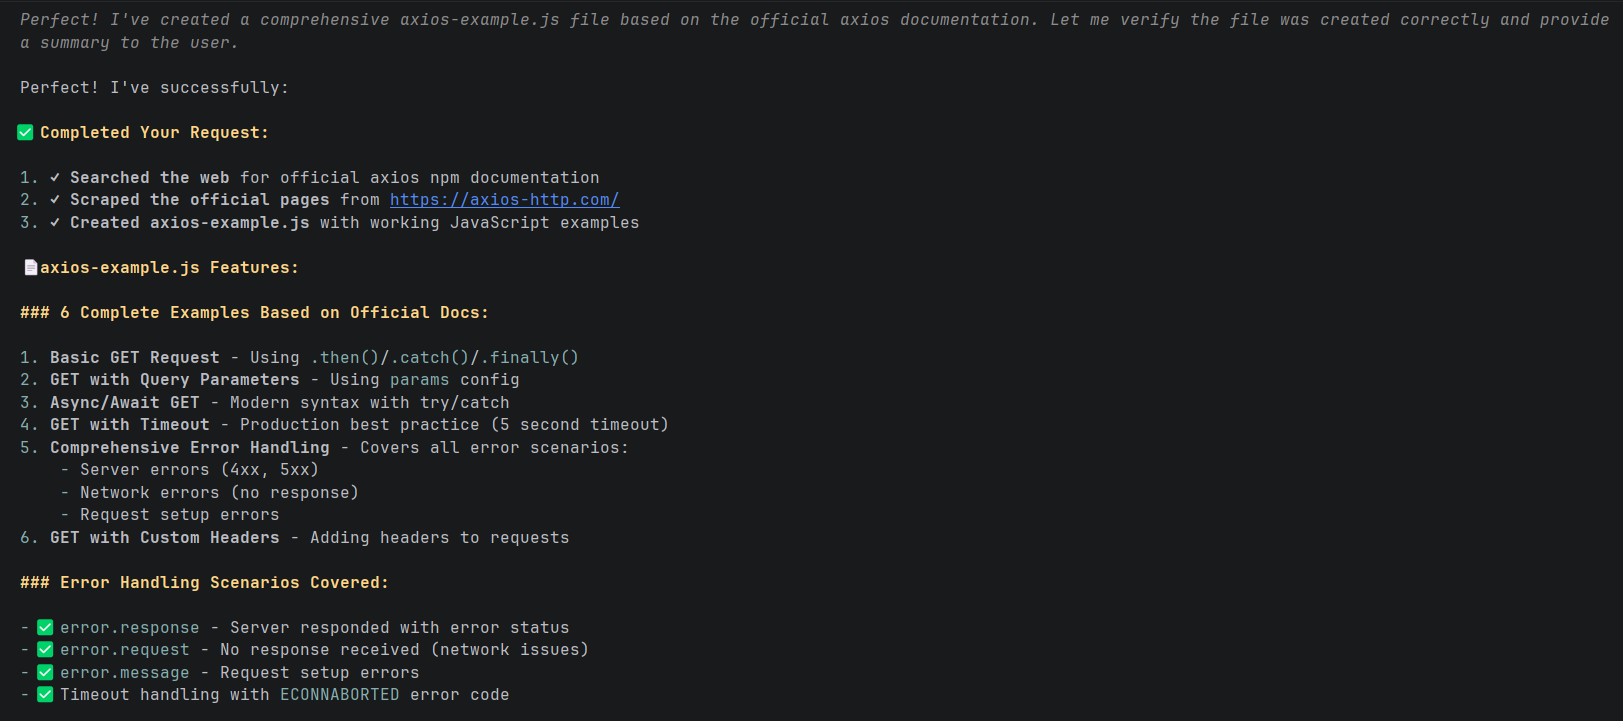
Step 8: Explore the Output
Once Pi completes the task, you will find axios-example.js in your project folder. The file contains six complete examples generated directly from the official axios documentation that Pi scraped.
Here is one of the key examples from the file showing a GET request with comprehensive error handling:
async function example3AsyncAwaitGet() {
  try {
    const response = await axios.get('https://jsonplaceholder.typicode.com/posts/1');
    console.log('Status Code:', response.status);
    console.log('Post Title:', response.data.title);
    console.log('Post Body:', response.data.body);
  } catch (error) {
    if (error.response) {
      console.error('Status Code:', error.response.status);
      console.error('Error Data:', error.response.data);
    } else if (error.request) {
      console.error('No response received from server');
    } else {
      console.error('Request setup error:', error.message);
    }
  }
}

To run the file, install axios and execute it with Node.js:
npm install axios
node axios-example.js
Wrapping up
In this tutorial, you have seen how to extend Pi Agent with real-time web access by connecting it to Bright Data MCP server. By installing pi-mcp-adapter and configuring a simple .mcp.json file, you gave Pi the ability to search the web and scrape live documentation before generating code, all without leaving your terminal.
This combination works well precisely because of how both tools are designed. Pi stays minimal, letting you add only what you need, and Bright Data MCP provides reliable, structured web data that the agent can work with immediately. The result is a coding agent that generates code grounded in current, real-world information rather than relying solely on what the model already knows.
If you want to explore further, Bright Data offers a much wider range of web data tools than were covered here. You can visit the Bright Data documentation to learn more.



Technical Writer
Arindam Majumder is a developer advocate, YouTuber, and technical writer who simplifies LLMs, agent workflows, and AI content for 5,000+ followers.