

In this article, you will learn:
- What Azure AI Foundry is and what it offers.
- Why integrating with Bright Data’s SERP API in Azure AI Foundry is a winning strategy.
- How to build a real-world Azure AI prompt flow connecting to the SERP API.
Let’s dive in!
What Is Azure AI Foundry?
Azure AI Foundry is a unified platform that provides a set of tools and services for building, deploying, and managing AI applications, agents, and flows. In other words, it acts as an “AI factory” by standardizing the process of creating AI systems.
Its main goal is to help you go from concept to production. That is achieved by offering access to a wide range of models and capabilities from AI providers like Azure OpenAI, Meta, and Mistral, alongside tools for development, deployment, and continuous monitoring.
Why Integrate Bright Data’s SERP API into an Azure AI Foundry
Azure AI Foundry features a long list of LLMs, but regardless of which one you choose, their knowledge is static. For example, an LLM has no awareness of today’s stock news, last night’s sports results, etc. That can result in “stale” or “hallucinated” responses.
To overcome that limitation, you can build a system to “ground” an LLM with real-time data from the Internet. This approach is especially common in RAG (Retrieval-Augmented Generation) workflows, where the LLM is provided with external information before generating a response, ensuring its output is based on current facts.
Azure AI comes with a built-in grounding tool, but it is limited to Bing as a data source, which may not always be ideal. A more professional and flexible alternative is Bright Data’s SERP API!
SERP API lets you programmatically run search queries on search engines and retrieve the full SERP content, giving you a reliable source of fresh, verifiable data that can be seamlessly integrated into AI agents and LLM workflows. Explore all its capabilities in the official documentation.
In Azure AI Foundry, third-party API integration can be implemented in both agents and flows. Here, we will focus specifically on prompt flows, which are particularly well-suited for RAG scenarios.
How to Retrieve Web Search Context in an Azure AI Prompt Flow with SERP API
In this guided section, you will see how to integrate Bright Data’s SERP API into an Azure AI flow as part of a news analysis prompt flow. This workflow consists of four main steps:
- Input receiving: You provide the workflow with a topic you are interested in to retrieve relevant news.
- News fetching: A specialized Python node takes the input topic and sends it to Bright Data’s SERP API to fetch news articles from Google.
- News analysis: An LLM processes the data retrieved by the SERP API to identify which news items are worth reading.
- Output generation: The produced Markdown report lists each news item extracted from the SERP, along with a short description and a score indicating its reading worthiness.
Note: This is just an example, and you can take advantage of the SERP API in many other scenarios and use cases.
Follow the instructions below to build a RAG-style workflow grounded in fresh data from Bright Data’s SERP API within Azure AI Foundry!
Prerequisites
To follow along with this tutorial section, make sure you have:
- A Microsoft account.
- An Azure subscription (even the free trial is sufficient).
- A Bright Data account with an active API key (with Admin permissions).
Follow the official Bright Data guide to get your API key. Store it in a safe place, as you will need it shortly.
Step #1: Create an Azure AI Hub
Azure AI prompt flows are only available within Azure AI Hubs, so the first step is to create one.
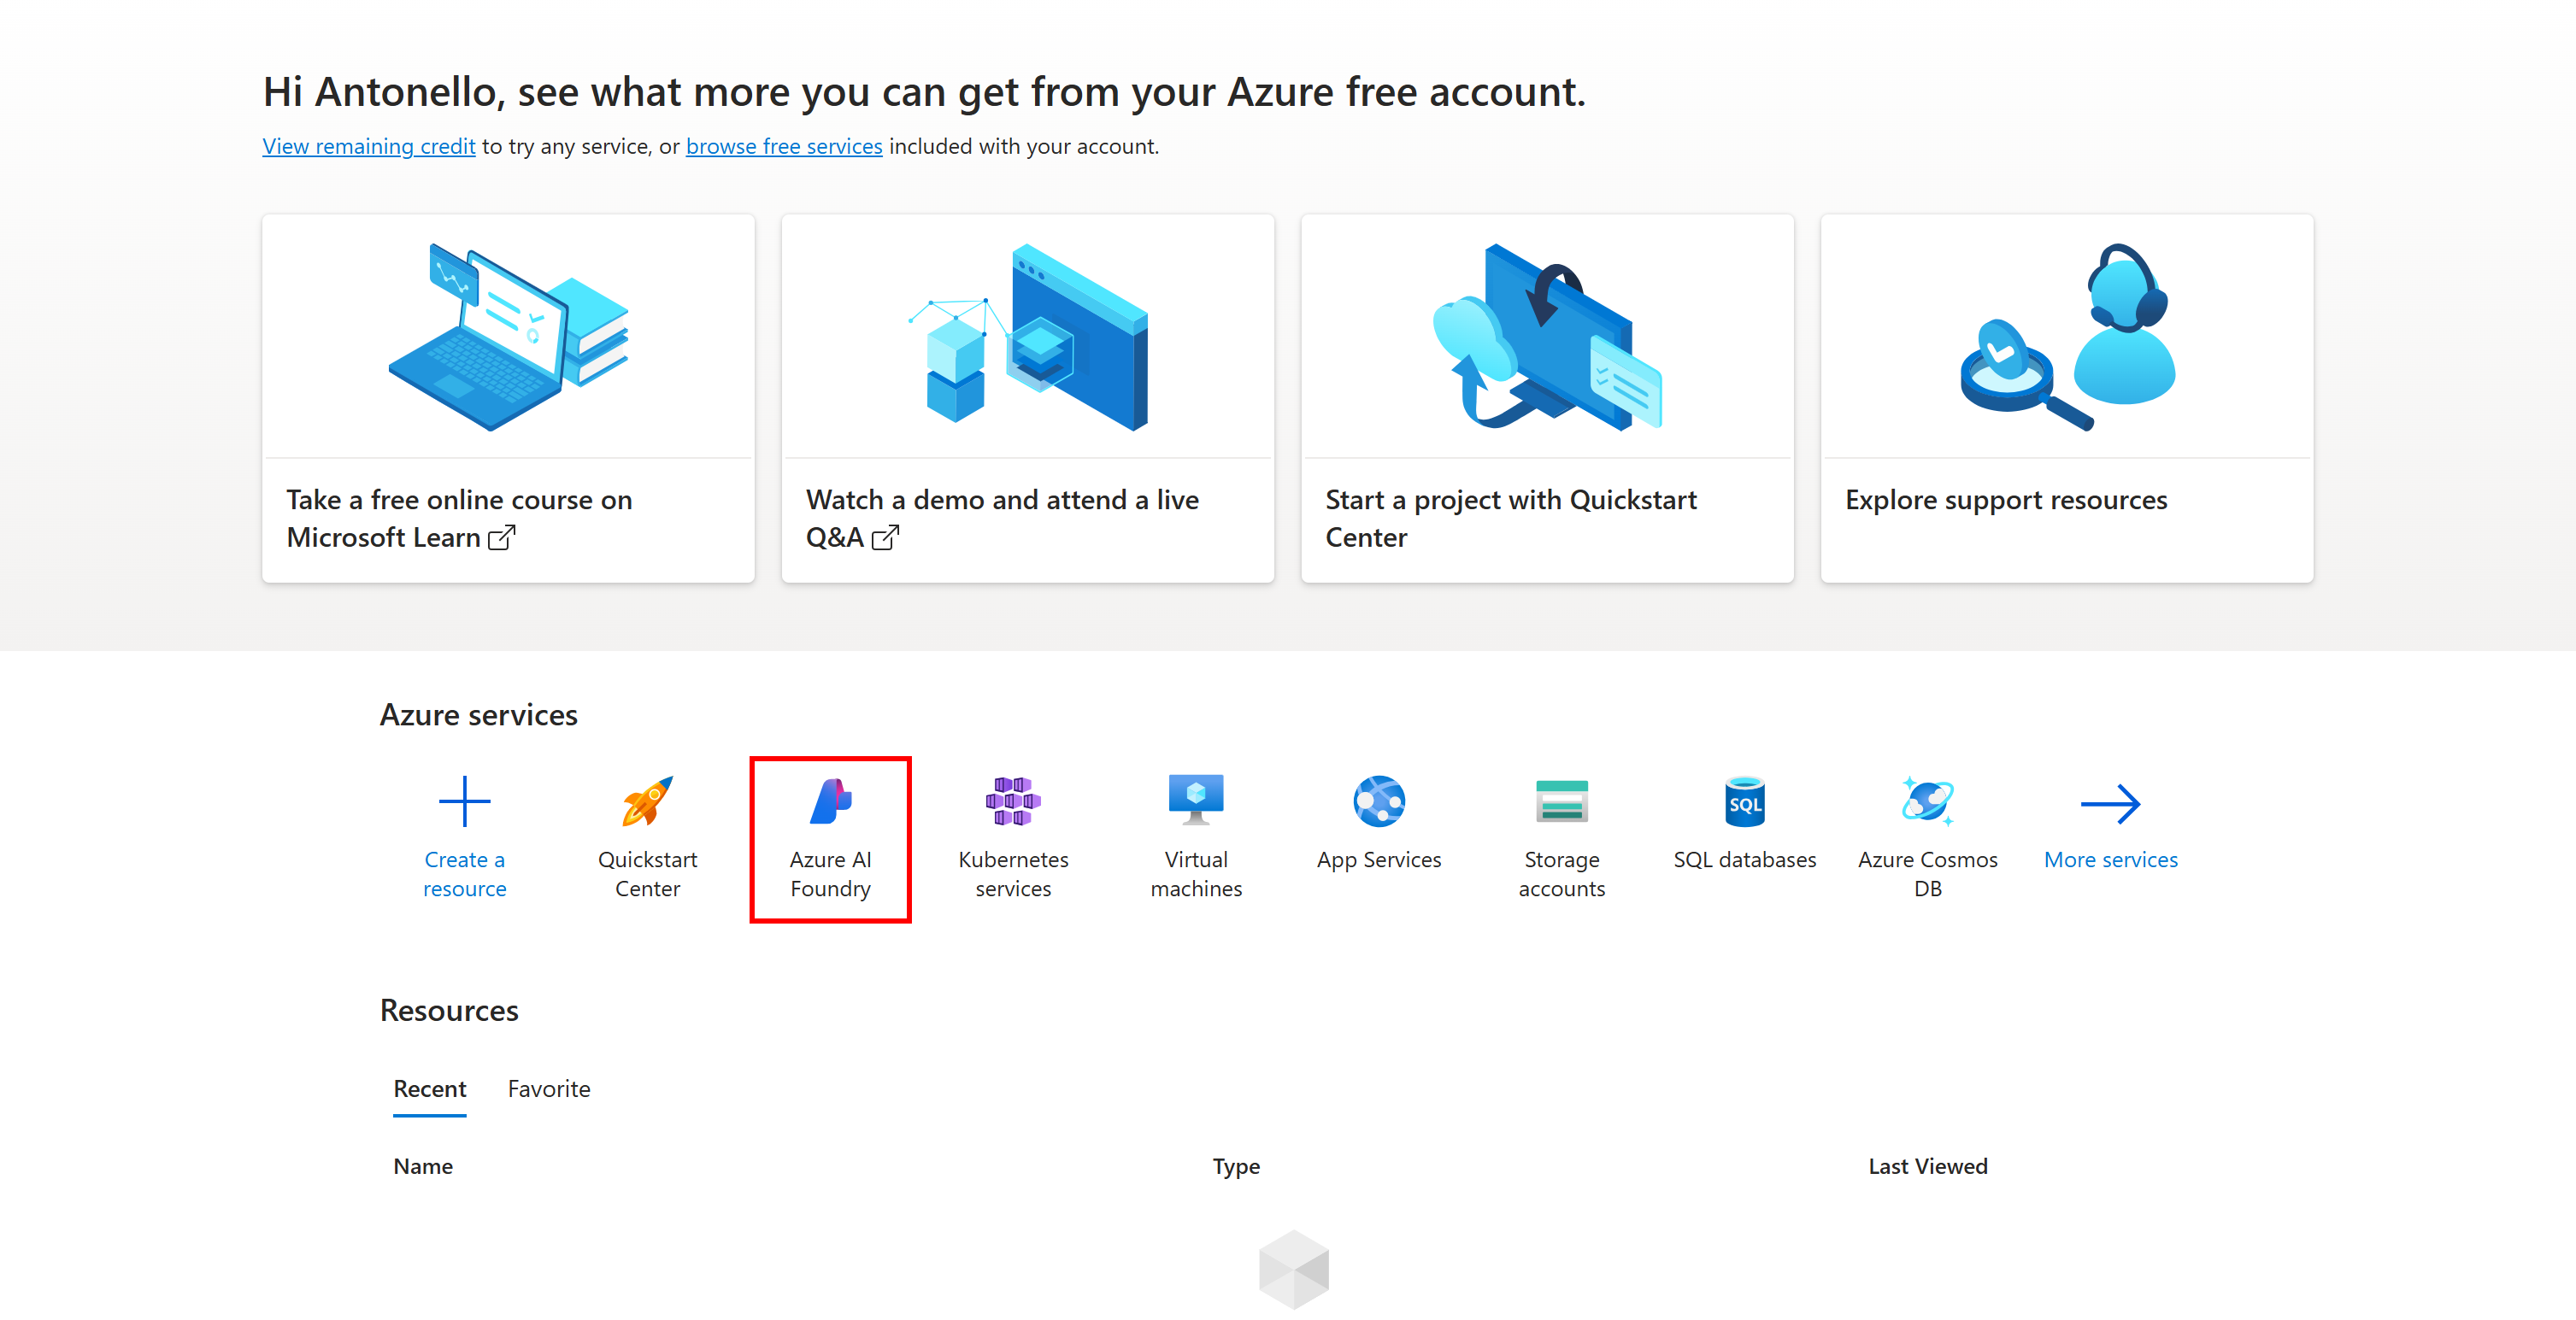
To do this, log in to your Azure account and open the Azure AI Foundry service by either clicking on its icon or searching for it in the search bar:
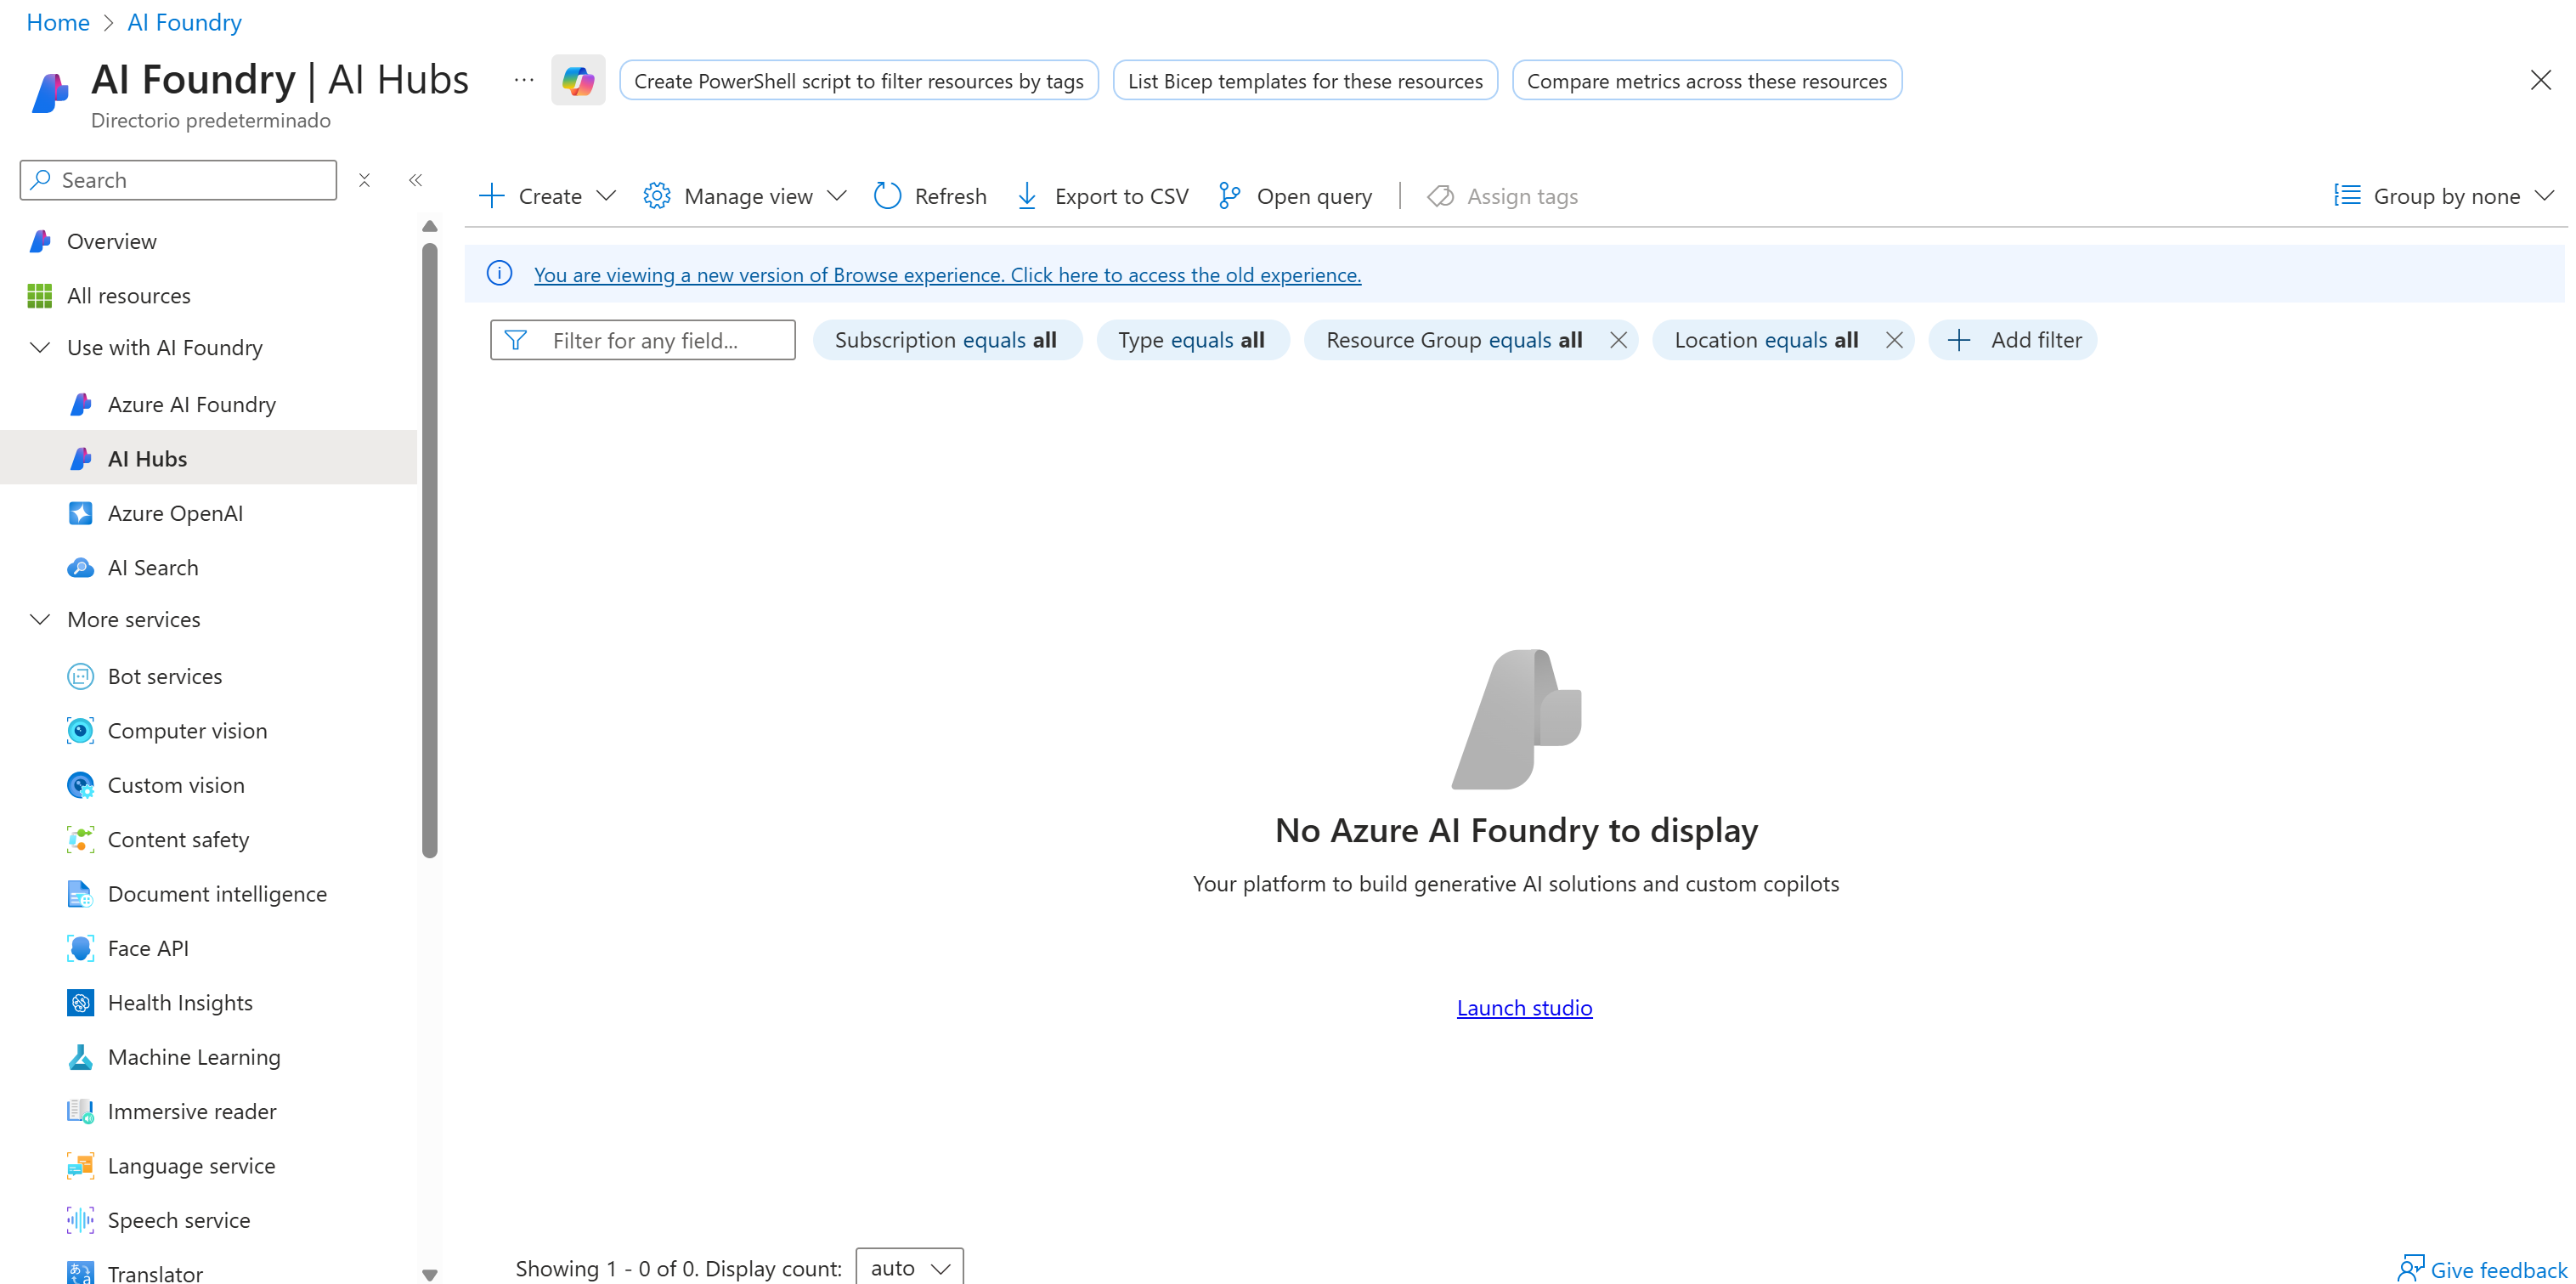
You should reach the “AI Foundry” management page:
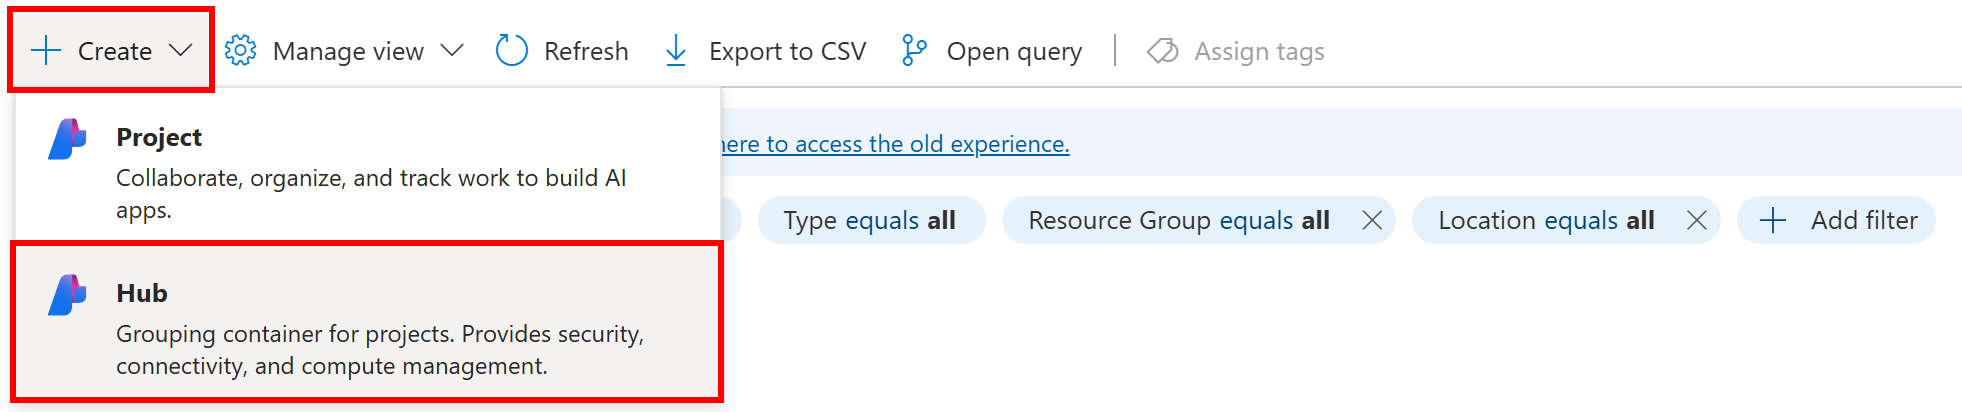
Here, click the “Create” button and select the “Hub” option:
Next, fill out the Azure AI Hub creation form as shown below:
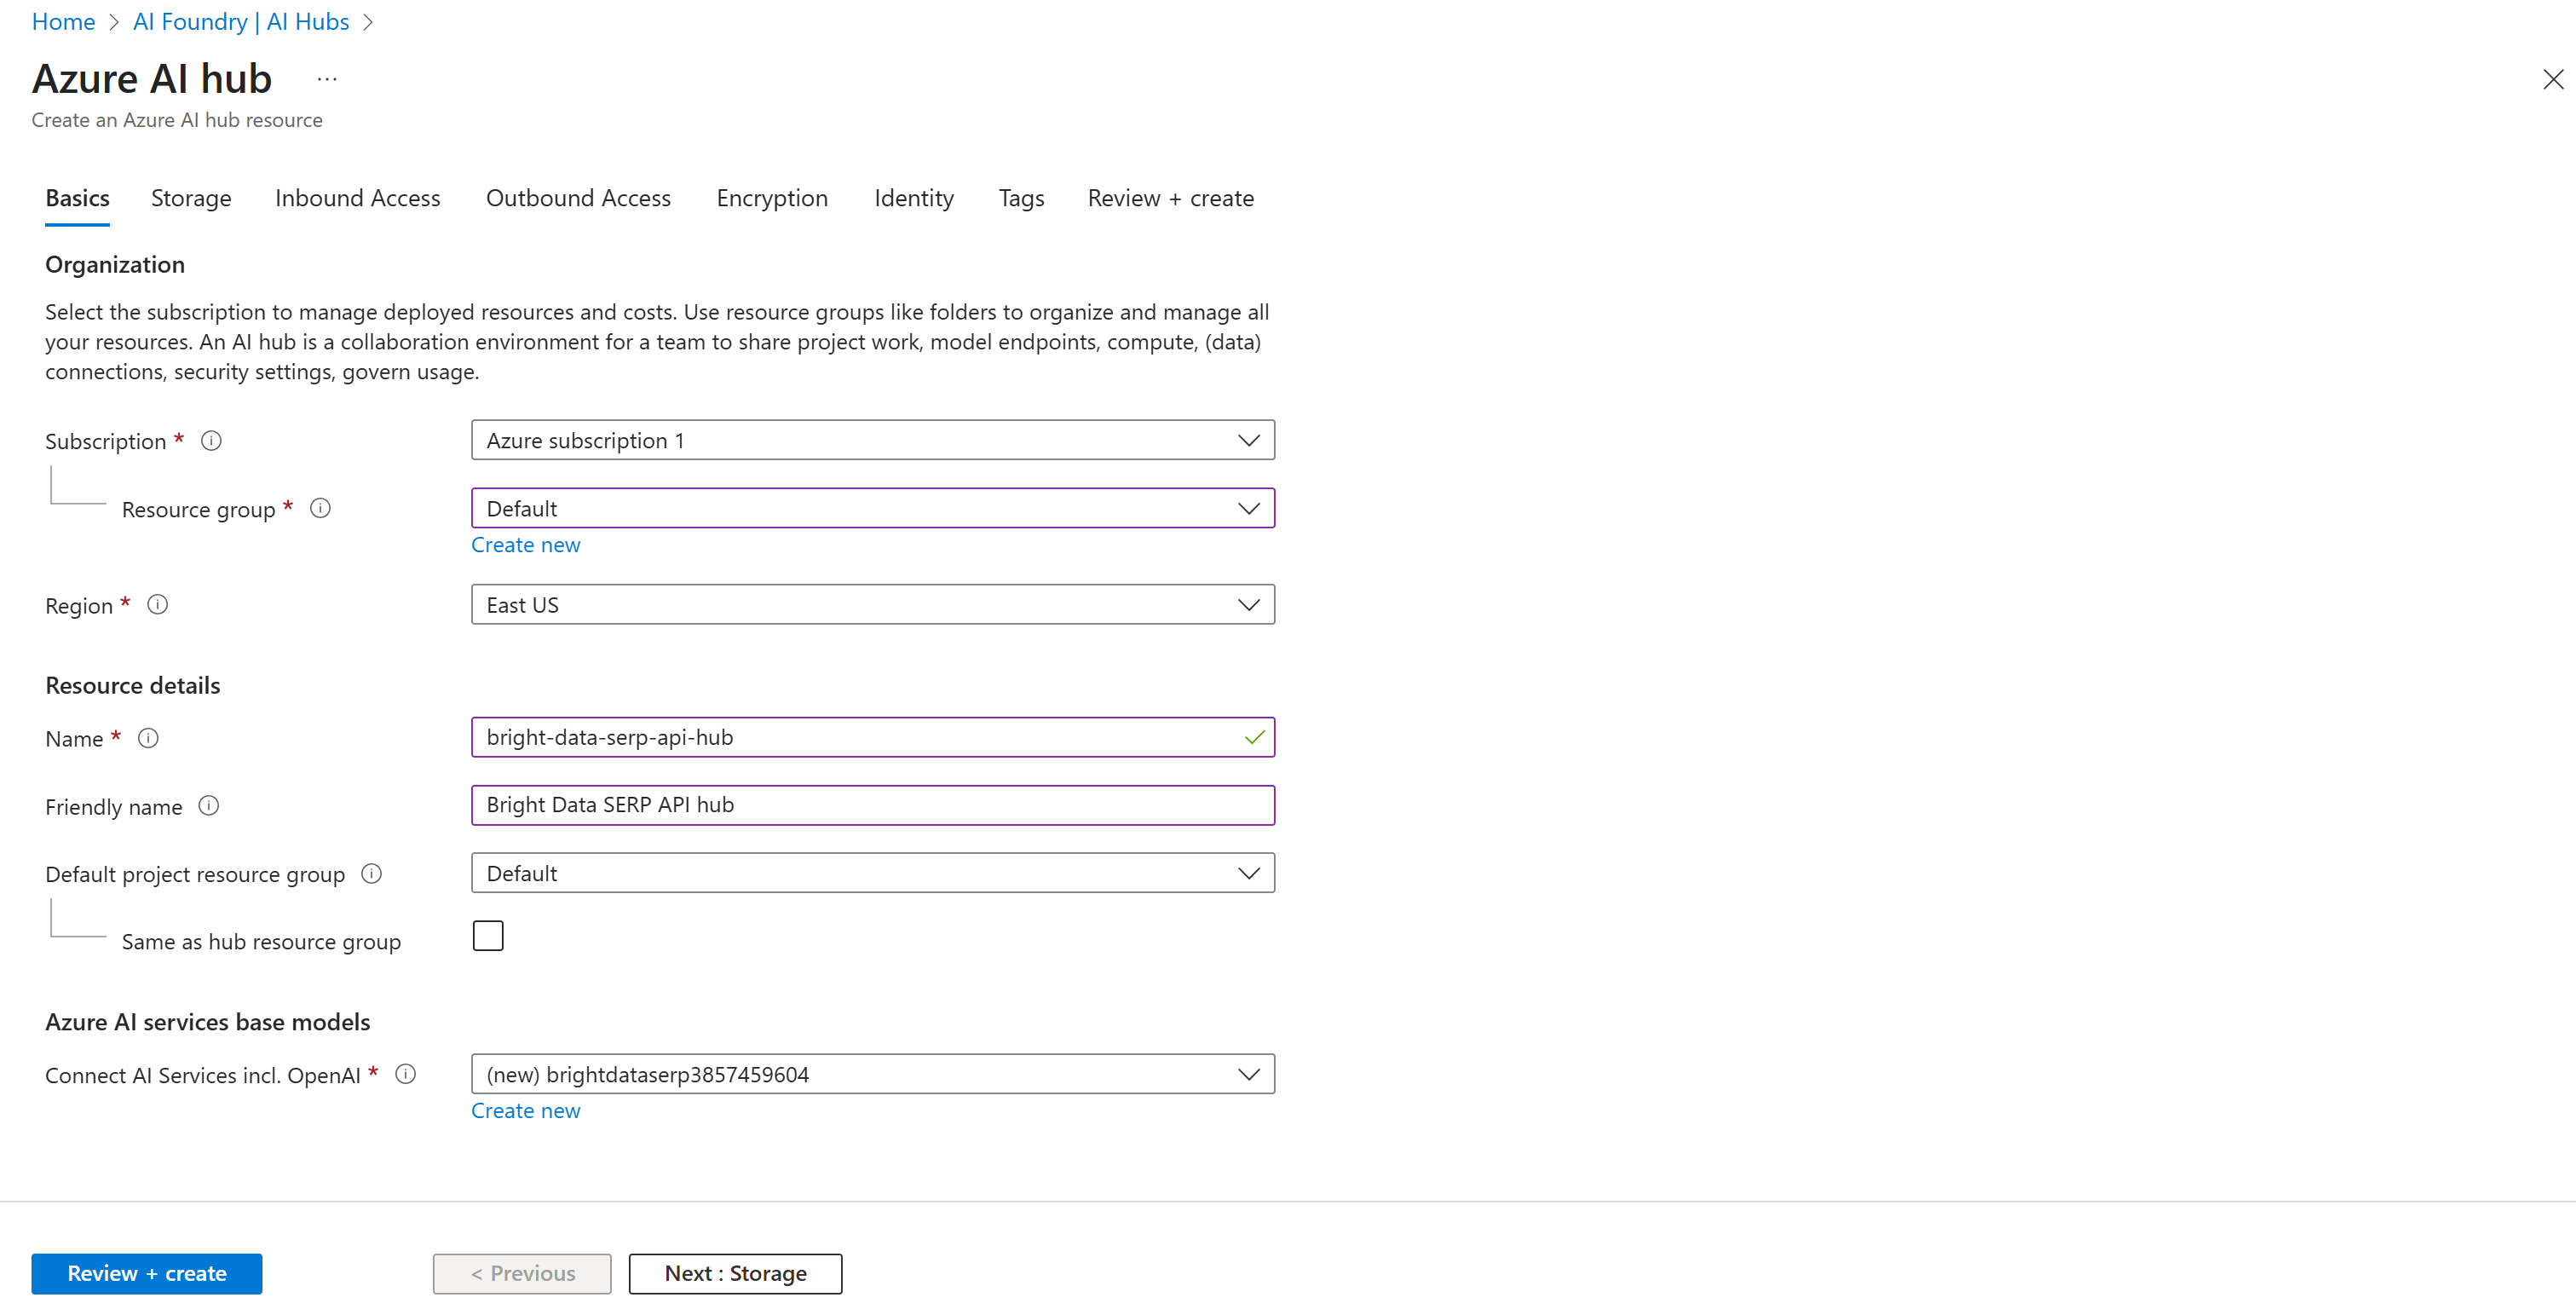
Choose a region, select an existing resource group (or create a new one if needed), and give your Hub a name, such as bright-data-serp-ai-hub.
Then, click the “Review + Create” button. You will be shown a summary:

If everything looks good, click “Create” to start the deployment.
The initialization process may take a few minutes. Once it is complete, you should see a confirmation page like this:
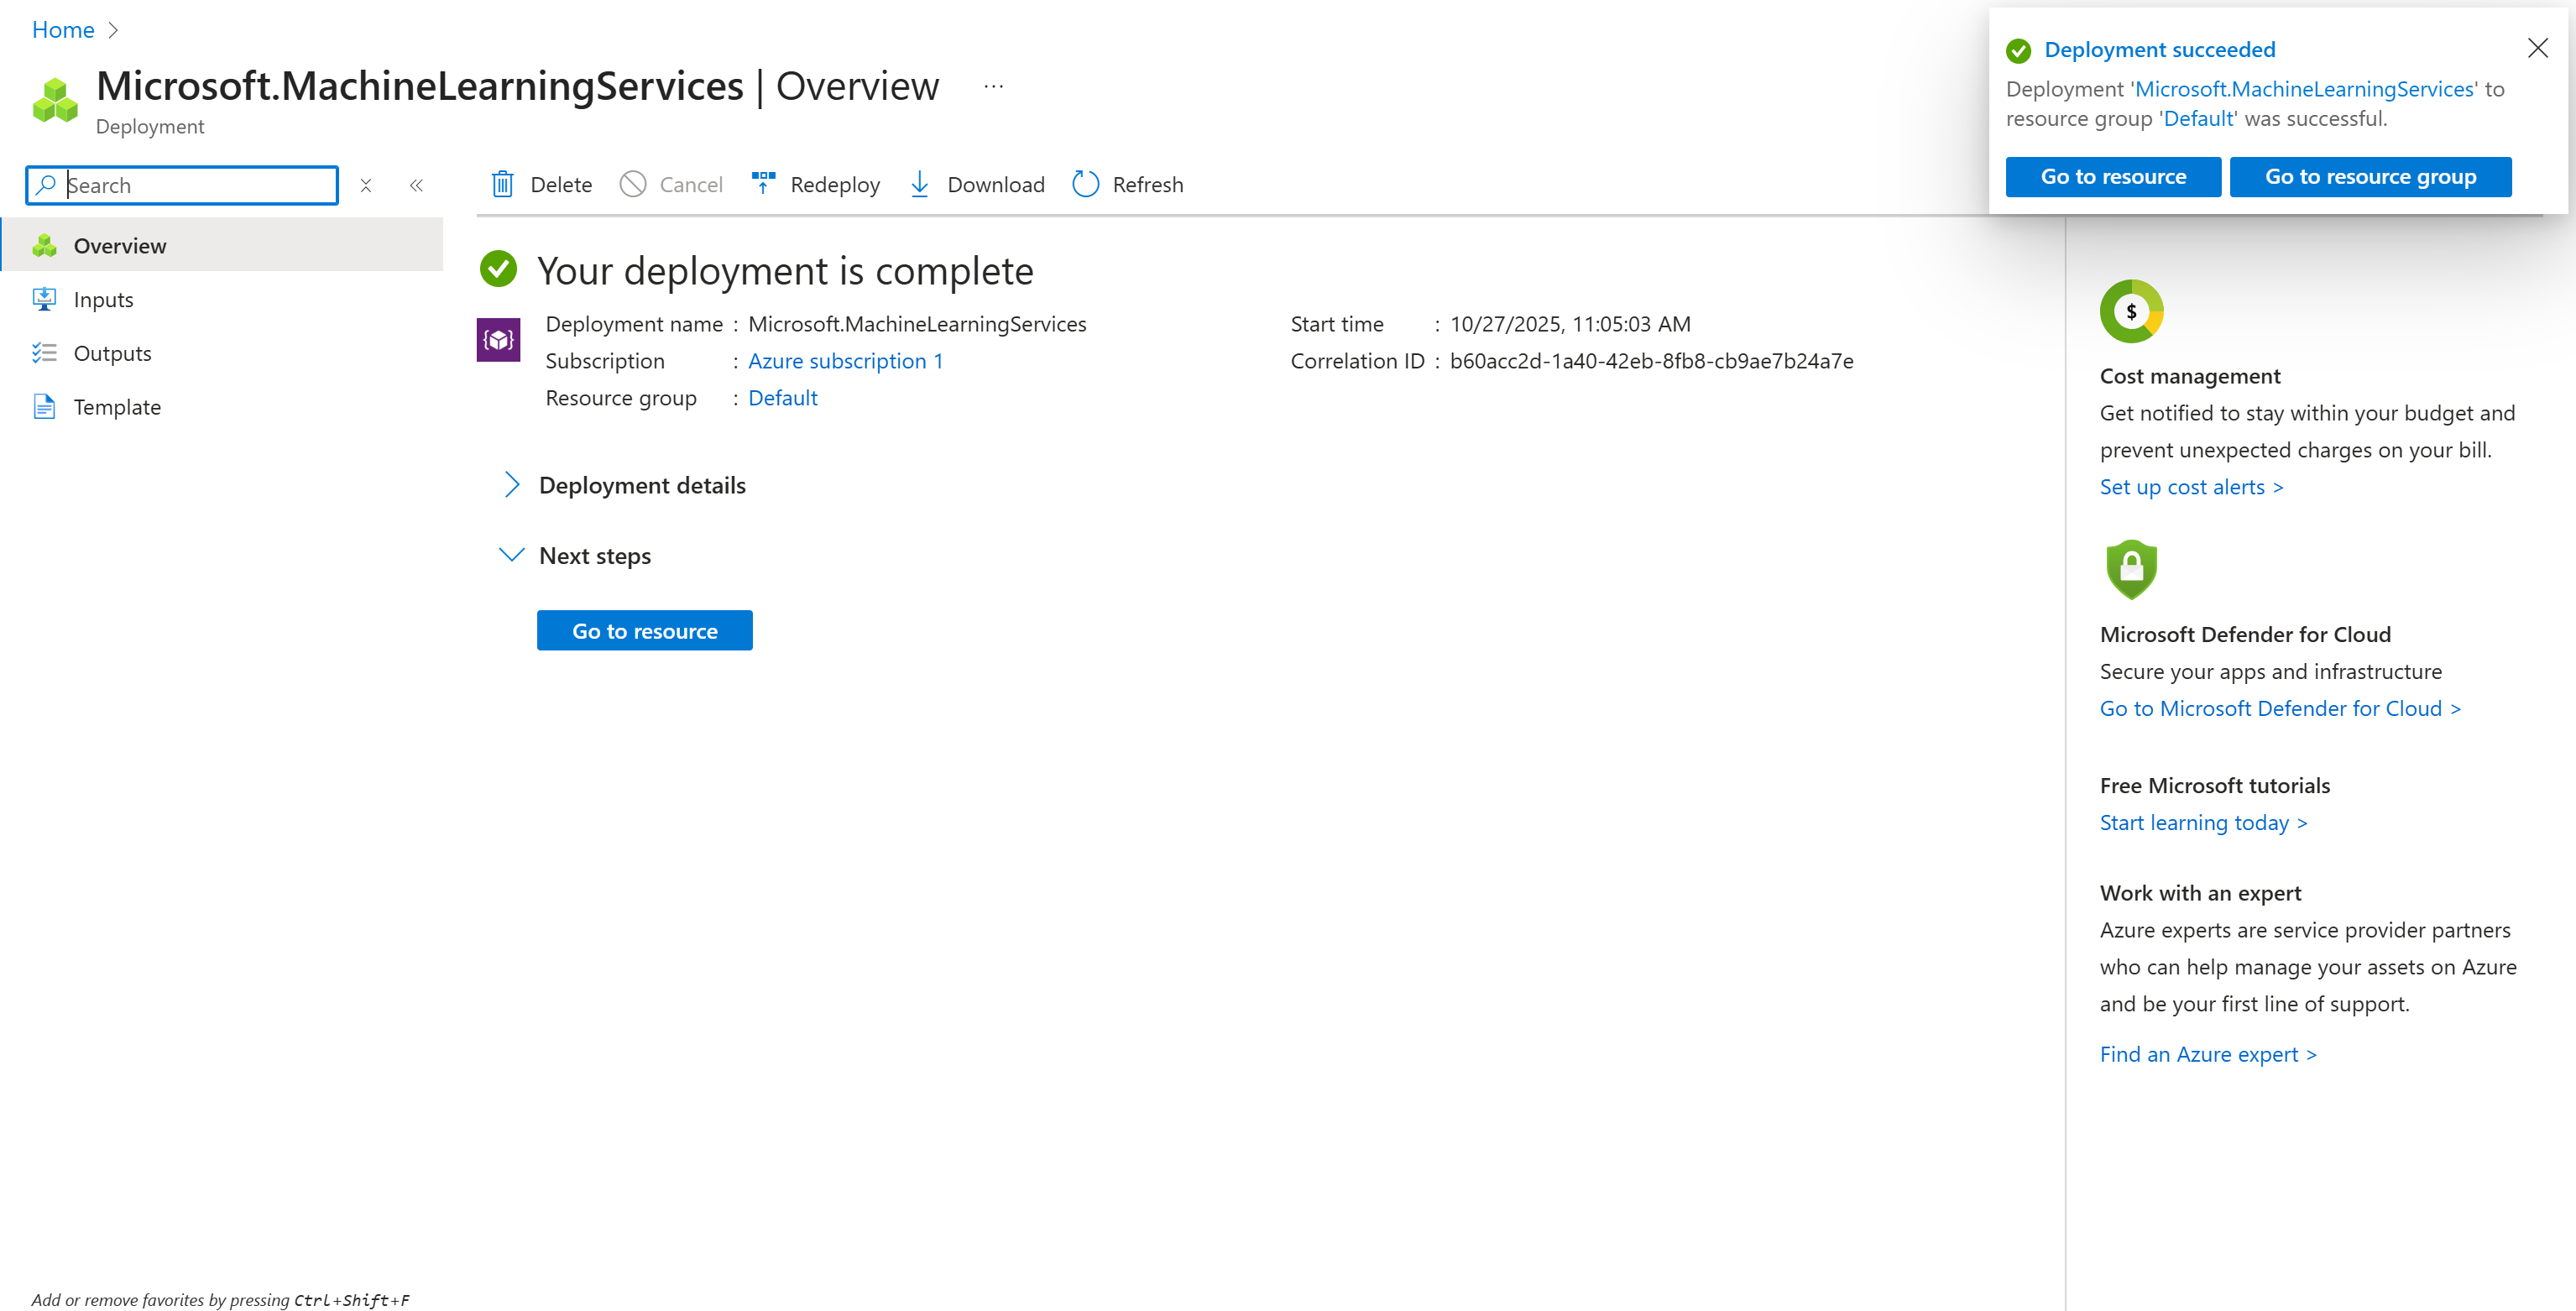
Wonderful! You now have an Azure AI Hub where you can create a project and initialize your prompt flow.
Step #2: Create a Project in the AI Hub
To manage a prompt flow, you first have to create a project within the AI Hub. Start by clicking on the “AI Hubs” option in the left menu:
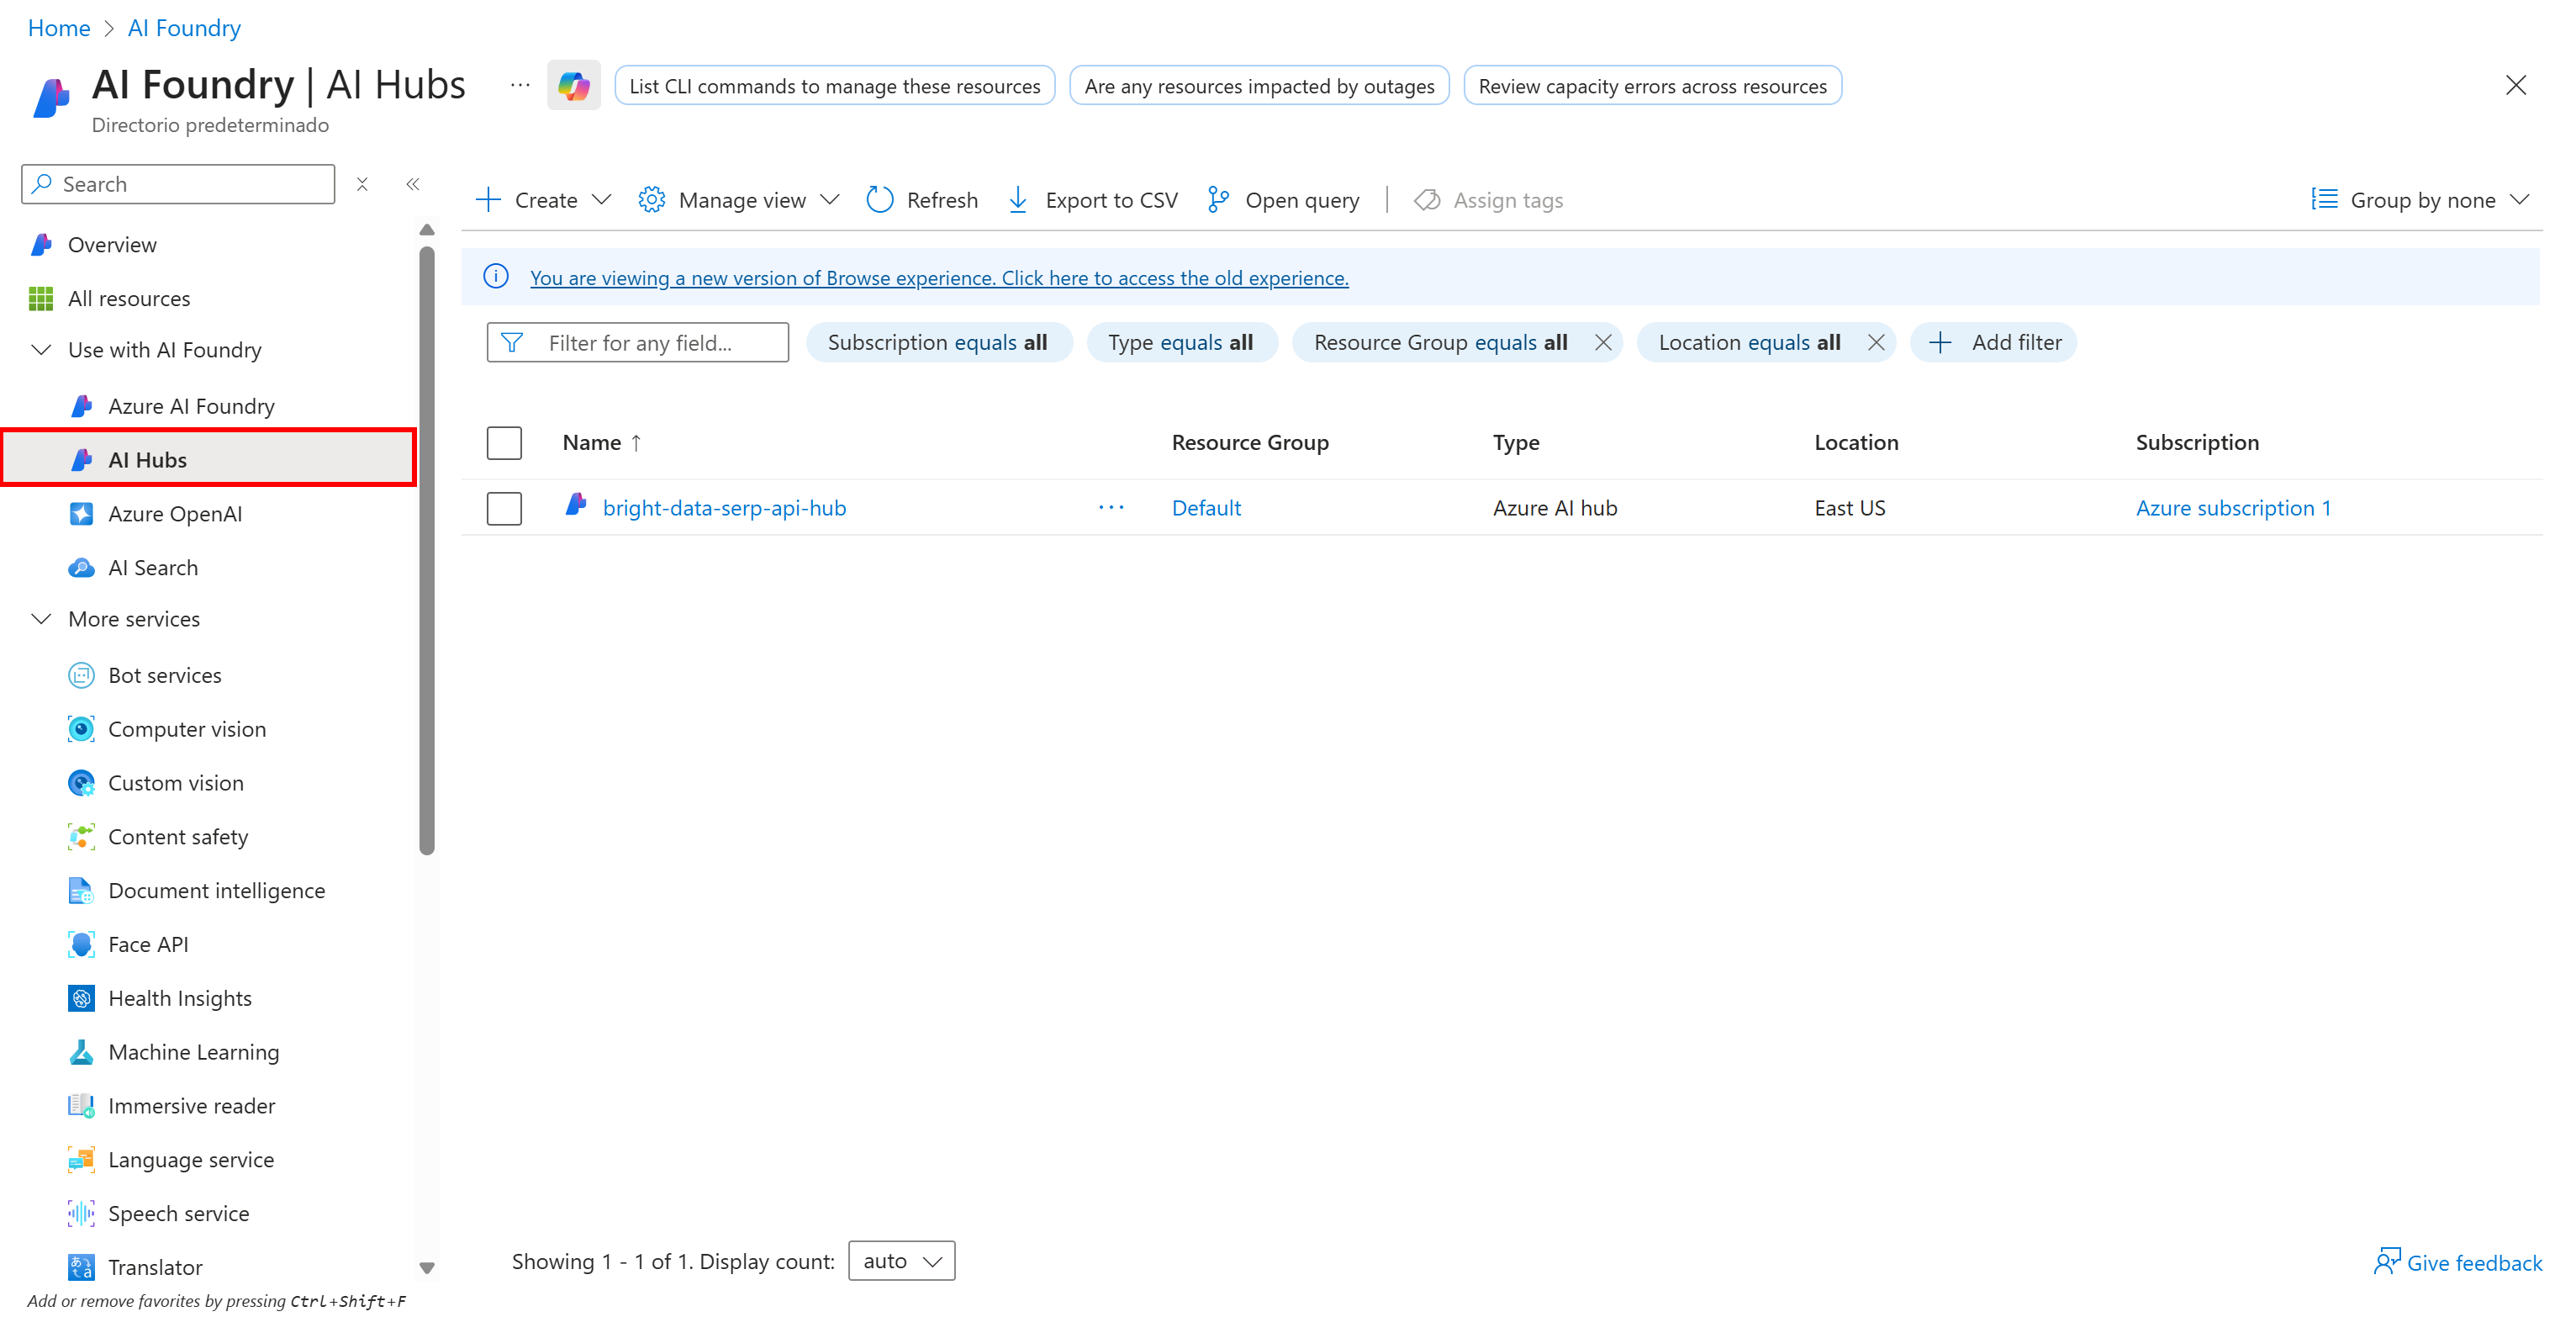
Click on your Hub’s name, and in the section on the right that appears, select “Create project”:
Fill out the project creation form. This time, name your project something like serp-api-flow:
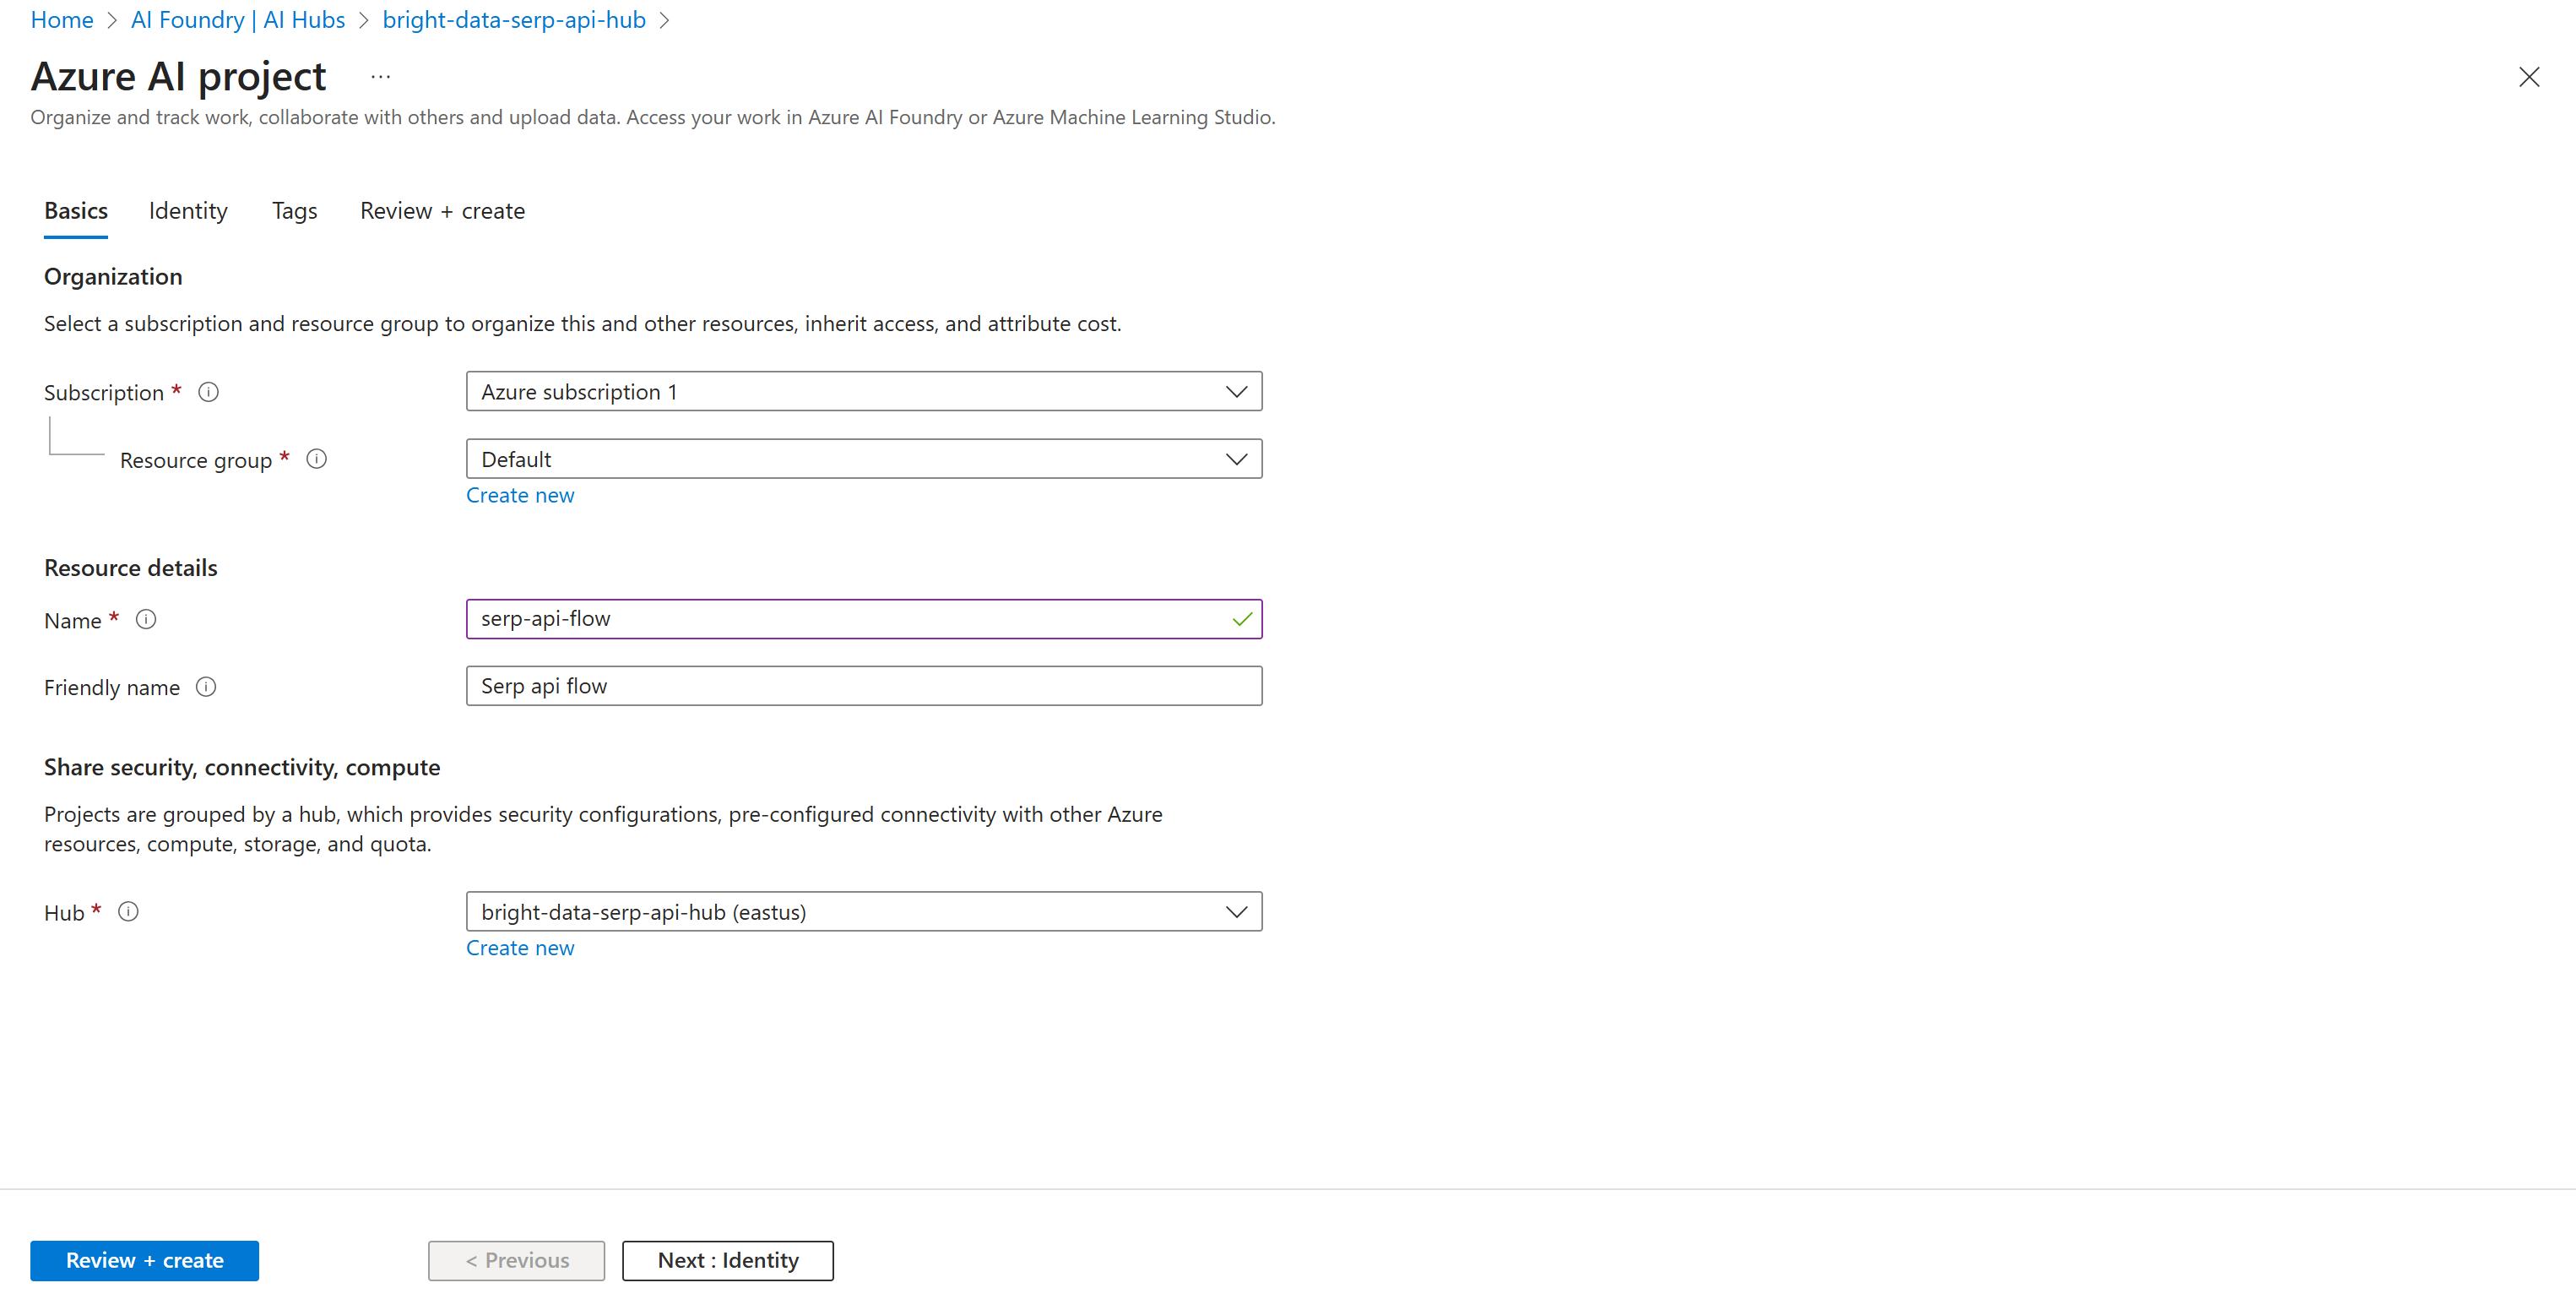
Click the “Review + create” button, then check that everything is correct in the summary section. Finally, press “Create” to deploy your project.
Wait a few moments for the project to initialize. Once ready, you will see it listed in the “AI Hubs” page. Click on it:
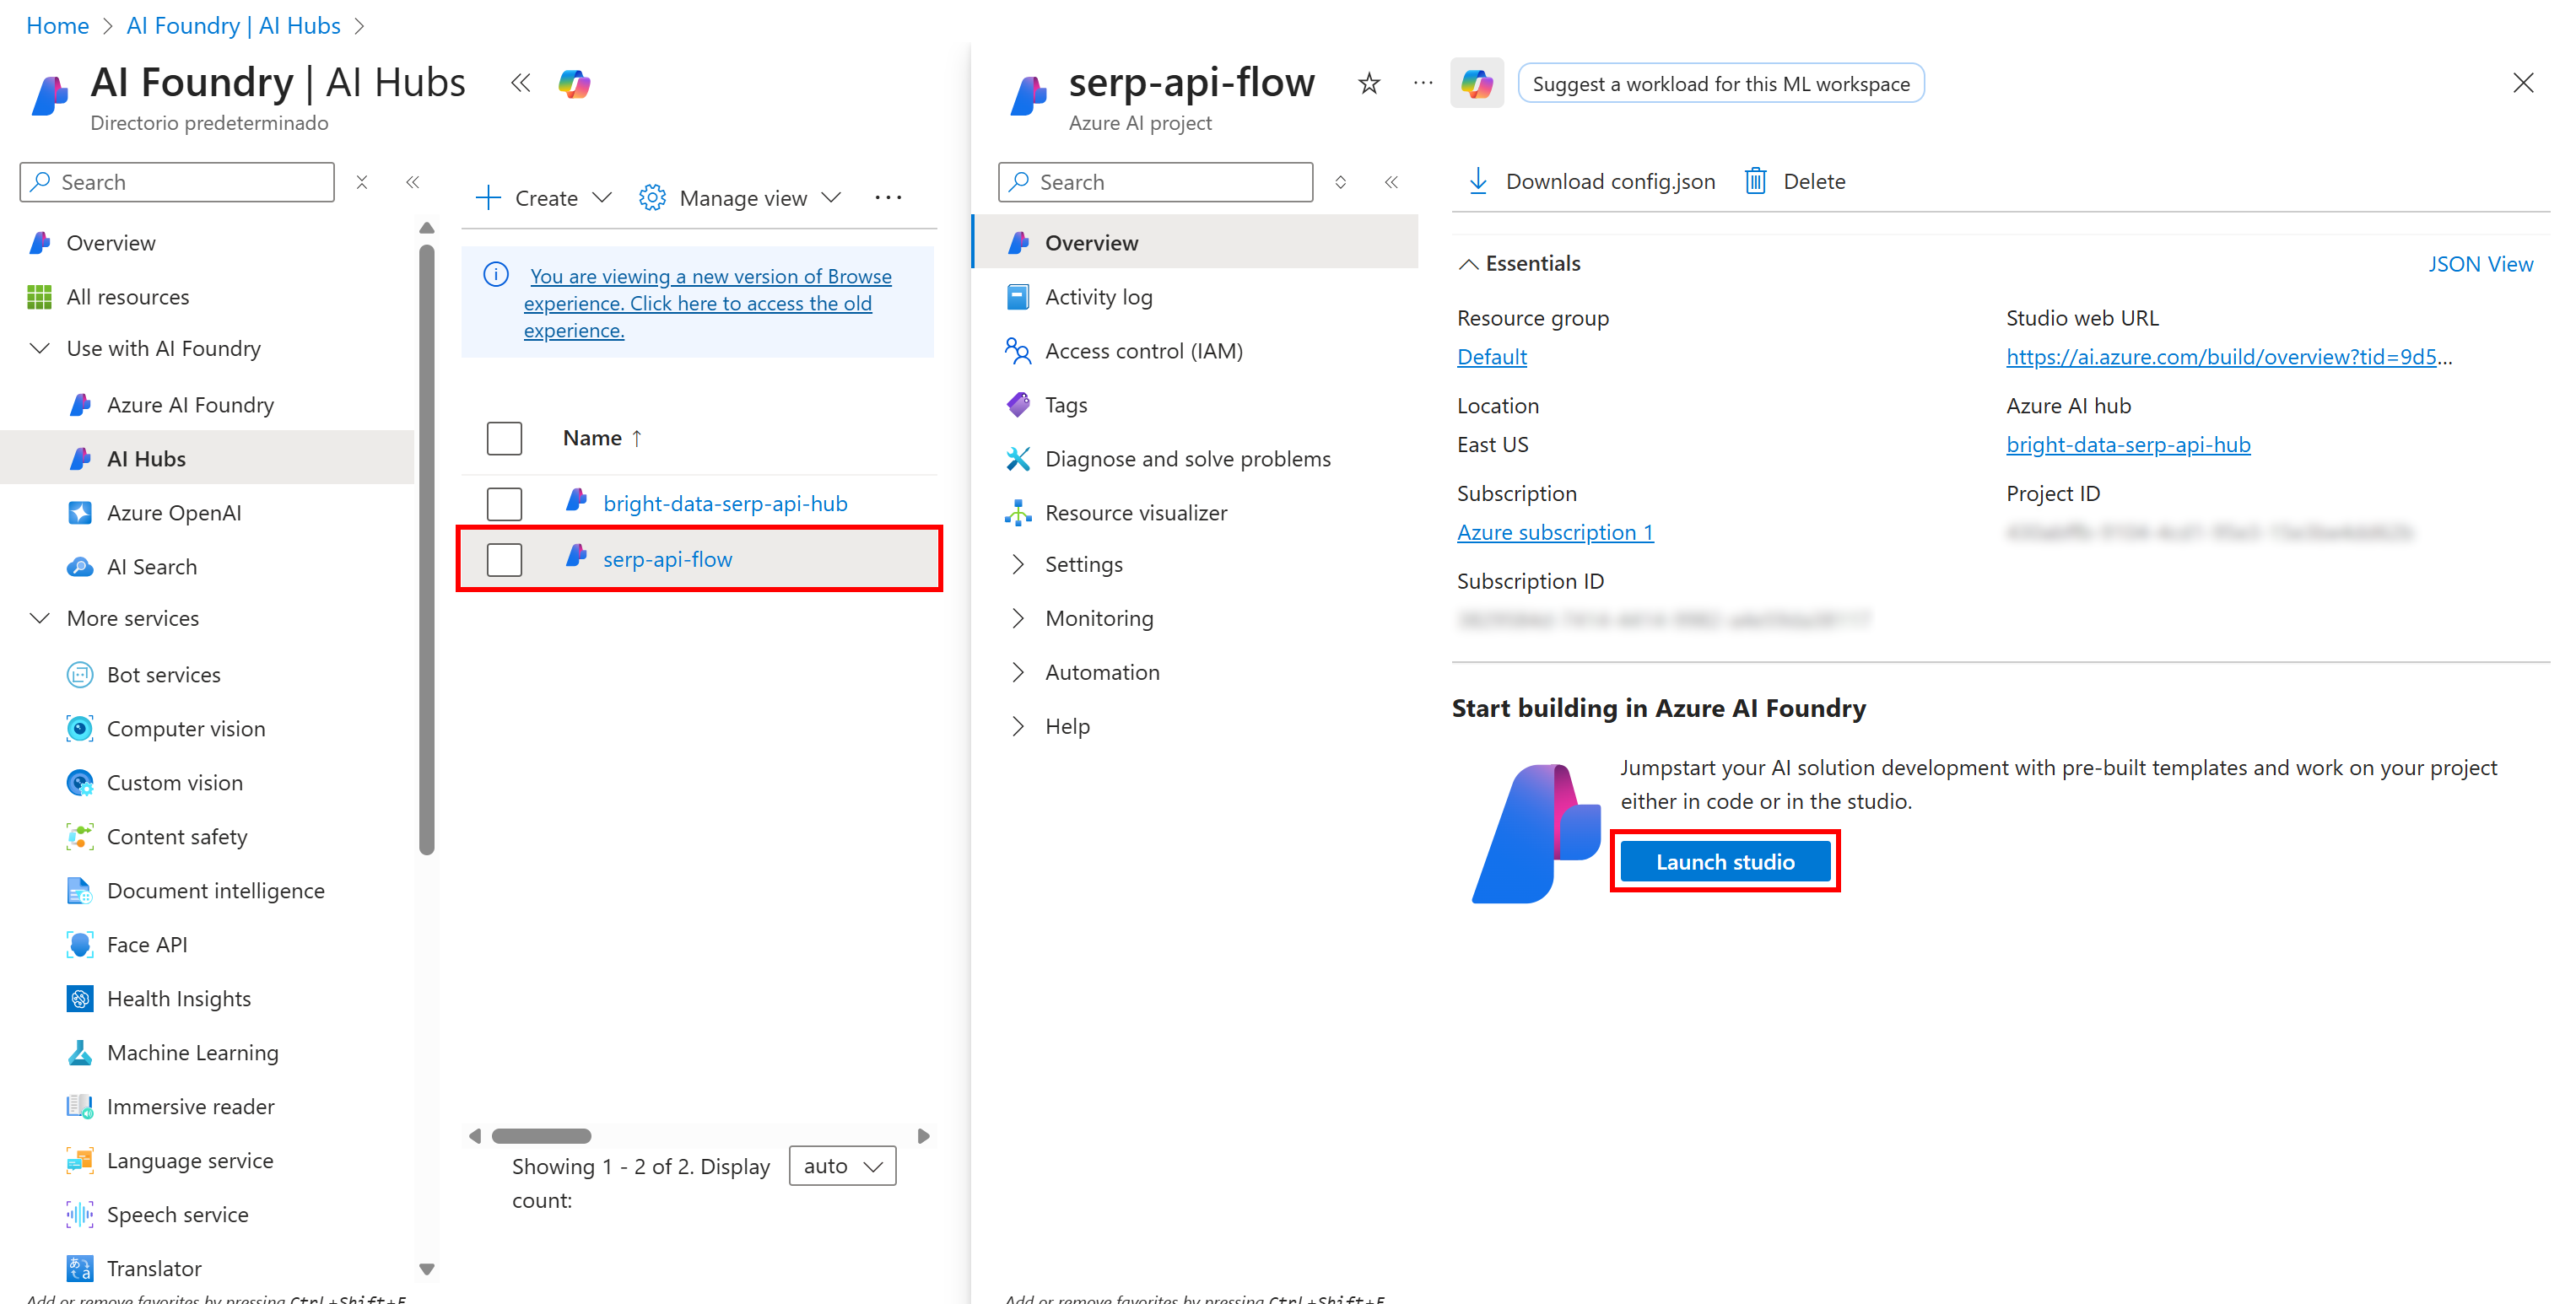
Press the “Launch studio” button to open it in Azure AI Foundry studio:
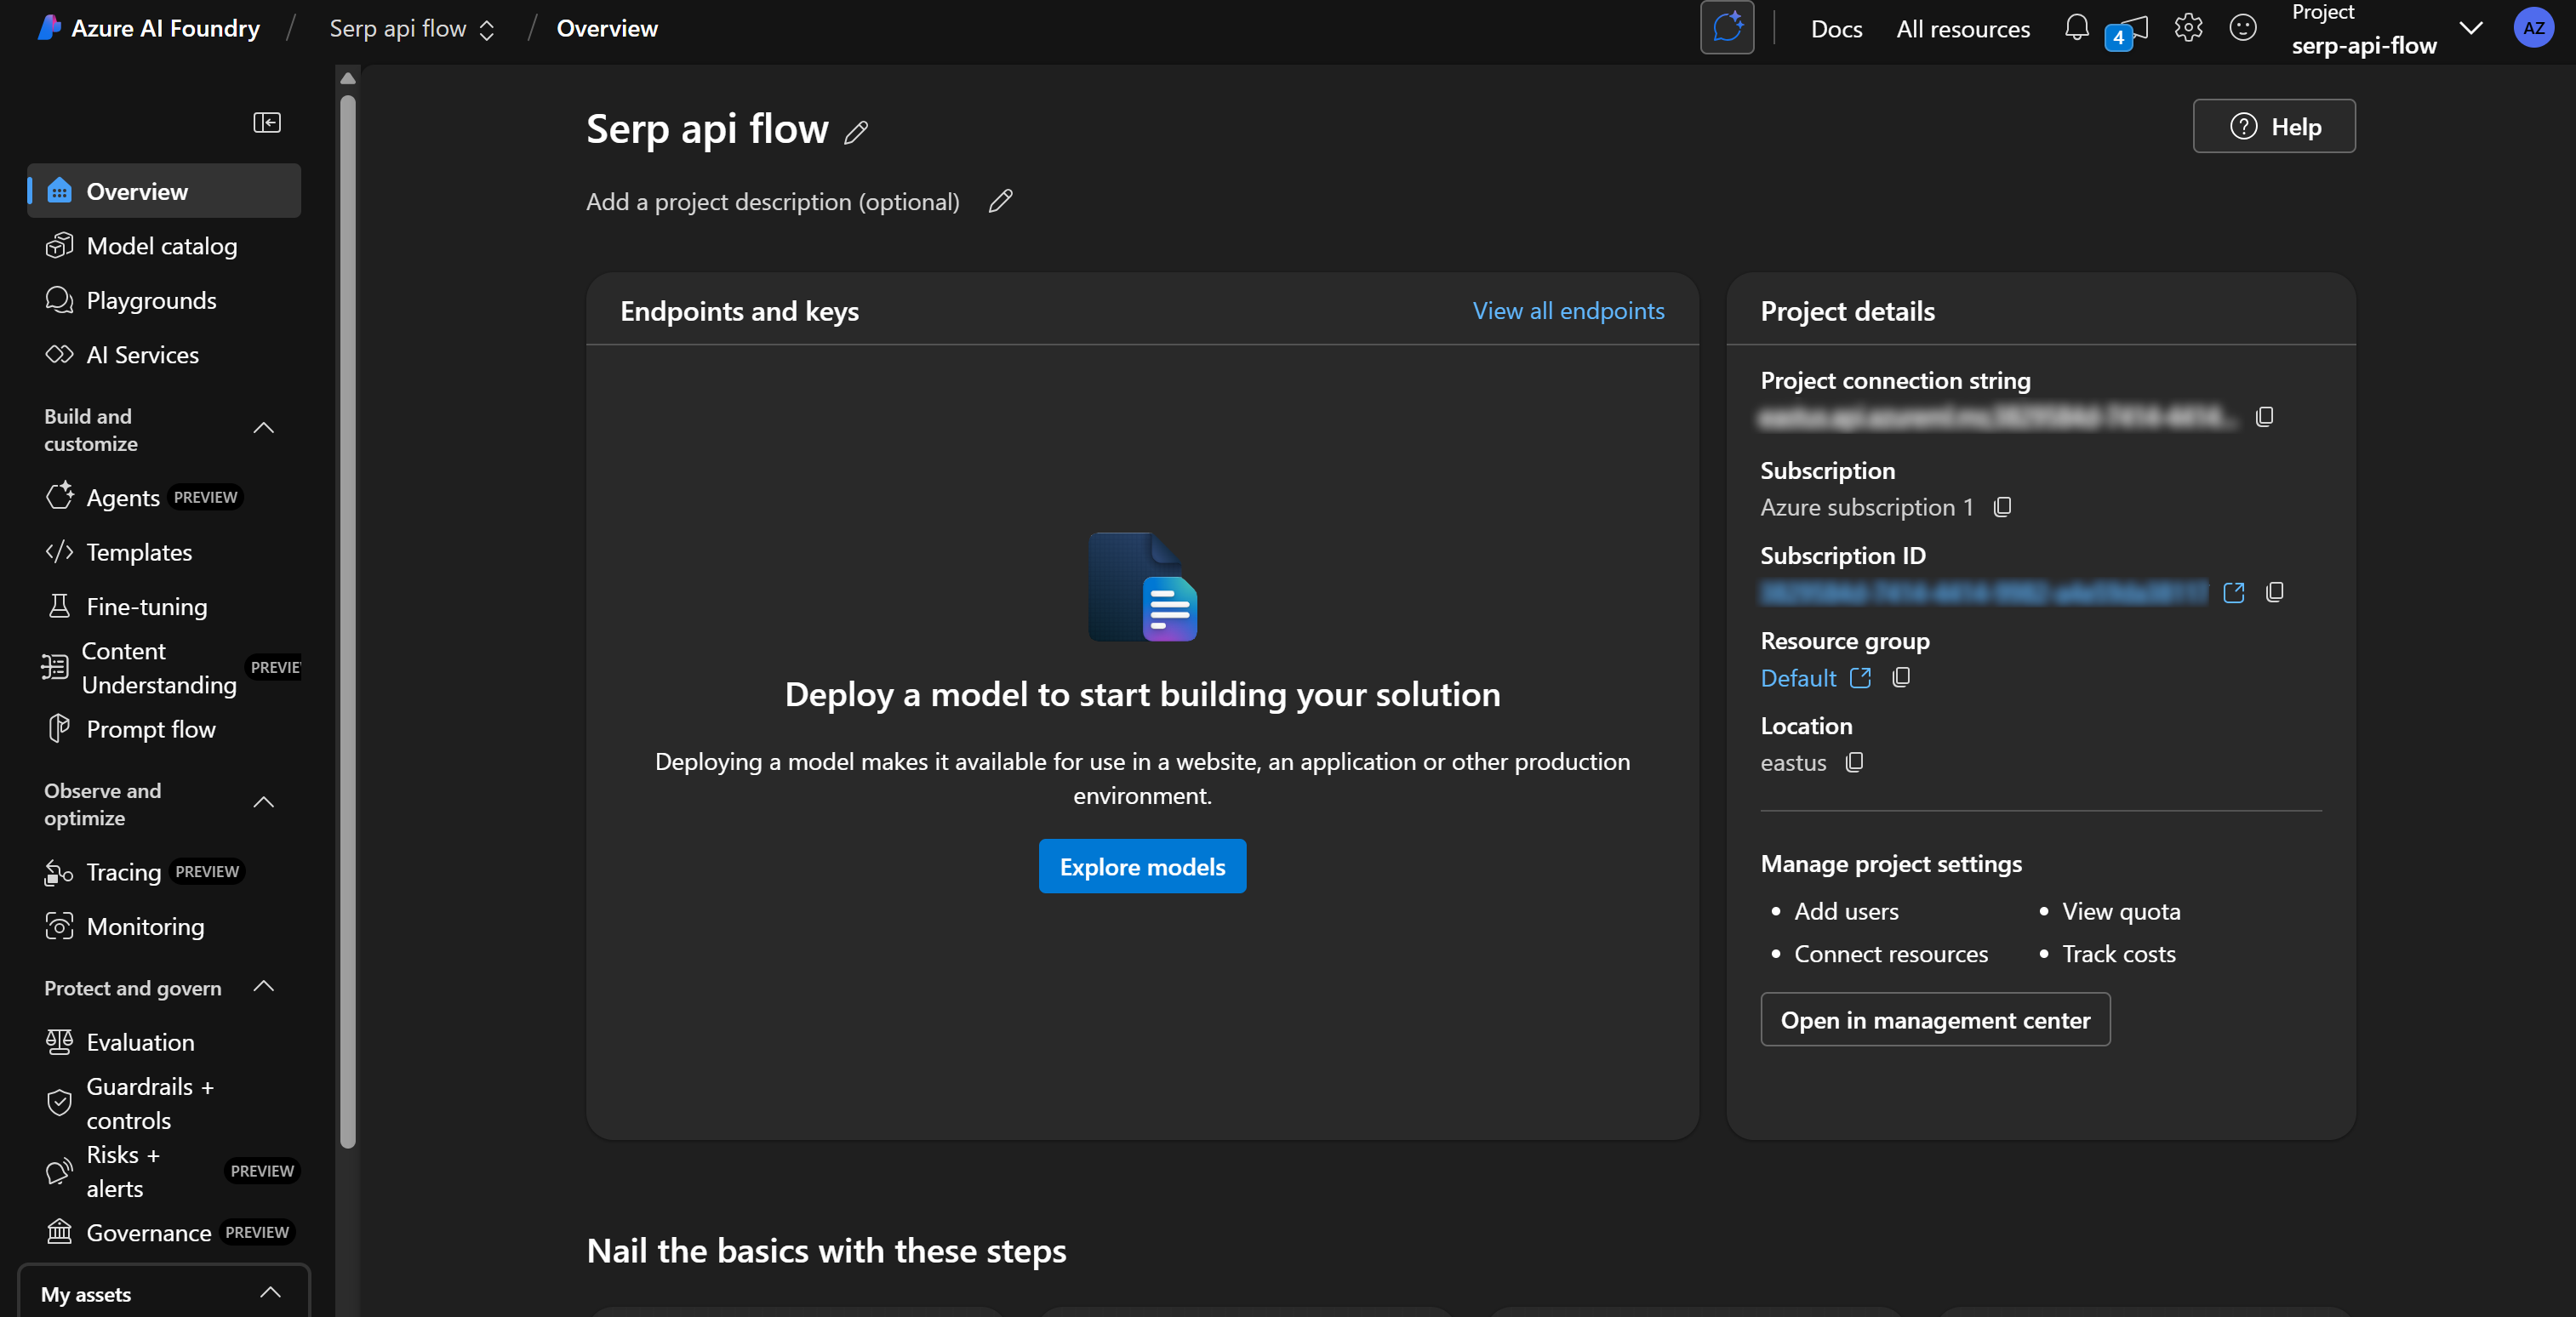
Note at the top that you are operating within the “Serp api flow” project. If that is not the case (e.g., you have multiple projects), make sure to select the correct one.
Great! Get ready to define your Azure AI prompt flow.
Step #3: Deploy an LLM
To use LLM nodes in your prompt flows, Azure requires you to first deploy one of the available AI models.
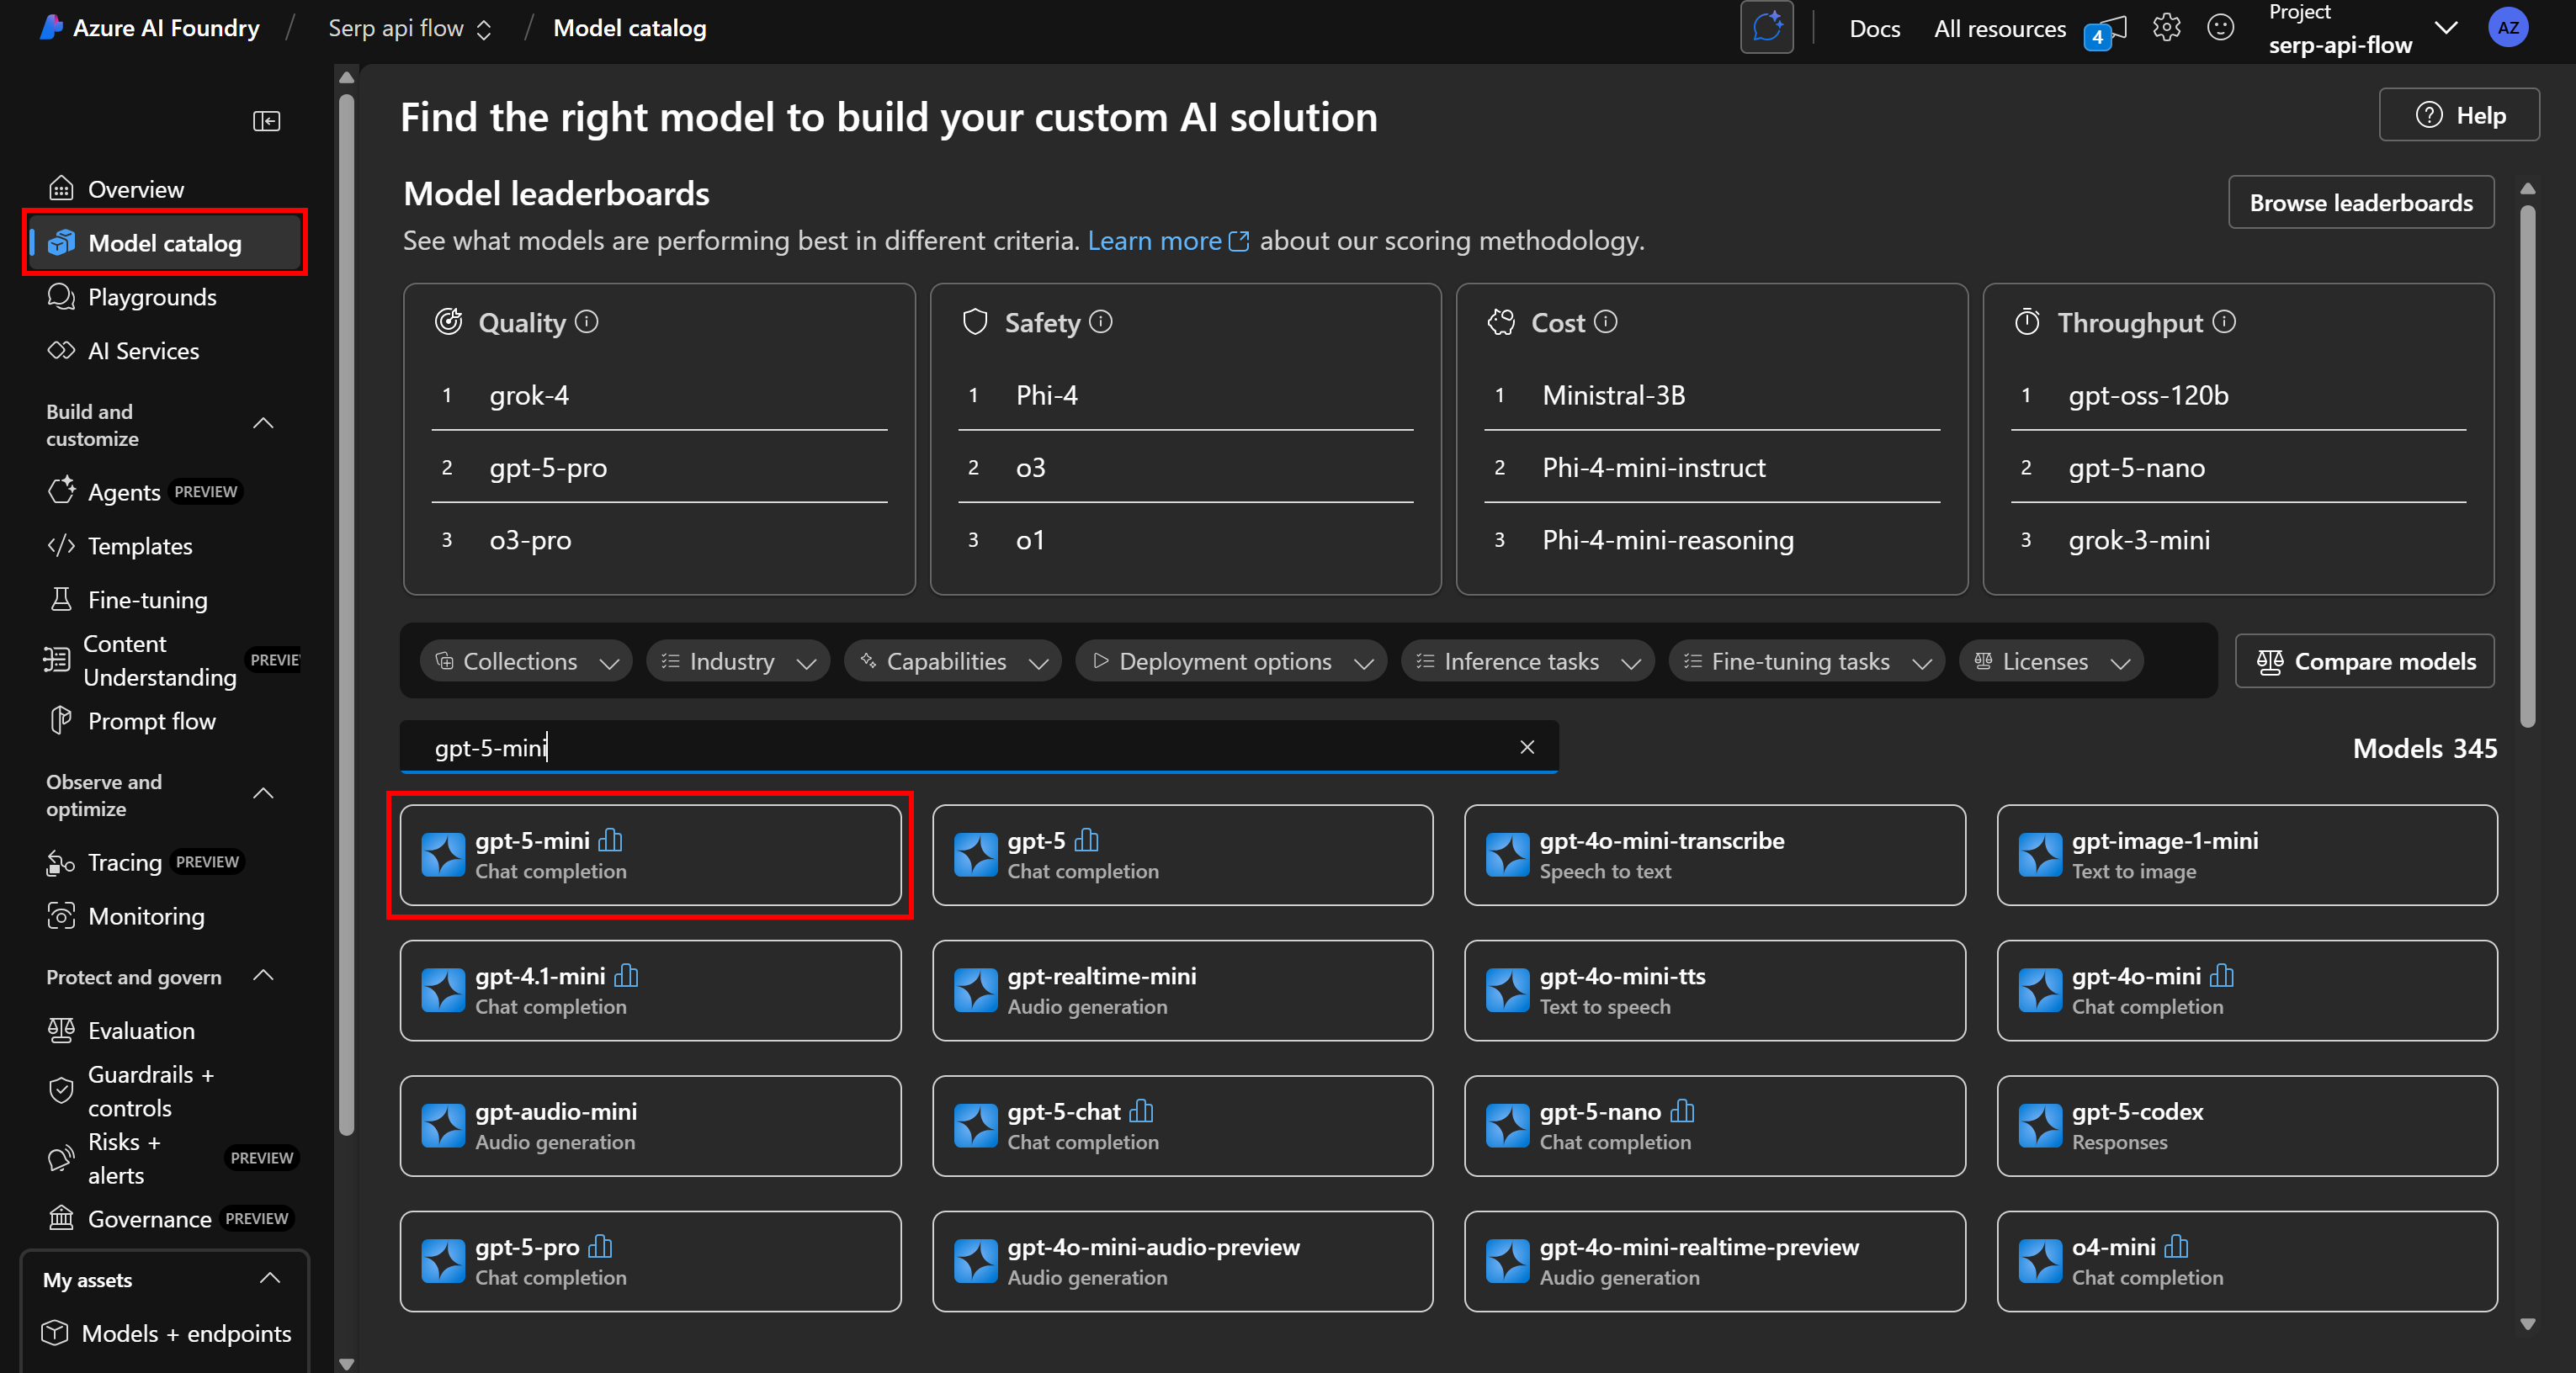
To do that, from the left-hand menu, select the “Model catalog” option. In the catalog page, search for the AI model you want to use. For example, let’s assume you want to use gpt-5-mini.
Search for “gpt-5-mini” and select it:
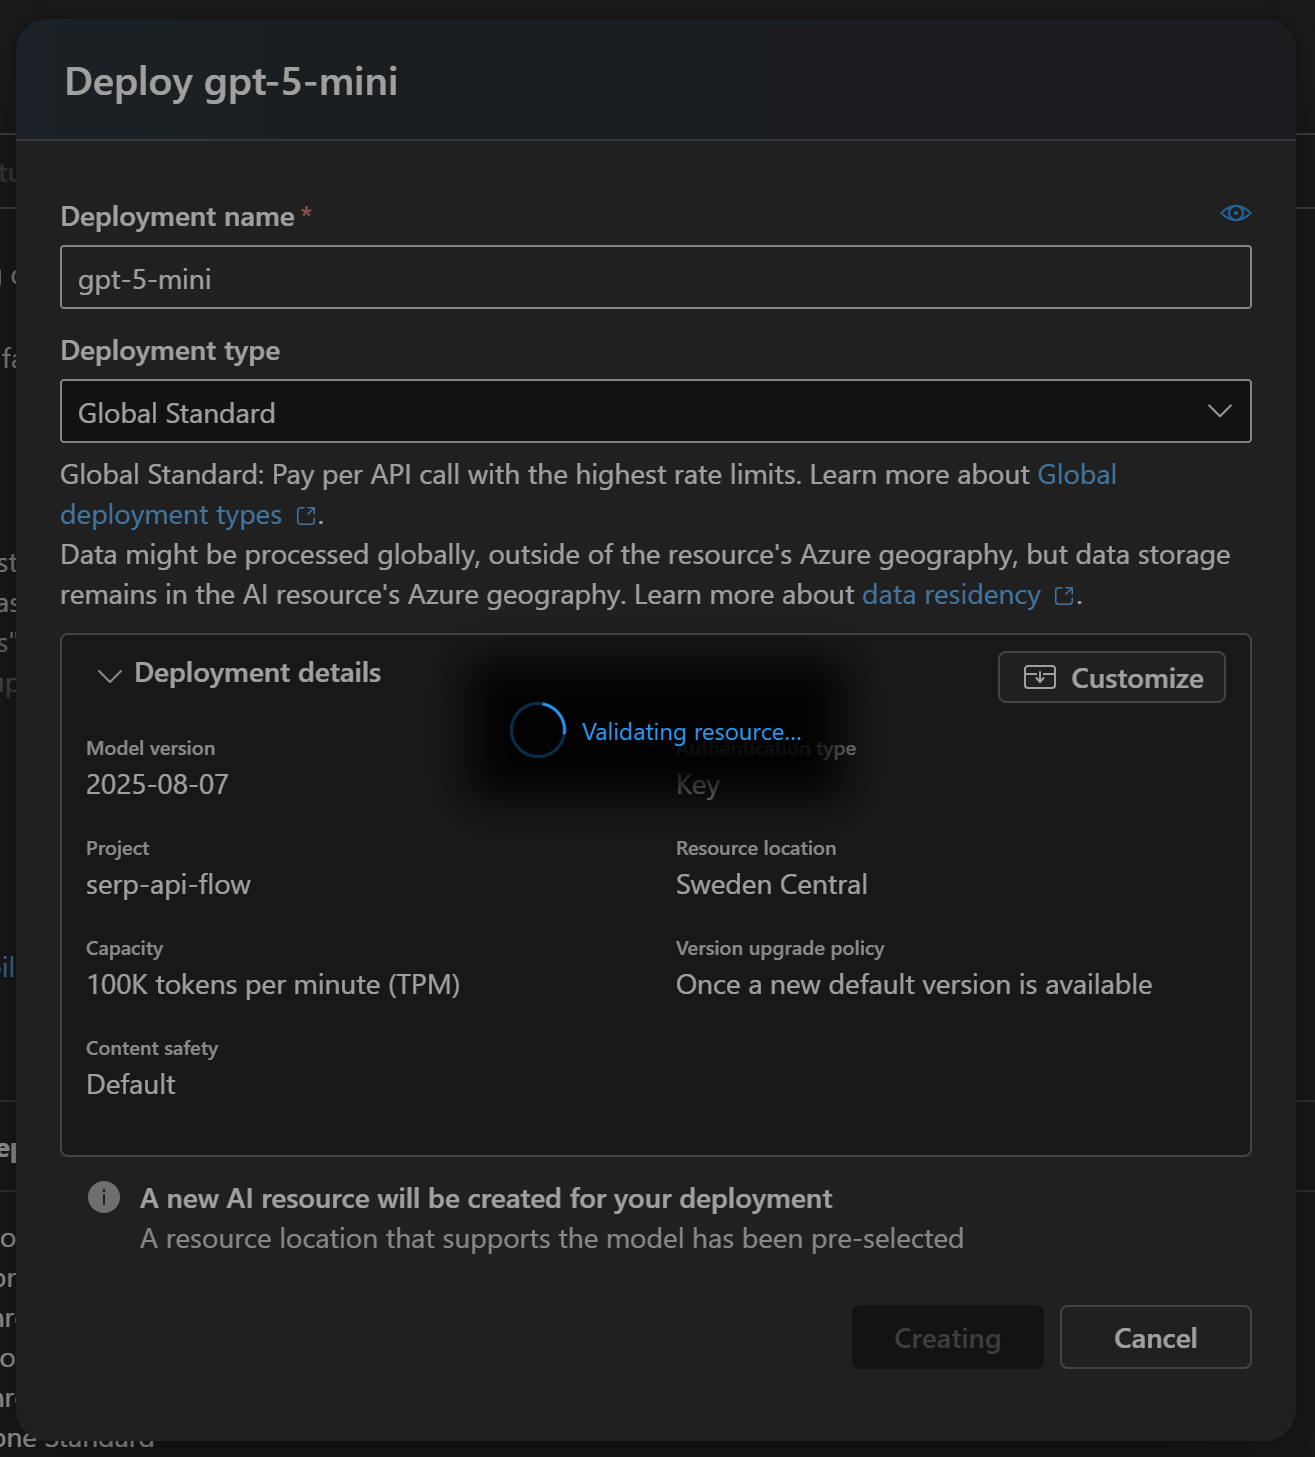
On the model’s page, click “Use this model” to adopt it:

In the modal window that appears, click the “Create resource and deploy” button, then wait for the model to finish deploying:
This process may take a few minutes, so be patient. Once the deployment is complete, you will see the model available in your Azure AI project as follows:
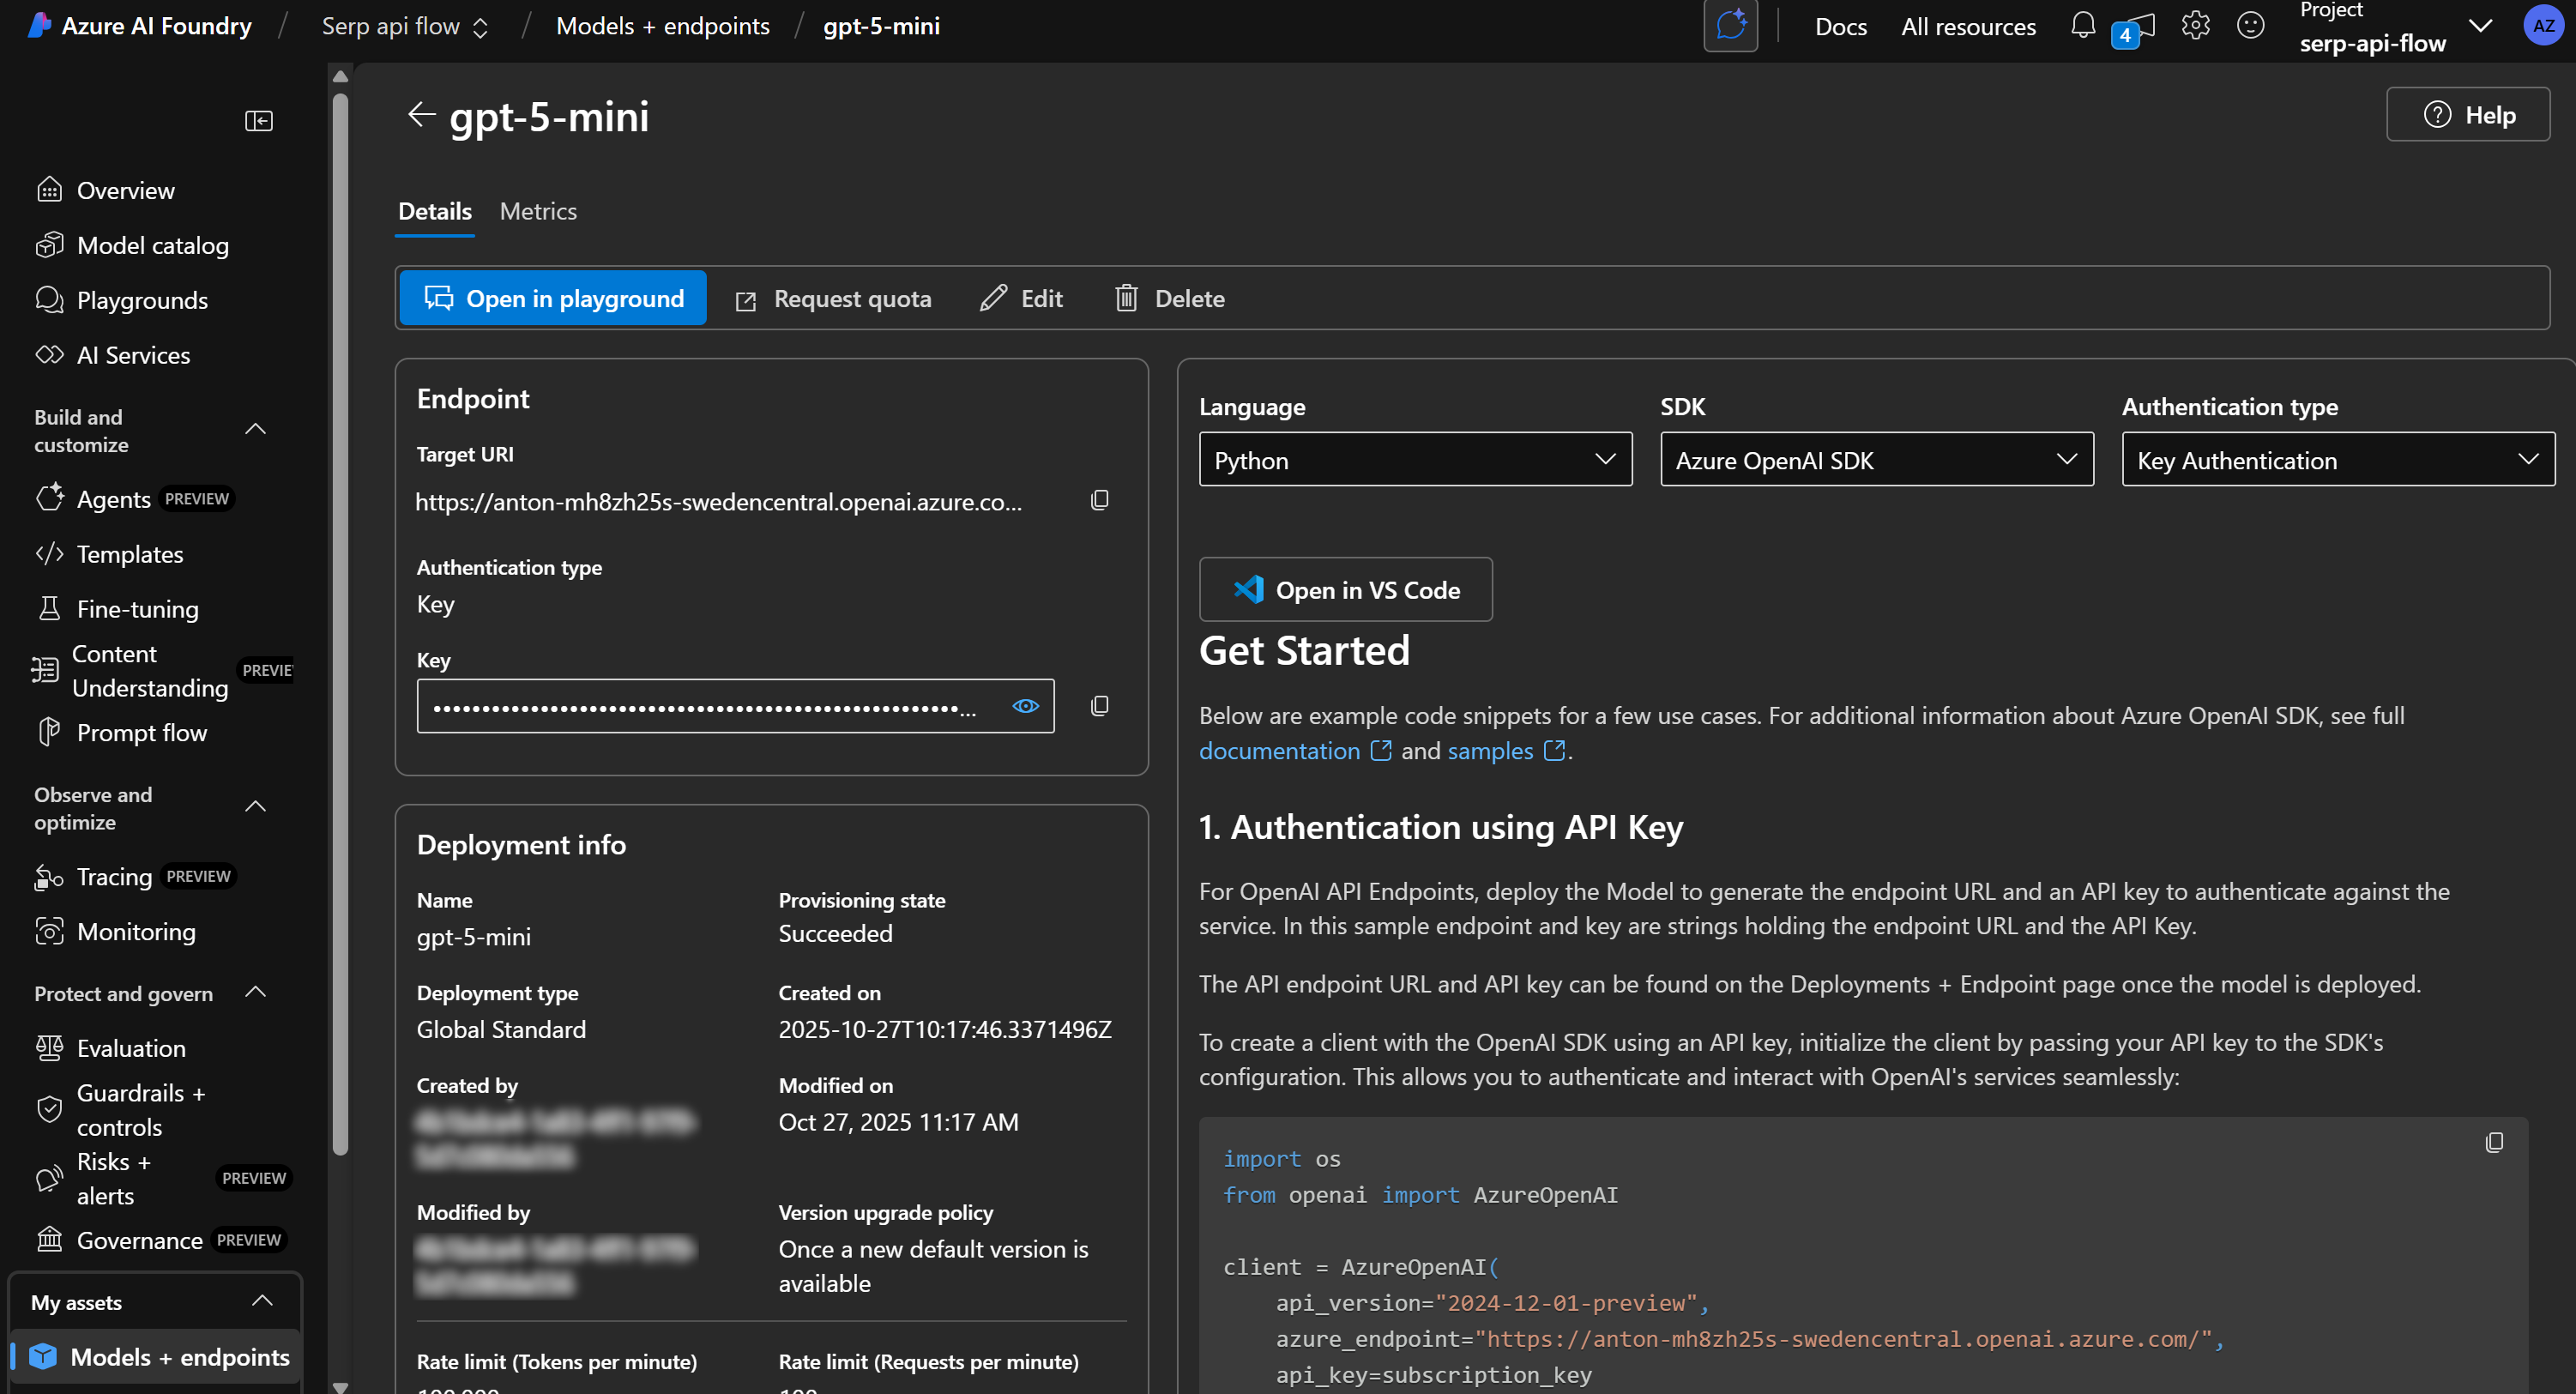
Wonderful! You now have an LLM engine ready to power your prompt flow.
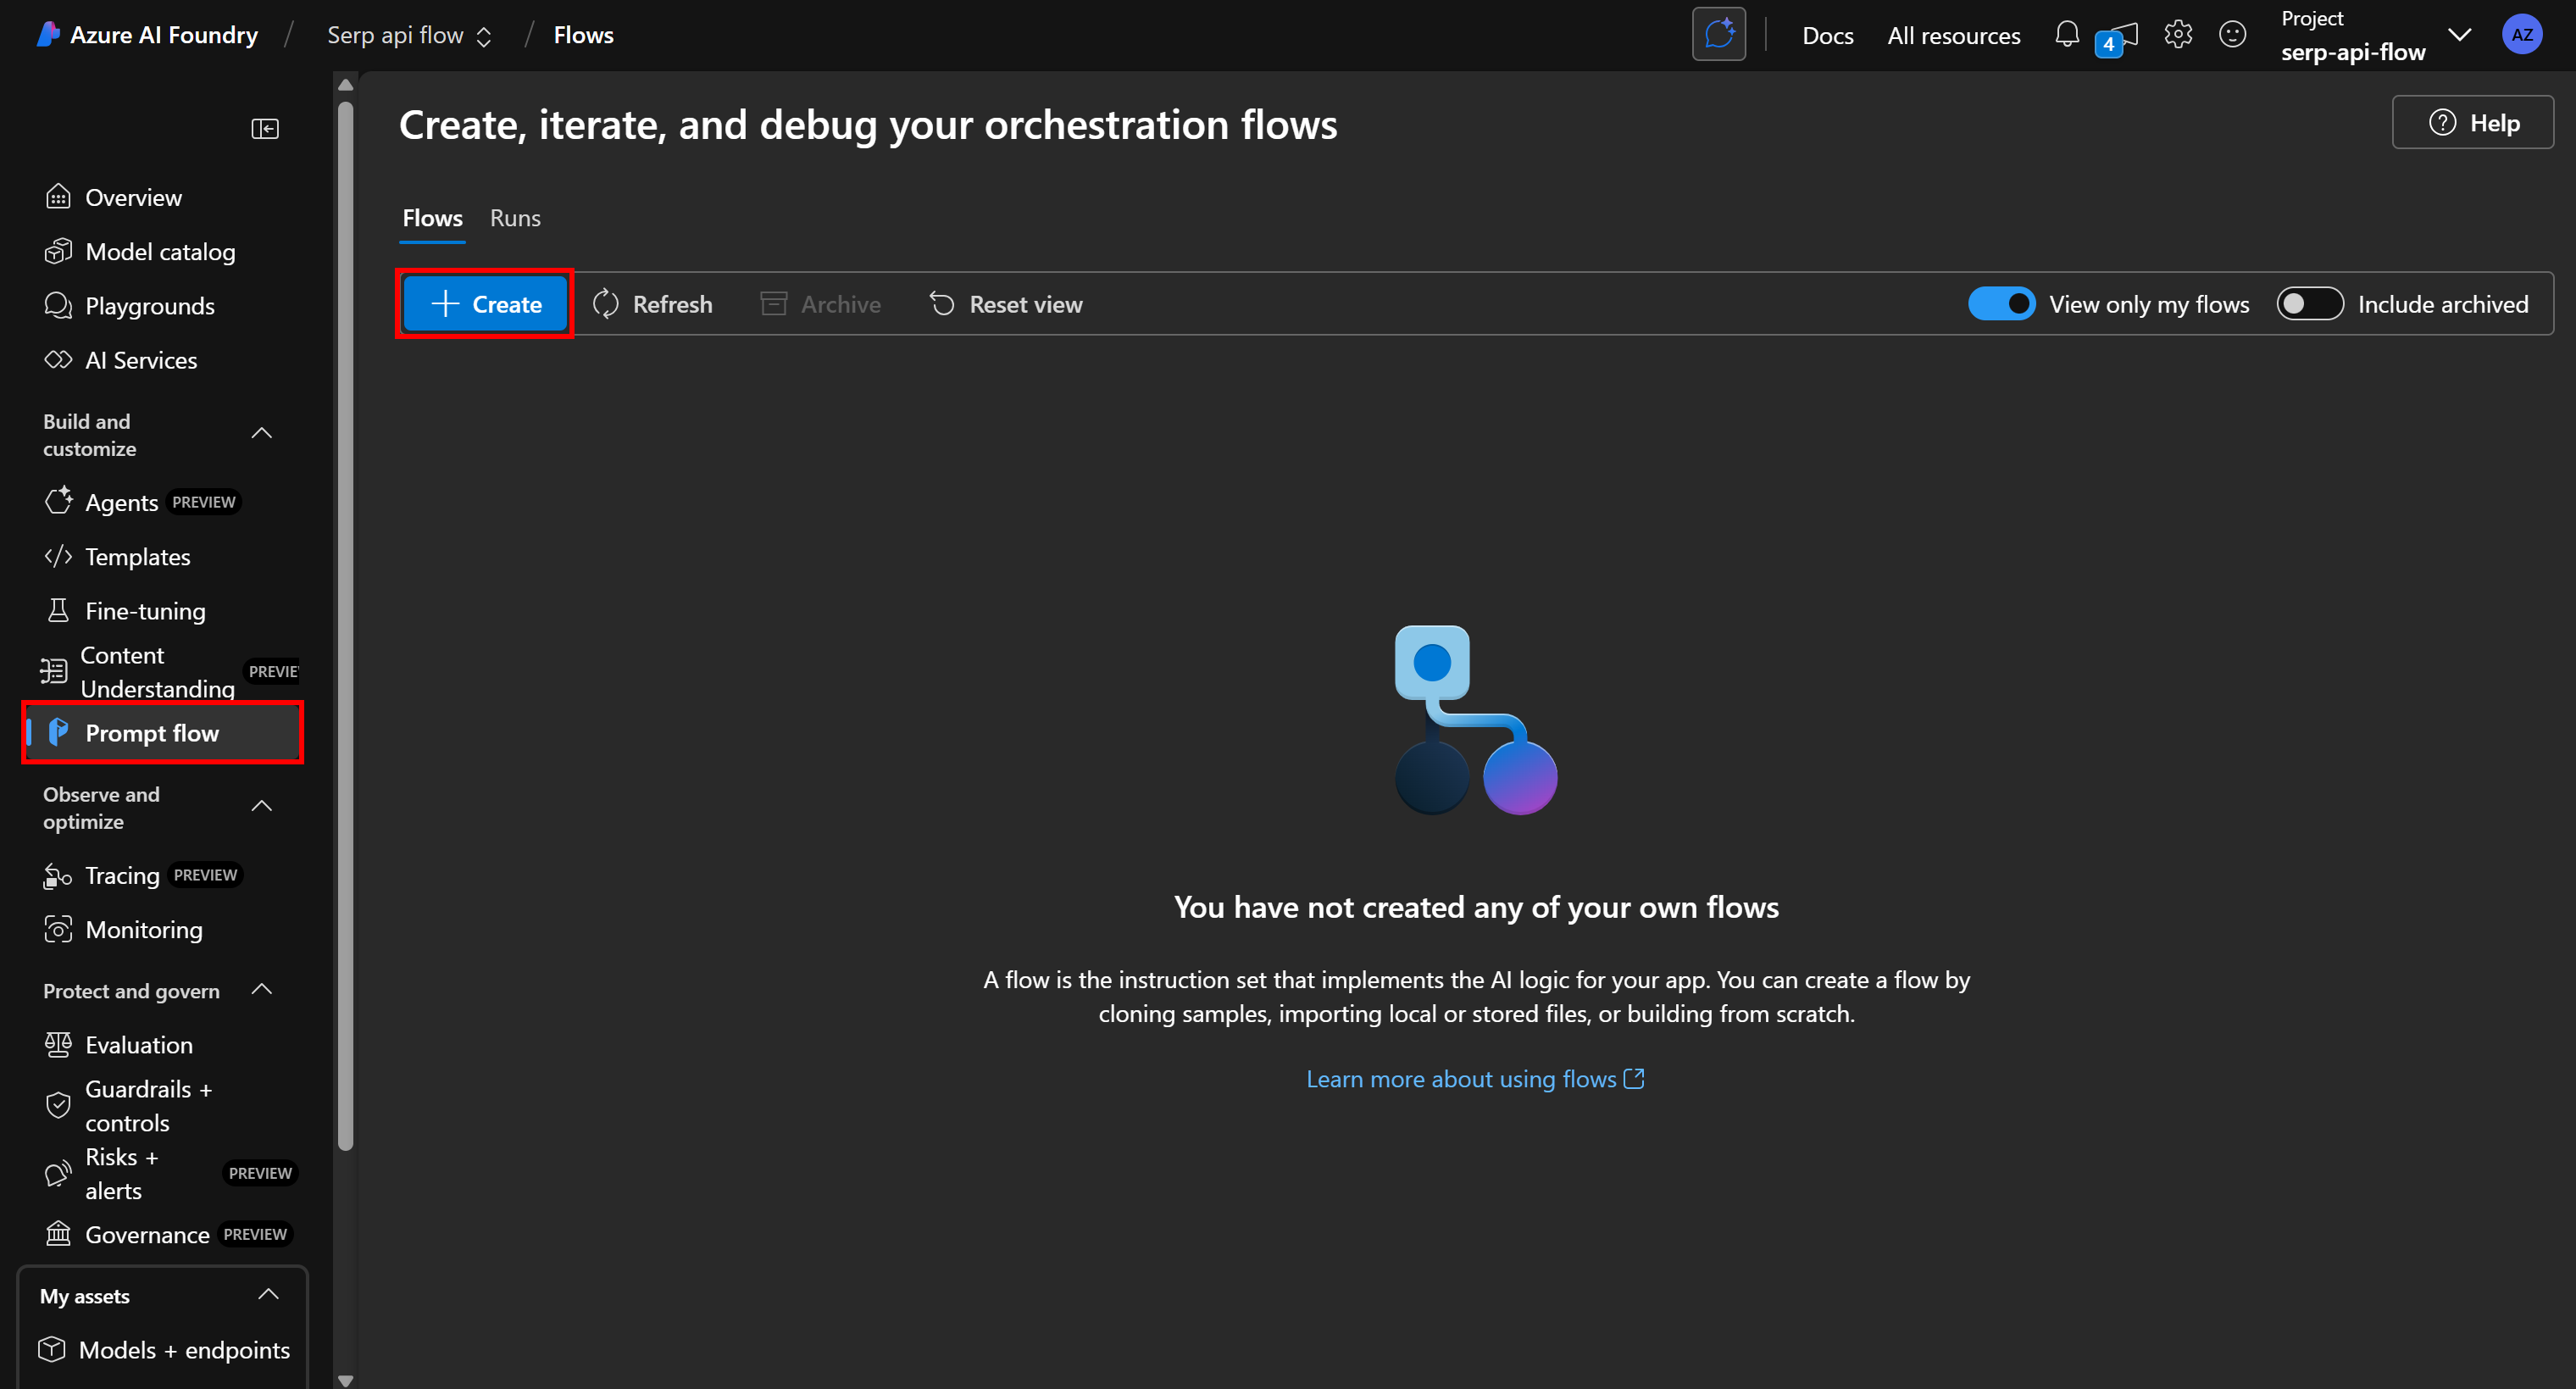
Step #4: Create a New Prompt Flow
It is finally time to start working on your prompt flow. Begin by selecting “Prompt flow” from the left-hand menu, then click the “Create” button:
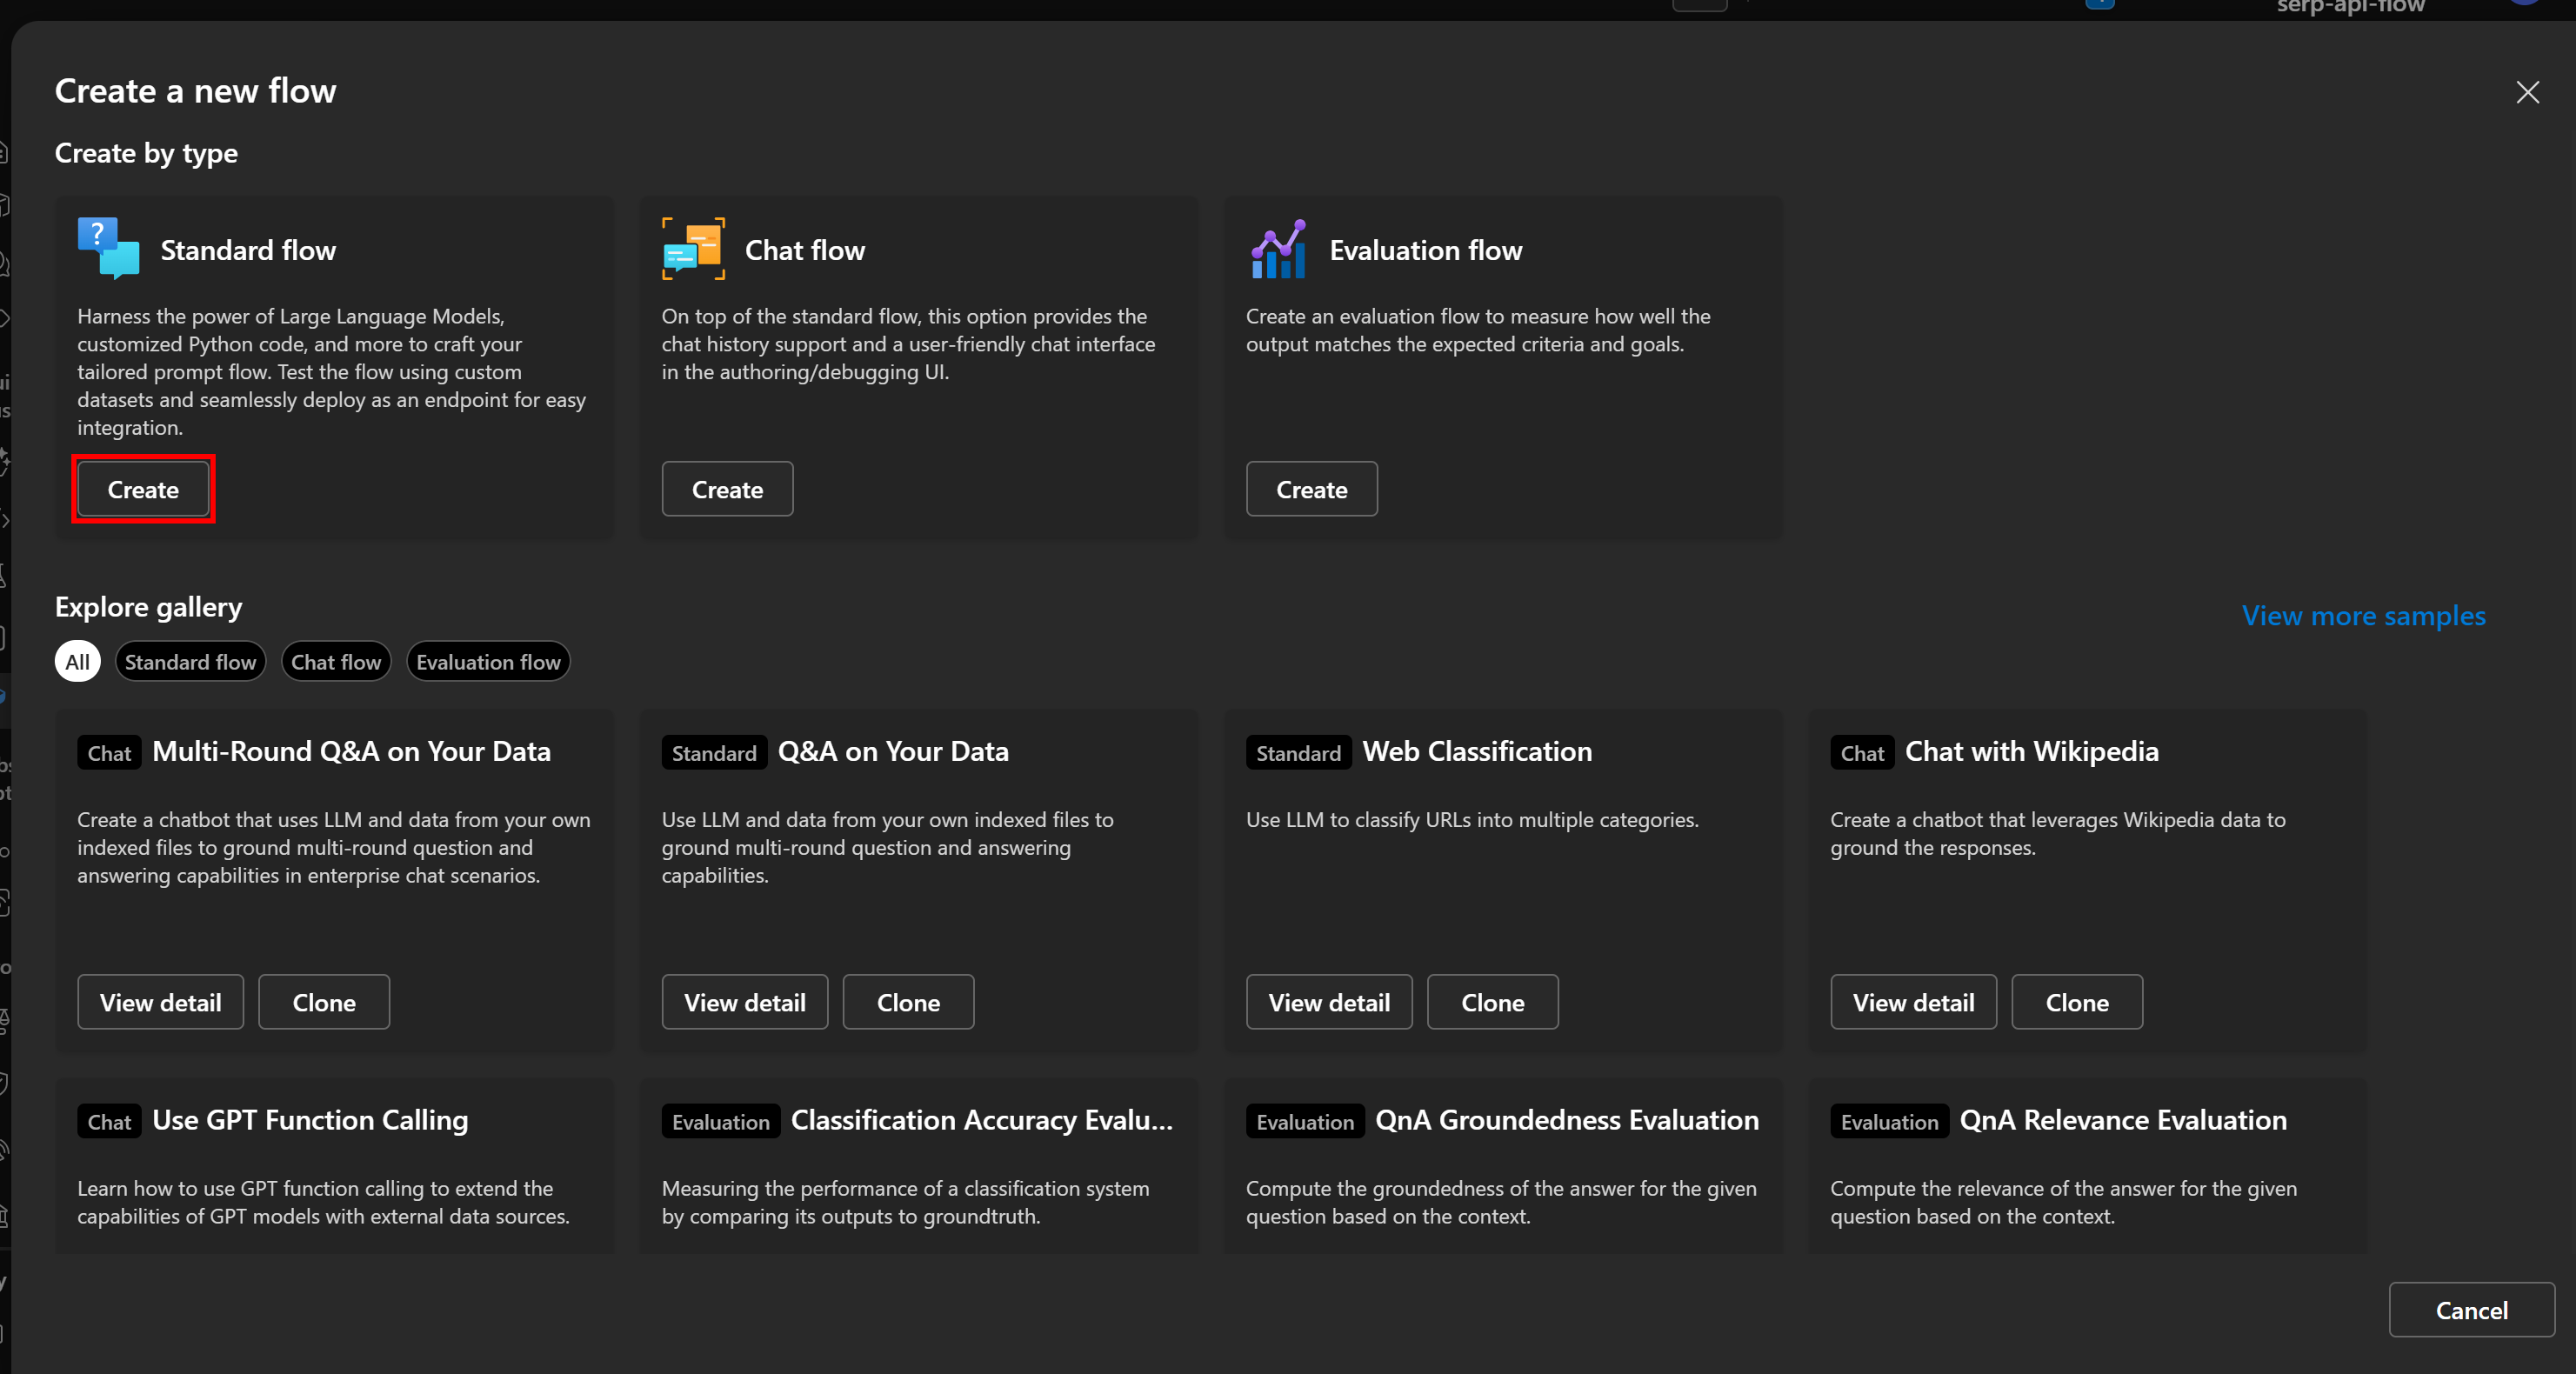
In the “Create a new flow” modal, click “Create” on the “Standard flow” card to start a new, basic prompt flow:
You will be prompted to enter a flow name. Call it something like bright-data-serp-api-flow:
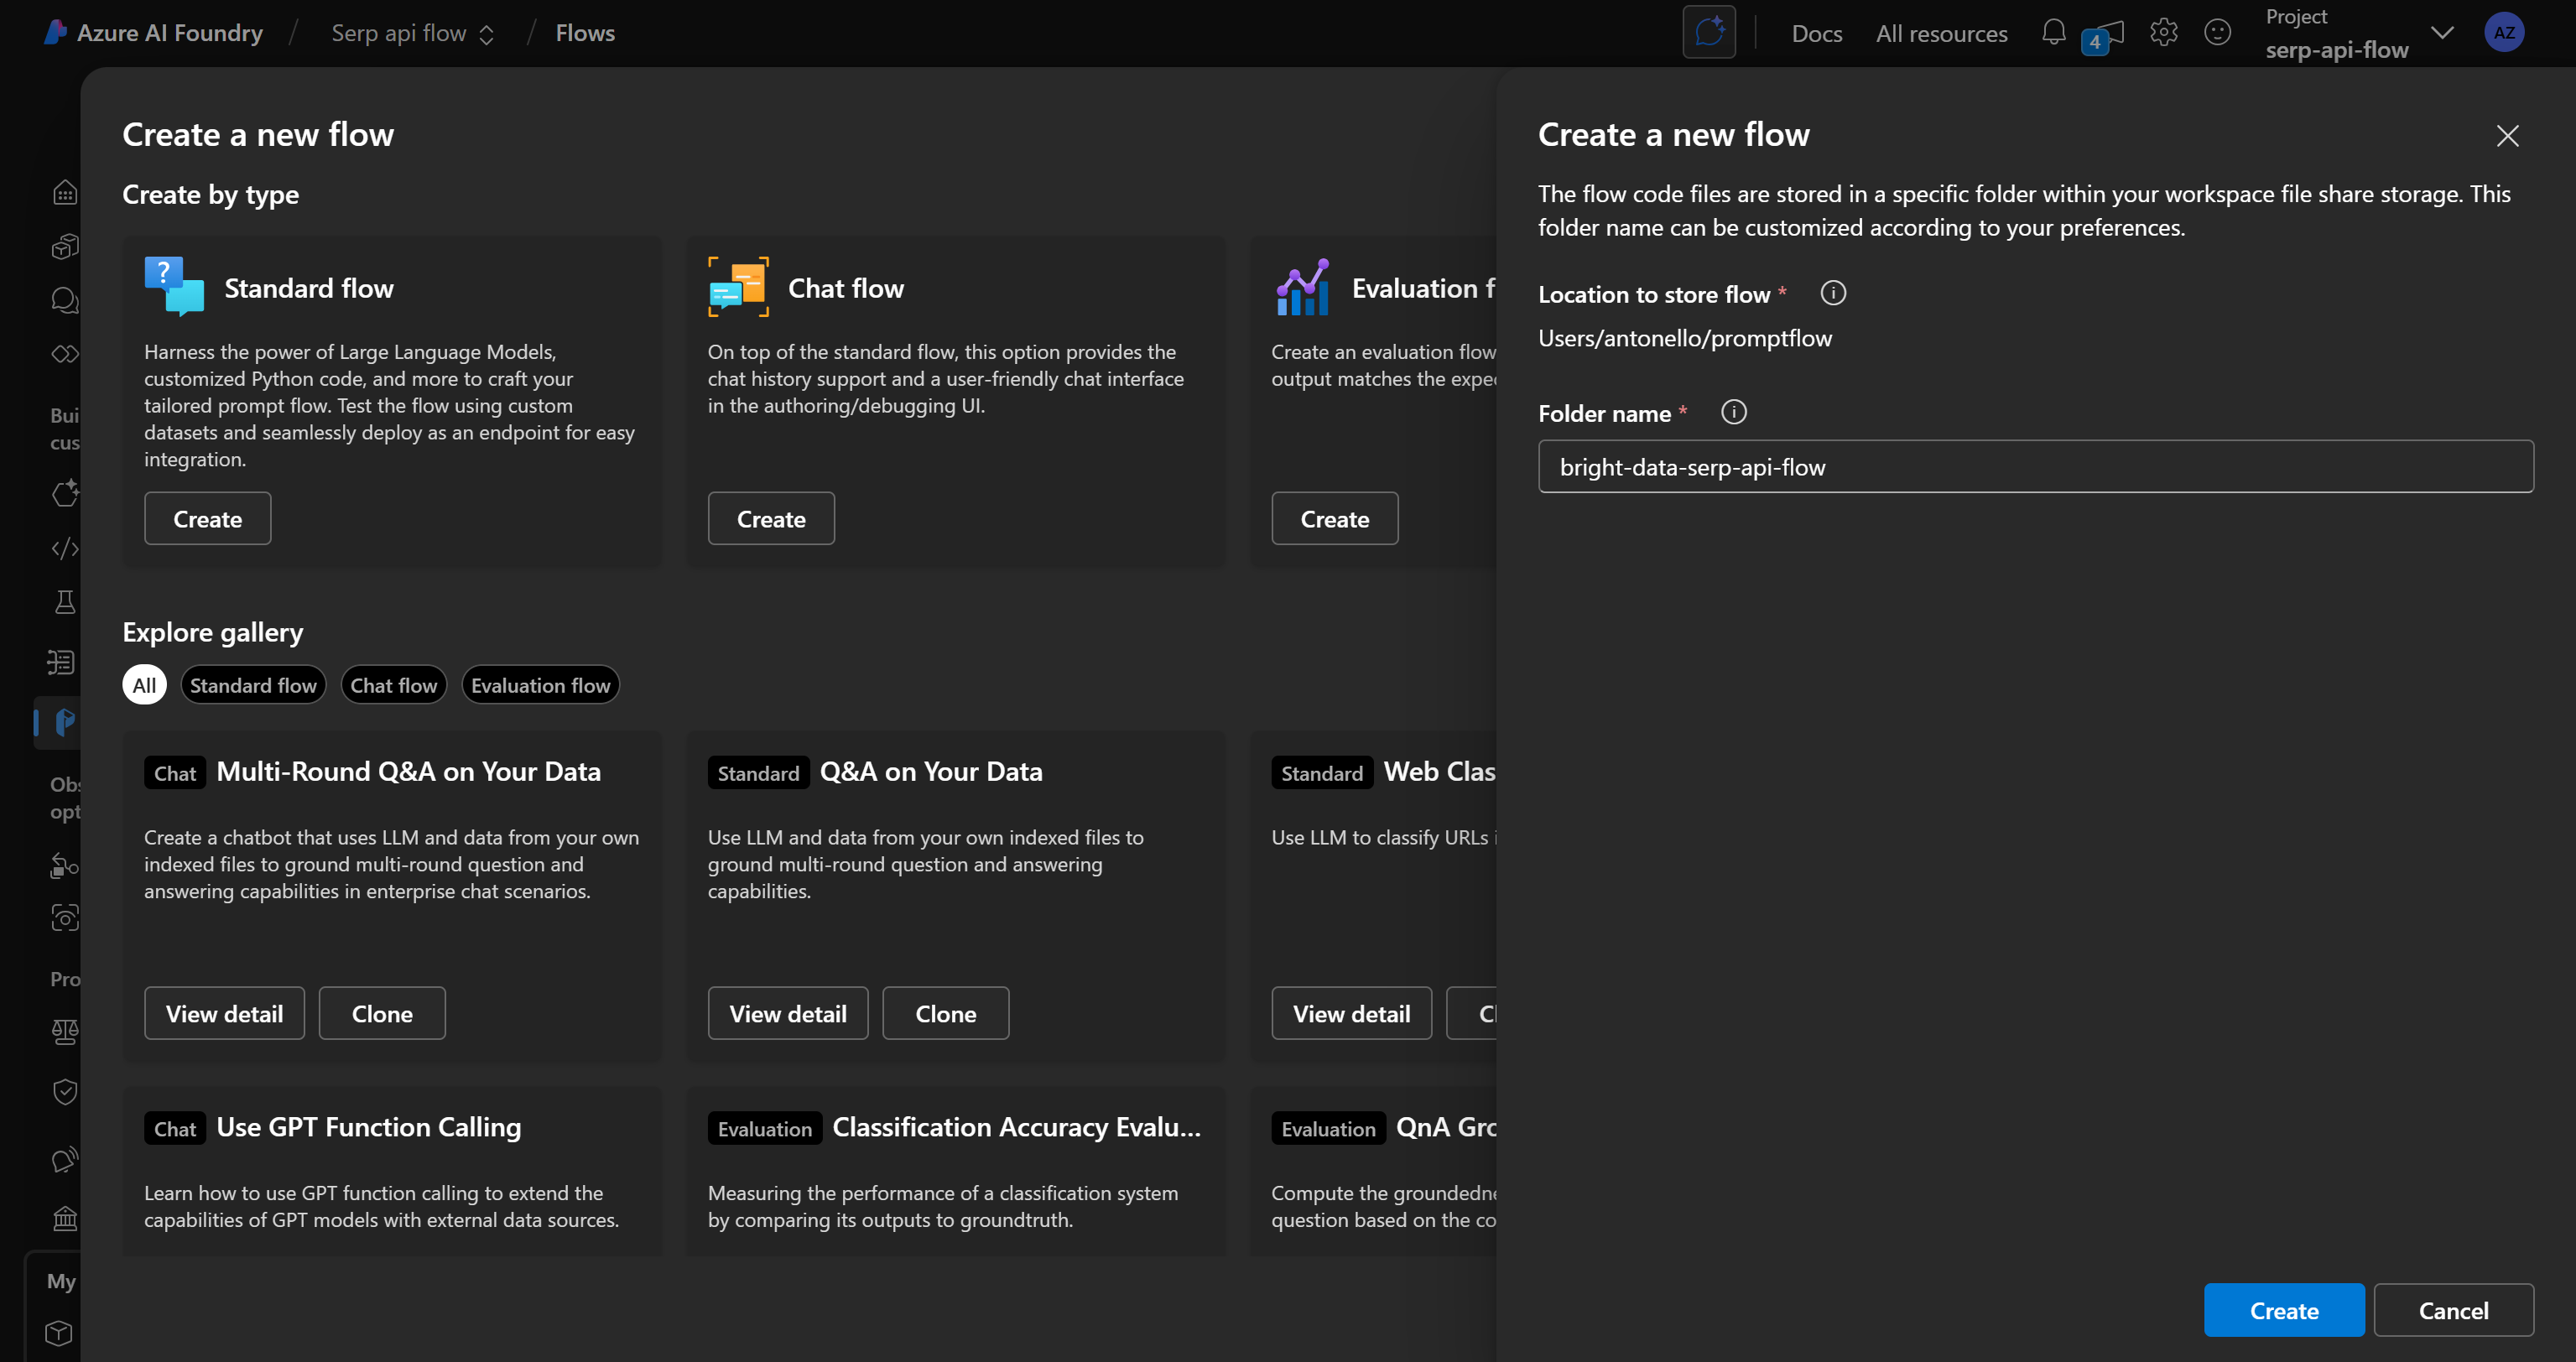
Press the “Create” button, wait for the prompt flow to initialize, and you should get a flow like this:
As you can tell, on the right, there is a DAG (Directed Acyclic Graph) representation of your flow.
Instead, on the left, you will find a visual editor where you can define your flow’s nodes. Any changes made on the left are automatically reflected in the DAG on the right.
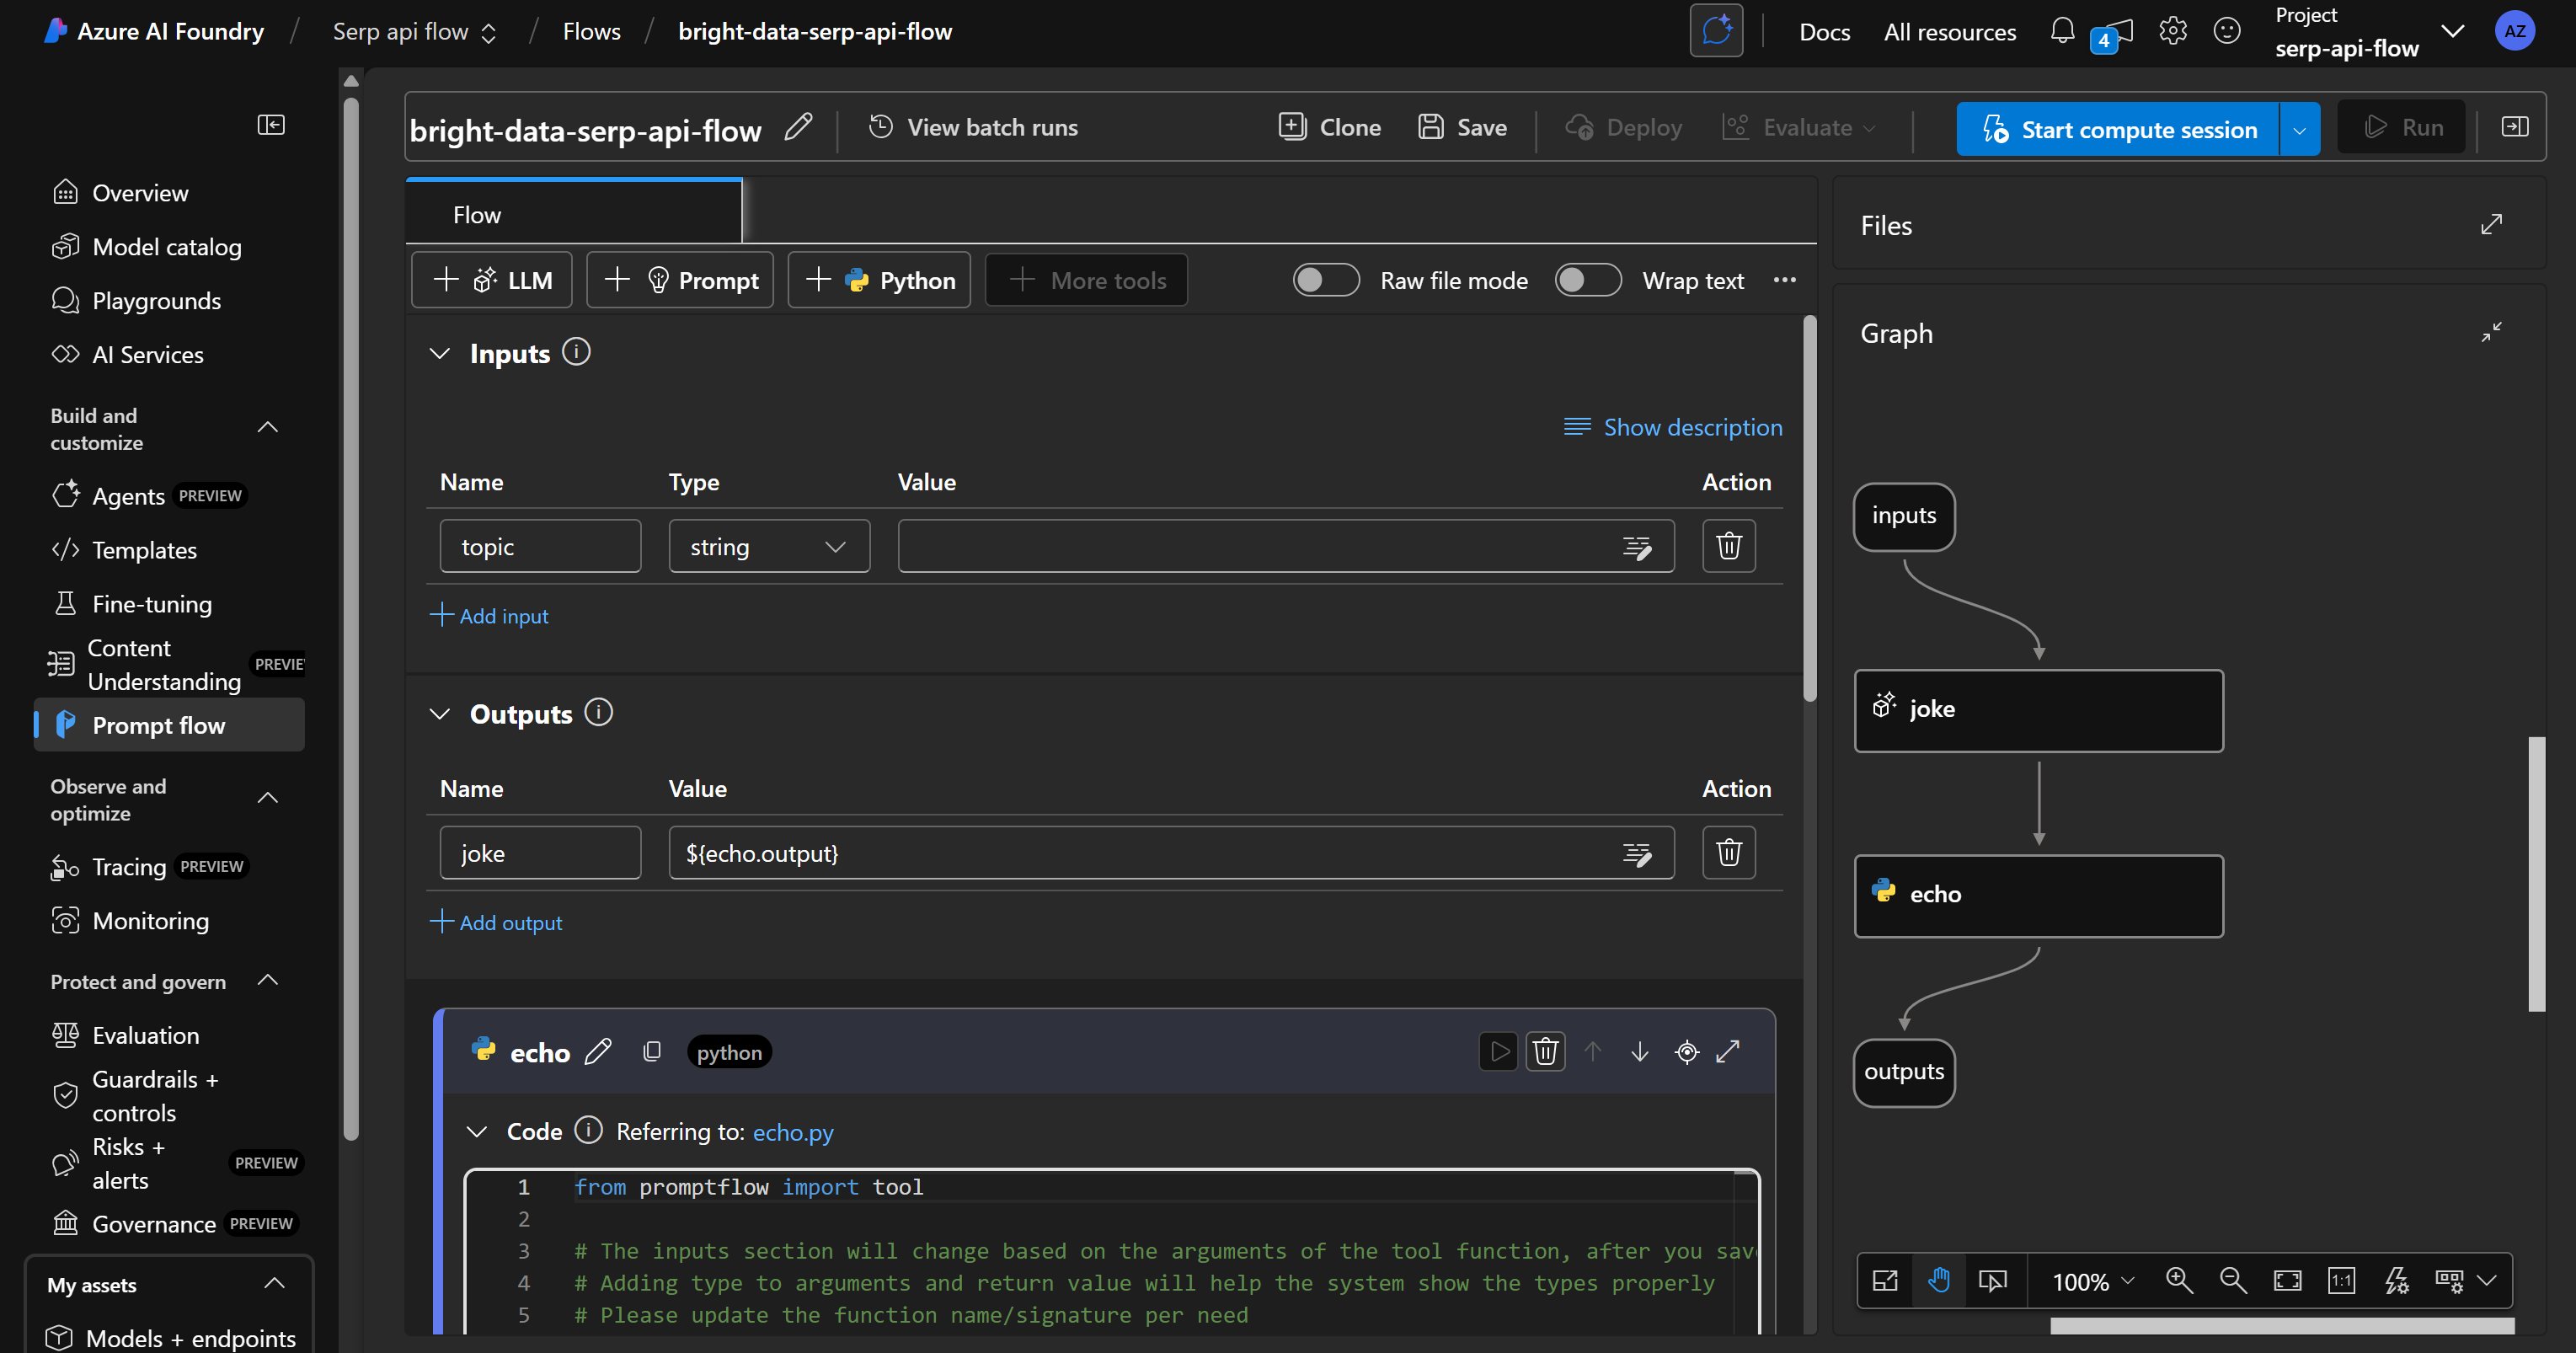
By default, the standard flow includes a simple example that asks the AI to tell a joke.
Start from scratch by deleting all existing nodes and pressing “Start compute session” to make your flow development platform live:
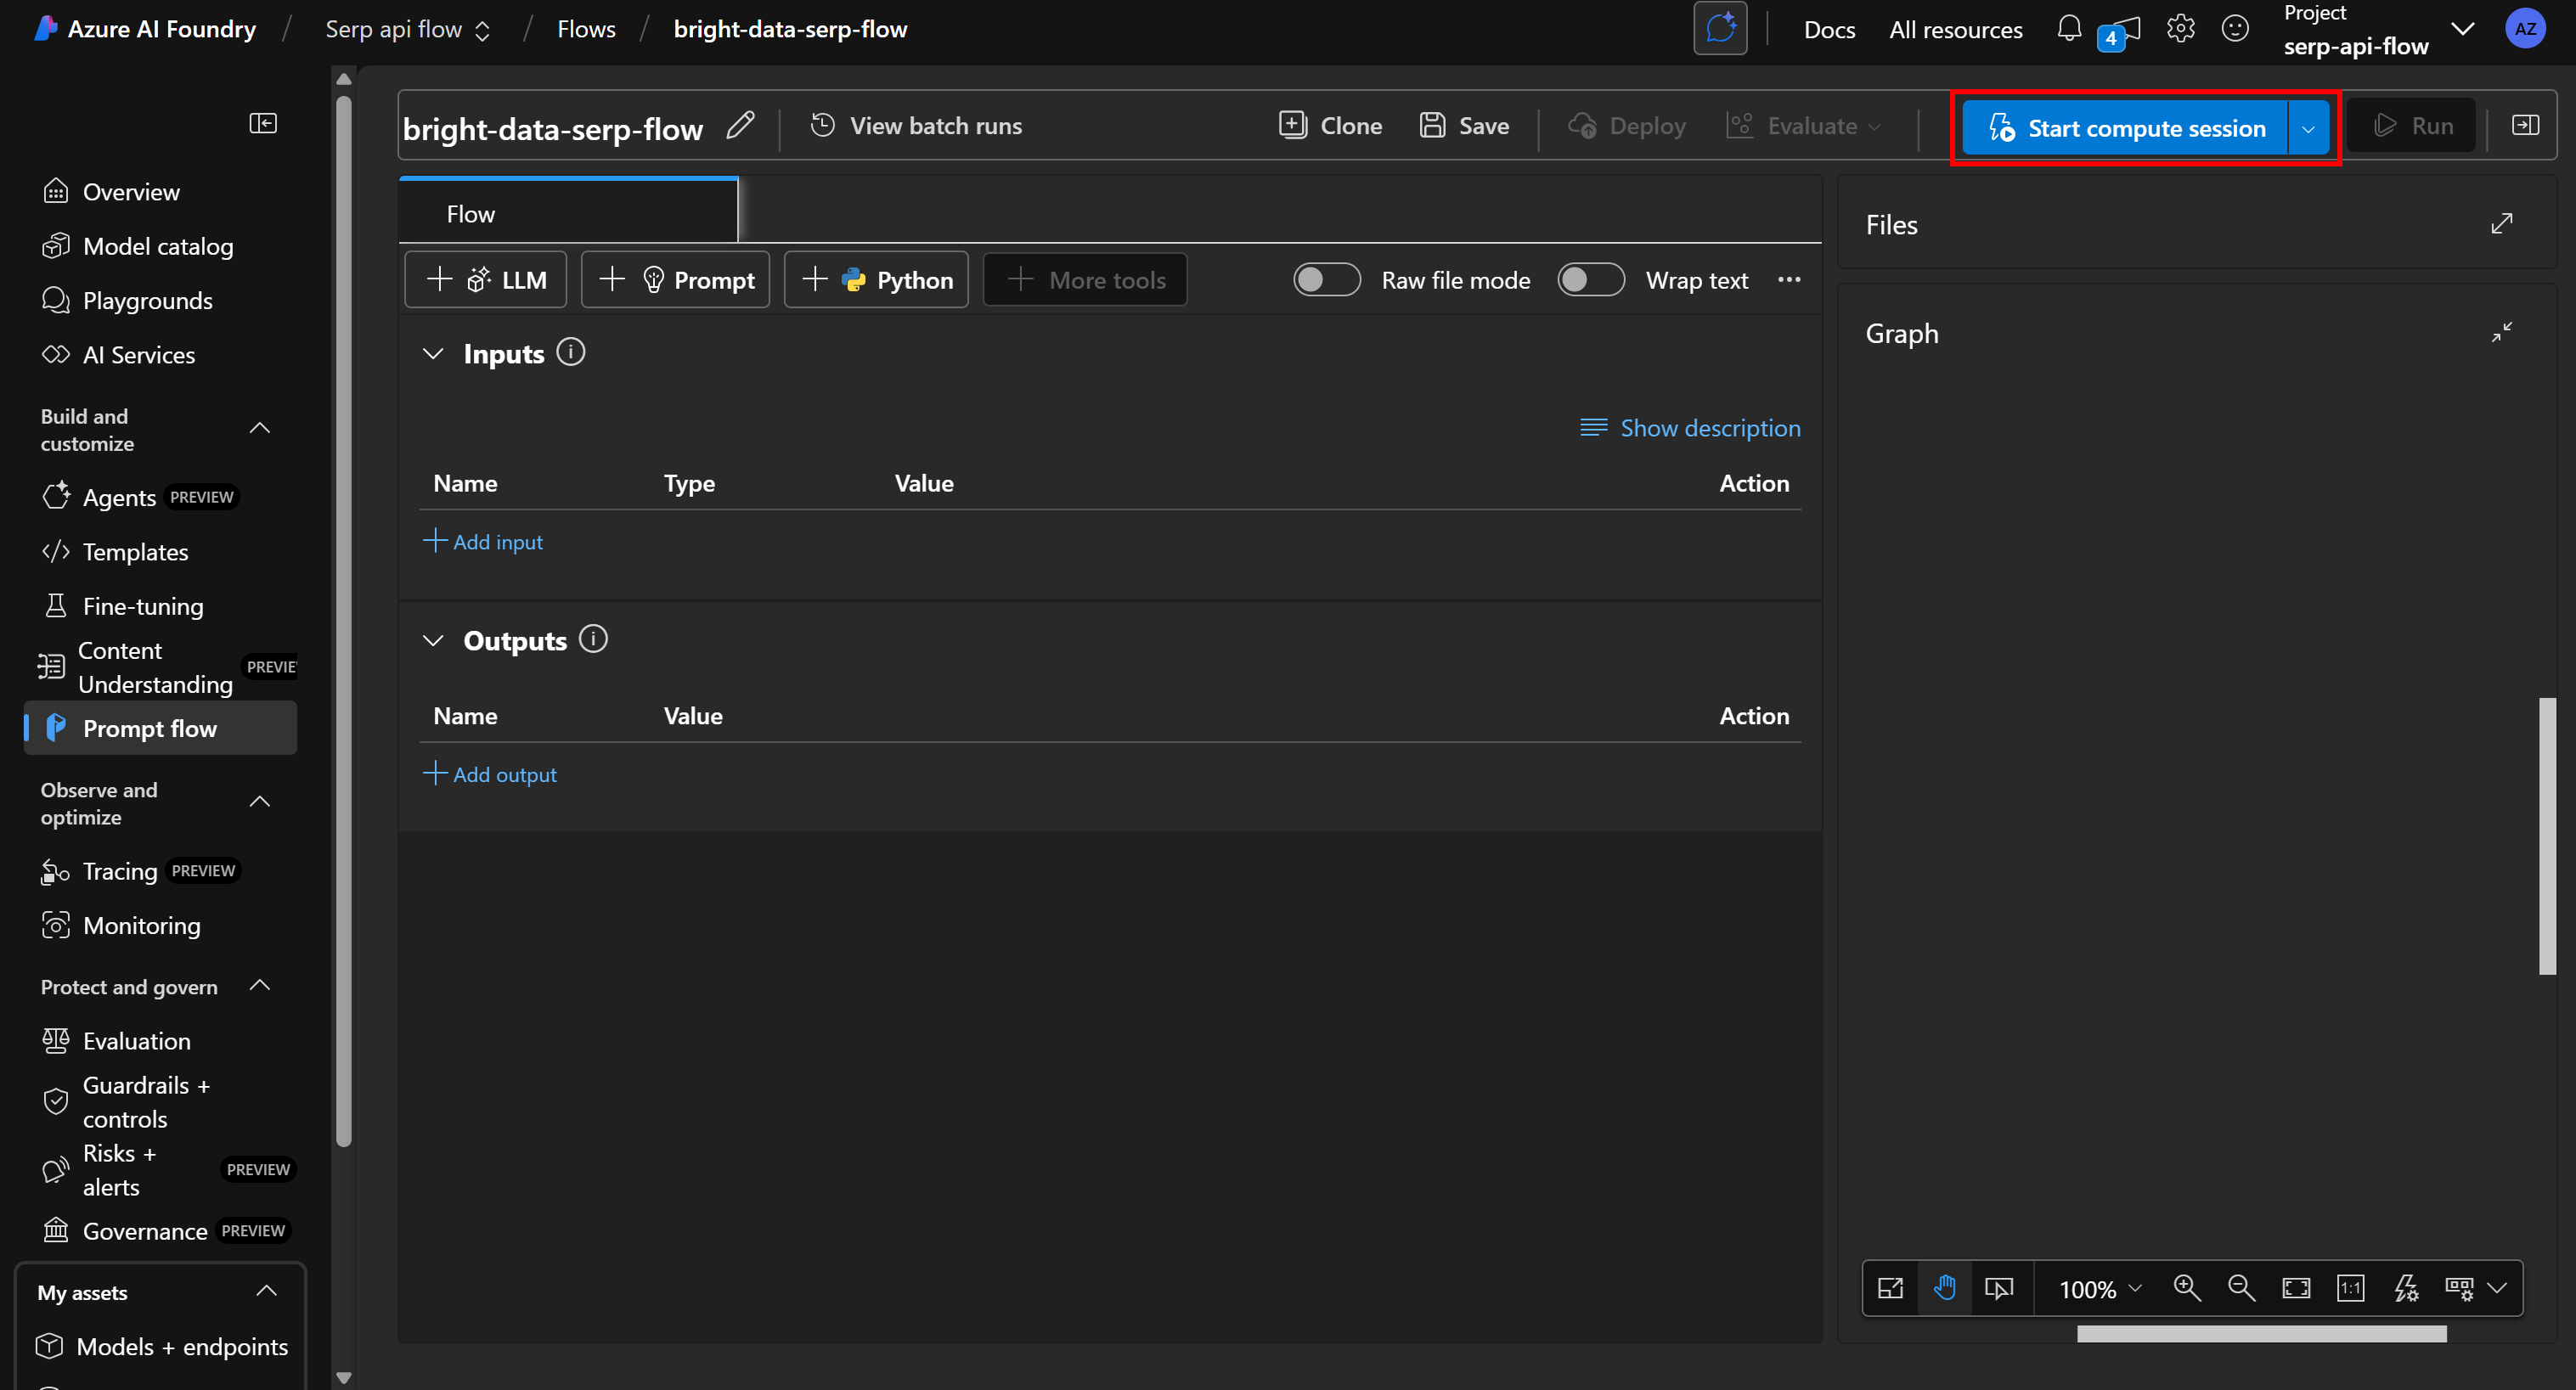
Note: When starting a compute session, Azure automatically tries to launch the default compute instance. However, it may take several minutes or even hours to allocate the resource. To avoid long wait times, consider manually starting the compute session using a custom configuration on your own compute instance.
Well done! You now have a blank canvas ready to be transformed into a Bright Data SERP API–powered Azure AI prompt flow.
Step #5: Design Your Prompt Flow
Before building the flow, you must clearly define the nodes it will include.
In this case, the goal is to create a news retrieval and evaluation flow. Given a topic, this will rely on Bright Data SERP API to fetch related news articles from Google, and then pass them to an LLM for evaluation based on reading worthiness. That way, you can quickly identify which articles are worth reading.
To achieve this, your flow will consist of four nodes:
- An input node that accepts the topic to perform the news web search for.
- A Python tool node that calls Bright Data’s SERP API using the provided topic.
- An LLM node that processes the SERP data returned by the API to identify and evaluate the news articles.
- An output node that displays the final report generated by the LLM.
In the following steps, you will learn how to implement this Azure AI prompt flow!
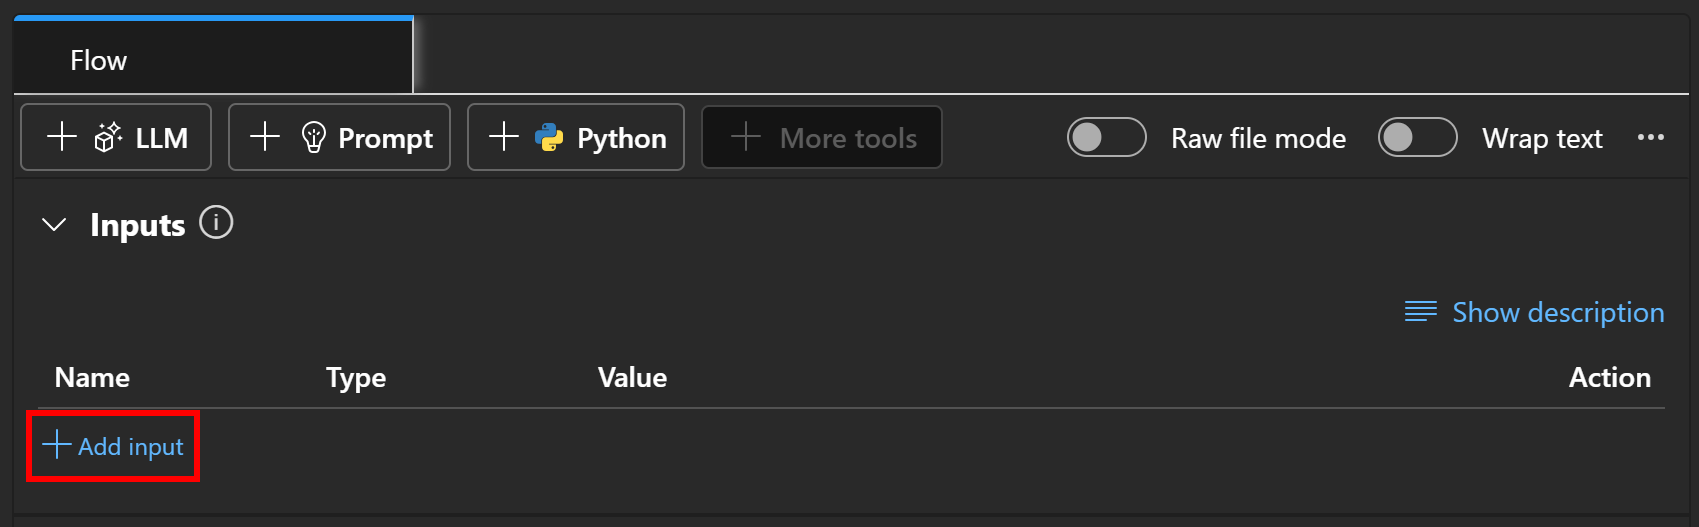
Step #6: Add the Input Node
Every flow must include both an input and an output node. Thus, the input and output nodes cannot be removed and are already part of the flow.
To configure the input node, go to the “Inputs” section of your flow and click the “Add button” button:
Define the input as topic and set its type to string:
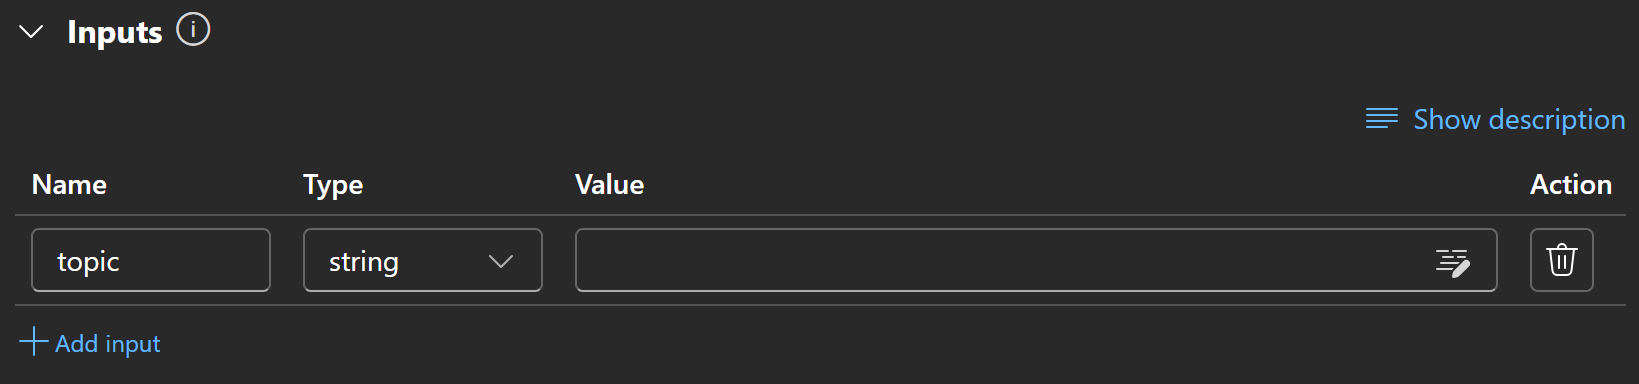
Amazing! The input node is now configured.
Step #7: Prepare to Call the SERP API
Before creating the custom Python node that calls the Bright Data SERP API, you need to take a couple of preparatory steps. These are not strictly required, but they will simplify the integration and make it more secure.
First, to make API calls easier, install the Bright Data Python SDK. This SDK provides convenient methods to interact with Bright Data products, including the SERP API (instead of calling them direcly via API using an HTTP client). You can learn more about it in the official documentation.
The SDK is available as the brightdata-sdk package. To install it in your flow, click the “Compute session running” button on the left, then select the “Install packages from requirements.txt” option:
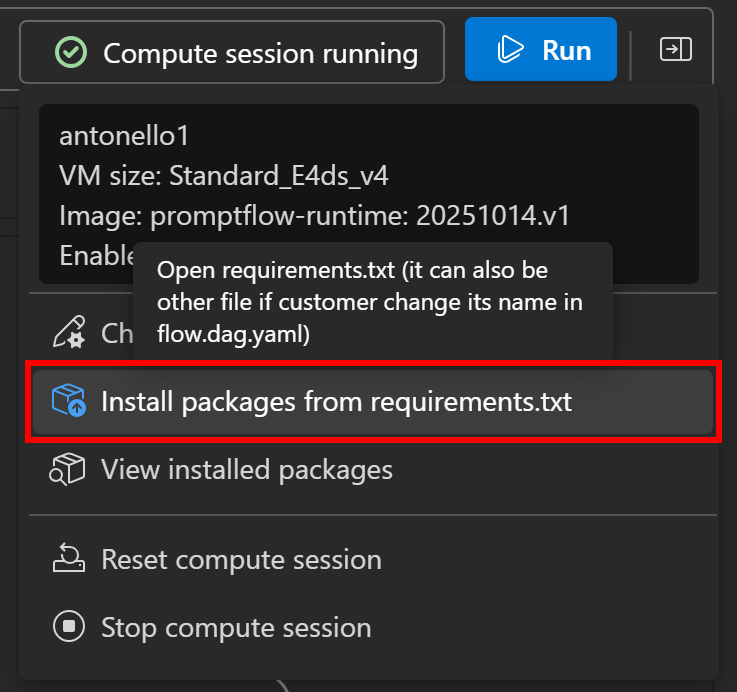
A requirements.txt file will open in your flow definition panel. Add the following line to it, then click the “Save and install” option:

Once installed, you will be able to use the Bright Data Python SDK within the custom Python tool nodes.
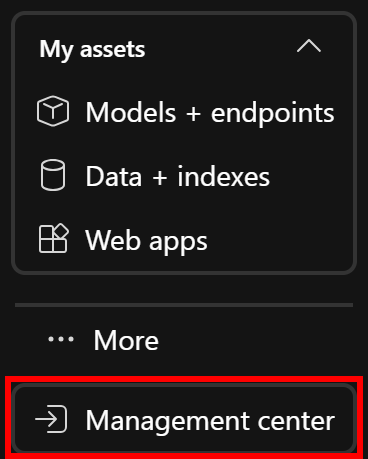
Next, since the SERP API requires authentication via an API key—and you do not want to hardcode it in your flow—you should store it securely as a secret in Azure. To do so, open the “Management center” from the left-hand menu (it is usually the last option):
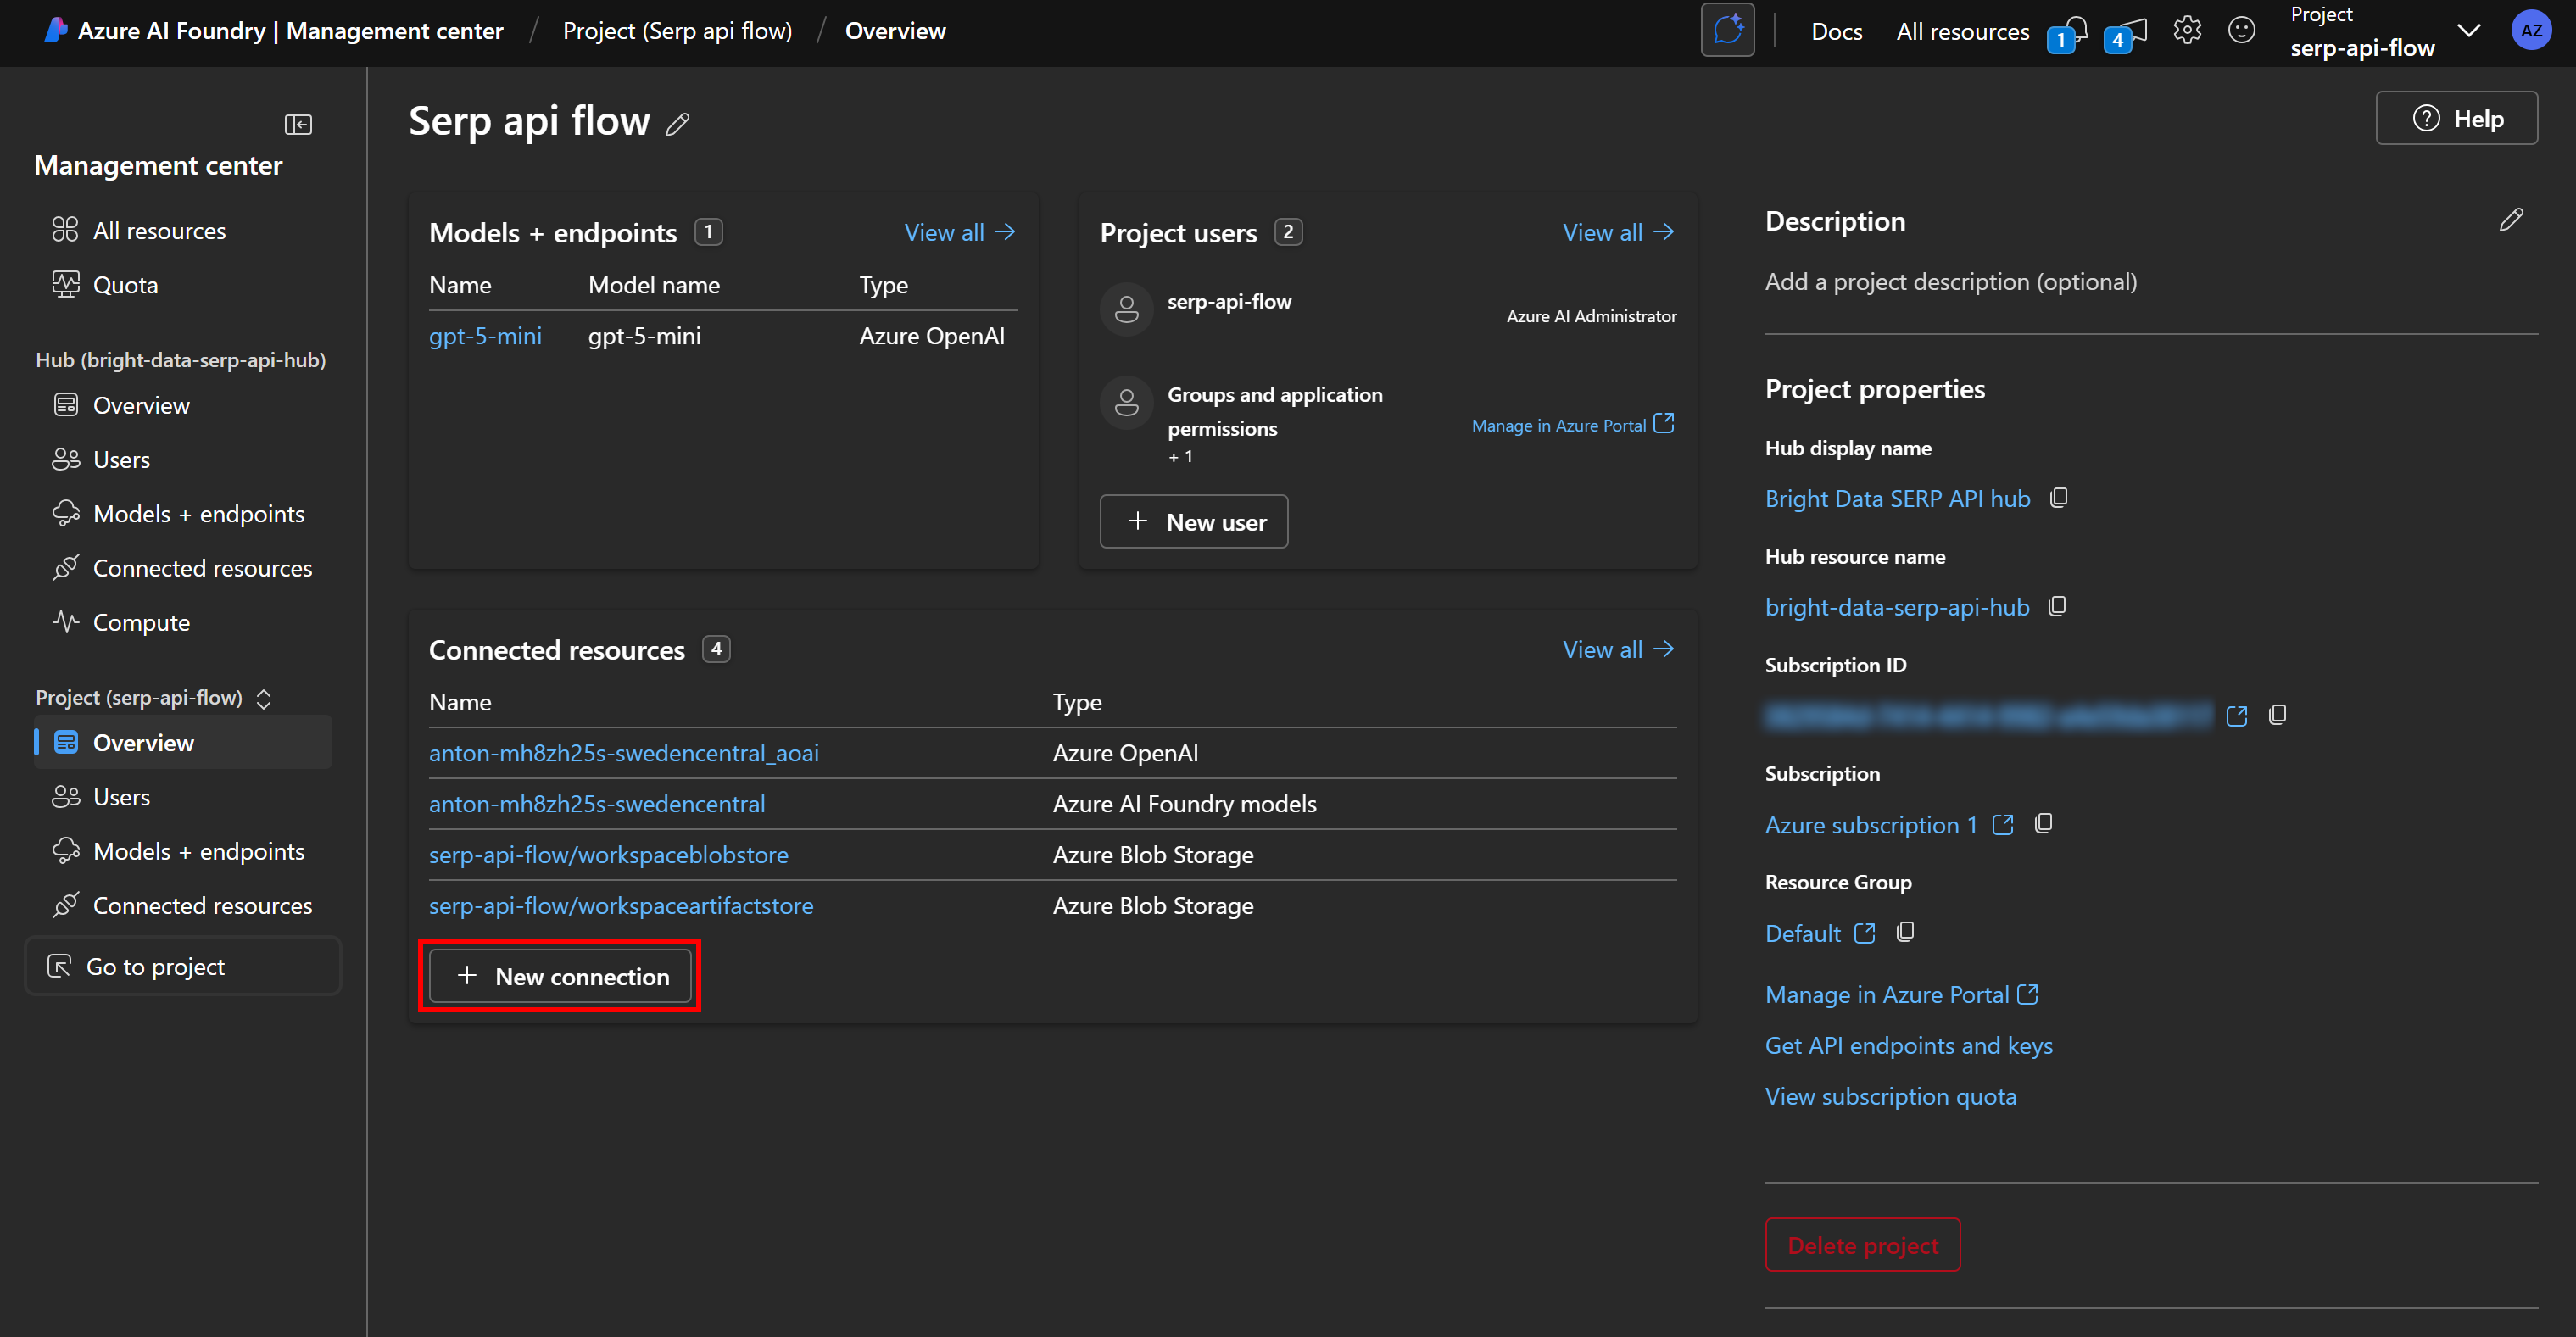
In the project management overview, click “New connection” under the “Connected resources” section:
In the modal that appears, select the “Custom keys” option:
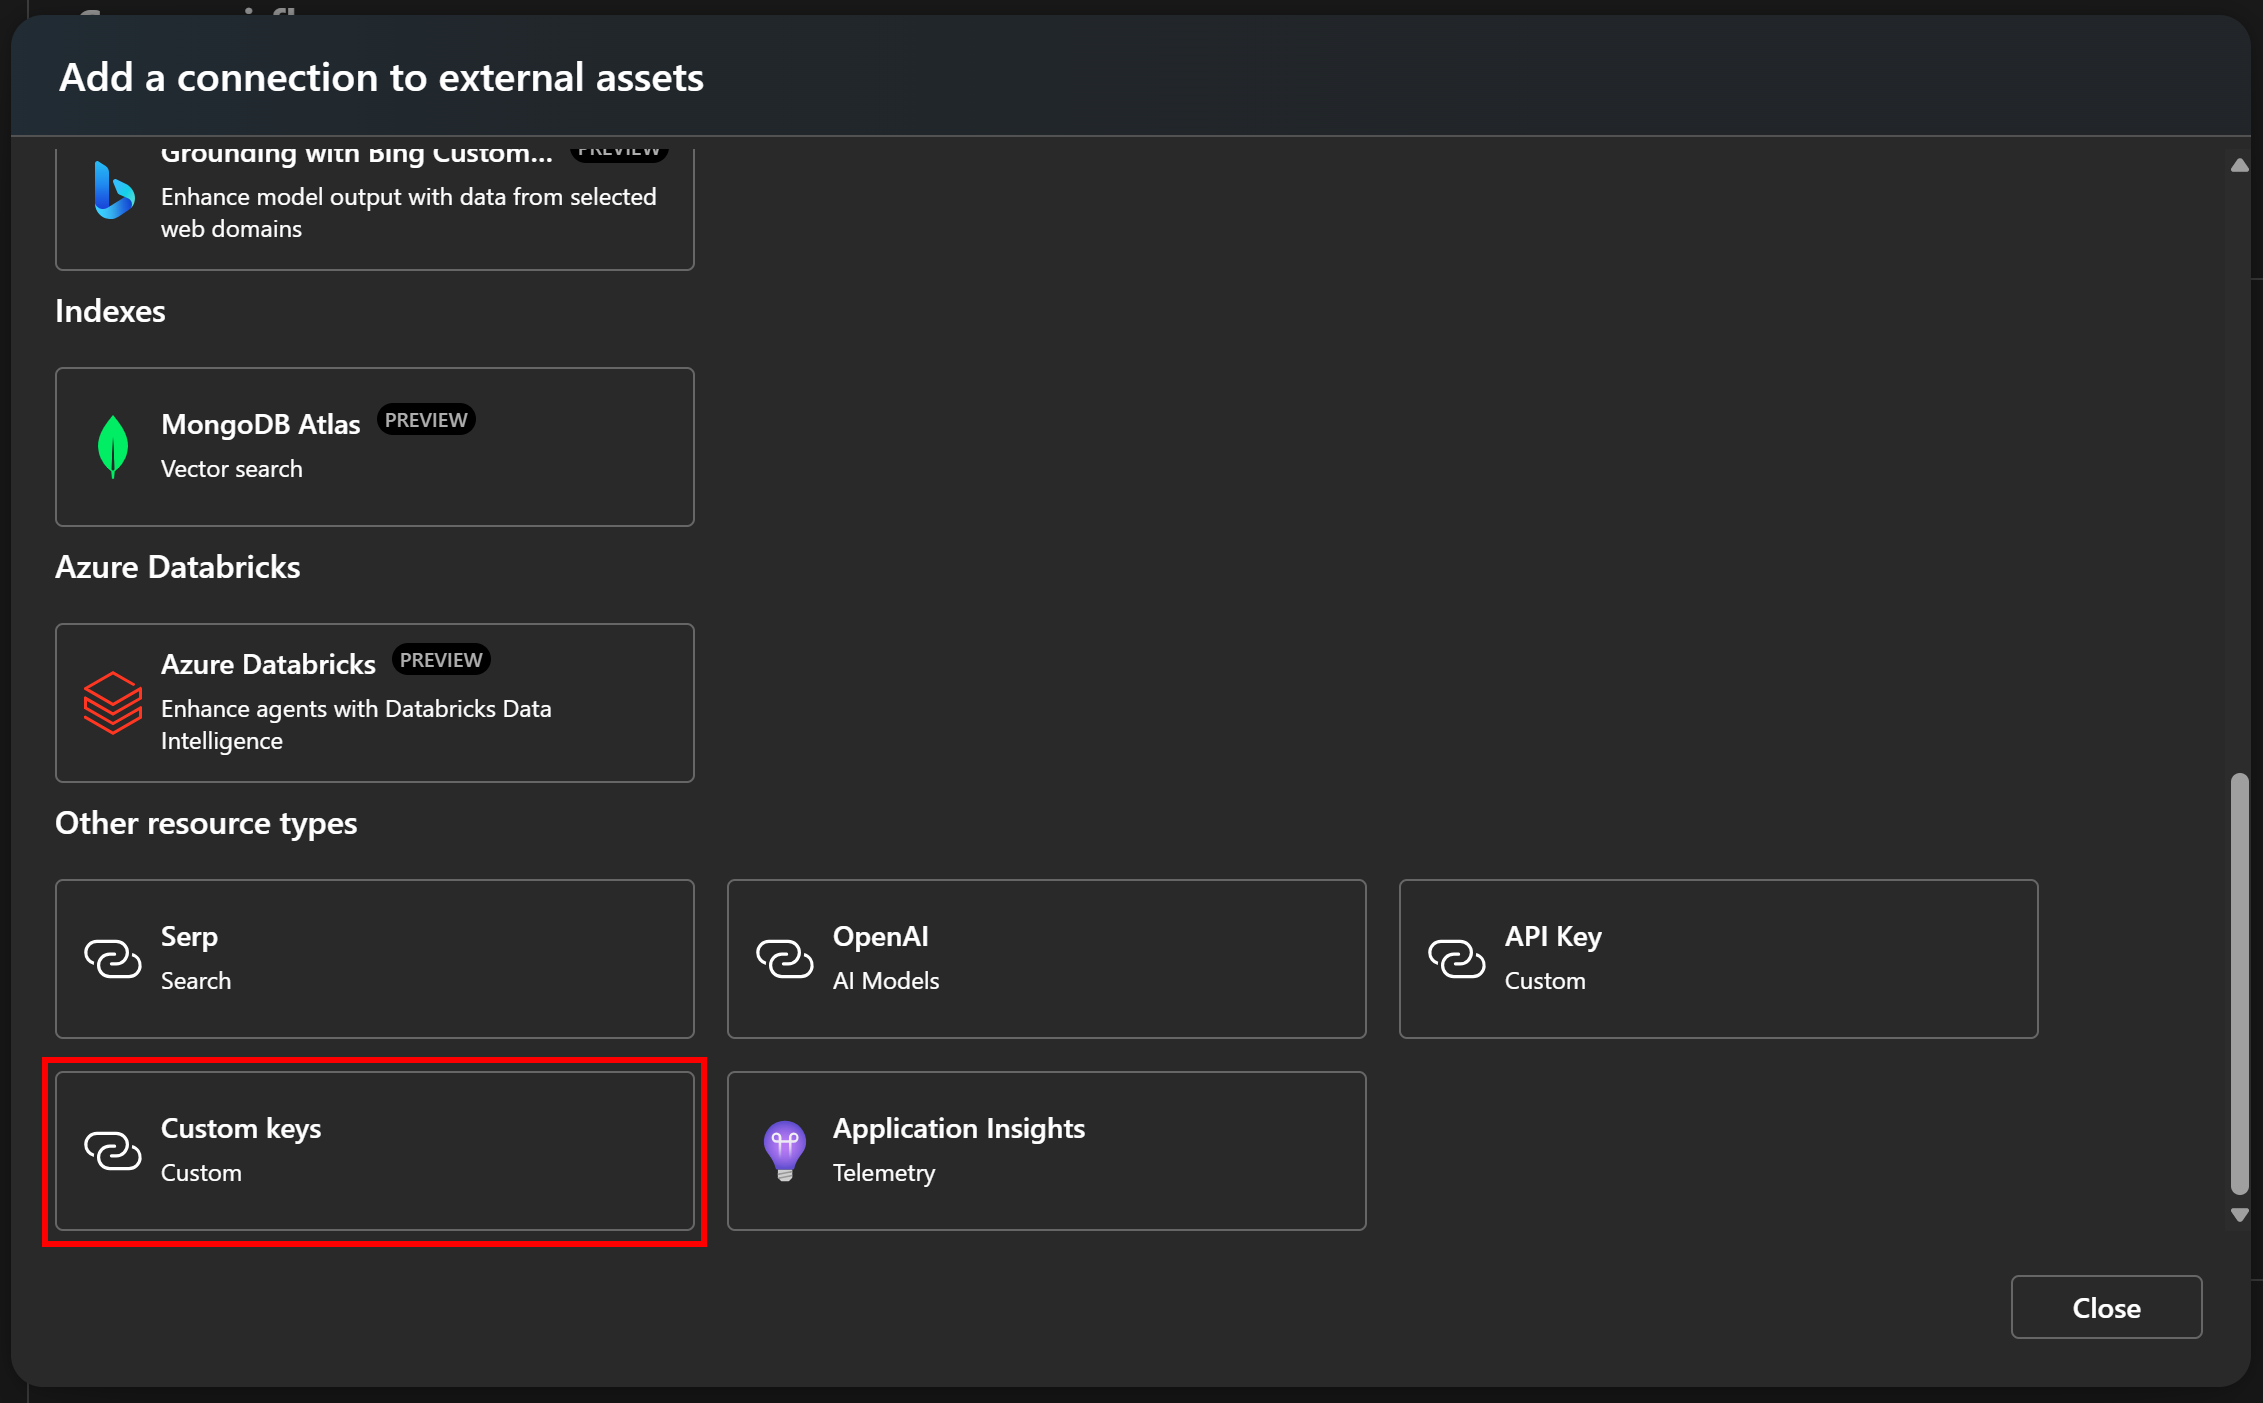
This is how you can store custom API keys in Azure AI Foundry.
Now, create a new secret key named something like BRIGHT_DATA_API_KEY, and paste your Bright Data API key into the value field. Be sure to check the “is secret” option. Then, give your connection a recognizable name, such as bright-data:
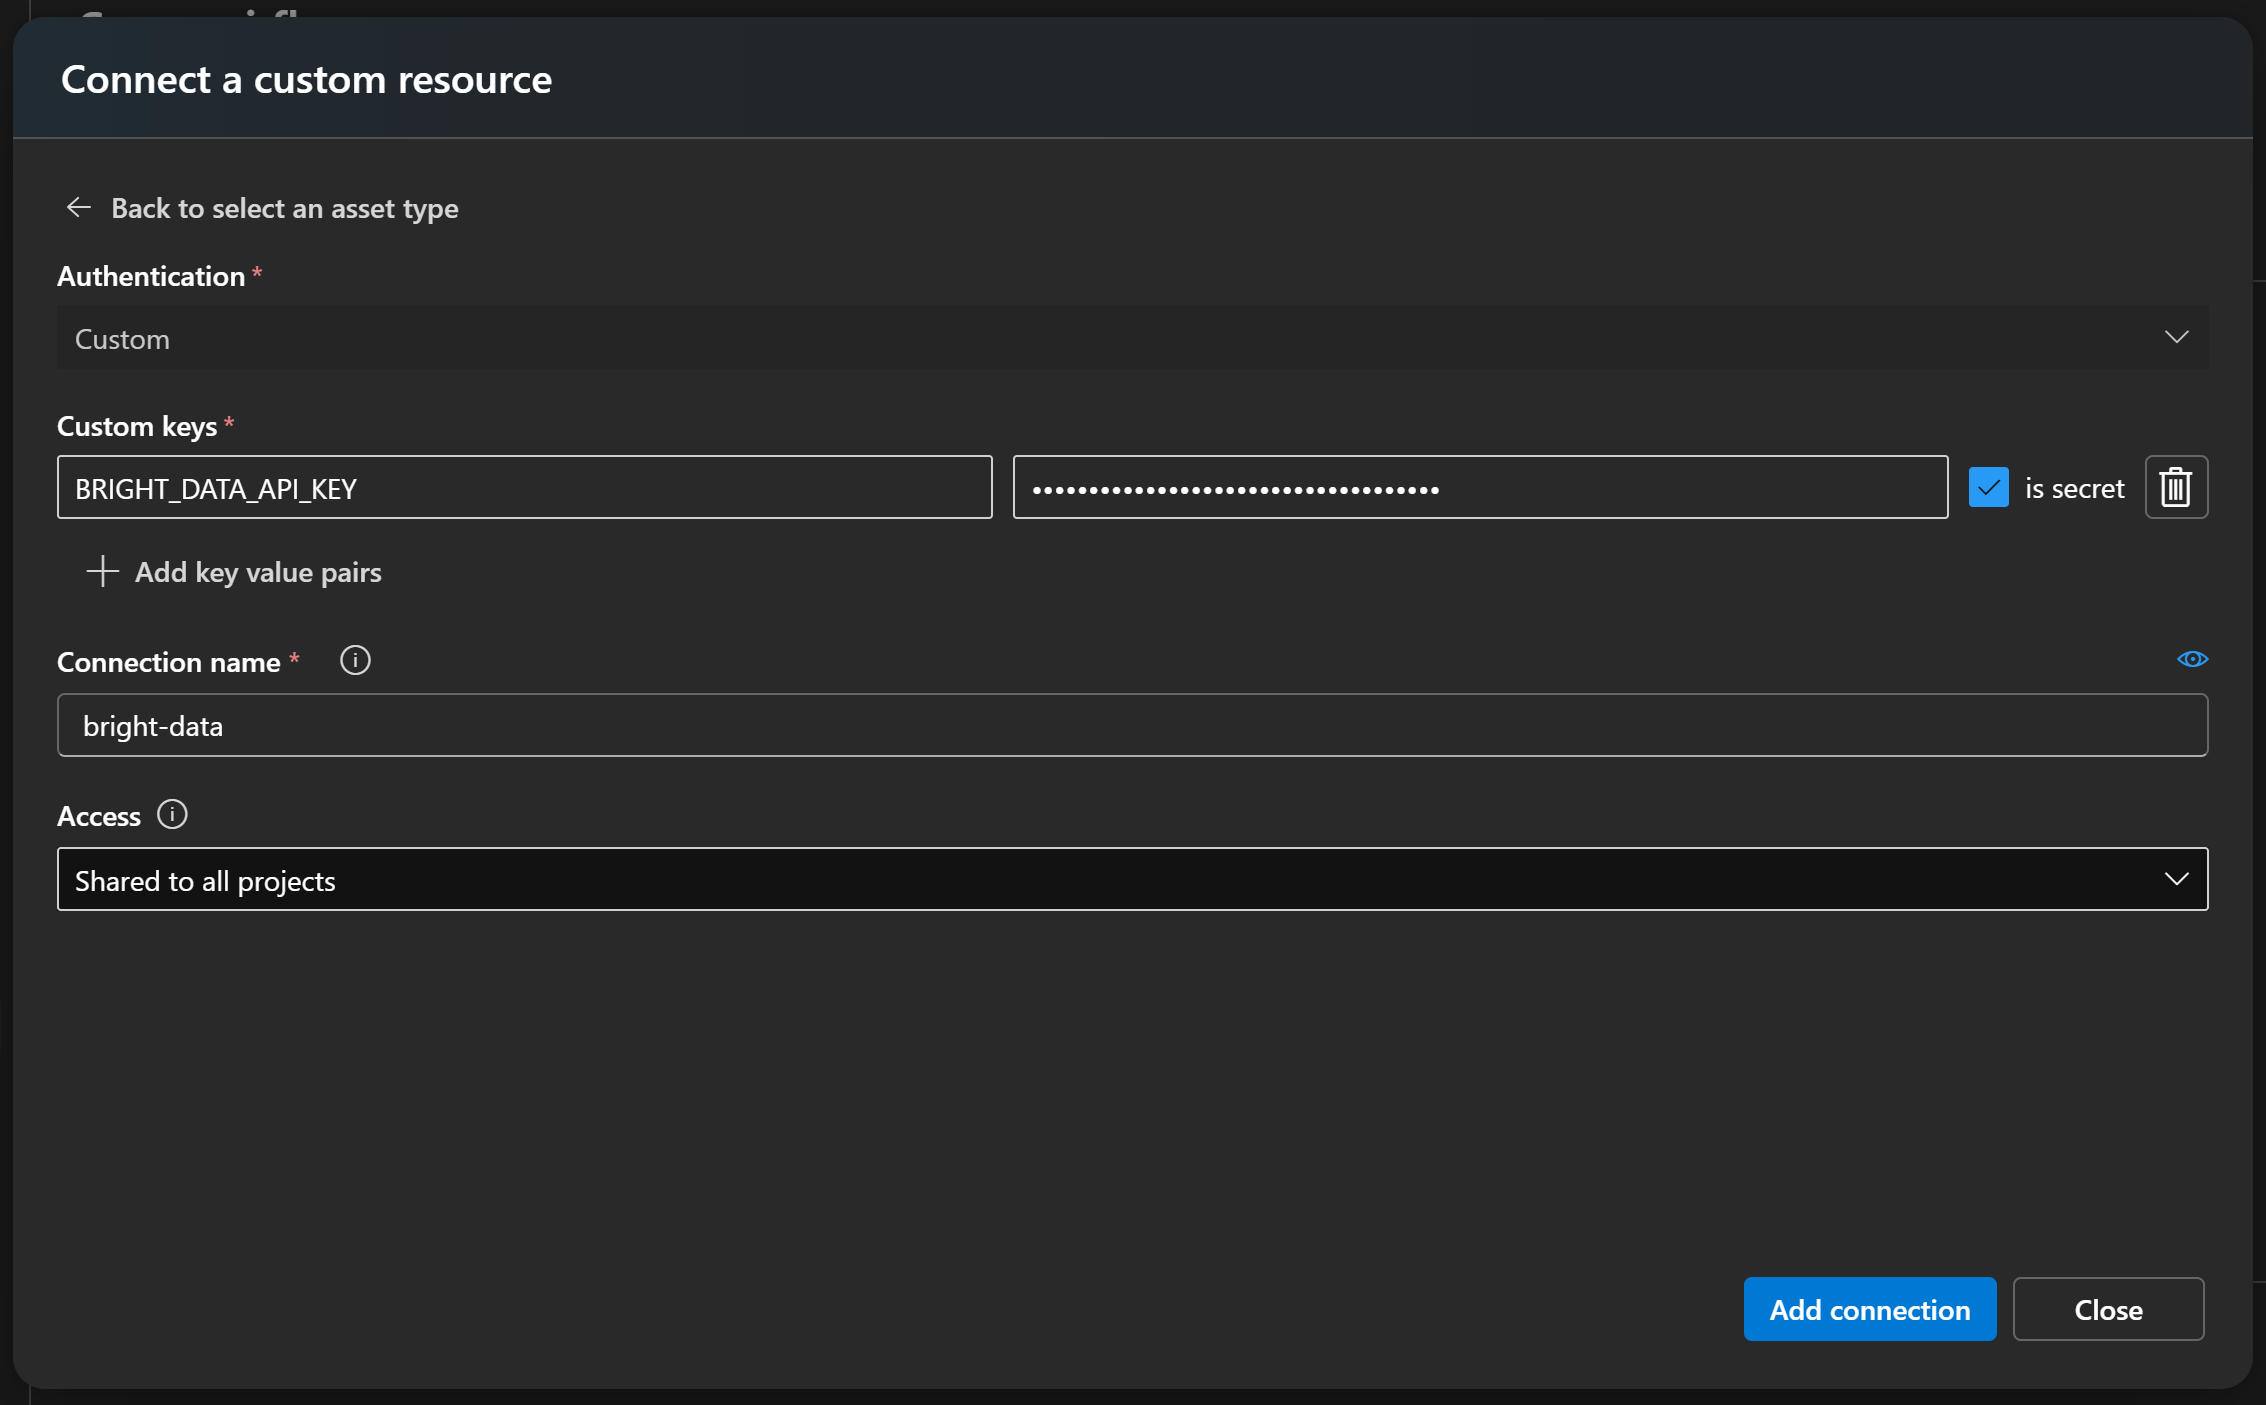
Finally, press “Add connection” to save.
Good! Move back to your flow. You are ready to see how to use the Bright Data Python SDK and your stored API key to call the SERP API in just a few lines of code.
Step #8: Define a Custom Python Node to Call Bright Data’s SERP API
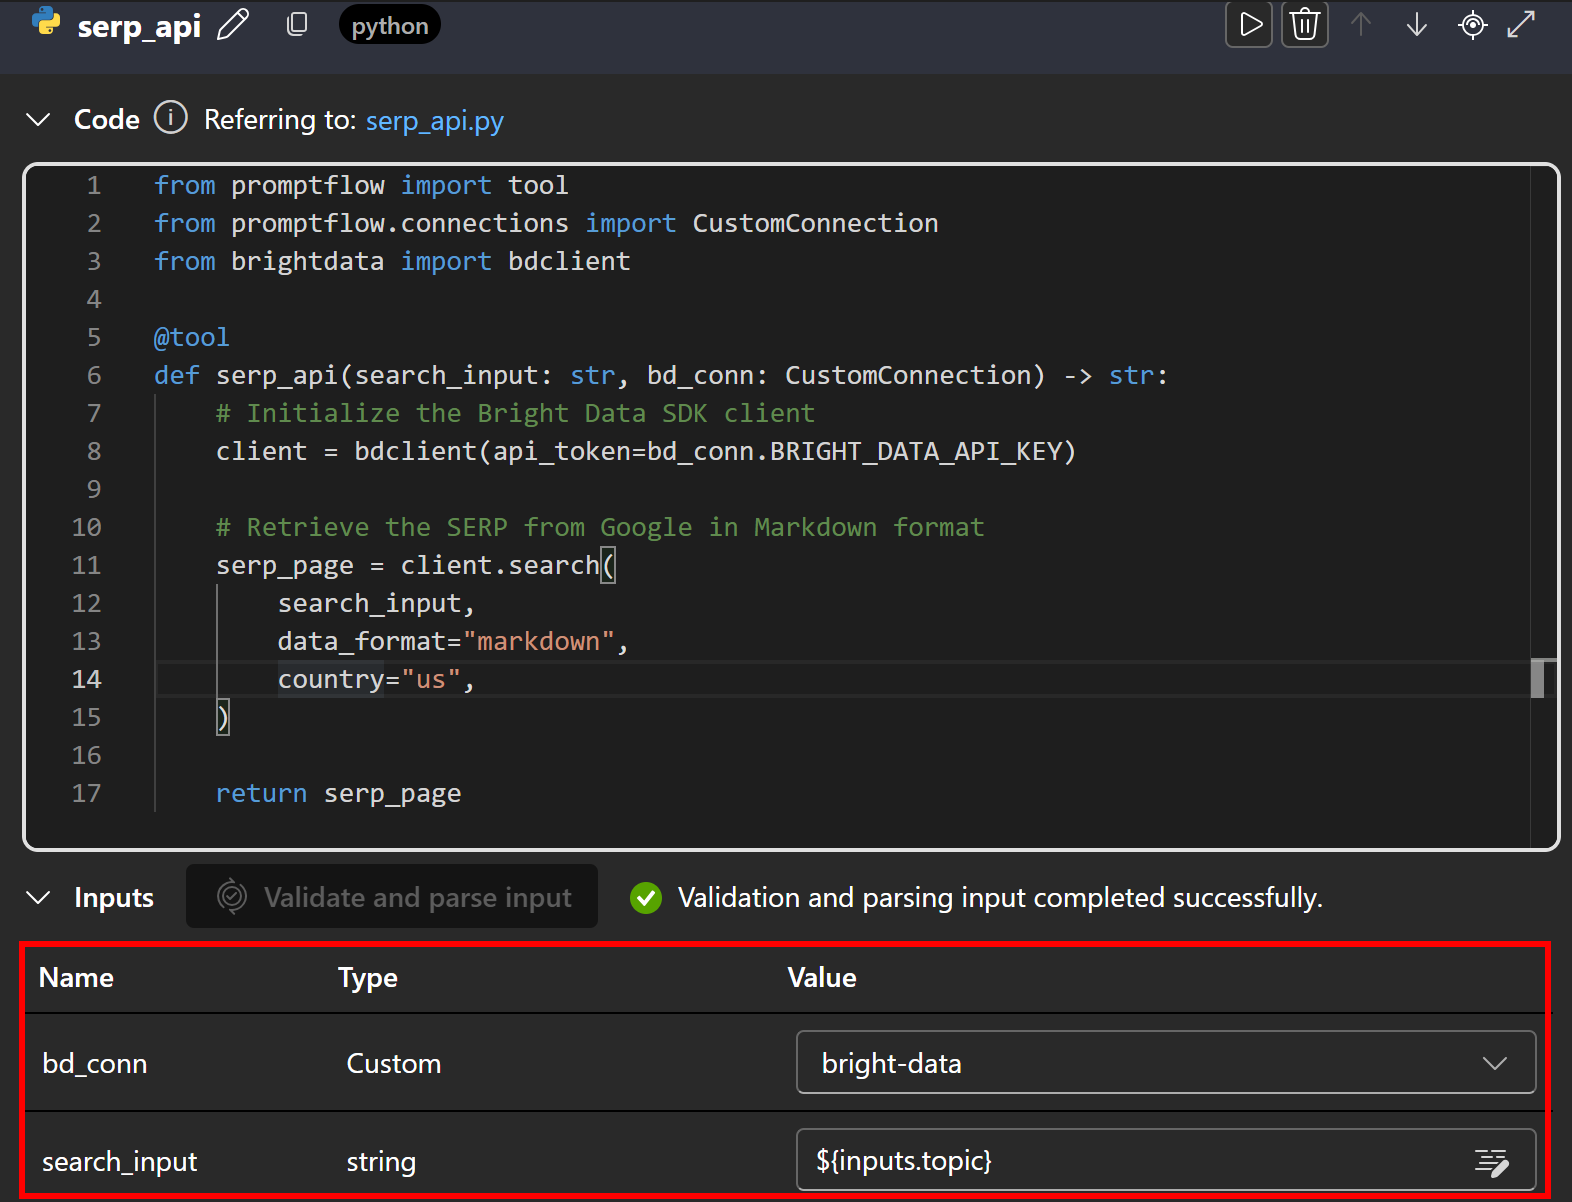
In the flow canvas, click the “Python” button to create a new Python tool node:

Give your node a name, such as serp_api, and press the “Add” button:

In the code textarea, add the following Python code:
from promptflow import tool
from promptflow.connections import CustomConnection
from brightdata import bdclient

@tool
def serp_api(search_input: str, bd_conn: CustomConnection) -> str:
    # Initialize the Bright Data SDK client
    client = bdclient(api_token=bd_conn.BRIGHT_DATA_API_KEY)

    # Retrieve the SERP from Google in Markdown format
    serp_page = client.search(
        search_input,
        data_format="markdown",
        country="us"
    )

    return serp_page
In Azure AI Foundry, Python nodes must define tools as functions annotated with @tool. In this case, the serp_api() function accepts the search input string and a custom connection as inputs.
From the custom connection, the function reads the BRIGHT_DATA_API_KEY you defined earlier and uses it to initialize a Bright Data API Python SDK client instance. That client is then used to call the SERP API via the search() method, with the data_format="markdown" and country="US" options to return the scraped SERP page from the US version of Google in Markdown. (which is ideal for AI ingestion).
Next, scroll down and define the input elements for the node. First, press “Validate and parse input” to allow the node to recognize valid inputs. Configure the identified inputs by mapping:
bd_conntobright-data(your custom connection defined earlier).search_inputto${input.topic}so that the search input from the input node is passed to the SERP API.
Terrific! The Bright Data SERP API integration in Azure AI Foundry is now complete.
Step #9: Specify the LLM Node
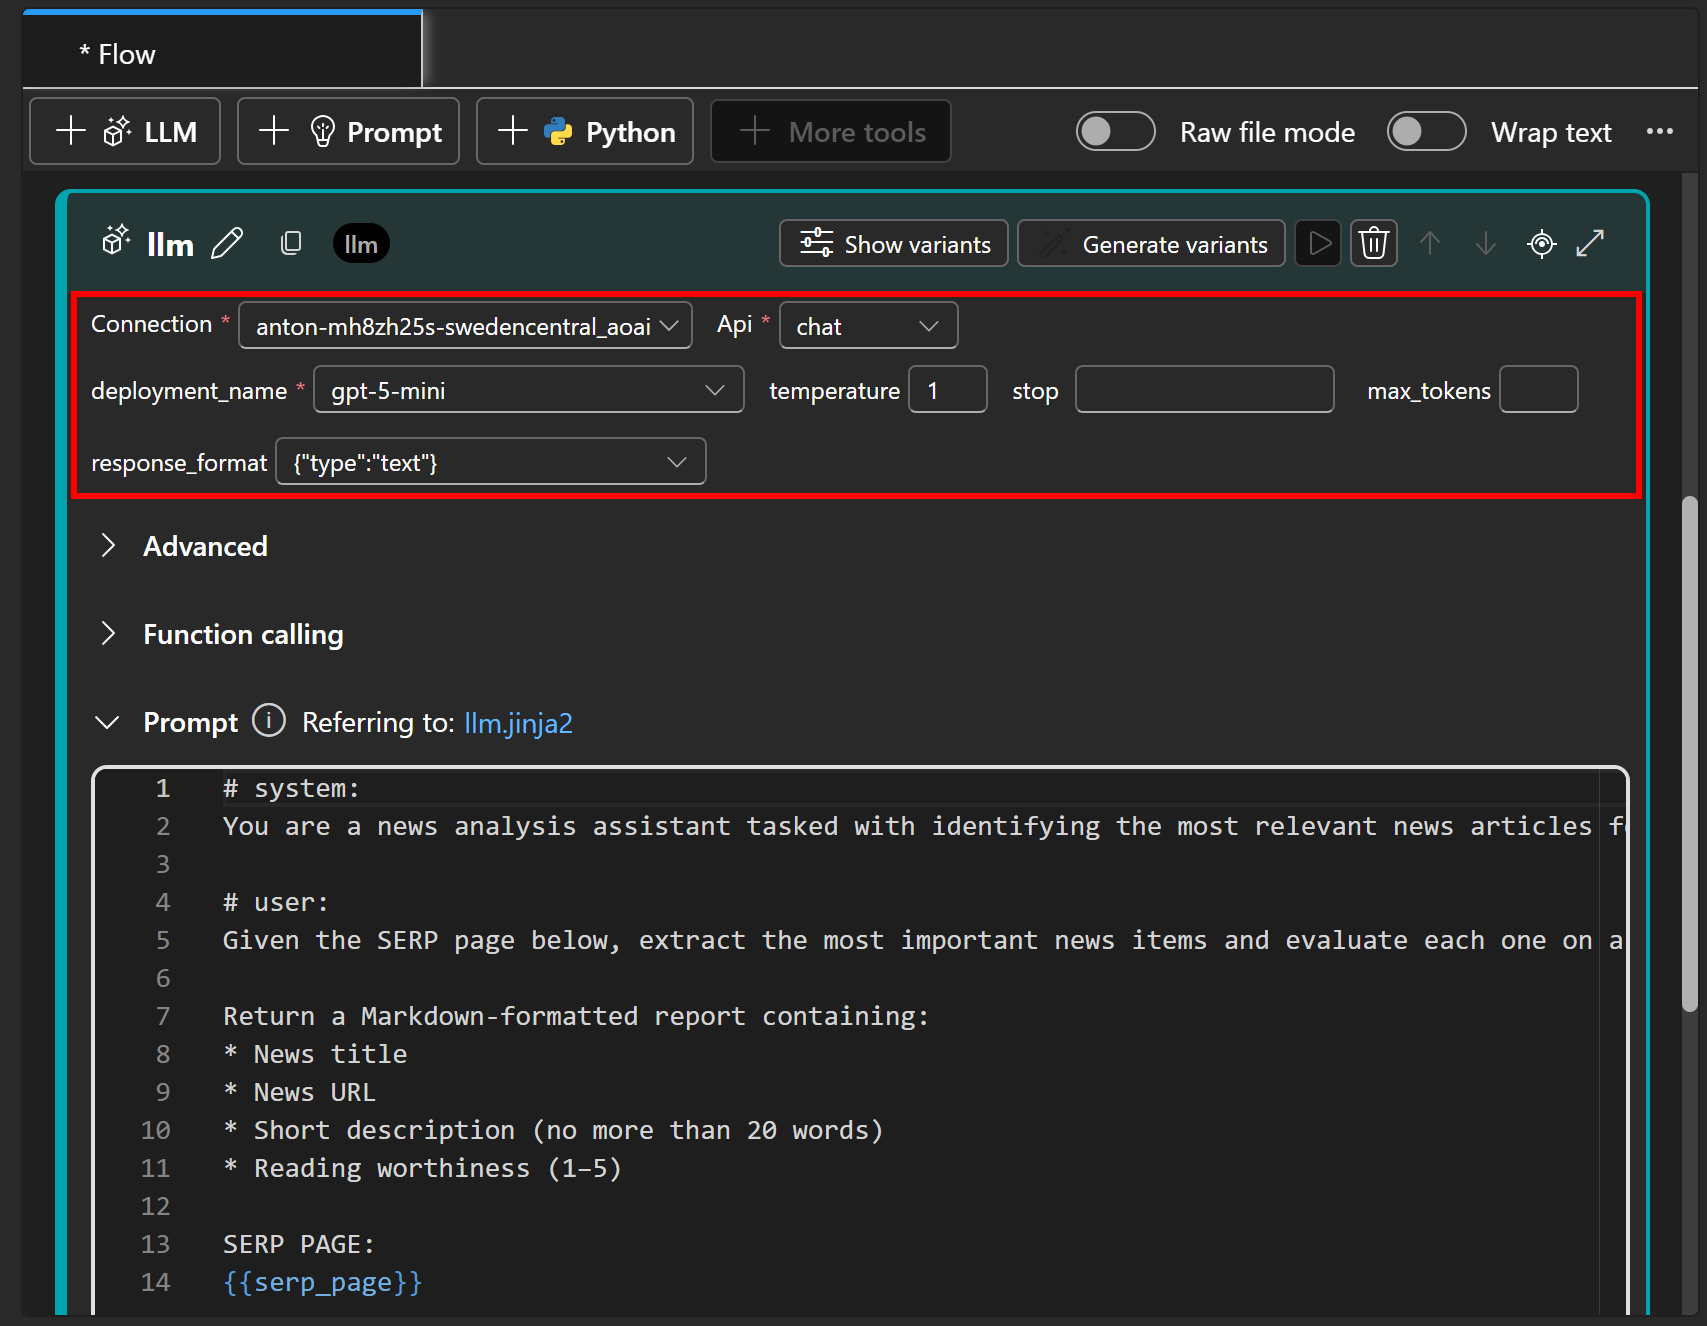
Now that you have the SERP page corresponding to the initial search topic, feed it to an LLM for news extraction and evaluation. Add an LLM node by pressing the “LLM” button right below the “Flow” tab:

Give your LLM node a name like llm and confirm by clicking “Add”:

This node is where you define the core logic of your prompt flow. To achieve the news extraction and evaluation goal, you can write a prompt like this:
# system:
You are a news analysis assistant tasked with identifying the most relevant news articles for a given topic.

# user:
Given the SERP page below, extract the most important news items and evaluate each one on a scale of 1 to 5 based on how worth reading it appears.

Return a Markdown-formatted report containing:
* News title
* News URL
* Short description (no more than 20 words)
* Reading worthiness (1–5)

SERP PAGE:
{{serp_page}}
The # system section defines the assistant’s role and overall behavior, while the # user section provides the specific task and instructions for processing the input.
Next, configure the LLM node to connect to the AI model deployed earlier (in Step #3):
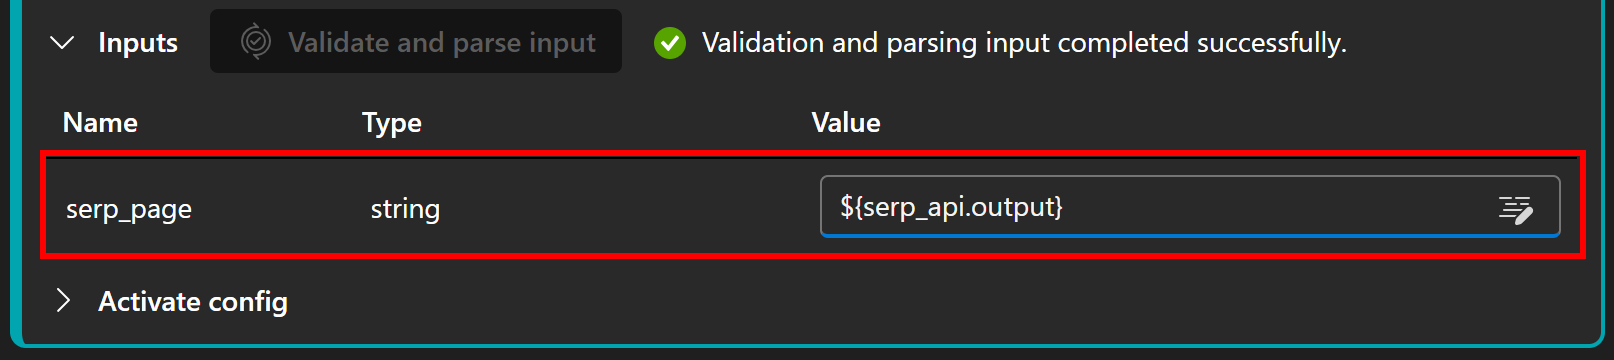
Notice that the prompt contains a serp_page parameter, which needs to be set to the output of the serp_api node defined earlier. Configure that in the “Inputs” section by pressing “Validate and parse input” and assigning serp_page to ${serp_api.output}:
Cool! Your Azure AI flow now has a functioning LLM “brain” capable of processing SERP results and generating evaluated news reports.
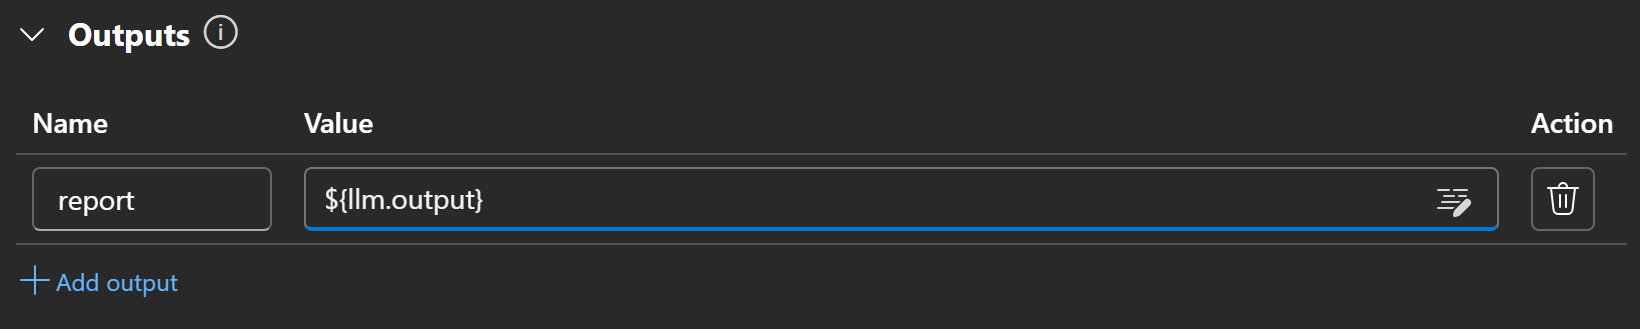
Step #10: Define the Output Node
The final step is to configure the output node. In the “Outputs” section, click “Add output”:

Set the output name to report and assign it to the output of the LLM node using the ${llm.output} variable:
Once done, press “Save” to save your prompt flow:

Congratulations! Your Azure AI flow is now fully implemented.
Step #11: Put It All Together
If you look at the “Graph” section of your flow development environment, you should see a DAG like the one below:
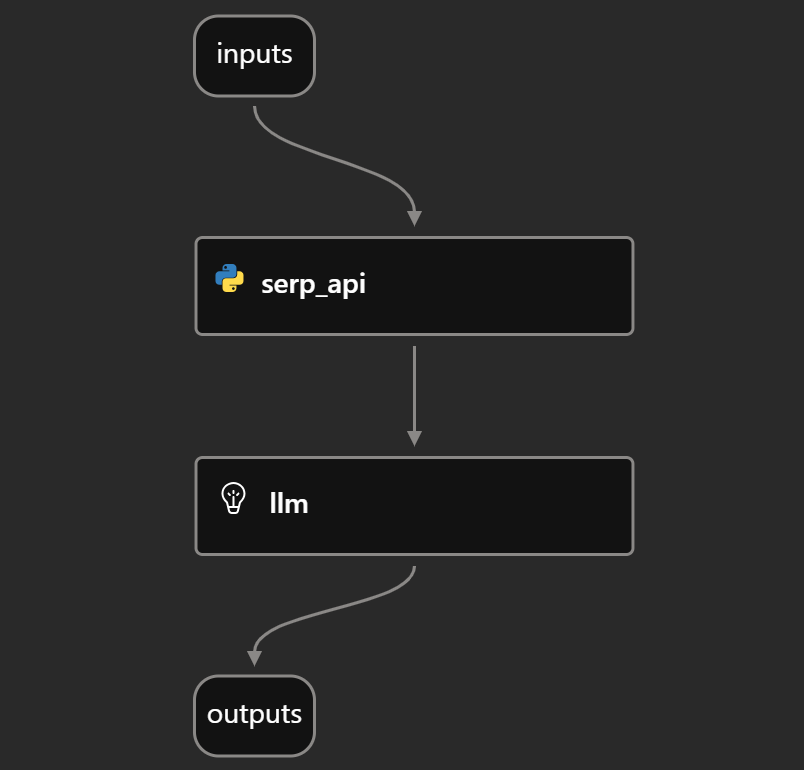
This clearly represents the news analysis flow outlined in Step #5, showing how the input, SERP API call, LLM evaluation, and output are connected.
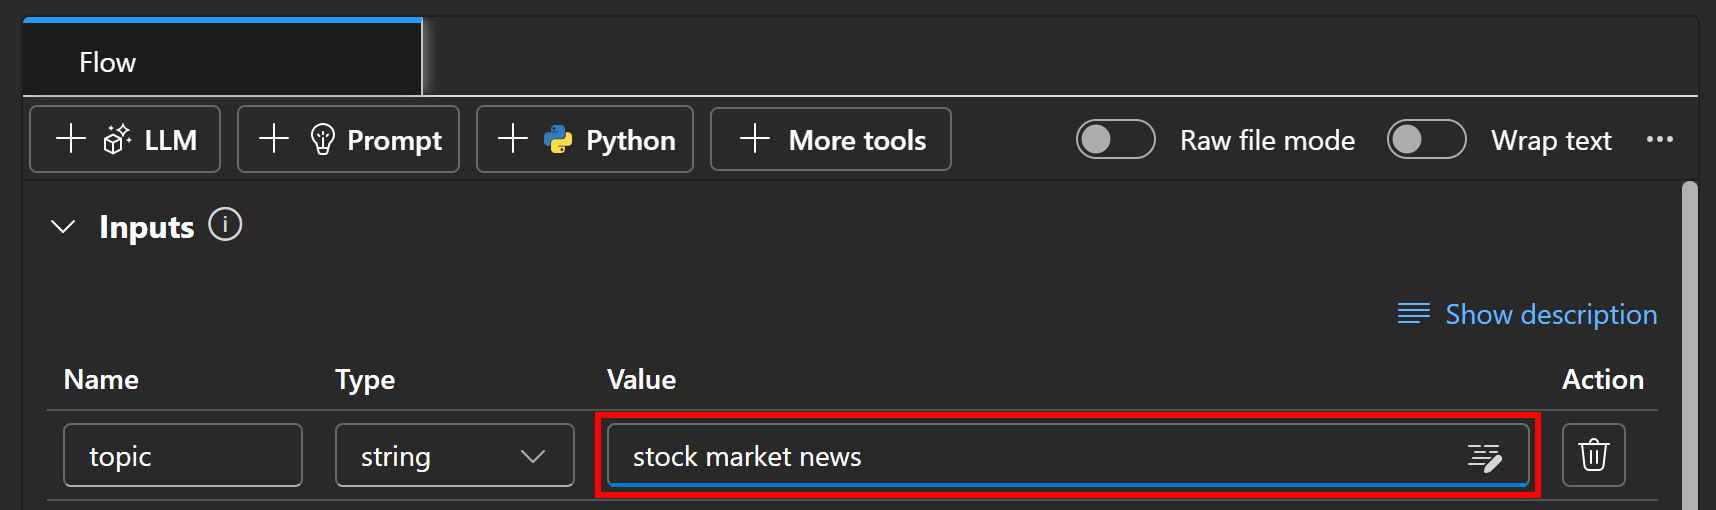
Step #12: Launch the Prompt Flow
To test your Azure AI prompt flow, let’s use the example topic “stock market news.” In the “Inputs” node, fill out the “Value” for topic with the string “stock market news”:
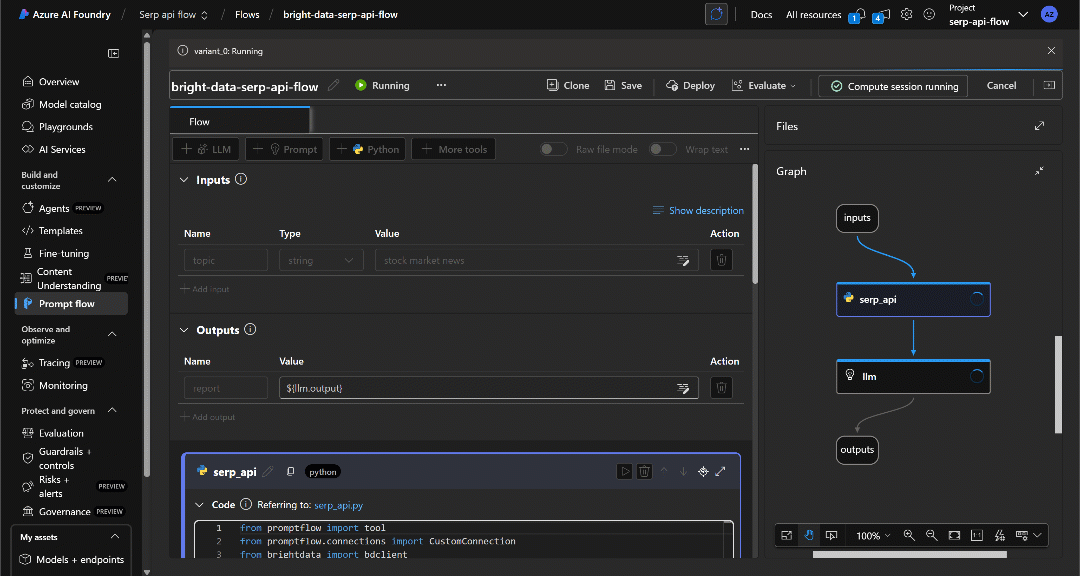
Next, press the “Run” button in the top-right corner to execute the flow:

You should see each node gradually turn green as data passes through the flow until it reaches the “Outputs” node:
When the execution is complete, you will receive a notification like this:

Click “View outputs” to explore the flow’s result:
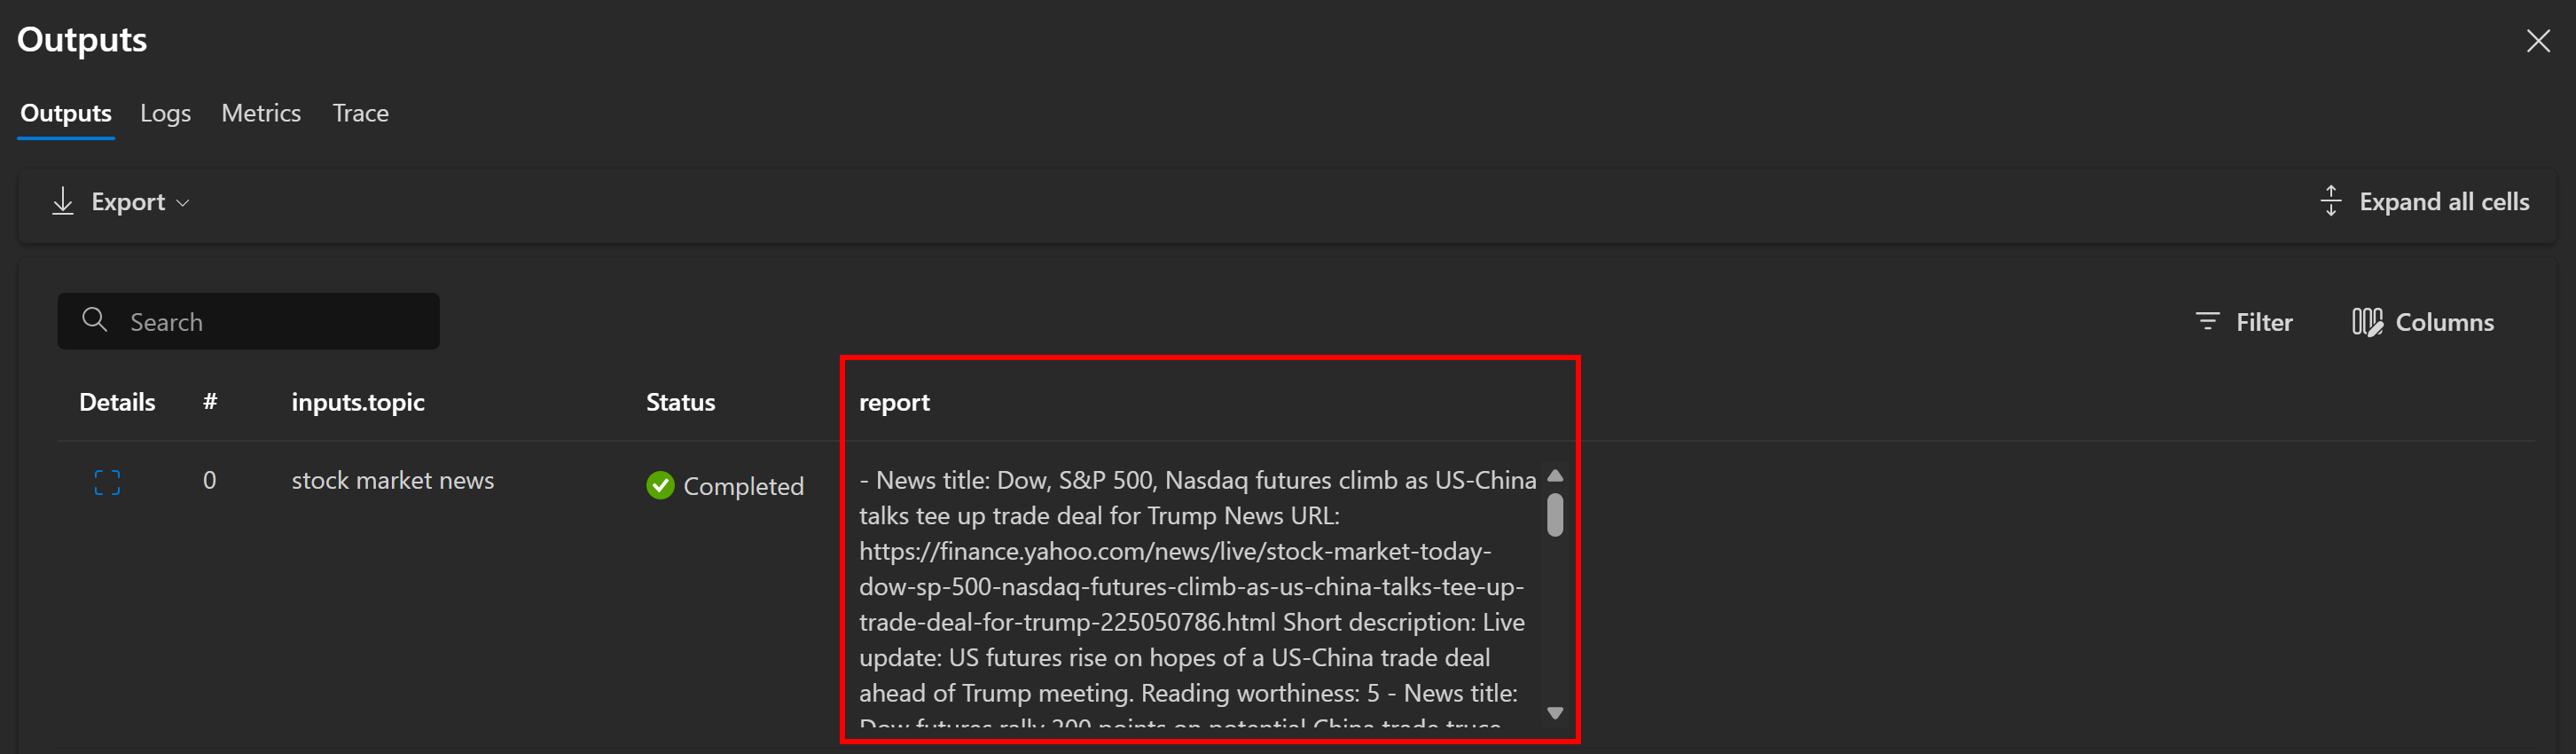
As expected, the flow produces a Markdown report containing the news articles. In this case, it includes:
- **News title:** Dow, S&P 500, Nasdaq futures climb as US-China talks tee up trade deal for Trump

  **News URL:** [Yahoo Finance](https://finance.yahoo.com/news/live/stock-market-today-dow-sp-500-nasdaq-futures-climb-as-us-china-talks-tee-up-trade-deal-for-trump-225050786.html)

  **Short description:** Live update: US futures rise on hopes of a US-China trade deal ahead of Trump meeting.

  **Reading worthiness:** 5

- **News title:** Stock market today: Dow, S&P 500, Nasdaq futures climb as US-China talks tee up trade deal for Trump

    **News URL:** [Yahoo Finance](https://finance.yahoo.com/news/live/stock-market-today-dow-sp-500-nasdaq-futures-climb-as-us-china-talks-tee-up-trade-deal-for-trump-225050786.html)

    **Short description:** Markets rise on renewed U.S.–China trade optimism during Trump’s talks.

    **Reading worthiness:** 5

# Omitted for brevity...
These results reflect the “stock market news” SERP page at the time of running the flow:
To confirm that the SERP page was correctly retrieved, inspect the “output” tab in the “Outputs” section of the serp_api node:
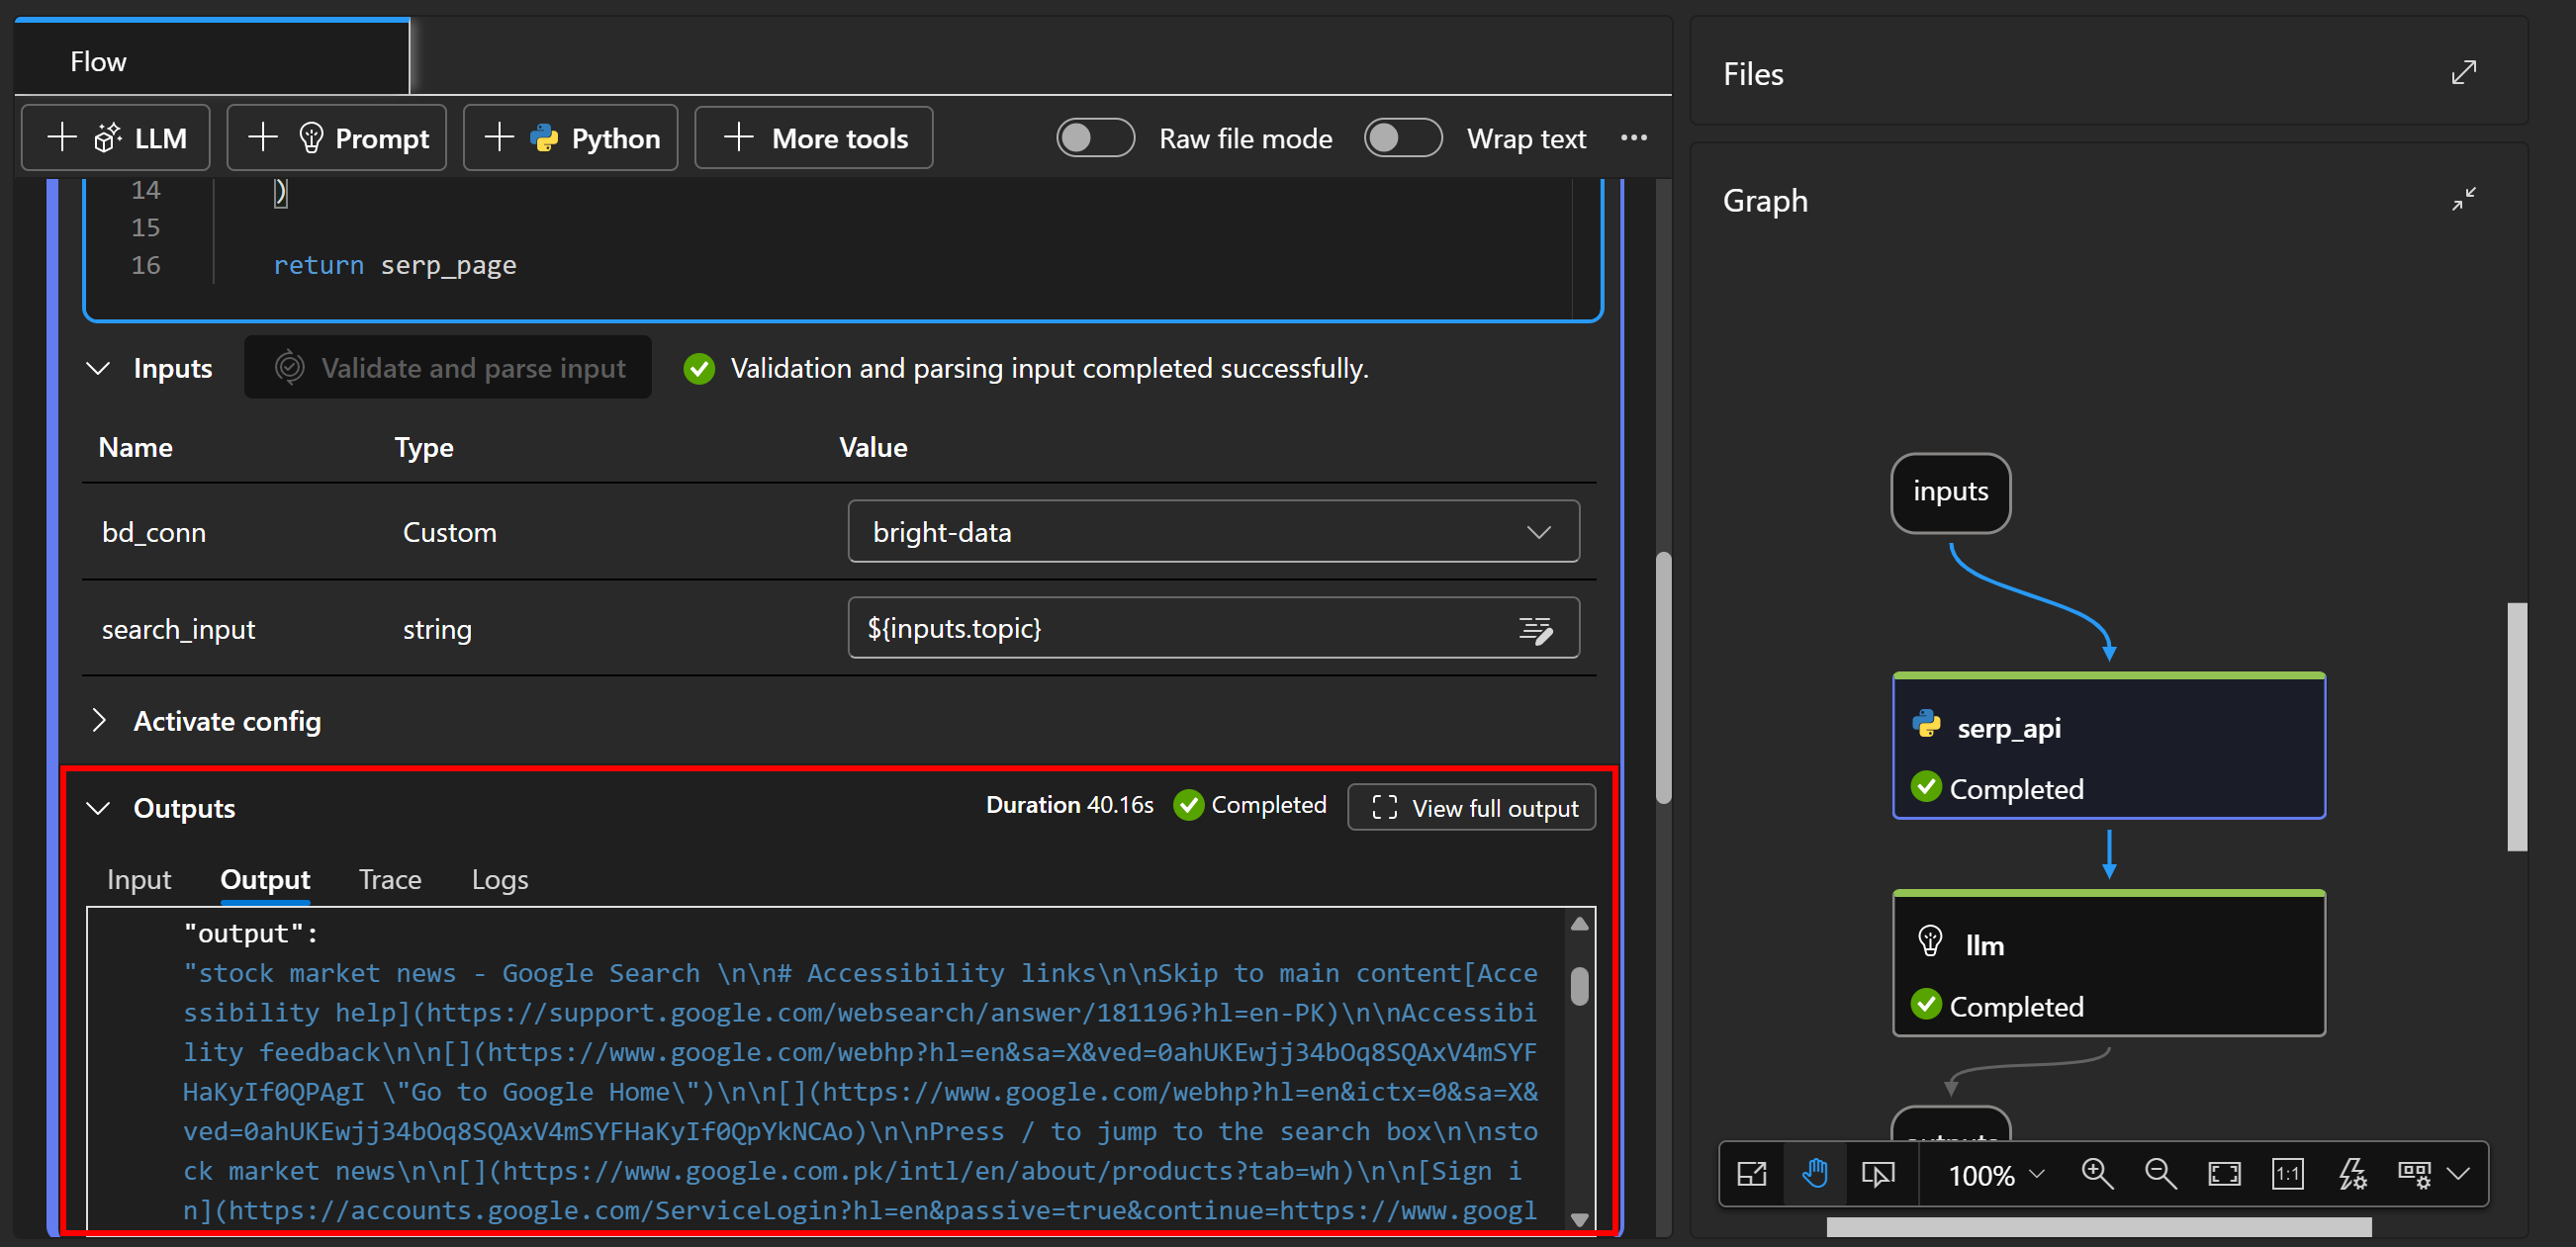
There, you will see the Markdown version of the original SERP. Bright Data’s SERP API did its magic!
Now, for a full inspection of the flow’s output, copy the report output to a file, e.g., report.md. View it in a Markdown viewer like Visual Studio Code:
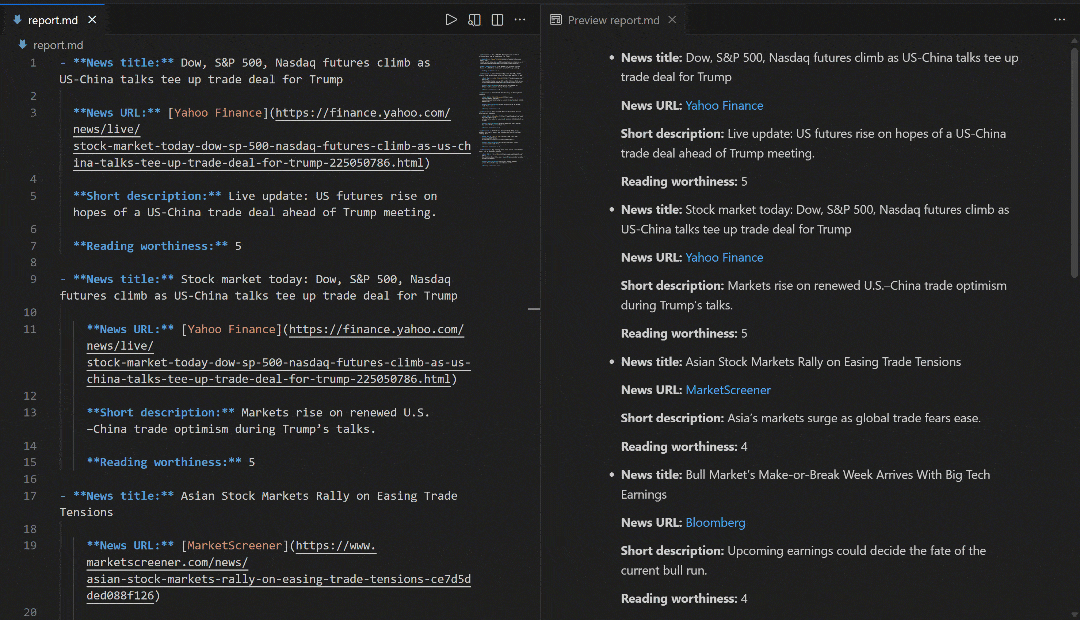
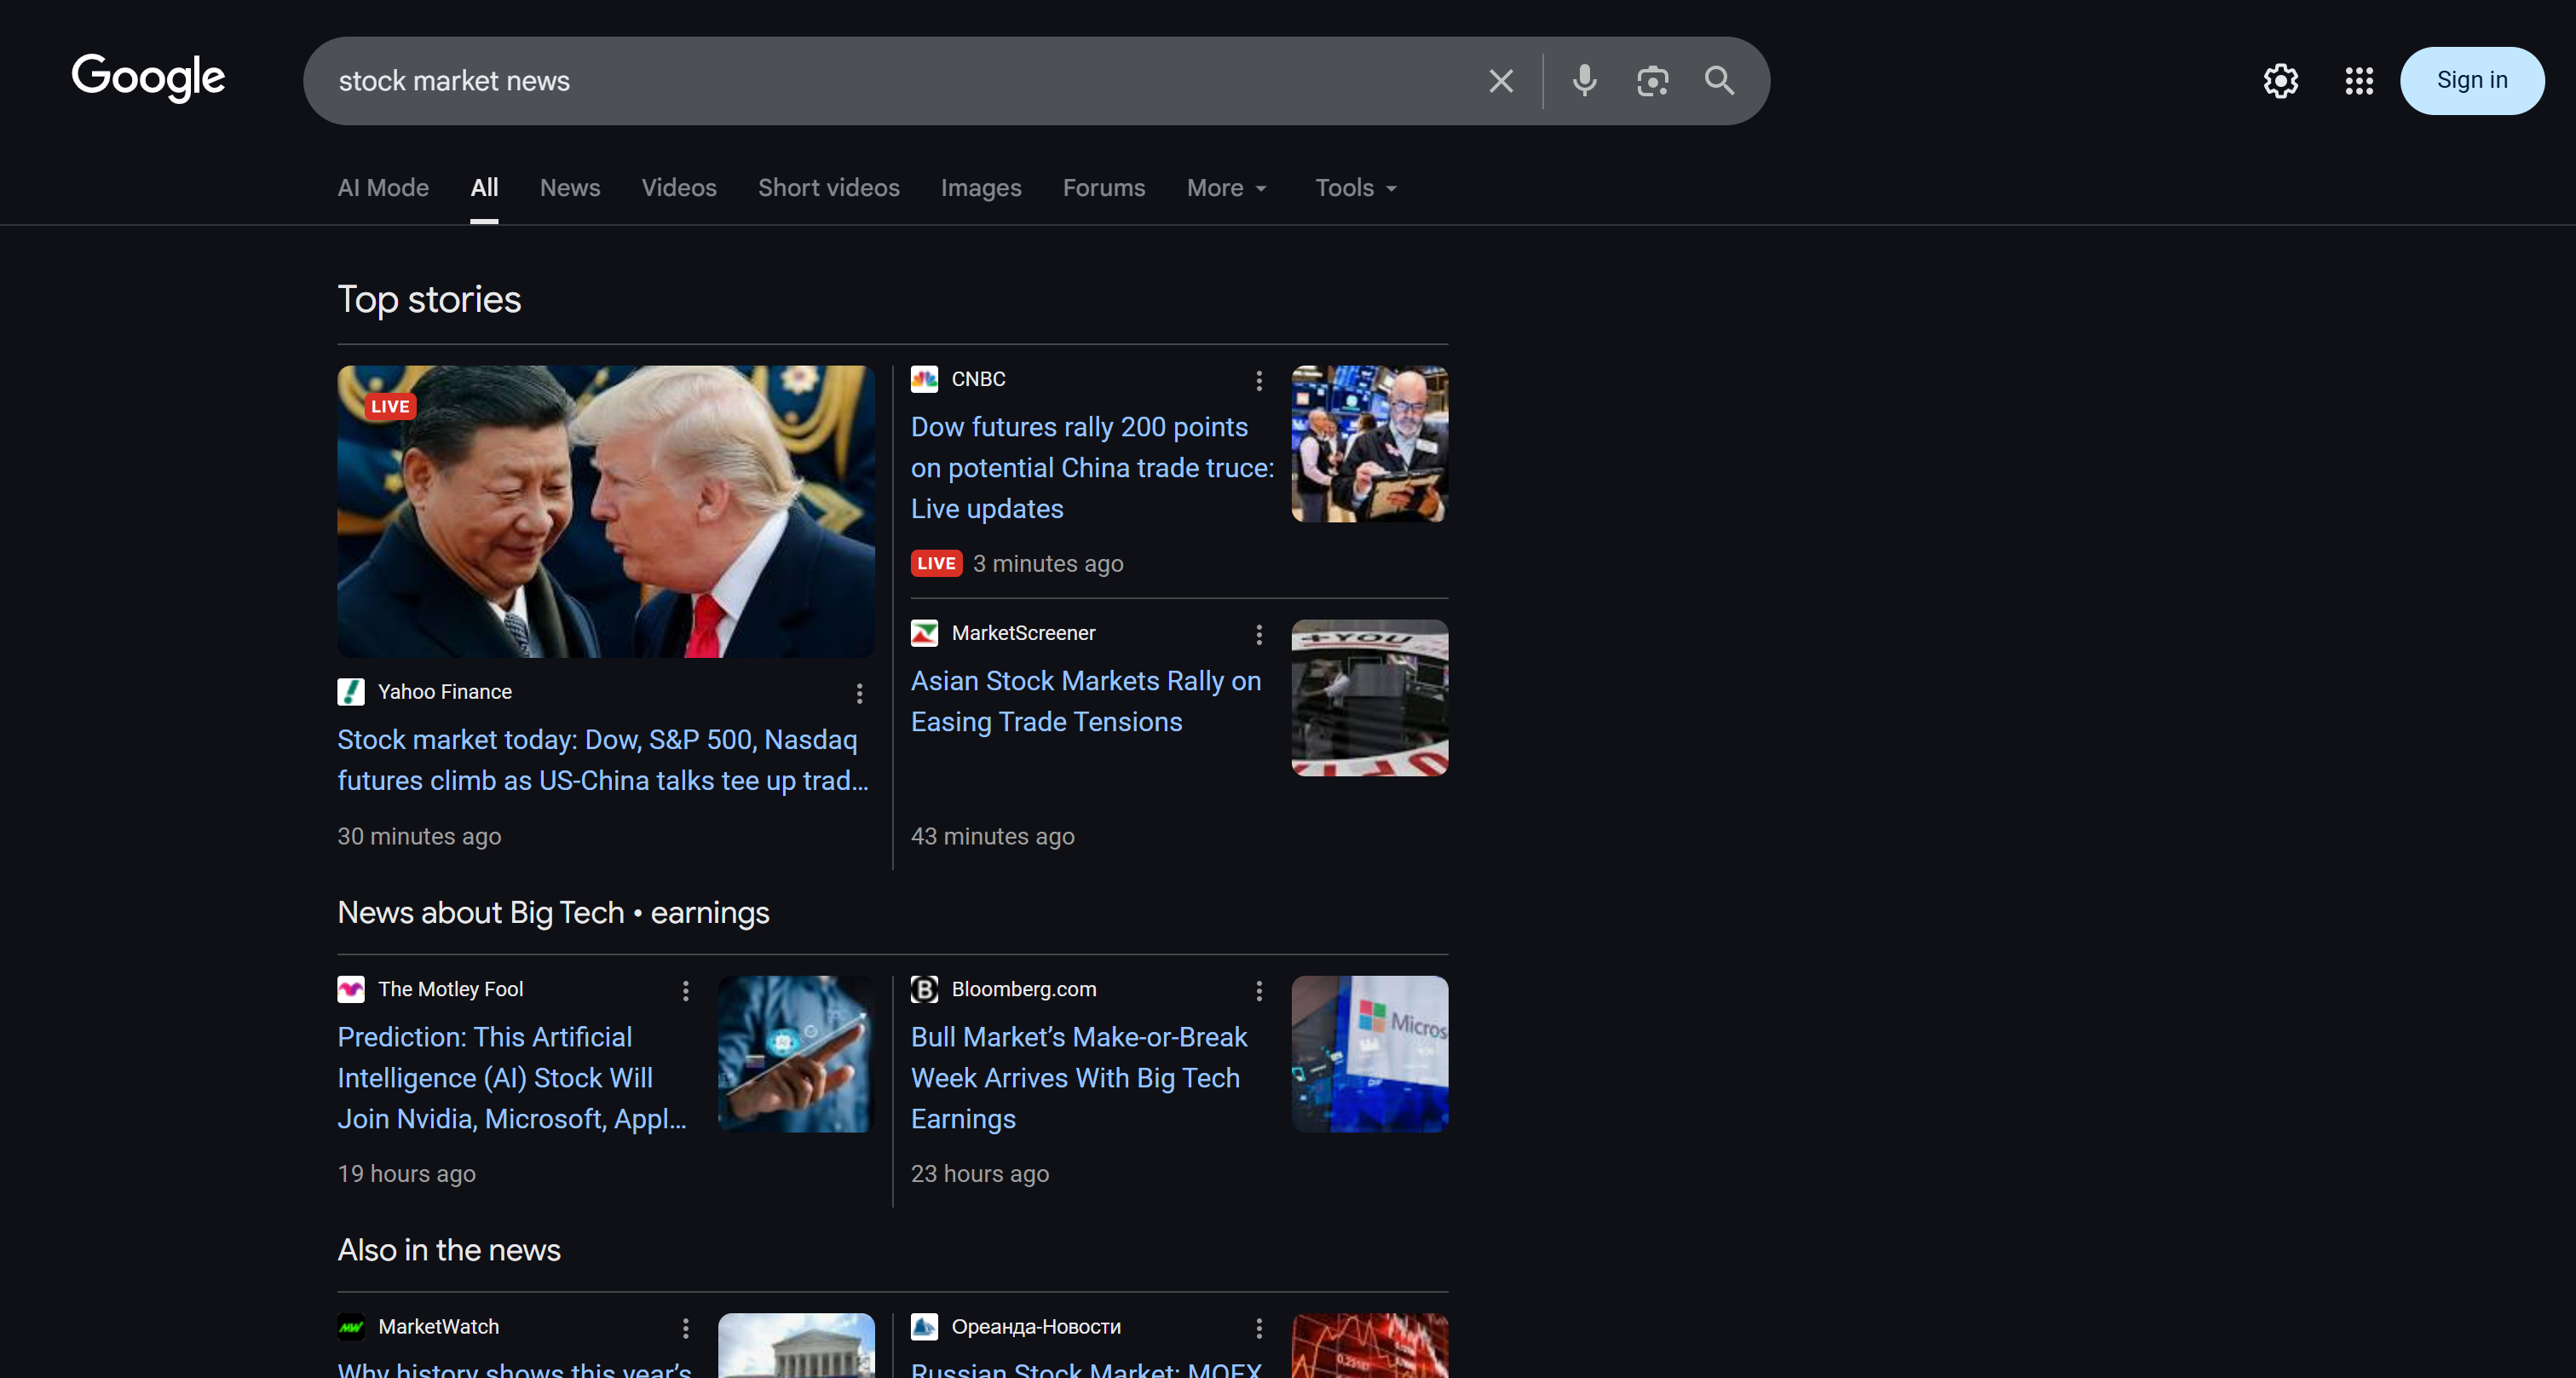
Notice how the report produced by the flow matches the news shown in the Google SERP for “stock market news.” Scraping Google search results is notoriously difficult due to anti-bot measures and rate limiters. By using the SERP API, you can reliably and easily fetch Google (or any other supported search engine) results from different regions in AI-ready Markdown format, with no scalability limitations.
This example demonstrates a simple use case, but you can experiment with more complex flows, integrate other Bright Data products, or adjust the LLM prompt to handle different tasks. Many other use cases are supported as well!
Et voilà! You now have an Azure AI Foundry flow that retrieves web search data and uses it as context in a RAG-style workflow.
Conclusion
In this blog post, you learned how to use Bright Data’s SERP API to fetch fresh news articles from Google and integrate them into a RAG workflow in Azure AI.
The AI workflow demonstrated here is perfect for anyone who wants to build a news assistant that filters content, so you read only the news that is relevant to the topics you care about. To create more advanced AI workflows, explore Bright Data’s full suite of tools for retrieving, validating, and transforming live web data.
Sign up for a free Bright Data account today and start experimenting with our AI-ready web data solutions!

Technical Writer
Antonello Zanini is a technical writer, editor, and software engineer with 5M+ views. Expert in technical content strategy, web development, and project management.


