In this tutorial, you will learn:
- What Dify is and why it is an interesting tool for building AI agents.
- Why AI agents need access to fresh, accurate web data to deliver reliable results.
- How to create an AI agent with data retrieval capabilities using a no-code Dify workflow.
Let’s dive in!
What Is Dify?
Dify is an increasingly popular open-source platform for building generative AI applications with LLMs. It simplifies the development process by offering a no-code/low-code visual interface for creating AI workflows and RAG pipelines.

You can leverage Dify via its self-hosted, open-source version or utilize it directly in the cloud with no setup (as we will do here). Essentially, it acts as a BaaS (Backend-as-a-Service) for LLM operations.
Dify supports a wide range of LLMs and offers extensive integration capabilities through several plugins. These enable connections with various third-party services and solutions. As of this writing, its marketplace features around 100 plugins and extensions.
AI Agents Need to Be Accurate and Effective
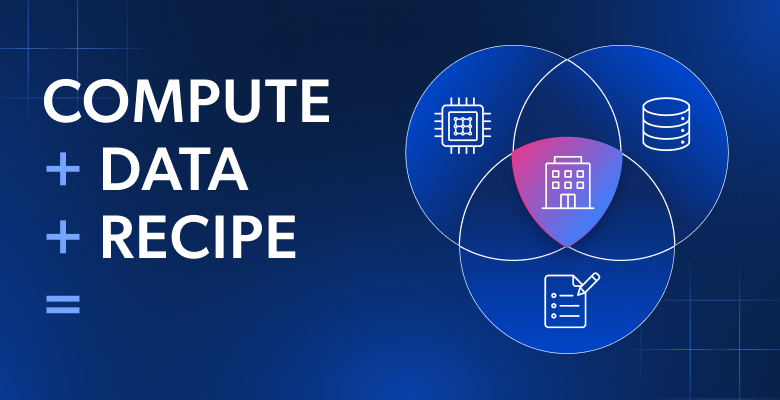
No matter which AI agent-building platform, library, or tool you choose, there is a major limitation: to be accurate, AI agents need high-quality data. In this regard, keep in mind that the Web is one of the richest and most reliable sources of data.
Thus, to be truly effective, an AI agent should be able to access and extract data directly from web pages. But it is not enough to just pull raw content. The data must be optimized for AI use, ideally in Markdown format.
Pro tip: Markdown is compact and easier for AI models to process, often leading to more accurate results, as confirmed by our benchmarks.
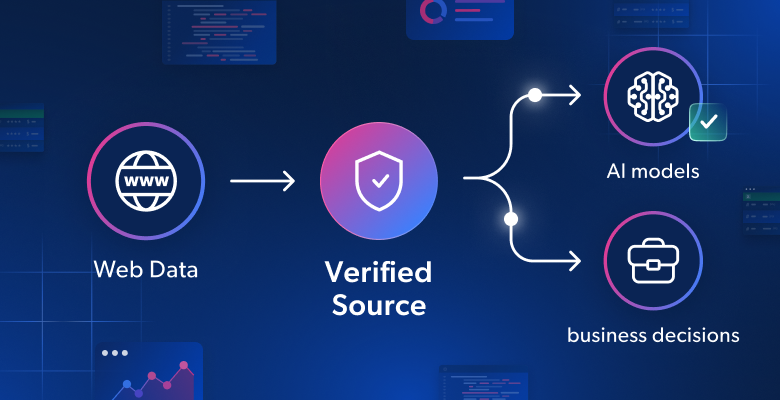
That is why your Dify AI agents need a plugin that can extract structured content like Markdown from any web page. That is specifically what the Bright Data Dify plugin delivers. On top of that, it lets your no-code AI agent pull fresh data from search engines and over 50 popular platforms in structured JSON format.
The Bright Data plugin handles all the challenges of web scraping for you, including CAPTCHAs, IP blocks, rate limits, and more. Then, thanks to Dify’s no-code flow builder, you can integrate everything into your AI agent just by connecting nodes. The result is a production-ready AI agent with access to reliable, real-time web data.
How to Integrate the Bright Data Plugin into Dify for AI Agent Building
In this guided section, you will learn how to build an AI agent in Dify. In particular, you will use the Bright Data plugin as the AI-ready data engine that powers the agent with trusted information.
We will walk through building a simple summarization agent that can summarize the content of any web page. Note that this is just one example to demonstrate what is possible with the Dify + Bright Data integration. You can cover many other use cases just as easily.
Note: In a way, the chosen example can be seen as an RAG agentic workflow. The reason is that the Bright Data plugin can be seen as the retrieval component in the RAG agentic process.
Follow the steps below to create a no-code AI agent in Dify that accesses up-to-date web data!
Prerequisites
To reproduce this tutorial and build an AI agent in Dify powered by Bright Data, you need the following:
- A Dify account (a free plan is enough).
- A Bright Data API key.
- An API key from an LLM provider (we will use a Gemini API key in this example)
If you do not have these yet, click on the links above and follow the setup instructions.
Step #1: LLM Integration
Note: If you already have an LLM integration set up in your Dify account, you can skip this step.
To build an AI agent in Dify, you first need to configure an LLM provider. To do so, sign in to Dify and reach your dashboard. Click on your profile picture in the top-right corner and select the “Settings” option:

Then, in the modal’s sidebar, click on the “Model Provider” option. Here, you can install the LLM provider you want to use. In this tutorial, we will rely on Gemini (which is free to use via API):

Hover over the Gemini option and press the “Install” button. Once installed, click the “Setup” button and paste your Gemini API key to complete the configuration:

After that, press “System Model Settings” to set Gemini as your global LLM provider in your Dify account:

Choose the model you want to use. In this case, we will select “Gemini 2.0 Flash” (which is free via API). Then, click “Save”:

Perfect! Your LLM integration in Dify is now complete.
Step #2: Bright Data Plugin Installation
It is time to install the Bright Data Dify plugin. To do so, click on the “PLUGINS” option located in the sidebar to the left of your profile picture:

In the Dify Plugin Marketplace section, click the “Install Plugin” button, then choose the “GitHub” option:

In the modal that appears, paste the GitHub URL for the Bright Data Dify plugin:
https://github.com/Idanvilenski/BrightData_Dify_Plugin
Select the plugin version (the latest one is recommended), choose the plugin package, and click “Next”:

Click “Install” to finalize the plugin installation. Once installed, click on the plugin card. In the panel that opens on the right, click the “Authorize” button:

Paste your Bright Data API token, then click “Save”:

Amazing! The Bright Data Dify plugin is now installed, and its tools are ready to use.
Step #3: Create a New Dify Application
You now have everything in place to create your no-code AI summarization agent. Go back to your Dify dashboard and click “CREATE APP > Create from Blank” to start a new AI agent project:

Select the “Workflow” template, name your AI agent something like “AI Summarization Agent”, then click “Create” to initialize the app:

You will see the visual canvas where you can build your agent by connecting nodes:

This is where you will define the logic and data flow of your AI agent by linking different components together. Fantastic!
Step #4: Devise the AI Agent Logic
Before implementing your no-code AI agent, spend some time devising what the AI agent needs to do. In this case, the AI agent should:
- Receive the URL of the web page to summarize.
- Pass the URL to the Bright Data plugin to retrieve its page content in Markdown format.
- Send the Markdown content to the configured LLM with a prompt to generate a summary.
- Return the summarized content to the user.
In the next four steps, you will implement each of these actions by connecting nodes and using plugins in Dify.
Step #5: Configure the Page URL Input Parameter
First, click the “START” node, then click the “+” icon to add a new input variable:

From the input type options, select the “Paragraph” data type. That is ideal for inputting text like a URL. Name the input something like page_url:

Make sure the “Required” toggle is turned on, as this input is essential for this AI agent to function. After saving, you will see something like this:

See how the “START” node now shows your custom input variable. Well done!
Step #6: Retrieve the Markdown Content with the Bright Data Plugin
Click the “+” button on the “START” node and select the Bright Data plugin. Then choose the “Scrape As Markdown” tool:

Configure the tool by setting page_url as the input parameter. Also, enable the “RETRY ON FAILURE” option. This allows the Bright Data plugin to automatically retry if an error occurs during the scraping process:

Wonderful! The Bright Data plugin will now take the provided URL, scrape the page, and return its content in Markdown format.
Step #7: Integrate the LLM Summarization Logic
The next step is to connect an LLM node that will summarize the Markdown content returned by the Bright Data plugin. Click the “+” icon on the “Scrape As Markdown” node and select “LLM”:

In the “LLM” node settings, set the “CONTEXT” input to the text variable, which is the output of the “Scrape As Markdown” tool.
Next, write a prompt as the following one:
You are a summarization agent. Based on the Markdown content provided below, write a concise and helpful summary in no more than 150 words. Focus on capturing the key elements of the content.

Content:
{CONTEXT}
The “LLM” node acts as the brain of your Dify AI agent, processing the data and generating the summary. Terrific! You are almost done with the AI agent building logic.
Step #8: Return the Summary
As the final step in your no-code Dify AI agent workflow, add an “End” node:

Configure the “END” node to use the text output from the LLM node:

This node will handle returning the final summarized content to the user. Mission complete! Your no-code AI summarization agent is ready to use.
Step #9: Test Your AI Agent
This is what your completed Dify AI agent workflow should look like:

With just four nodes, you built a real-world AI agent with accurate summarization capabilities.
To test it, click the “Run” button in the top-right corner:

Next, enter the URL of the page you want to summarize. For this example, you have to use a CNN Sports article.
Press the “Start Run” button, and you will see each node execute in sequence, turning green to indicate success:

This is a possible output you should get:
This CNN article analyzes the epic French Open final between Carlos Alcaraz and Jannik Sinner, highlighting it as proof that men's tennis is in good hands for the future. Alcaraz's improbable comeback from two sets down against Sinner is described as a historic moment. The author notes that with the era of Djokovic, Federer, and Nadal ending, Alcaraz and Sinner have demonstrated that they are ready to fill the void. The rivalry between Alcaraz and Sinner is compared to the great rivalries of the past, with the potential to elevate the sport. Experts even suggest that Alcaraz and Sinner could beat Nadal at his best. The article emphasizes the high level of play and the exciting future of tennis with these two stars.This is a concise, in-context summary under 150 words, just as requested. Notice how the LLM also recognized the article source as CNN.
Et voilà! You have just built a fully functional AI summarization agent in Dify, without writing a single line of code. That agent is capable of processing and summarizing any web page.
Conclusion
In this article, you learned how to use Dify to build an AI summarization agent with a no-code workflow. To be production-ready, the agent needs access to public web data. This is made possible thanks to the Bright Data Dify plugin, which exposes advanced tools for AI-ready data retrieval.
Now, this was just a simple example workflow, but you may want to build more complex AI agents. To do so, you require tools for retrieving, validating, and transforming web content. That is exactly what Bright Data’s AI infrastructure is built to deliver.
Create a free Bright Data account and start experimenting with our AI-ready data tools!

Technical Writer
Antonello Zanini is a technical writer, editor, and software engineer with 5M+ views. Expert in technical content strategy, web development, and project management.